
Arduino Soliton Radar | Metal Gear solid

Made by 314Reactor / Displays / Environmental Sensing / Games & Gaming / Sensors
About the project
Rudimentary version of the Soliton Radar from Metal Gear Solid that can detect walls and movement around the user.
Project info
Difficulty: Moderate
Platforms: Arduino, DFRobot, Pimoroni
Estimated time: 1 hour
License: GNU General Public License, version 3 or later (GPL3+)
Items used in this project
Hardware components


View all
Story
First up – thanks to DFRobot for supplying most of the parts for this project!
Key goals:
- Make an Arduino device that can detect walls and movement around the user.
- Display this information to a screen.
- Make it Nerf compatible.
Snake. We’re not tools of the government, or anyone else.
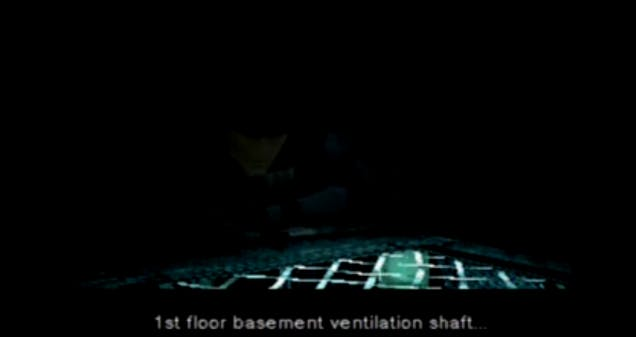
Metal Gear Solid is an amazing game that changed the landscape of cinematic direction and story telling for video games forever; when playing it years ago when I was younger the political intrigue and other such themes may have gone over my head – but there’s been one thing I always thought was awesome – the Soliton Radar.
 As always, mine won’t be anywhere near this good.
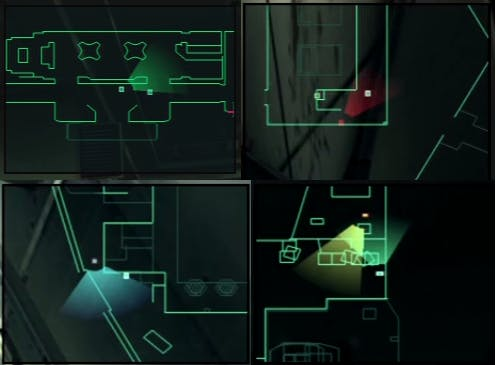
For those who haven’t played the game this is the radar/map system that is used to navigate levels and avoid enemies in the game. It shows the layout of the area and shows movement of enemies – along with their line of sight.
So as with many things from video games and movies I thought about trying to make one; with today’s level of consumer tech available and the awesome people at DFRobot, I thought – now is the time.
Of course I can’t make mine as advanced as the one in game, but I can get it to map the area around the user and detect some movement!
It’s all made from currently existing technology.

Well, I know I won’t be bored for the next 18 hours.
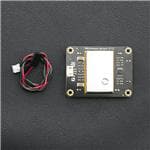
Now upon reading ‘microwave’ there you may think “What the…” but fret not – it’s at a low output harmless to humans – as described on the DFRobot wiki page.
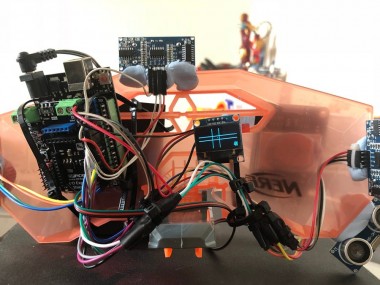
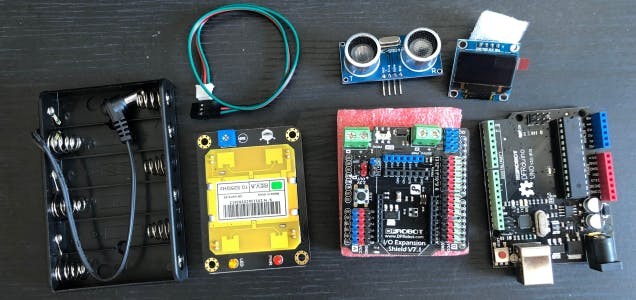
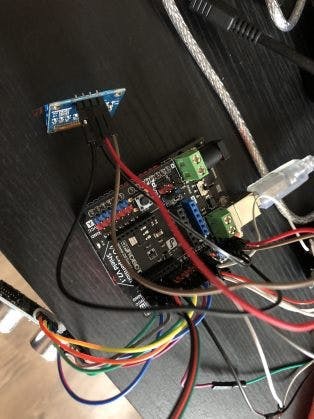
First up, connect the I/O expansion board to the main Arduino board – this is easy enough, just match up the pins and firmly but carefully push it on.
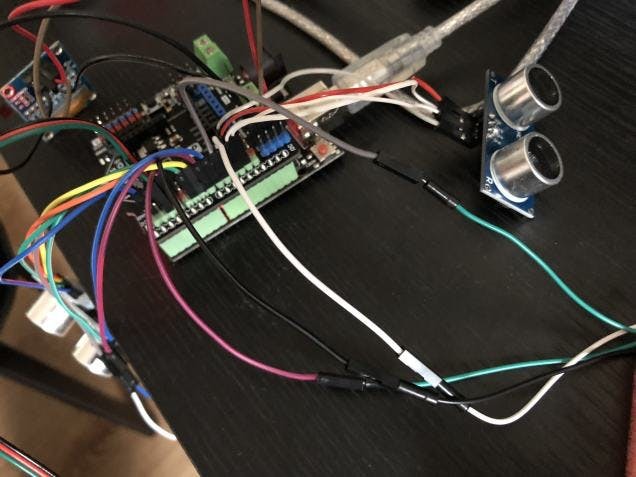
The microwave sensor connects to the TX row on the I/O boards digital pin layout, making sure that VCC matches with VCC, GND to GND etc…
 IMG_5770
 IMG_5769
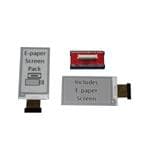
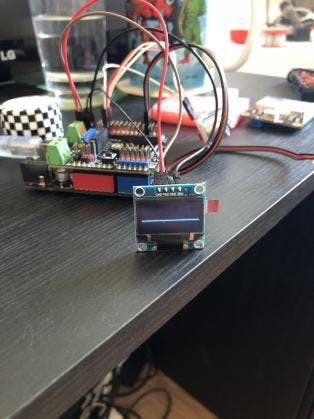
The OLED screen connects up to the I2C pins on the expansion board.

 IMG_5463
 IMG_5767
At this point its best to mark up the ultrasonic sensors with F/B/R/L respectively on each one – so you know which one to connect to what pins.
The ultrasonic sensors connect to the digital pins:
Front ultrasonic pins: Front trigger pin = 11Front echo pin = 12
Back ultrasonic pins: Back trigger pin = 9Back echo pin = 10
Right ultrasonic pins: Right trigger pin = 7Right echo pin = 8
Left ultrasonic pins: Left trigger pin = 5Left echo pin = 6
The VCC/GND pins can be put anywhere along the corresponding lines on the I/O Board.
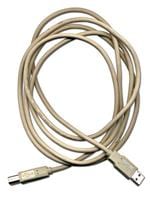
With the hardware all hooked up you’ll want to connect the Arduino to a PC using the A>B USB cable and install the Arduino IDE.
Boot the IDE up and grab the code from my GitHub.
Thanks to Adafruits handy guide on OLED’s here for the screen code and thanks to DFRobots wiki page for the code for the microwave sensor.
The code is all annotated to show what it’s doing. But here’s an overview:
Essentially it takes measurements from each of the sensors with one facing forward one back, one left and one right. This gives a distance from each of them to a wall (or any other object, but the idea is for them to detect walls), this distance is then processed to a location on the screen which is then drawn as a line to represent the wall and how close it is to the center – the center being the users location.
This should display a very rudimentary view of the walls around the user – that will move and adjust as the user moves around.
The microwave sensor is also detecting during this time in front – and will display an ‘X’ on the screen when it detects movement – the clever thing about the microwave sensor is it will detect movement through non-metallic objects; so through thin walls it should show movement on the other side.
With the IDE open go to Tools > Board and select Arduino UNO.
Next go to Sketch > Include Library > Manage Libraries and search for and install the following:
- MsTimer2
- Adafruit_GFX
- Adafruit_SSD1306
Now you can place the code in and save the project, press CTRL+R to verify/compile to check the code is all ok and then hit CTRL+U to upload it to the Arduino board.
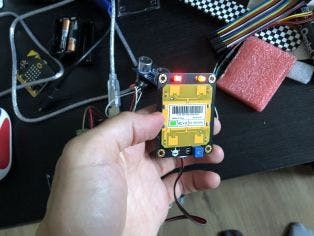
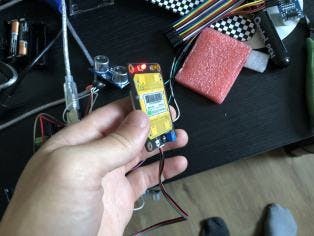
Give it a quick test and then unplug, now the battery pack can be plugged in to operate the device.
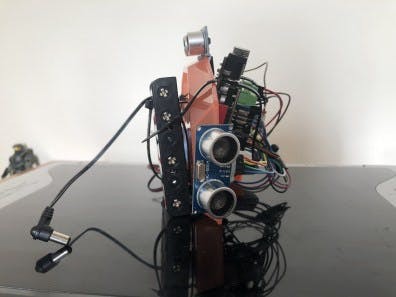
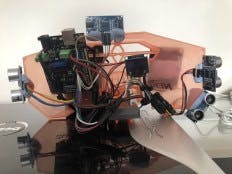
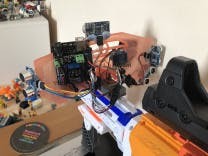
Then its time to put all the hardware onto the Nerf Blast Shield with a combination of Blu-tack/Sugru and Tie wraps – like so:
 IMG_6106
;
;
IMG_6106
;
;
 1 / 2 • IMG_6107
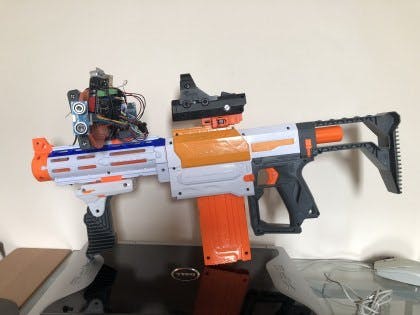
And attach to a Nerf – like here:
 IMG_6108
;
;
IMG_6108
;
;
 1 / 2 • IMG_6109
You won’t be able to use it in an area with strong harmonic resonance.
I of course just had to make a video showing off the use of the Radar and run around my flat with a bandana on:

Not yet Snake! It’s not over yet!
I’m very pleased with how this project turned out – it works quite well at mapping the area around the user, even if just at a very basic level with quite a few glitches.
The detection of the microwave sensor is also awesome, in the top left corner of the screen you can see a little ‘X’ appearing; indicating movement. Though the relative movement of walls appears to kick it off – there may be some way of compensating for this in the code, however.
But in general if you stand still and point at a wall it will give a very, very basic version of the radar, being able to see if anyone or anything is moving the other side of the wall and being able to see the walls around you.
And yes, it does get jammed easily I’m afraid – the parts in the video where the walls on the screen just go kind of nuts or disappear, that is where I think the resonance of the ultrasonic sensors are interfering with each other, causing some random results.
As with most of my projects this can/should be seen as a prototype/experimental kind of thing.
I’ve learned a lot along the way, things that should be handy for future projects and will hopefully inspire someone else!

SNAAAAAAAAKE!
Feel free to use the designs code and improve on it or let me know any improvements I could make.
This has been a great project to work on and have some fun with, of course its nowhere near as advanced as the one in the game; maybe one day somehow I’ll figure out a way to see peoples view cones and the layout of a building from a top-down perspective.
One day.

Code
Credits
Related products


Leave your feedback...