
Arduino Measure Tvoc, Co2, Hydrogen, Ethanol,temp,humidity

Made by Ron / Displays / Environmental Sensing / Home Automation / Sensors / Weather
About the project
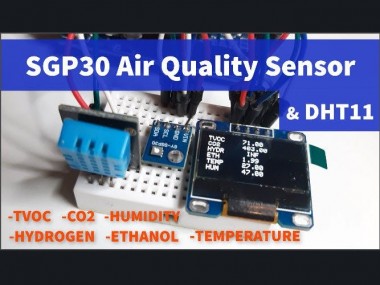
SGP30 Air Quality Sensor & DHT11 Sensor, Display TVOC-Total volatile organic compounds, CO2, Hydrogen, Ethanol, Temperature, Humidity
Project info
Difficulty: Moderate
Platforms: Adafruit, Arduino, Visuino
Estimated time: 1 hour
License: GNU General Public License, version 3 or later (GPL3+)
Items used in this project
Hardware components

Story
In This tutorial we will learn how to use the SGP30 Air Quality Sensor & DHT11 Sensor to Display TVOC-Total volatile organic compounds, CO2 -Carbon dioxide, Hydrogen, Ethanol, Temperature and Humidity on the OLED Display.
We will also learn how to calculate the absolute Humidity using the Absolute Humidity component.
Watch the Video!
Step 1: What You Will Need
1 / 6
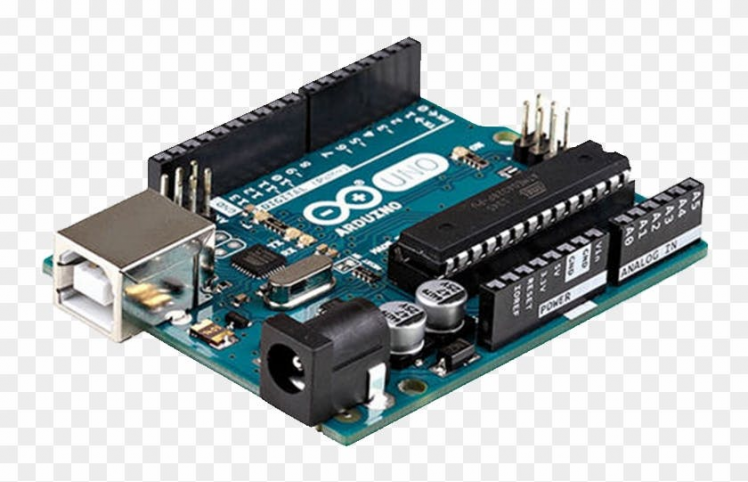

- Arduino UNO (or any other Arduino)
- SGP30 Air Quality Sensor
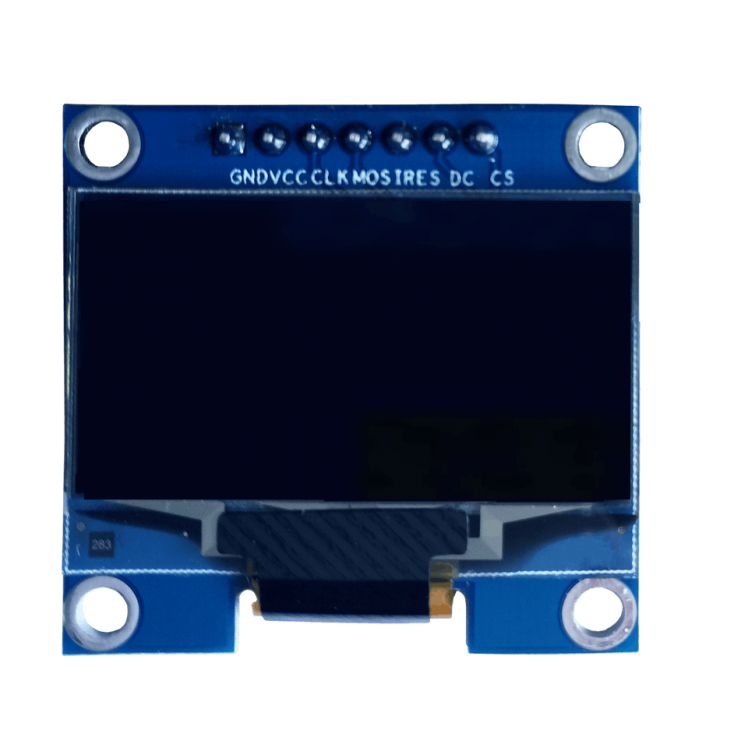
- OLED I2C Display
- DHT11 Sensor
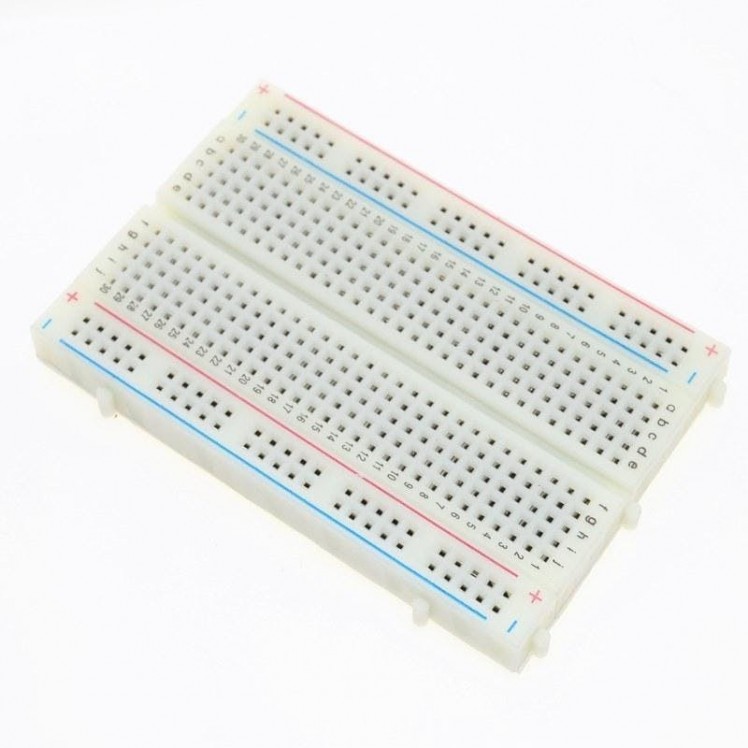
- Breadboard
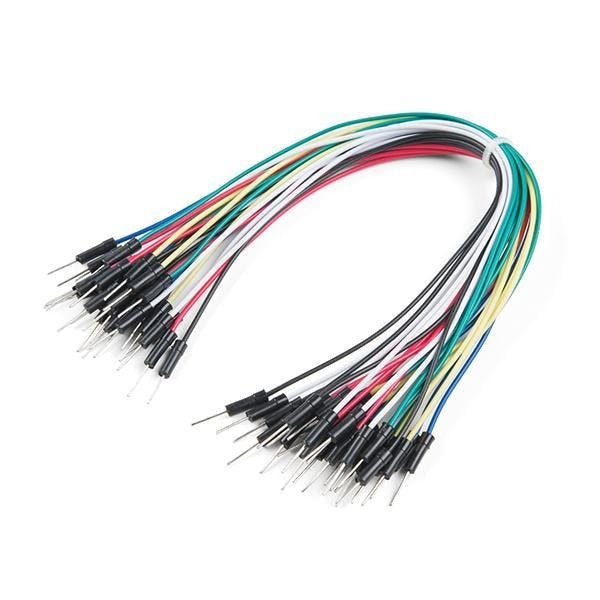
- Jumper wires
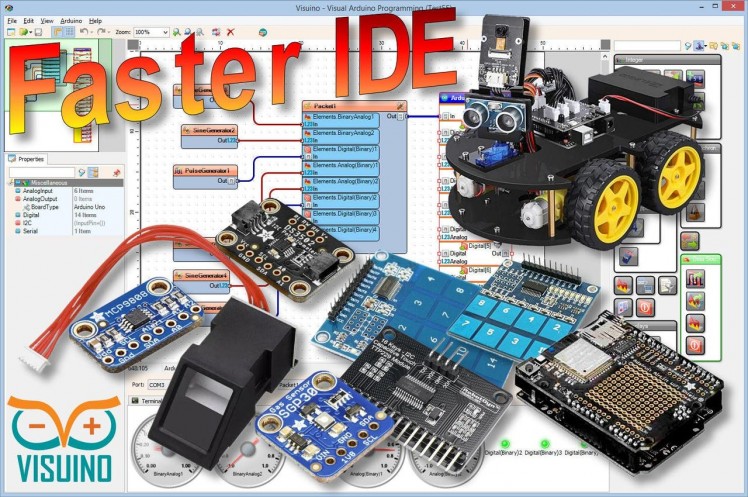
- Visuino program: Download Visuino
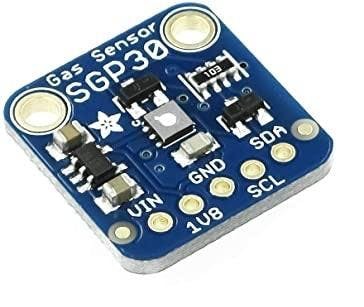
This is a very fine air quality sensor from the sensor experts at Sensirion, with I2C interfacing and fully calibrated output signals with a typical accuracy of 15% within measured values. The SGP combines multiple metal-oxide sensing elements on one chip to provide more detailed air quality signals.
This is a gas sensor that can detect a wide range of Volatile Organic Compounds (VOCs) and H2 and is intended for indoor air quality monitoring. When connected to your microcontroller (running our library code) it will return a Total Volatile Organic Compound (TVOC) reading and an equivalent carbon dioxide reading (eCO2) over I2C.
The SGP30 has a 'standard' hot-plate MOX sensor, as well as a small microcontroller that controls power to the plate, reads the analog voltage, tracks the baseline calibration, calculates TVOC and eCO2 values, and provides an I2C interface to read from. Unlike the CCS811, this sensor does not require I2C clock stretching.
You can read more here: https://www.adafruit.com/product/3709
Step 3: The Circuit
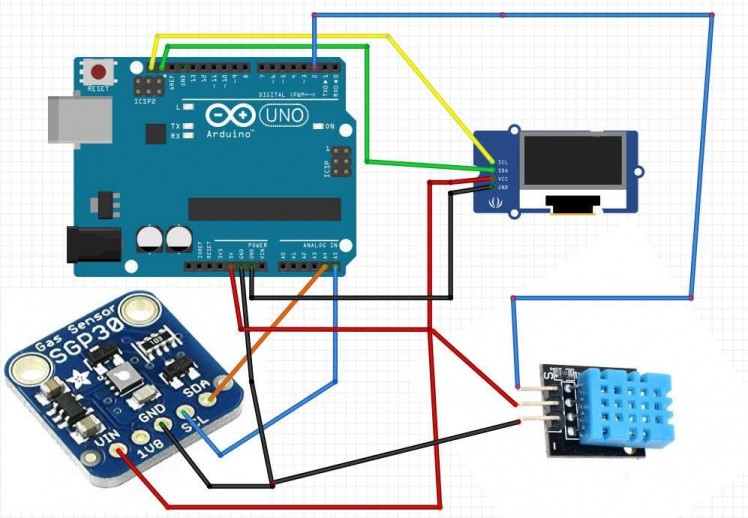
- Connect OLED Display pin [SCL] to Arduino pin [SCL]
- Connect OLED Display pin [SDA] to Arduino pin [SDA]
- Connect OLED Display pin [VCC] to Arduino pin [5v]
- Connect OLED Display pin [GND] to Arduino pin [GND]
- Connect SGP30 Sensor pin [SCL] to Arduino pin [SCL]
- Connect SGP30 Sensor pin [SDA] to Arduino pin [SDA]
- Connect SGP30 Sensor pin [VIN] to Arduino pin [5v]
- Connect SGP30 Sensor pin [GND] to Arduino pin [GND]
- Connect DHT11 Sensor pin [VCC] to Arduino pin [5v]
- Connect DHT11 Sensor pin [GND] to Arduino pin [GND]
- Connect DHT11 Sensor pin [S] to Arduino Digital pin [2]
1 / 2

The Visuino: https://www.visuino.eu also needs to be installed. Download Free version or register for a Free Trial.
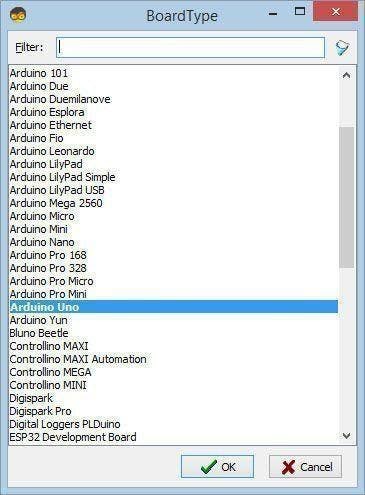
Start Visuino as shown in the first picture Click on the "Tools" button on the Arduino component (Picture 1) in Visuino When the dialog appears, select "Arduino UNO" as shown on Picture 2
Step 5: In Visuino Add & Set Components
1 / 18

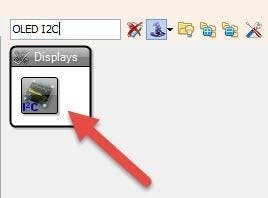
- Add "OLED I2C" component
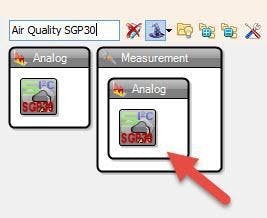
- Add "Air Quality SGP30" component
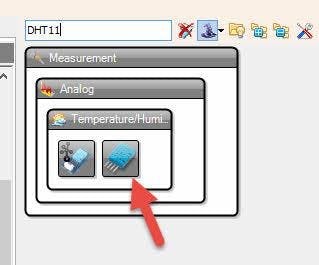
- Add "DHT11" Sensor component
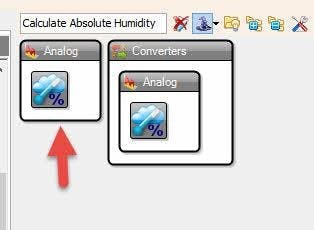
- Add "Absolute Humidity" component
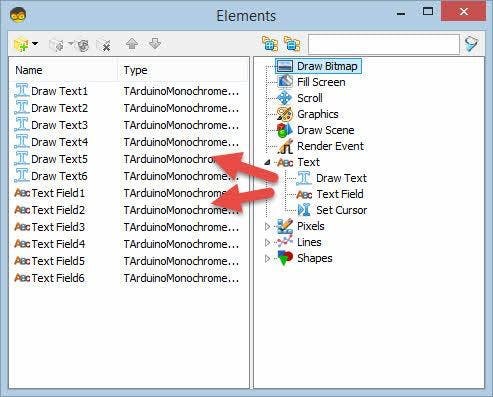
Double click on "DisplayOLED1" and in the "Elements" window drag 6X "Draw text" to the left side and 6X "Text Field" to the left side
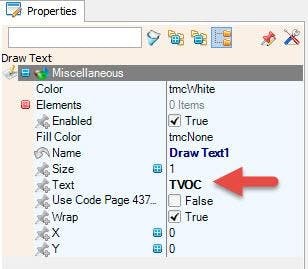
- On the Left side select "Draw Text1" and in the properties window set Text to "TVOC"
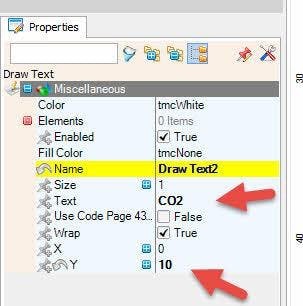
- On the Left side select "Draw Text2" and in the properties window set Text to "CO2" and Y to 10
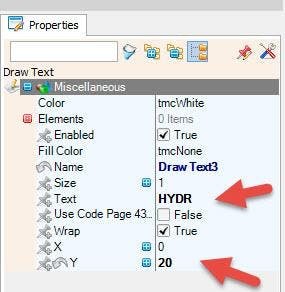
- On the Left side select "Draw Text3" and in the properties window set Text to "HYDR" and Y to 20
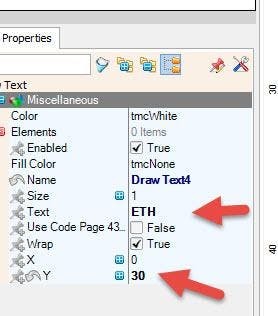
- On the Left side select "Draw Text4" and in the properties window set Text to "ETH" and Y to 30
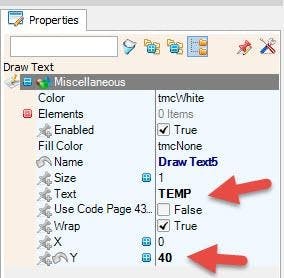
- On the Left side select "Draw Text5" and in the properties window set Text to "TEMP" and Y to 40
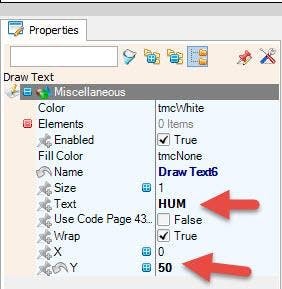
- On the Left side select "Draw Text6" and in the properties window set Text to "HUM" and Y to 50
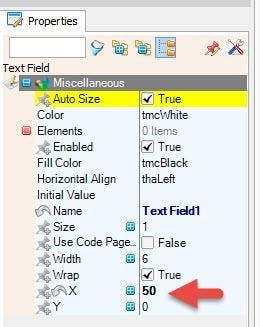
- On the Left side select "Text Field1" and in the properties window set X to 50
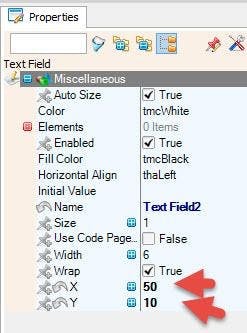
- On the Left side select "Text Field2" and in the properties window set X to 50 and Y to 10
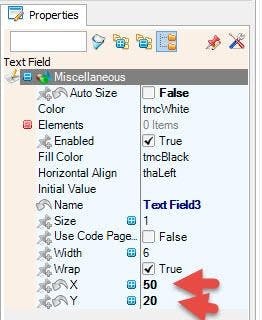
- On the Left side select "Text Field3" and in the properties window set X to 50 and Y to 20
- On the Left side select "Text Field4" and in the properties window set X to 50 and Y to 30
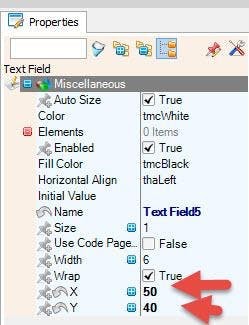
- On the Left side select "Text Field5" and in the properties window set X to 50 and Y to 40
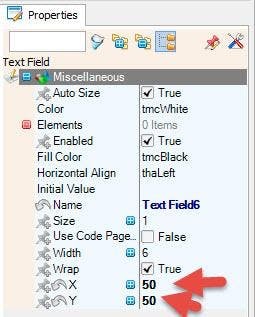
- On the Left side select "Text Field6" and in the properties window set X to 50 and Y to 50
- Close the "Elements" window
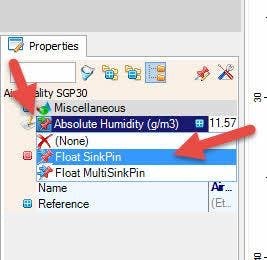
- Select "AirQuality1" and in the properties window select Absolute Humidity and click on the Pin Icon and select "Float SinkPin"
1 / 2
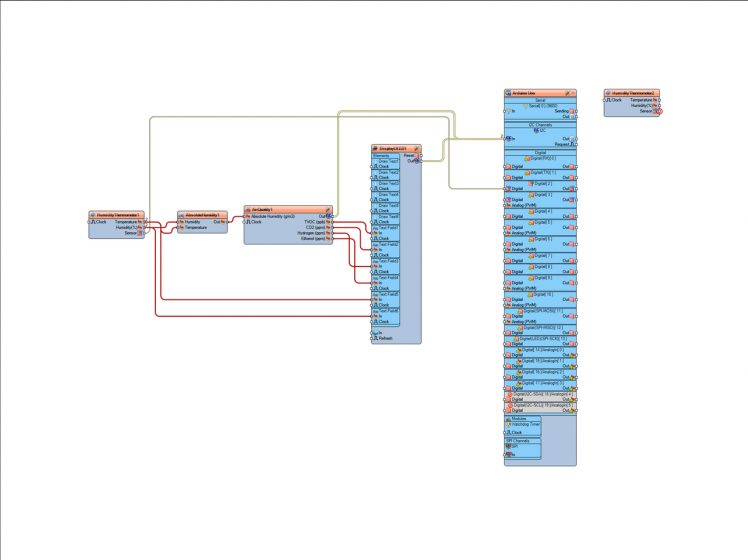
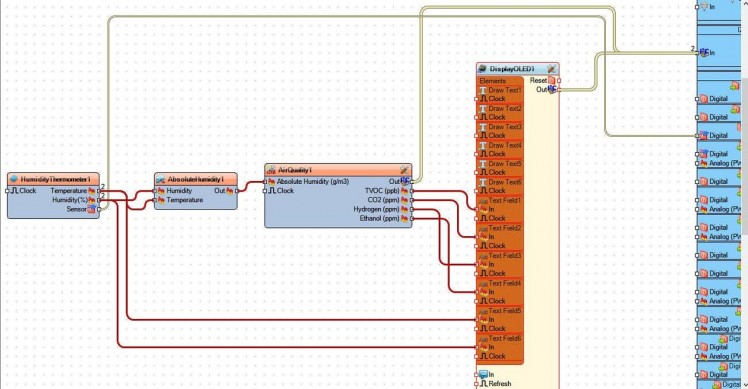
- Connect "AirQuality1" pin [Out I2C] to Arduino board pin [I2C In]
- Connect "DisplayOLED1" pin [Out I2C] to Arduino board pin [I2C In]
- Connect "HumidityThermometer1" pin Sensor to "Arduino" board Digital pin 2
- Connect "HumidityThermometer1" pin Temperature and Humidity to "AbsoluteHumidity1" pin Temperature and Humidity.
- Connect "AbsoluteHumidity1" pin [Out] to "AirQuality1" pin [Absolute Humidity ]
- Connect "AirQuality1" pin [TVOC] to "DisplayOLED1" > "Text Field1" pin [In]
- Connect "AirQuality1" pin [CO2] to "DisplayOLED1" > "Text Field2" pin [In]
- Connect "AirQuality1" pin [Hydrogen] to "DisplayOLED1" > "Text Field3" pin [In]
- Connect "AirQuality1" pin [Ethanol] to "DisplayOLED1" > "Text Field4" pin [In]
- Connect "HumidityThermometer1" pin Temperature to "DisplayOLED1" > Text Field5 pin [In].
- Connect "HumidityThermometer1" pin Humidity to "DisplayOLED1" > Text Field6 pin [In]

In Visuino, at the bottom click on the "Build" Tab, make sure the correct port is selected, then click on the "Compile/Build and Upload" button.
Step 8: PlayIf you power the Arduino module, the OLED Display will start to show the values from the sensors. To test it you can put some Ethanol near and see how the values change, or breath near the sensor.
Congratulations! You have completed your project with Visuino. Also attached is the Visuino project, that I created for this Tutorial, you can download it and open it in Visuino: https://www.visuino.eu
Schematics, diagrams and documents
Code
Credits
Related products


Leave your feedback...