
Arduino Height Measuring Using Vl53l0x Laser Sensor

About the project
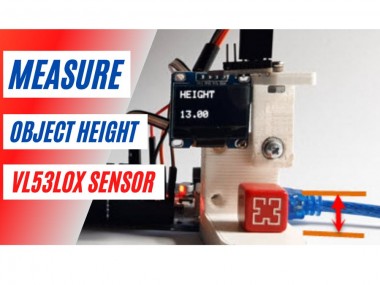
Make a Height Measuring tool using a VL53L0X.Time-of-Flight ranging sensor Watch the video!
Project info
Difficulty: Moderate
Estimated time: 1 hour
License: GNU General Public License, version 3 or later (GPL3+)
Items used in this project
Hardware components

Story
Make a Height Measuring tool using a sensor VL53L0X.
The VL53L0X is accurate up to plus or minus 2-3mm (depends on the surface reflection).
This project is just to show how to make it work on a smaller objects. Sensor can measure up to 2m so you can adjust the projects according to your needs. This approach could also be used to measure the water/liquid height.
How It works: On the Arduino start the VL53L0X remembers the full distance in mm then after the object is placed under it will subtract the New distance from the first one and the result will be the height of the object in mm.
Note: the accuracy mainly depends on the surface reflection of the ground and the object that is measured.
Watch the video!
Step 1: What You Will Need
1 / 4
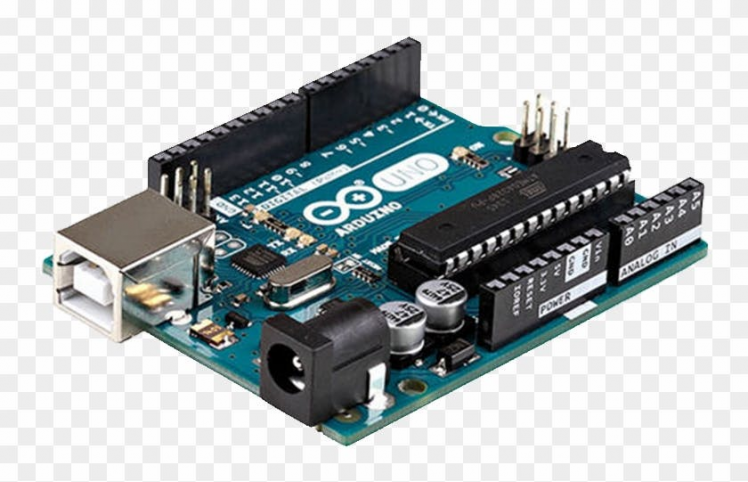

- Arduino UNO (or any other Arduino)
- VL53L0X Time-of-Flight ranging sensor
- OLED I2C Display
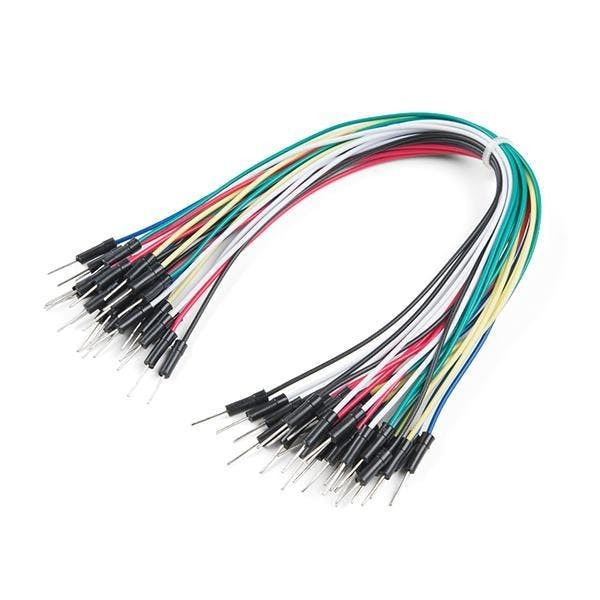
- Jumper wires
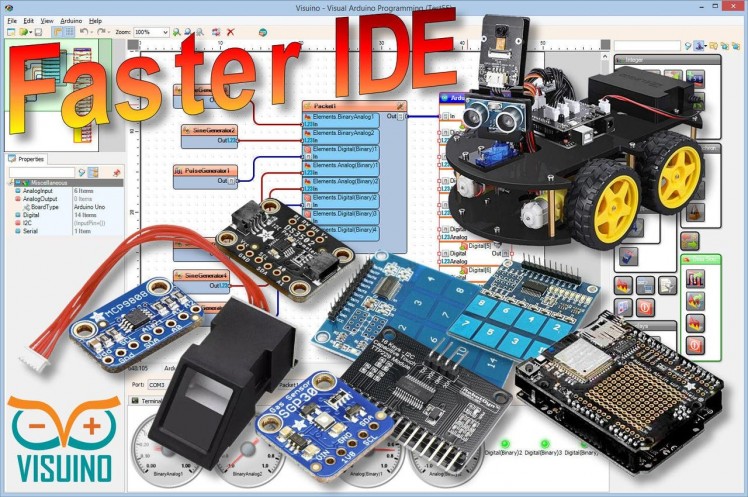
- Visuino program: Download Visuino
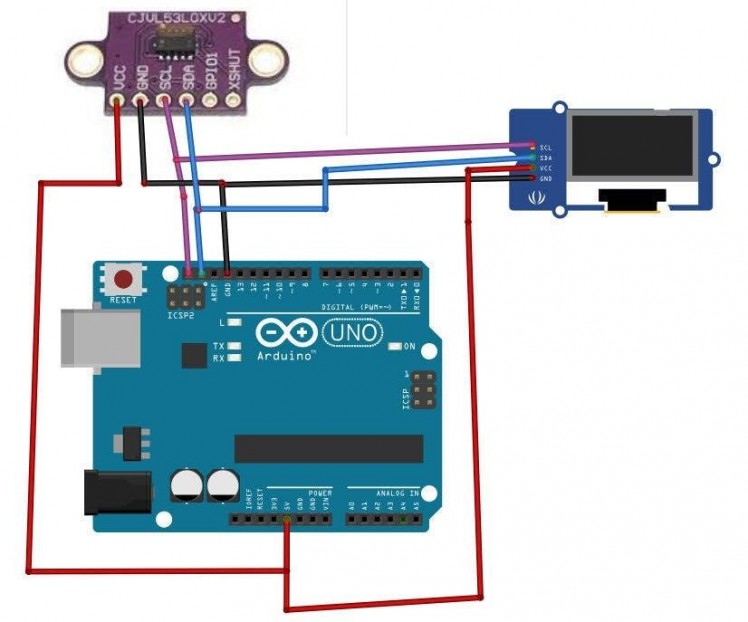
- Connect OLED Display pin (VCC) to Arduino pin (5V)
- Connect OLED Display pin (SCL) to Arduino pin (SCL)
- Connect OLED Display pin (SDA) to Arduino pin (SDA)
- Connect VL53L0X sensor pin (GND) to Arduino pin (GND)
- Connect VL53L0X sensor pin (VCC) to Arduino pin (5V)
- Connect VL53L0X sensor pin (SCL) to Arduino pin (SCL)
- Connect VL53L0X sensor pin (SDA) to Arduino pin (SDA)
- Connect OLED Display pin (GND) to Arduino pin (GND)
1 / 2
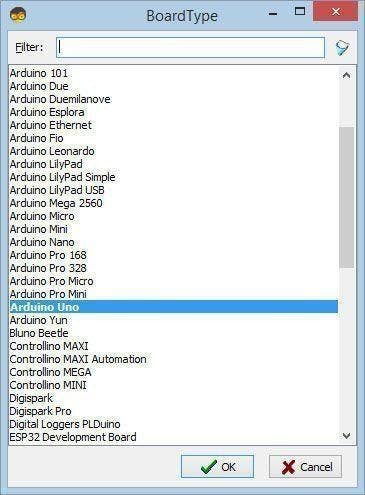
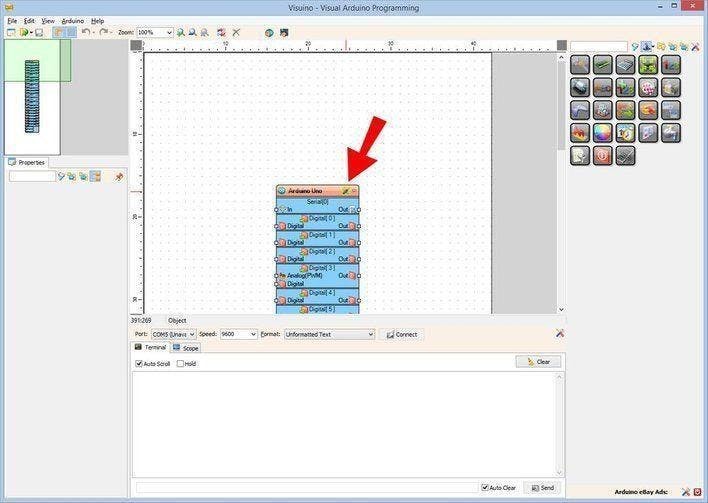
The Visuino: https://www.visuino.eu needs to be installed. Start Visuino as shown in the first picture Click on the "Tools" button on the Arduino component (Picture 1) in Visuino When the dialog appears, select "Arduino UNO" as shown on Picture 2
Step 4: In Visuino Add Components
1 / 12

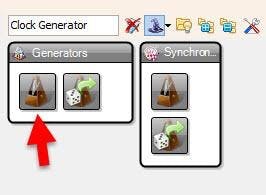
- Add "Clock Generator" component
- Add "VL53L0X" component
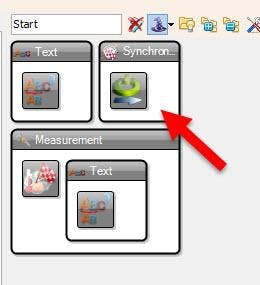
- Add "Start" component
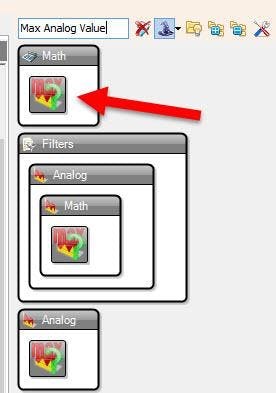
- Add 2X "Max Analog Value" component
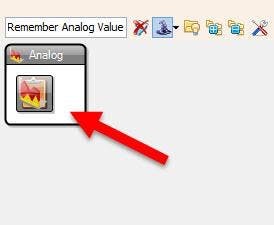
- Add "Remember Analog Value" component
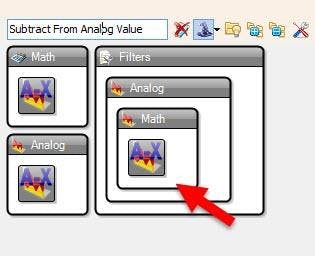
- Add "Subtract From Analog Value" component
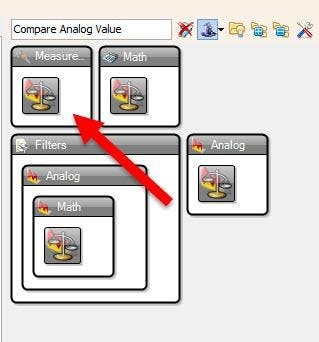
- Add 2X "Compare Analog Value" component
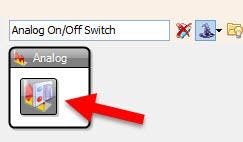
- Add "Analog On/Off Switch" component
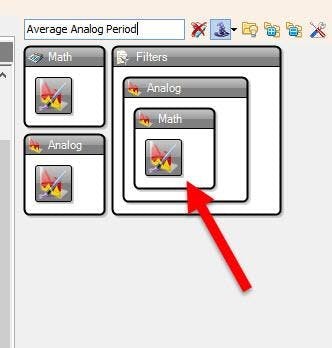
- Add "Average Analog Period" component
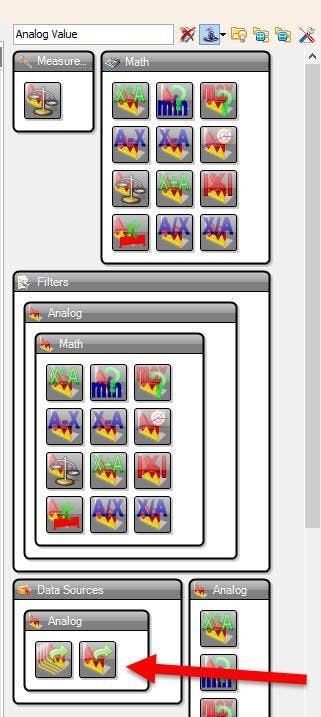
- Add "Analog Value" component
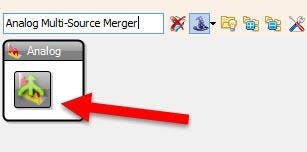
- Add "Analog Multi-Source Merger" component
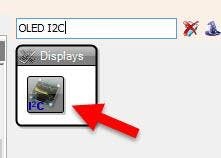
- Add "OLED I2C" component
1 / 6
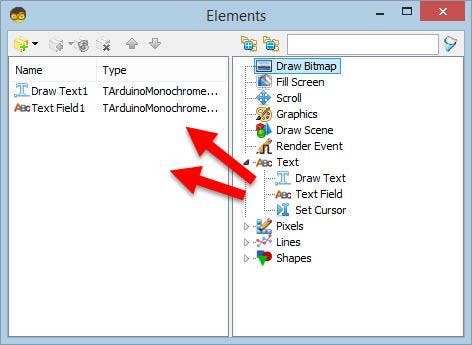


Double Click on the "DisplayOLED1" and in the "Elements" window:
- drag "Draw Text" to the left side and in the properties window set "Size" to 2 and "Text" to HEIGHT
- also drag "Text Field" to the left side and in the properties window set "Size" to 2 and "Y" to 40
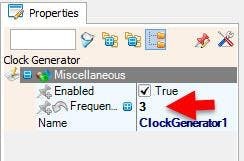
- Select "ClockGenerator1" and in the properties window set "Frequency" to 3
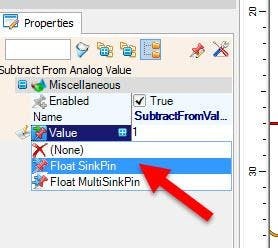
- Select "SubtractFromValue1" and in the properties window select "Value" and click on the Pin Icon and select Float SinkPin
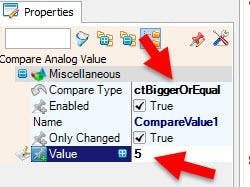
- Select "CompareValue1" and in the properties window set "Compare Type" to ctBiggerOrEqual and "Value" to 5
- Select "CompareValue2" and in the properties window set "Compare Type" to ctSmaller and "Value" to 5
- Select "AveragePeriod1" and in the properties window set "Period (uS)" to 3000
1 / 4
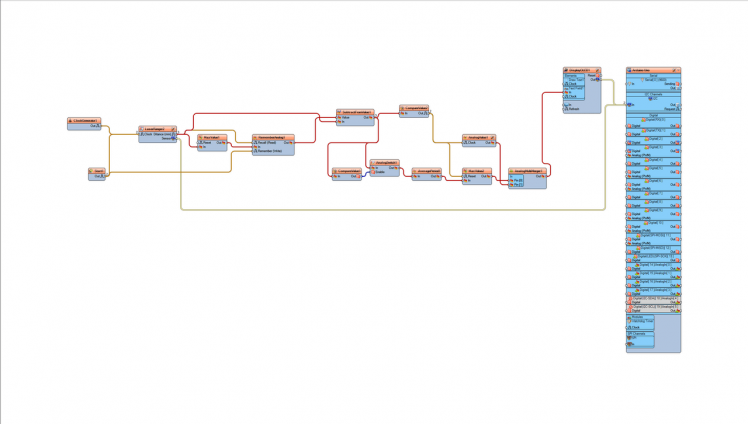

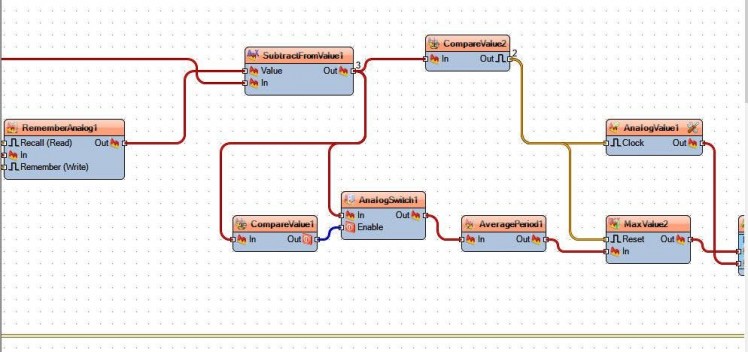
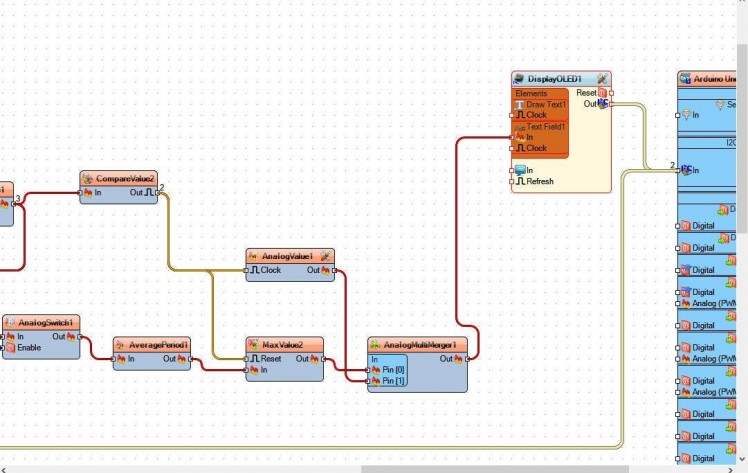
- Connect "Start1" pin [Out] to "LaserRanger1" pin [Clock]
- Connect "ClockGenerator1" Pin [Out] to "LaserRanger1" pin [Clock]
- Connect "Start1" pin [Out] to "RememberAnalog1" pin [Remember]
- Connect "LaserRanger1" pin [Distance] to "RememberAnalog1" pin [Recall]
- Connect "LaserRanger1" pin [Distance] to "SubtractFromValue1" pin [In]
- Connect "LaserRanger1" pin [Distance] to "MaxValue1" pin [In]
- Connect "MaxValue1" pin [Out] to "RememberAnalog1' pin [In]
- Connect "RememberAnalog1" pin [Out] to "SubtractFromValue1" pin [Value]
- Connect "SubtractFromValue1" pin [Out] to "CompareValue1" pin [In]
- Connect "SubtractFromValue1" pin [Out] to "AnalogSwitch1" pin [In]
- Connect "SubtractFromValue1" pin [Out] to "CompareValue2" pin [In]
- Connect "CompareValue1" pin [Out] to "AnalogSwitch1" pin [Enable]
- Connect "AnalogSwitch1" pin [Out] to "AveragePeriod1" pin [In]
- Connect "AveragePeriod1" pin [Out] to "MaxValue2" pin [In]
- Connect "CompareValue2" pin [Out] to "AnalogValue1" pin [Clock]
- Connect "CompareValue2" pin [Out] to "MaxValue2" pin [Reset]
- Connect "MaxValue2" pin [Out] to "AnalogMultiMerger1" pin [0]
- Connect "AnalogValue1" pin [Out] to "AnalogMultiMerger1" pin [1]
- Connect "AnalogMultiMerger1" pin [Out] to "DisplayOLED1" > "Text Field1" pin [In]
- Connect "LaserRanger1" I2C pin "Out" to Arduino Board pin I2C [In]
- Connect "DisplayOLED1" I2C pin "Out" to Arduino Board pin I2C [In]
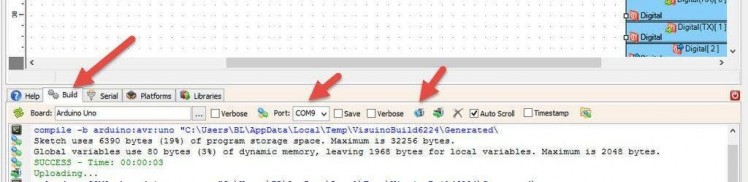
In Visuino, at the bottom click on the "Build" Tab, make sure the correct port is selected, then click on the "Compile/Build and Upload" button.
Step 8: PlayIf you power the Arduino module, the OLED Display will start to show the distance 0, after you put the object under the sensor it will start to show the object height.
Note: when you power the Arduino there should not be any object under the sensor, this will allow the sensor to first measure the full distance to the ground, then you can place the object under the sensor.
Congratulations! You have completed your project with Visuino. Also attached is the Visuino project, that I created for this Tutorial, you can download it and open it in Visuino: https://www.visuino.eu
Schematics, diagrams and documents
Code
Credits
Related products


Leave your feedback...