
Arduino & Nextion Display - Use Slider To Control Led Bright

About the project
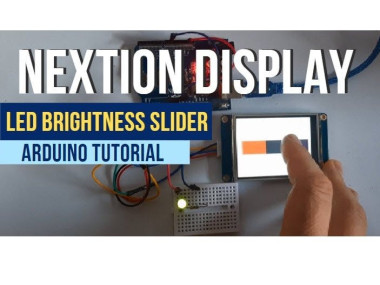
How to control the LED brightness using a Nextion Display with a simple slider.
Project info
Difficulty: Easy
Platforms: Arduino, Itead, Visuino
Estimated time: 1 hour
License: GNU General Public License, version 3 or later (GPL3+)
Items used in this project
Hardware components

Story
In this project we are going to learn how to control the LED brightness using a Nextion Display with a simple slider. Using the slider we are going to increase or decrease PWM Using the same principle you can control a DC motor with a PWM or any other thing that uses the analog signal.
Check my other projects to get more ideas!
Watch the Video!
Step 1: What You Will Need1 / 8


- Arduino UNO (or any other board)
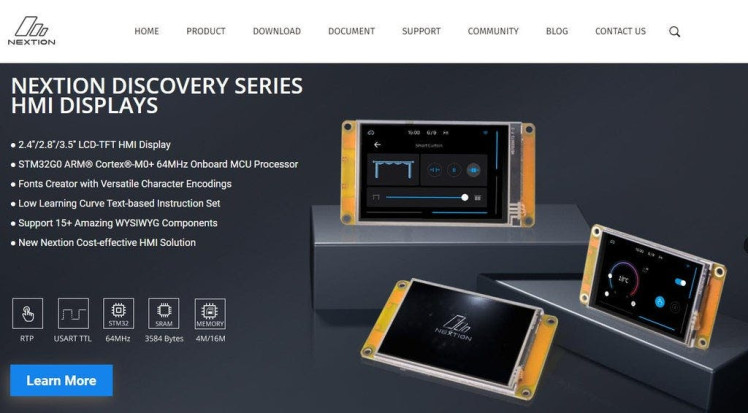
- Nextion Display
- 1X LED
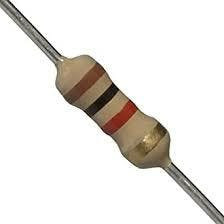
- 1X 1 Kilo ohm resistor
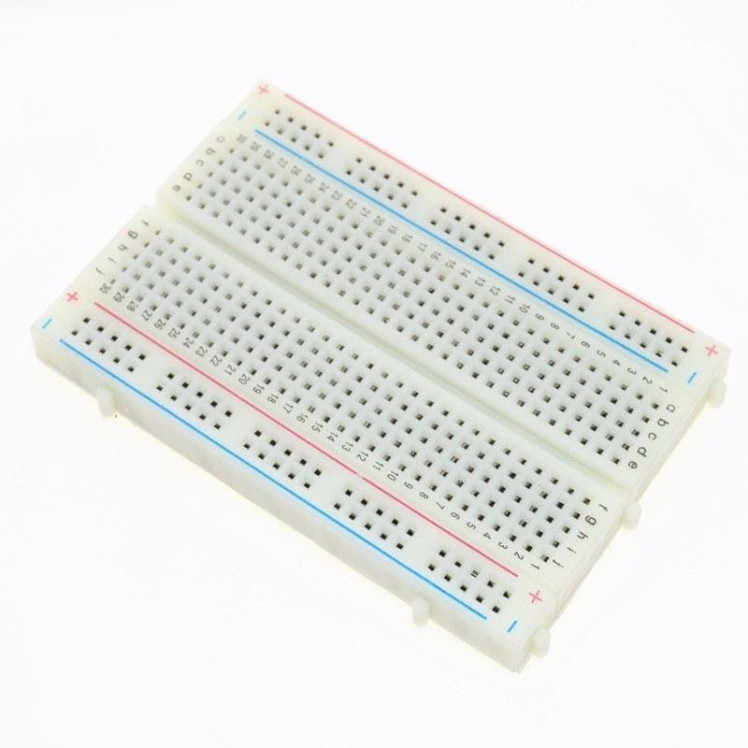
- Breadboard
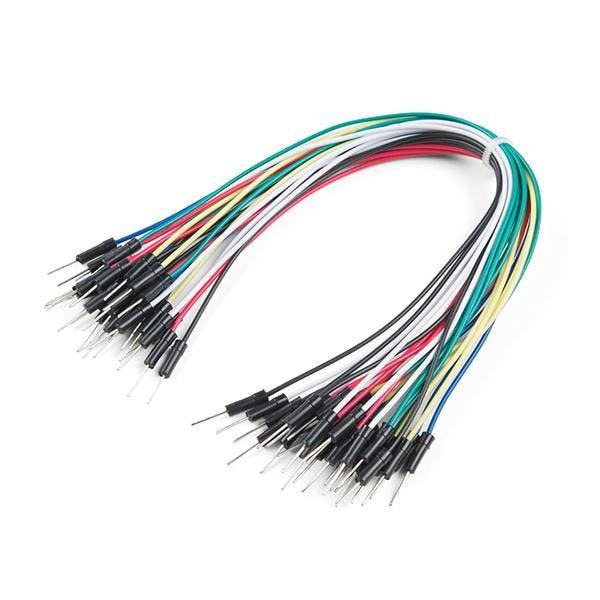
- Jumper wires
- Nextion Editor program: Download Nextion
- Visuino program: Download Visuino

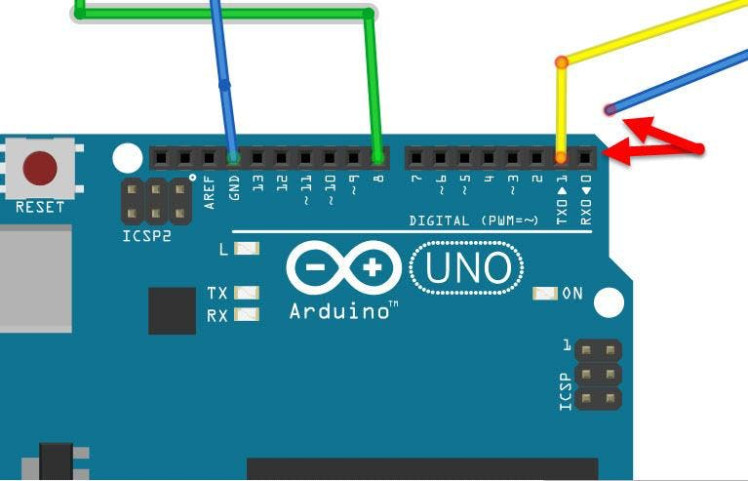
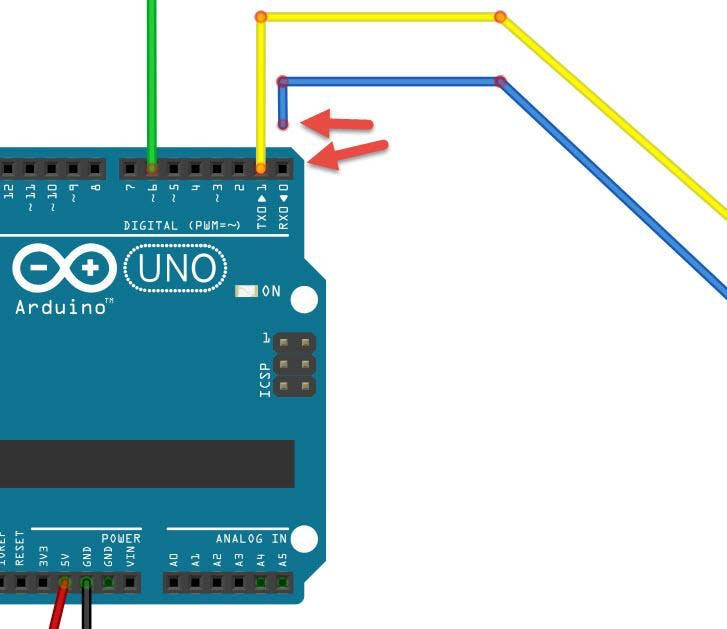
- Connect Nextion Display VCC red wire to Arduino 5V pin
- Connect Nextion Display GND black wire to Arduino GND pin
- Connect Nextion Display Yellow wire (RX) wire to Arduino TX pin
- Connect Nextion Display Blue wire (TX) wire to Arduino RX pin
- Connect LED positive pin to Arduino digital pin 6
- Connect Resistor one end to LED negative pin
- Connect Resistor other end to Arduino GND pin
1 / 7

- Download Nextion Editor and Install it
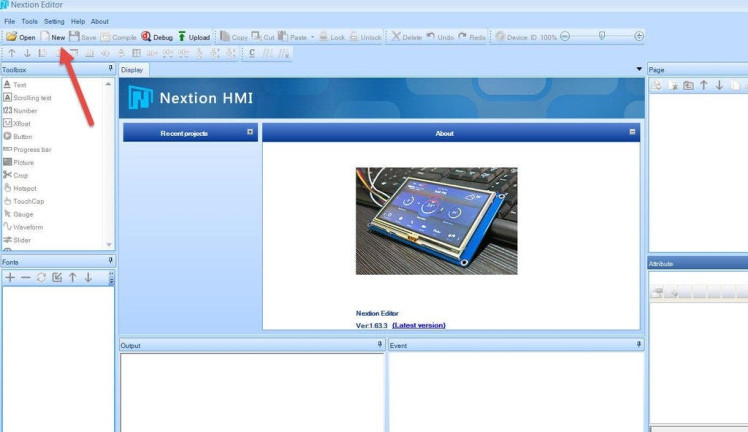
- Start Nextion Editor
- In the Nextion Editor click on the "New" button
- In the Window set the name for the Project like "LEDPWM"
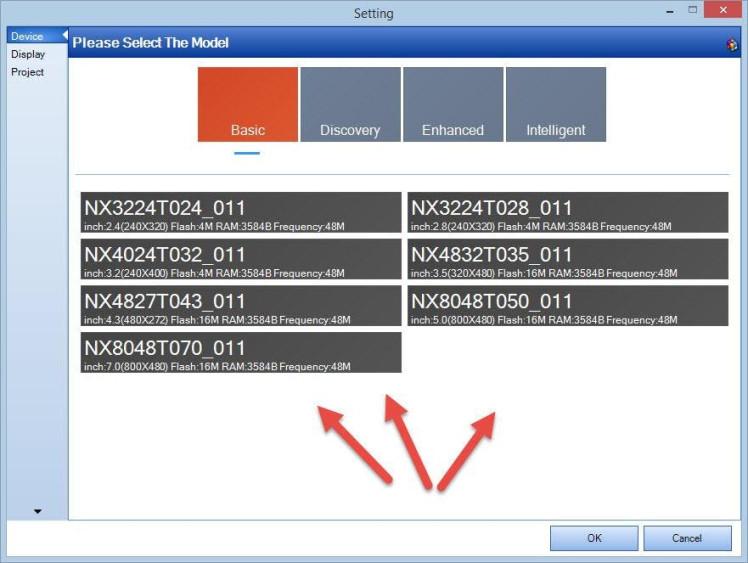
- In the "Setting" window select the Model of your Nextion Display & click "Ok"
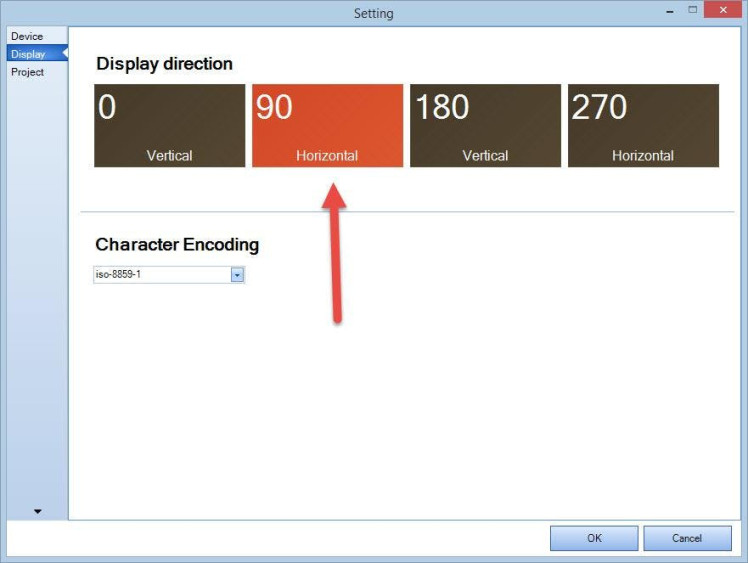
- Select Display Direction 90 & click "Ok"
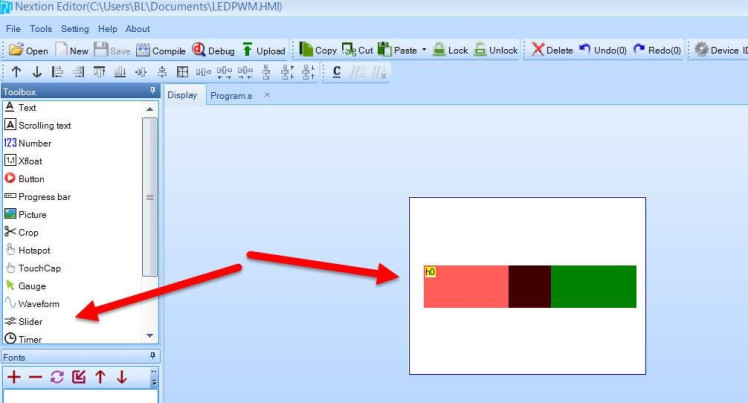
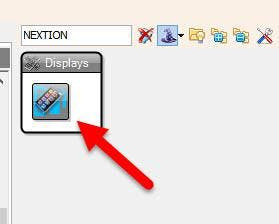
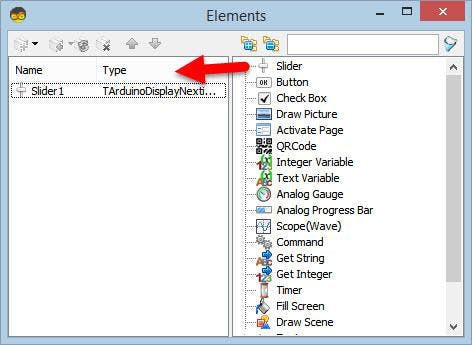
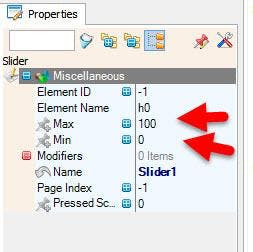
- In the Editor on the left in the "Toolbox" find "Slider" & drag it to the right
- Center & Resize the Slider
- In the "Event" window > Touch Press Event" Check the "Send component ID"
- In the "Event" window > Touch Release Event" Check the "Send component ID"
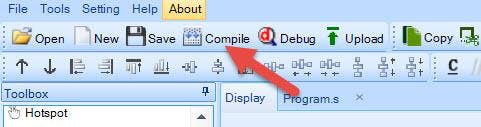
- In the Toolbar click on the "Compile" button
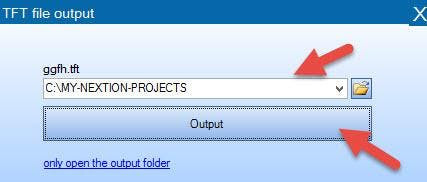
- In the Menu Select "File" > "TFT File Output"
- Set the Output folder & click on the "Output" button
- Save the File to the SD card
- Insert the SD card to your Nextion Display
- Power the Arduino and you will notice that the Nextion Display will start to Update it self
- On the Finish disconnect the power and remove the SD card from the Nextion display
1 / 2
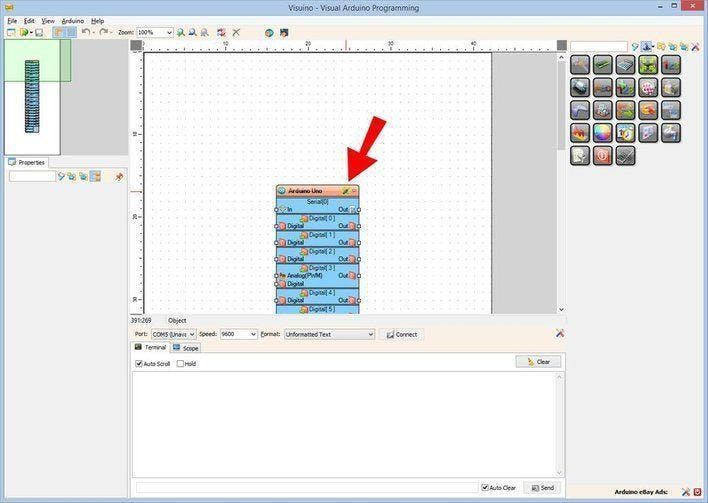
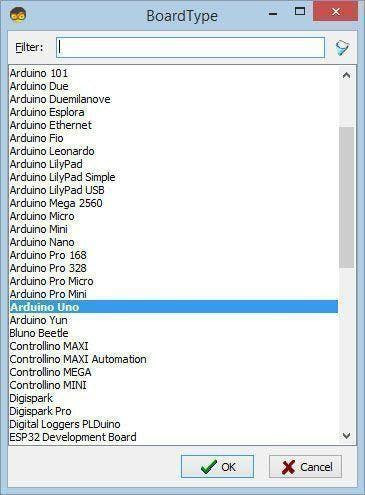
The Visuino: https://www.visuino.eu needs to be installed. Start Visuino as shown in the first picture Click on the "Tools" button on the Arduino component (Picture 1) in Visuino When the dialog appears, select "Arduino UNO" as shown on Picture 2
Step 5: In Visuino Add, Set & Connect Components1 / 6
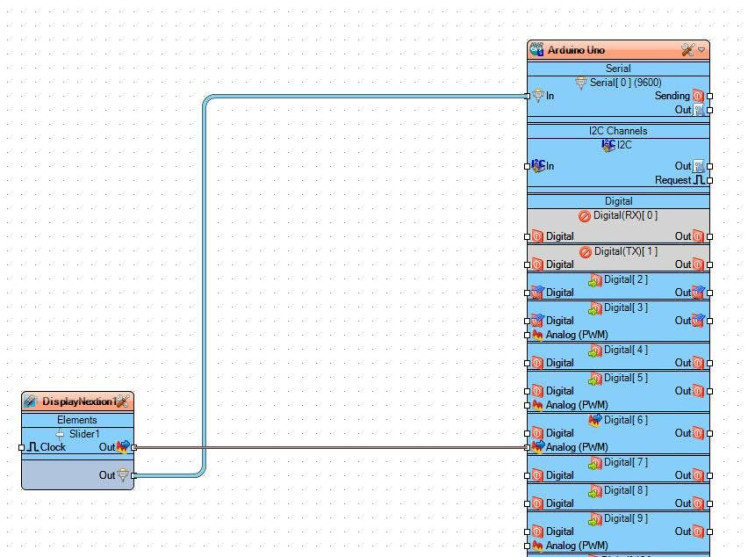

1 / 2
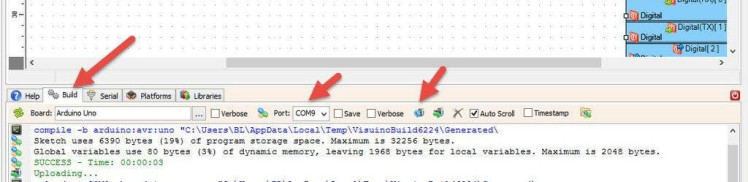
In Visuino, at the bottom click on the "Build" Tab, make sure the correct port is selected, then click on the "Compile/Build and Upload" button.
Step 7: PlayIf you power the Arduino module, the Nextion Display will show the Slider and if you press & move the slider the LED brightness will change.
Congratulations! You have completed your project with Visuino. Also attached is the Visuino project file, that I created for this Tutorial, you can download it and open it in Visuino: https://www.visuino.eu
Schematics, diagrams and documents
Code
Credits
Related products


Leave your feedback...