
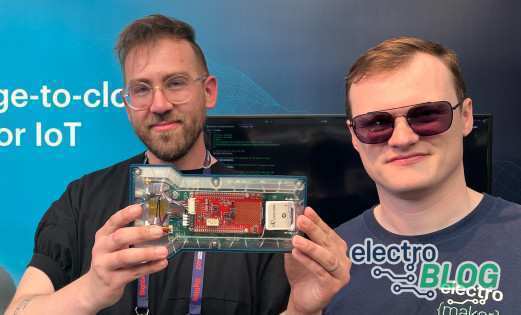
MQTT Anywhere: Super Simple Cellular IoT with u-blox Thingstream
MQTT Anywhere Kit - a new solution for cellular IoT
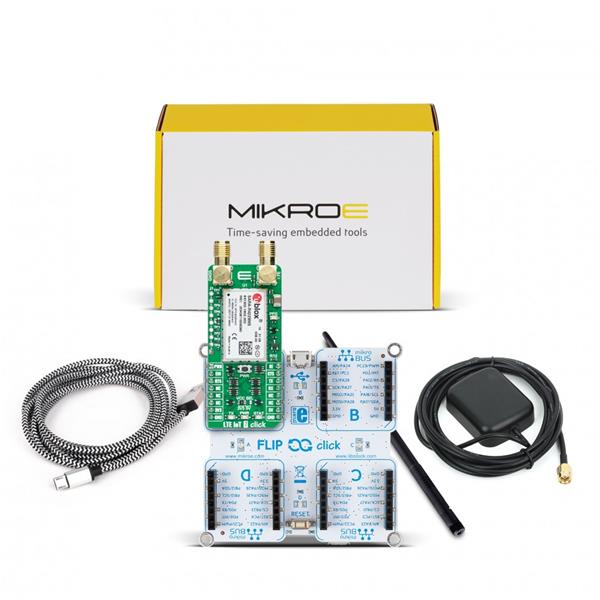
The MQTT Anywhere Kit combines an Arduino-based devboard with 4 Click-board expansion sockets from MikroElektronika, with industry-standard cellular connectivity via a u-blox Click module. The included SIM card provides built-in security and connectivity with u-blox's Thingstream MQTT broker and user-friendly cloud-based data management platform. If that sounds like a lot of elements to understand at once, don't worry. We'll be going over each aspect and what it does today.
What sets the MQTT Anywhere kit aside is that it contains absolutely everything you need to get started with cellular IoT, without having to build everything from the ground up. Thingstream provides communication as a service, taking the burden of worrying about security and infrastructure out of your hands.

While we'll split the hardware and software up in this article for clarity, it's worth noting that they are very much one thing. The kit comes pre-flashed with the Thingstream client SDK demo, which allows the device to connect to the Thingstream global MQTT network and connectivity tools straight out of the box.
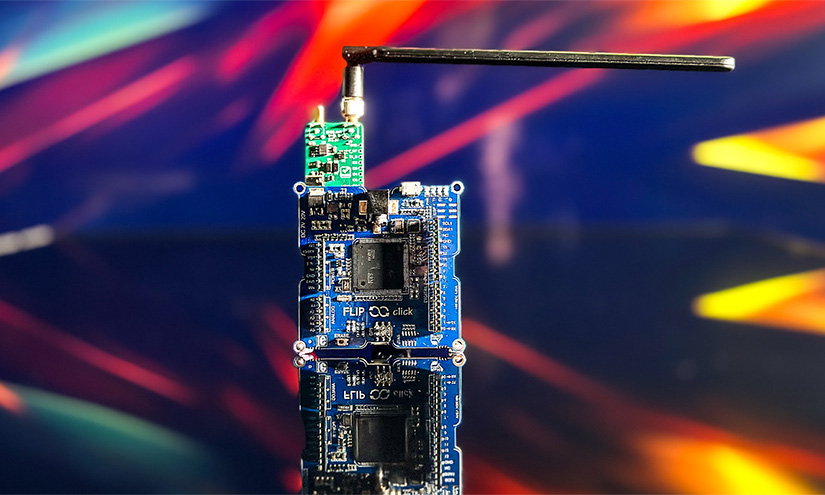
The Hardware: MQTT Anywhere Kit - Flip&Click Convenience
The hardware side of the MQTT Anywhere kit essentially comprises two things:
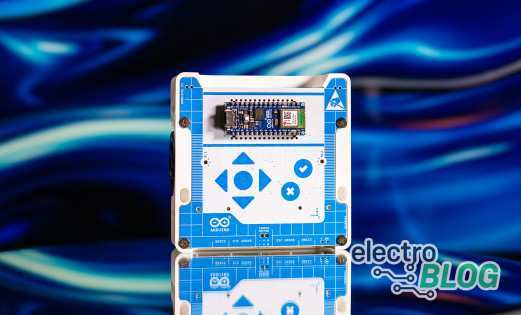
- A Flip&Click SAM3X baseboard, featuring the same 32-bit ARM Cortex M3 Atmel AT91SAM3X8E microcontroller as the Arduino Due, and space for 4 Click boards/
- A Click Board featuring a u-blox cellular IoT module and nano SIM card slot.
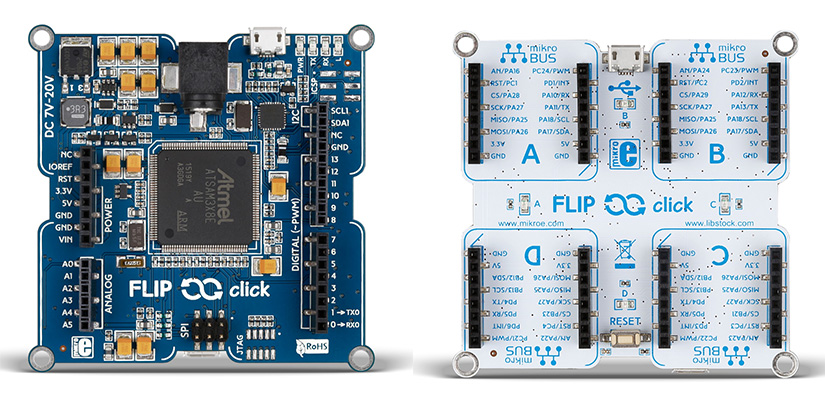
The Flip&Click SAM3X baseboard is essentially a modified Arduino Due, and can be programmed using the Arduino IDE and MicroPython. Alongside the familiar Arduino Uno pin headers on one side, there are 4 Click Board slots on the other, though one will be taken up with the included u-blox module. Alongside the vastly improved I/O options, the Flip&Click SAM3X has a couple of other nice features:
- Reset button
- LED x 4
- mIkroBUS socket x 4
- 12 MHz Crystal oscillator
- 32.768 MHz Crystal oscillator
- SPI header
- Programming USB port
- Host/device USB port
- Signal LEDs
- 7-20V DC connector
- AT91SAM3XBE MCU
- Ardulno UNO pinouts
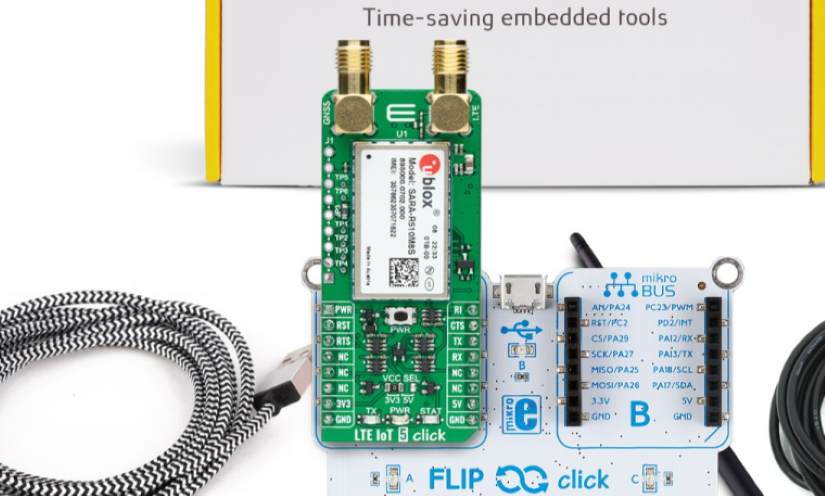
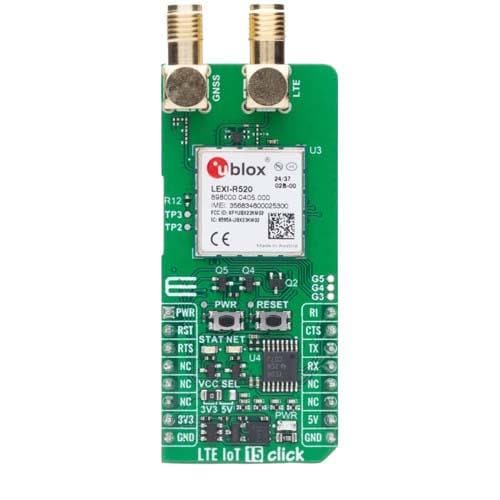
As far as baseboards for prototyping go, there's a lot to like here, but the real star of the show in the MQTT Anywhere kit is the included Click Board. Several Click Board modules are available with the MQTT anywhere kit, but we'll focus on the LTE IoT 5, featuring the SARA-R510M8S, a u-blox chip that supports LTE Cat M1/Cat NB2 bands. The Click board features two places to attach the provided antennas and a slot for a nano SIM card, along with some GPIO pins and a USB port for direct debugging if needed.
MQTT Anywhere Kit - Specifications
| Applications | LTE IoT 5 Click is ideal for stationary IoT applications that send data only at intermittent intervals such as metering and smart city applications |
| On-board modules | SARA-R510M8S - two-in-one package module with the LTE Cat M1/Cat NB2* and integrated GNSS M8 chipset from u-Blox. |
| Key Features | Optimized specifically for IoT applications, international multi-regional coverage in LTE Cat M1 / NB2 radio access technologies, supporting a comprehensive set of 3GPP Rel. 14 features, interface options and an integrated IP stack, over-the-air firmware updates, integrated GNSS M8 chipset |
| Interface | GPIO, UART, USB |
| ClickID | No |
| Compatibility | mikroBUS |
| Click board size | L (57.15 x 25.4 mm) |
| Input Voltage | 3.3V or 5V |
In short, add the included SIM card, connect the u-blox click board, and get connected! In terms of cost, cellular connectivity is bundled with the messaging system, so you only pay based on the number of messages your system uses.

This scalability makes it pretty cheap to get started, but very easy to scale as your project grows. As this timed excerpt from our Electromaker Educator video shows, getting the kit up and running takes no time at all:
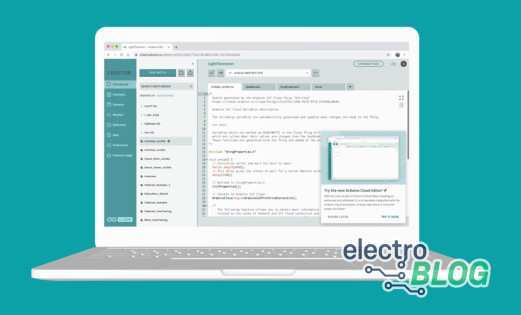
The Software: Thingstream - Browser-Based Control
With the hardware covered, let's look at the software side of things. Thingstream is a cloud-based platform that serves as a control center for using IoT devices. It handles tasks like connecting devices securely, managing communication between them, and making it easy for different systems to work together. It also supports u-blox location-tracking hardware and a whole aspect of Thingstream we won't be covering today is their Location as a Service features, though everything we talk about today applies to them too!

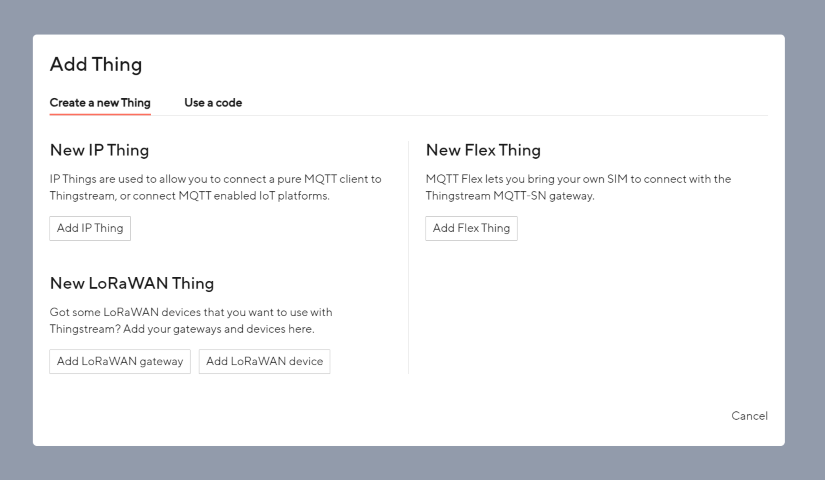
The system works via MQTT, which is a whole topic of its own but in short, it can act as a broker that collects data from remote sensors, and provides that data to other devices that may need it. The Thingstream web GUI allows you to register your MQTT Anywhere kit and any other devices (or Things as Thingstream calls them) you want to connect to the cloud. Connecting your MQTT Anywhere kit is especially simple, as you can enter the included activation code into the Add Thing dialog box, and see all MQTT as it happens, thanks to the MQTT Listener window.
Programming the hardware is made simple thanks to the Arduino Due similarities. Thingstream offers an Arduino library for connecting to the service, with a variety of examples to show you how to get started.
The Power of Flows
Using Thingstream as an MQTT broker is only half the story. One powerful feature of the platform is Flows: a node-based visual flow chart that gives you a huge amount of control over what happens when new data is published to a topic.

Users of block-based programming languages should feel at home with Flows. Everything here is designed to either be simple - avoiding confusion and bloat, or extendible via JavaScript nodes that can act however you would like them to.
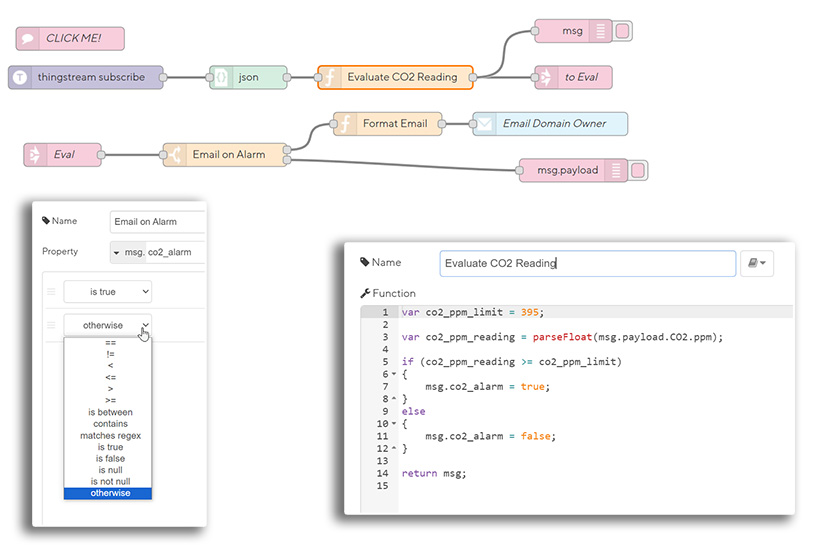
This example Flow for an Air Quality sensor demonstrates it perfectly. The Flow receives the Air Quality Sensor information it is subscribed to and passes it through the JSON parser, turning it into a Javascript object. The code superimposed onto the image is from the Evaluate CO2 Reading node, which evaluates if the CO2 level is too high and sets an alarm flag based on the result. This gets passed through the Eval linker (which lets you link Flows wirelessly, saving on spaghetti) and to the Email on Alarm switch. If the alarm is triggered, the relevant data is packaged via the Format Email Javascript node and passed on to the Email node to notify the user. At each stage, the message is also passed to a debug node, allowing you to see what happens during the Flow in real-time.
Flows allow for a wide range of actions and have built-in support for Amazon Web Services (AWS), Azure, IFTTT, and more. The ability to set up complex logic and even create custom script blocks makes setup of multiple devices modular and accessible to a wider range of users.
MQTT Anywhere, Anyhow
In this article, we've covered the very basics of what the MQTT Anywhere kit provides, from the familiar Arduino-based hardware to simple solderless cellular IoT Click Boards and software designed to get everything up and running as easily as possible. Everything from the pricing of the service to the powerful Flows system makes the barrier to entry as low as possible. To get started with MQTT Anywhere and Thingstream, get your MQTT Anywhere kit, and start your IoT device network today!

Ian Buckley is a writer, musician, and perpetual tinkerer. Commonly found surrounded by hobby electrical components, he's also a keen programmer and likes to build crazy-sounding instruments with microcontrollers. In addition to Electromaker, Ian writes over at MakeUseOf and has bylines at the likes of Online Tech Tips as well as Help Desk Geek.


Leave your feedback...