
Creality Ender 3 Pro Review: A High-quality, Budget 3D Printer
The Creality Ender3Pro was well packaged - came in semi-kit form that took 90 minutes to bolt together and plug in the various cables. It came with a good selection of tools. There were 12-step instructions which as with all flat pack furniture was 95% accurate with only a couple of steps requiring some extra thought to work out the correct bolt size and orientation.
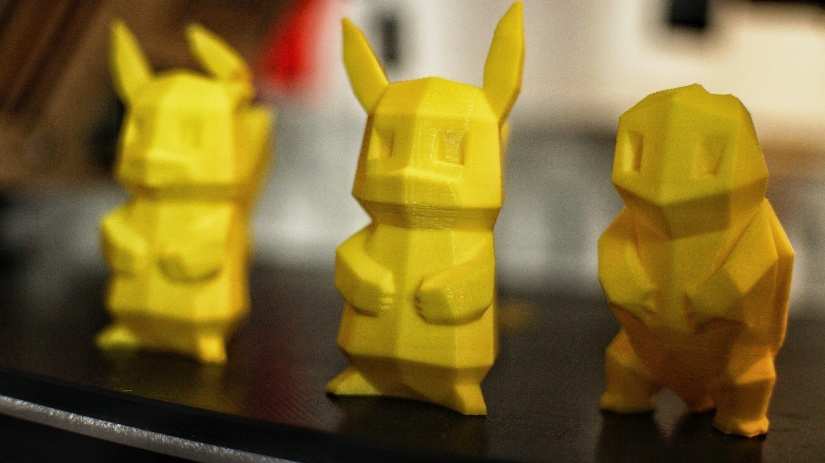
A quick Google search resulted in using my familiar Slic3er Prusa Edition. With the default settings and the supplied white filament, after leveling the Ender3Pro’s print bed, had my first print going within minutes, which was very successful and hugely satisfying.
Pros:
- Flat packed and not too difficult to assemble
- Print quality comparable to more expensive printers
- Great print area and sturdy
- Huge community with lots of printable upgrades
- Cheap as chips
Cons:
- Constant maintenance - belts need tightening and it attracts dust
- Leveling the bed continuously - before every print
- Changing filament is tough and snags easily
- Magnetic bed misaligns and rough print finish
- Nozzle clogs and holds onto residues of previous colours
- MircoSD(TF) card small to handle
Ender3Pro Review Verdict
The ender3pro is a budget 3d printer that can be found for around $200. It is a superb value printer that will allow you to get models printed that match the quality of a printer many times its cost.
However there are some drawbacks, after all the old adage that you get what you pay for comes true here, the bed leveling, the noise, the filament loading, the clunky menu, a slightly warped bed, the broken selector knob, the messy cables, fiddling, twiddling, spending what seems like hours on my knees and did I mention the noise?
With all of these (fairly normal) issues, at this price, I still love it.
Check prices online:


Features:
The Ender 3 Pro is an upgrade to the already hugely popular Ender 3, so what is the difference? When comparing the Ender 3 Pro vs Ender 3, you’ll notice a few differences:
1. Better Extruder
Creality updated the extruder to the MK10 version. This will “greatly reduce the risk of clogging and uneven extrusion”.
2. Improved stability, frame and bearings
Larger rubber feet help to reduce noise, although it still is loud. It comes with a more sturdy, 40×40 aluminium extrusion for the Y-axis resulting in greater stability. Better bearings give more stiffness and reduce friction.
3. Flexible Magnetic Bed
It now includes a flexible magnetic print bed. Although the rough surface helps the first layer stick, it doesn’t give a good finish if you use it that way. The magnets don’t appear to attract it to the centre and it can rub on the frame edges, but the flexibility does enable prints to be taken off easily.
The Ender 3 Pro is Therefore Slightly More Expensive but is it Worth it?
The regular Ender 3 is the one to choose if you intend on updating all the parts to get yourself a superb printer for the price, but with modifications.
The Ender 3 Pro is for you if you want great quality prints out of the box, with a little tinkering and ‘before every print’ bed levelling and don’t forget to pre-heat the bed and nozzle. However, if debating between the Ender 3 Pro and Ender 5, the Creality Ender 5 boasts better performance, easy assembly, and high-quality print jobs all in a 3D printer under $500.
Specifications:
- Modeling Technology: FDM (Fused Deposition Modeling)
- Power Supply: Mean Well UL certified power supply
- Printing Size: 220*220*250mm / 8.6x8.6x9.8 inches
- Machine Size: 440*410*465mm / 17.3x16.1x18.3 inches
- Package weight: 8.6kg / 19 lbs
- Max Traveling Speed: 180mm/s
- Filament: 1.75mm ABS/PLA,WOOD,FLEXIBLE,Carbon firber,PA....
- Input: AC 100-265V 50-60Hz
- Output: DC 24V 15A 360W
- Layer Thickness: 0.1-0.4mm
- Nozzle diameter: 0.4mm
- Precision: ±0.1mm
- File Format: OBJ, G-Code, STL(in CURA converted to G-Code)
- Working Mode: USB cable (not included) online compatible or micro-SD (offline)
- Max Nozzle Temperature: 255℃
- Max Hotbed Temperature: 110℃
Autodesk x Kickstarter FDM 3D Printer Assessment - (what's this?)
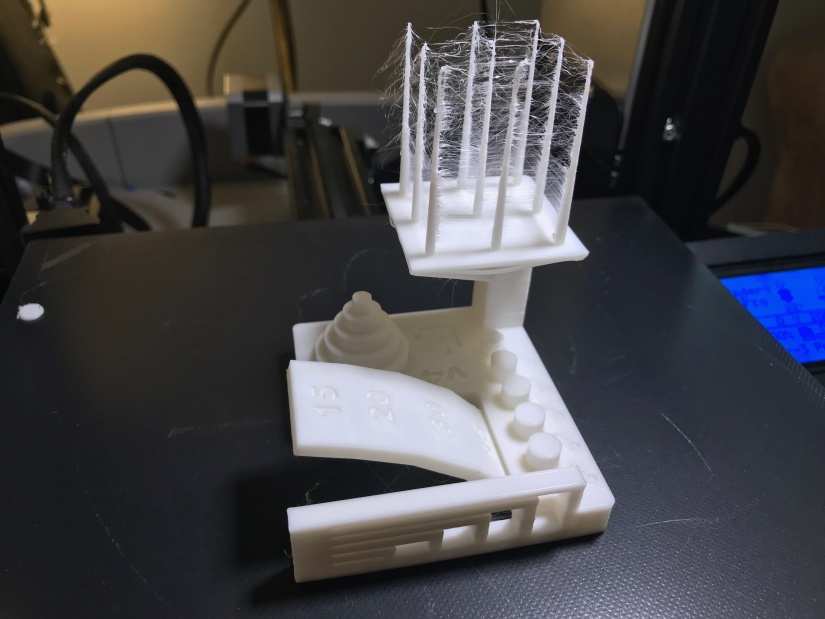
- Dimensional Accuracy: 5 of 5 points
- Fine Flow Control: 2.5 of 5 points (the spikes were printed to their full height, but we had stringing at the top)
- Fine Negative Features: 5 of 5 points (all pins were removable by hand)
- Overhangs: 3 of 5 points ( 20° and 15° overhangs showed some minor irregularities)
- Bridging: 4 of 5 points
- XY Resonance: 2.5 of 2.5 points (no ringing detectable past 3rd mark)
- Z-Axis Alignment: 0 of 2.5 points (registration effect visible)
- Overall, the printer scored a total of 22.5 out of 30 points on the Autodesk x Kickstarter FDM 3D Printer Assessment
Assessment Score 22.5
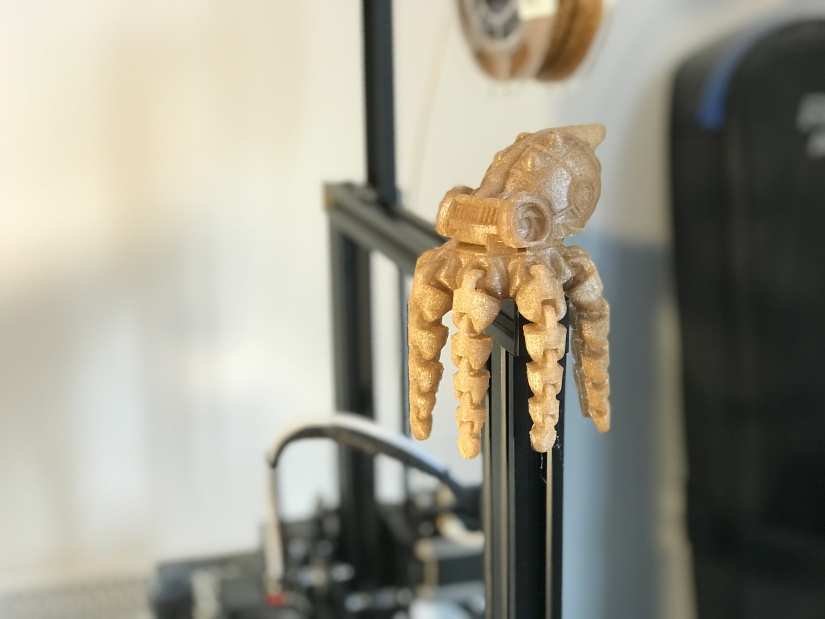
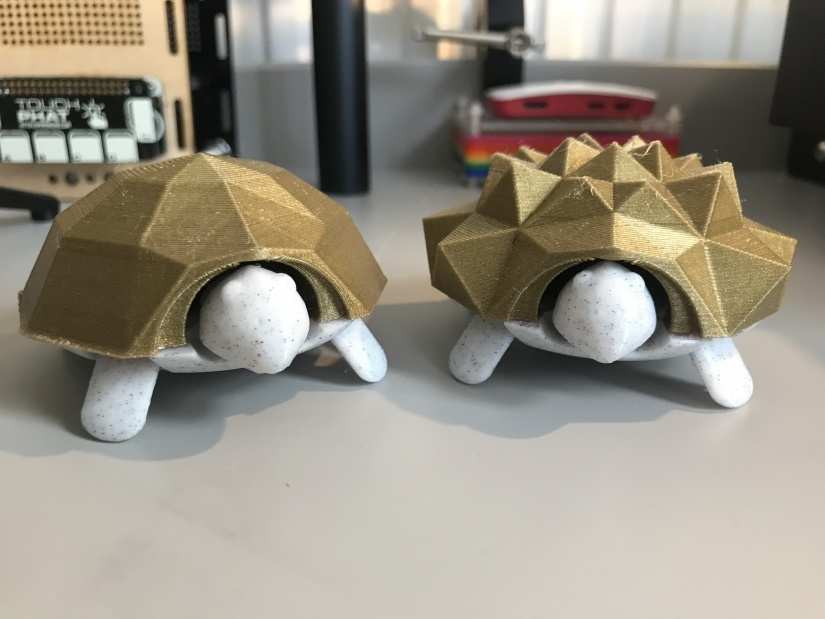
Electromaker Fun Prints
The Squishy Turtle - A great little print that has some fine detail and can use multiple colours of filament. Here I used the Marble and Bronze PLA from Amolen. A filament made in China available in 250-gram reels. The Ender3Pro dealt with the prints and filament very well, with no problems.
Recommended Accessories That You Can Print
I printed a fan guard to reduce the noise, it didn’t. I printed a filament guide. It snapped the first time the filament got tangled, I haven't replaced it. I printed a USB microSD card reader holder that holds the supplied USB card reader next to the control panel, this was well received as it kept it in a place I could find it - however once I started using Octoprint this became null and void. The great thing about the pro is that it works out of the box. Still, using OctoPrint affords the ability to use a slew of different plugins.
Creality Ender3Pro Review: Final Thoughts
The supplied flexible bed is good, but I found the surface it attaches to isn’t perfectly flat -- to confirm the difference this makes to successful prints I upgraded it to a glass print bed, it did make a huge difference and one I would recommend. On that note, you’ll find tons of Ender3Pro upgrades available. The Ender3Pro glass bed afforded a much higher quality print area than the default bed.
Because of the moving bed on the X plane, I suspect this vibrates the bed from level every print, so get used to pre-heating and leveling the bed before every print. The setup time before every print is therefore 10 to 15 minutes.
For someone who loves to build from a kit, tinker, and configure, level and fine-tune, this printer is great fun and can deliver results that can’t be told apart from $1000 printers. It’s easily one of the best budget 3D printers on the market, and moreover, an option that offers a premium experience. I'd also recommend the Elegoo Neptune 3D printer. You could get five of these printers and do a lot of high-quality printing if you have the time to devote to it. If you are after an easy ride, a print and forget experience then you need to look elsewhere.
Check prices online:
Looking to learn more about 3D printing? Check out our beginner's guide to getting started with 3D printing!


Alex is a skilled journalist specializing in electronics and technology, with a passion for exploring emerging trends and innovations. With years of experience, he brings insightful analysis and industry knowledge, covering the latest developments in consumer electronics, AI, and tech advancements.


Leave your feedback...