
The Plotti Botti: An Internet Controlled Drawing Robot!

Made by 8BitsAndAByte / Art / Robotics / IoT
About the project
The Plotti Botti is an XY plotter attached to a whiteboard, which can be controlled by anyone via LetsRobot. tv.
Project info
Difficulty: Difficult
Platforms: Adafruit, Raspberry Pi
Estimated time: 1 week
License: Creative Commons Attribution-ShareAlike CC BY-SA version 4.0 or later (CC BY-SA 4+)
Items used in this project
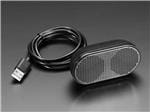
Hardware components


Hand tools and fabrication machines
Story
Overview
Below a quick overview of the content.
- Introduction and showcase video
- 3D printed parts
- Soldering
- Stepper motors
- Letsrobot.tv
- Gondola and toothed belt
- Attach it all
- Enjoy!
- Tutorials
Introduction and showcase video
The Plotti Botti is an XY plotter attached to a whiteboard, which can be controlled by anyone via LetsRobot.tv.
When it's online, you can find the Plotti Botti here.
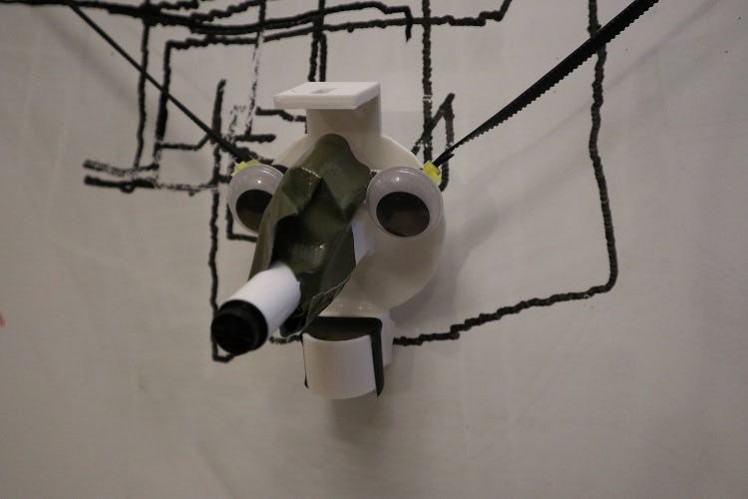
It was made using stepper motors with pulleys, a toothed belt, a Raspberry Pi, the Adafruit motorhat, a PiCamera, a number of 3D printed parts and googly eyes.
3D printed parts
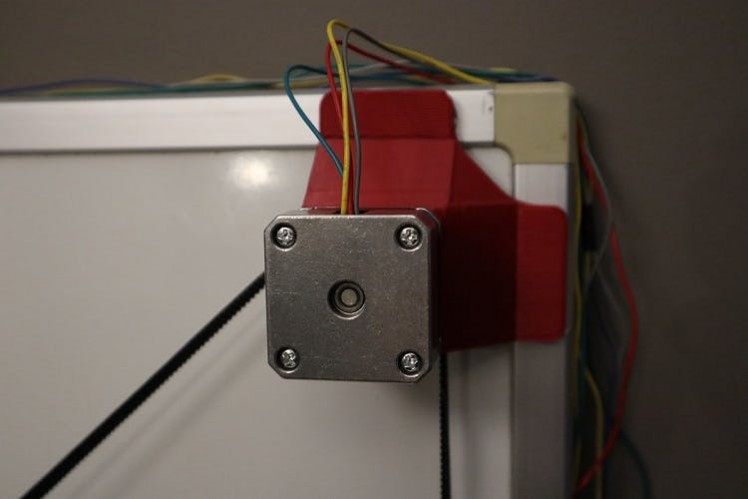
First of all, 3D print the brackets to hold up the stepper motors in the corners of the whiteboard, and the gondola that will hold the whiteboard marker.
If you don't have access to a 3D printer, the Instructables on how to make the XY Plotter for Arduino has some alternatives.

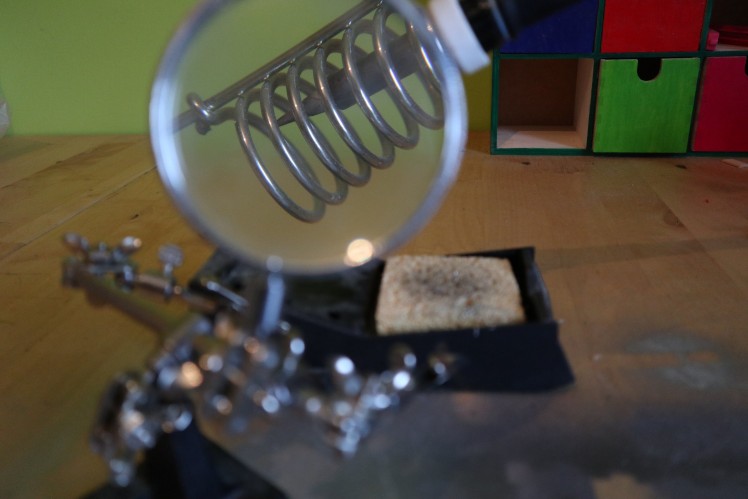
Soldering
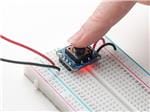
Next up is some soldering! Solder the Adafruit motor hat as explained in their tutorial.
We also need to make sure the wires of the stepper motors are long enough to reach the Raspberry Pi from the corners of the whiteboard. If they're not long enough, solder on some longer wires.
Stepper motors
Now it's time to set up the stepper motors and test them, by following the rest of the Adafruit motor hat tutorial.
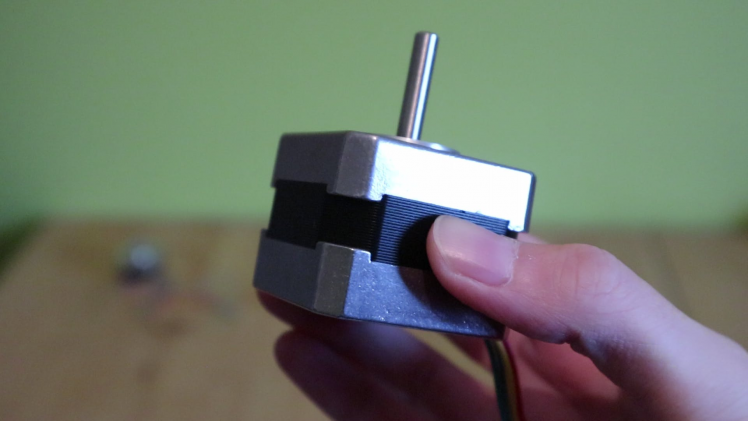
To power the motor hat and the stepper motors, we're using one of the power adaptors recommended in the tutorial, as the XY plotter will be stationary.
When the stepper motors are working, attach the pulleys to the end of the stepper motors, as seen in the Instructable.
Letsrobot.tv
Create and connect your robot to LetsRobot.tv following their instructions.

This is all very straightforward, except for installing FFMPEG, as this didn't work. The fix that worked for us can be found here on Hackster.
After the initial setup, adjust the code in controller.py to fit the needs of your robot.
Gondola and toothed belt
Attach the toothed belt to the gondola and the weights, as demonstrated in the Intructable.
Attach it all
Heat up the hot glue gun and start by attaching the stepper motors to the 3D printed brackets. When these are cooled, glue them on to the whiteboard. After several tests, we've discovered it's best to lay the whiteboard flat when gluing, and to wait until the glue has fully cooled before putting it up again.
Slide the toothed belt under and over the pulleys, to complete the XY Plotter.
Arrange the PiCamera in a way you can see the full whiteboard when controlling it via LetsRobot.tv. We attached our PiCamera to a standing lamp.
Enjoy!
Plug it in and enjoy other people controlling your robot from the comfort of their own home. It's magical!
Tutorials
To create the Plotti Botti, we followed these tutorials:
XY Plotter Drawing Robot Arduino Polagraph on Instructables
Stepper Motor Hat for Raspberry Pi on the Adafruit website
Connect a robot to LetsRobot.tv via LetsRobot.tv
These are the 3D printed parts we used:
Credits
8BitsAndAByte
We’re Dane & Nicole, two makers that create tremendously terrible tech, which we happily share with you on our channel! https://www.youtube.com/c/8bitsandabyte
Related products


Leave your feedback...