
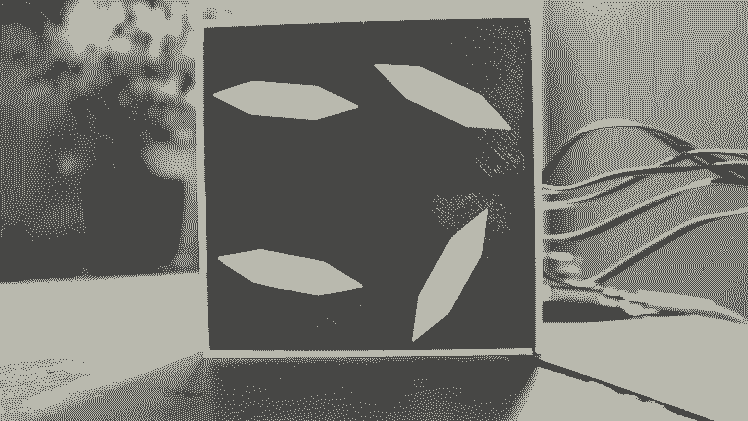
The Mesmerizer

Made by 8BitsAndAByte / 3D Printing / Art / Displays / Robotics
About the project
A project that's nice to look at, nothing more, nothing less.
Project info
Items used in this project
Hardware components


Story
Project Video
3D Printing
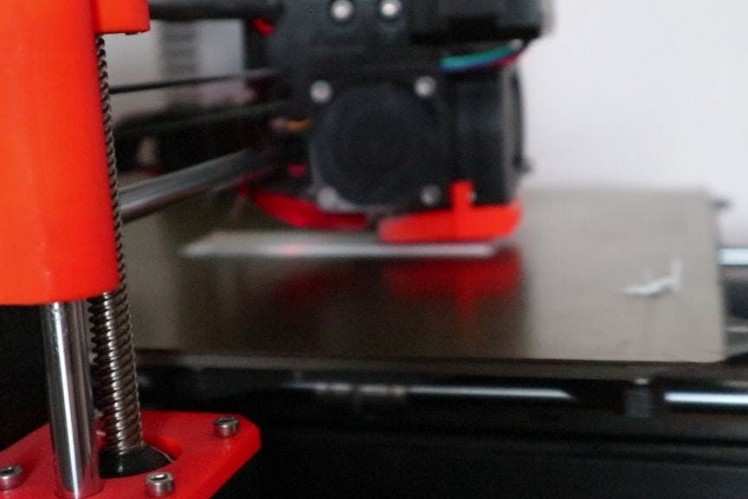
We start off with quite some 3D printing. You can use any filament and colour you like, we chose some white and black PETG.
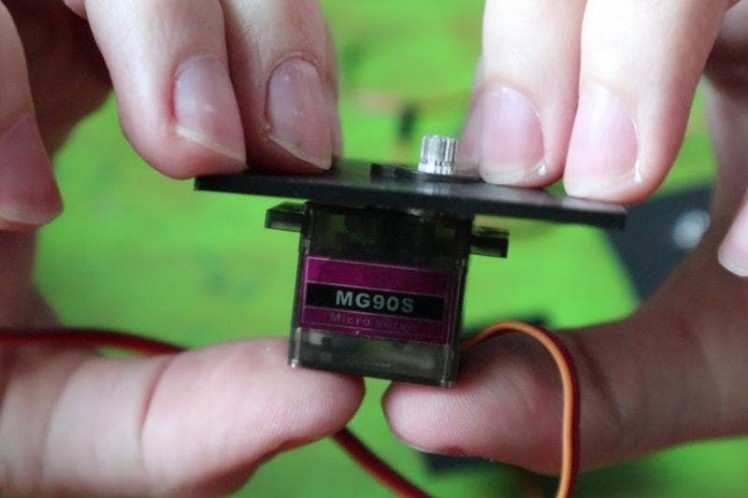
The first things to print are four little plates to attach to the servo's, don't worry we will go into more detail in the next step.
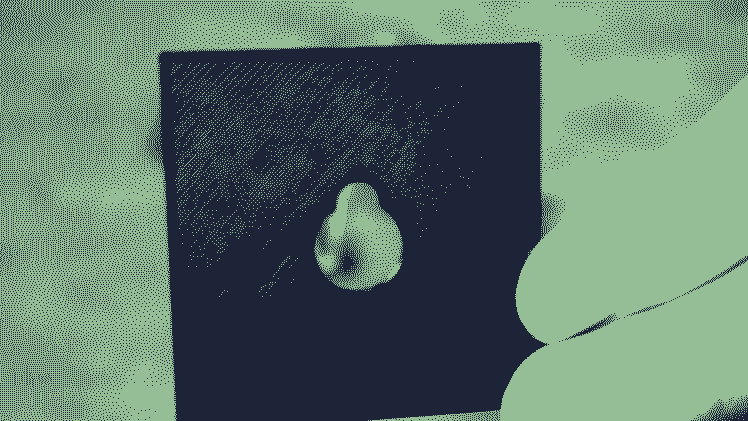
We also need a base plate with four holes, each little servo will click nicely into them.
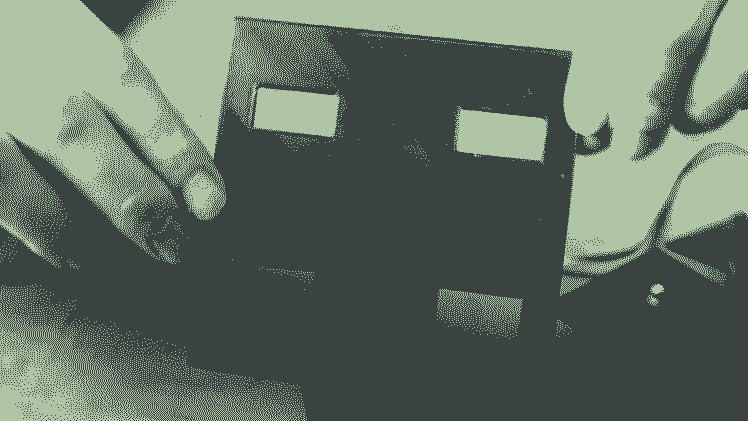
Next are four side plates, completing the box construction.

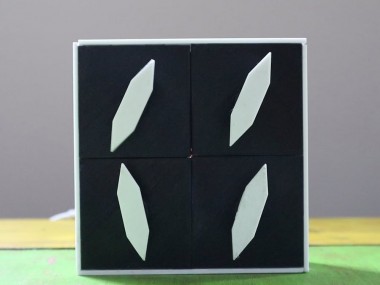
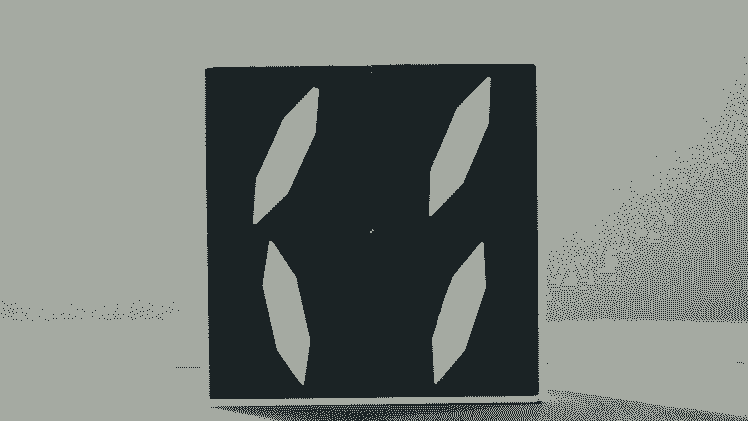
Last but not least we print some decorative arrows to put on top of he servos.
All model files are included.
Assembling
With all that printing done, we can move on to the assembling.
First things first, we can click the servo plate on each servo, if all went well it's a snug fit.

After which we drill a hole in the bottom plate (forgot to add it to the model), and pull through the wires.

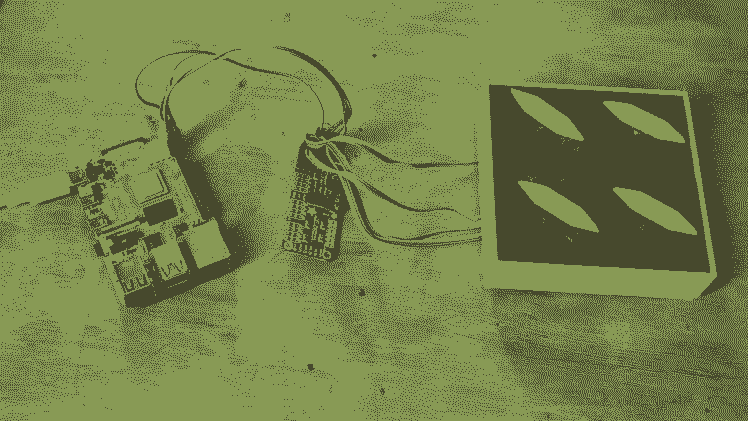
Then we can click each servo into the bottom plate, the result will be a nice looking box, with open sides.

Now for some gluing, use the servo hubs and glue an arrow on each of them, see the picture for the desired result. After the arrows are attached, you can pop the hubs on the servos.
All that's left to do is glue on the sides and the assembling step is done!
Electronics and Code
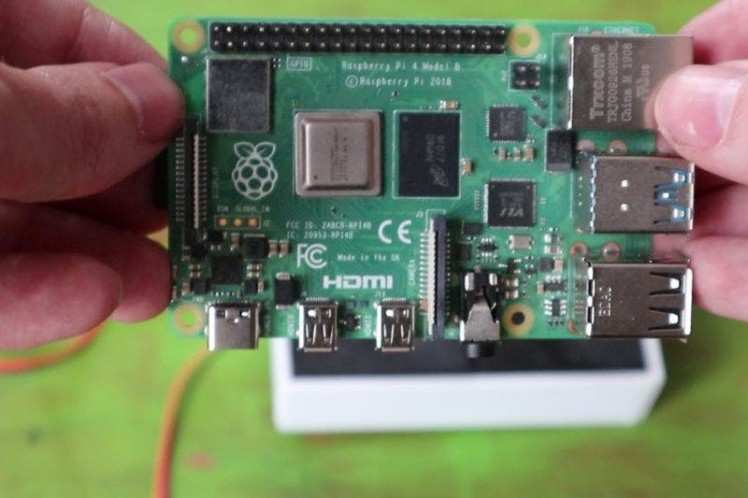
For the electronic side of things were are using a Raspberry Pi 4, but any Pi will do.

Because we want to control four servos we need a little help, an Adafruit Servo Driver will do nicely.
They have a great tutorial on setting up, wiring and using the chip.
With the hardware done, the code is next.
The code itself is attached, here's an overview of its workings:
- Set up the servo driver and initiate the connected servos
- Add each servo to our list of servos
- Loop over this list and set the starting position
- For eternity keep looping over the servos
- Based on chance and their current position, move them either left or right.
Feel free to play with the position settings and sleep!
Result!

And that's it!
The standard setting gives it a slightly eerie feeling, but mesmerizing none the less!
Now if you don't mind, we have stuff to stare at....
CAD, enclosures and custom parts
Code
Credits
8BitsAndAByte
We’re Dane & Nicole, two makers that create tremendously terrible tech, which we happily share with you on our channel! https://www.youtube.com/c/8bitsandabyte
Related products


Leave your feedback...