
How To Build A Smart Door

Made by NotEnoughTech / Home Automation / Security / Sensors / Voice / IoT
About the project
A door, just smarter. Retrofit "smarts" into the traditional entrance and never leave your door unlocked again!
Project info
Items used in this project


Story
Smart locks are expensive and I don’t think I’m ready to make the jump just yet (my wife isn’t ready, therefore I’m not ready). What’s the next best thing when you as forgetful as me? A smart door that tells you, if you left the door open or unlocked! This can be retrofitted to most of the doors and will cost you less than $20! I’m sold! She is sold on it too… are you?
Oh no, I left my smart door open!
What is the smart door capable of? Don’t panic, it’s not “connected” to the internet and it can’t be hacked. Right now my smart door has a couple of tricks and it’s capable of:
- notifies when left unlocked (Android, Alexa, Google Home)
- notifies when left open for a prolonged time (Android, Alexa, Google Home)
- Alexa & Google Assistant integration (query door state)
- bedtime reminders if the door is unlocked
- Geofence based notification (Android + Tasker)
It’s a smart door on a budget, so here it the shopping list for you. To retrofit the door you will need the following:
- Tuya Door Sensor x 2 (AliExpress,Banggood,Gearbest,AmazonUK,AmazonUS)
- Neodymium magnet x 1 (AliExpress)
If you are new to Zigbee, you will need a Zigbee USB stick. At the moment, it’s best to get one via ITEAD store which comes flashed and ready to use – CC2531 Zigbee USB for $3.99.
Keeping the state of the door (open|close) is a kid’s play. Hook up a door/window sensor of your choice and have a simple monitor. Some people call it: burglar alarms. The concept is older than me. I don’t have to explain that part.
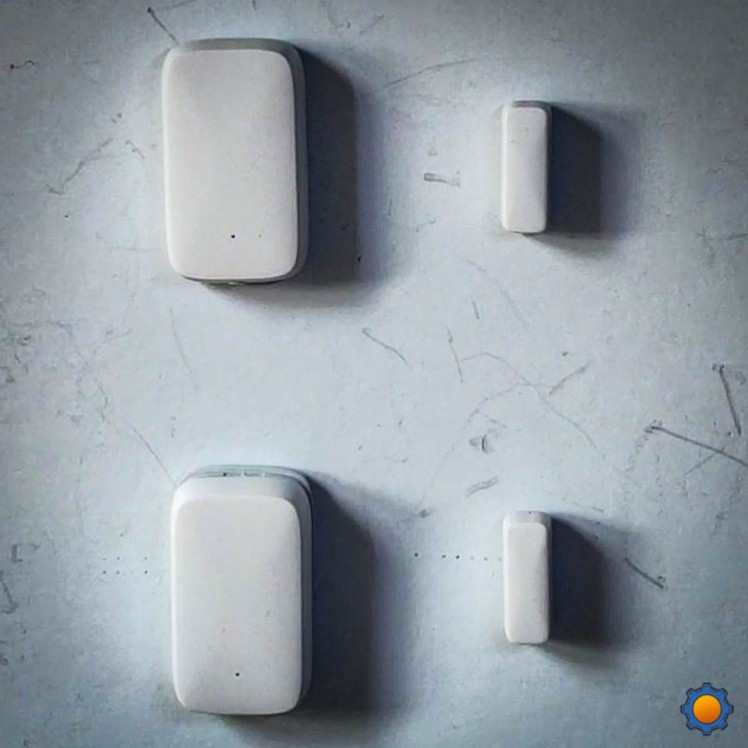
The real fun starts when you want to detect if the door is locked. Granted, this may not work for all lock types, but if you are lucky, you get to retrofit the smart door system into your traditional entry. Some time ago I got my hands on a Zigbee Kit from Benexmart (review). Apart from the hub, there was a very responsive window/door sensor. A very small sensor. One that could fit inside… wait a minute!
I’m not a locksmith, but I changed a couple of locks in my lifetime. Enough to notice all that wasted space underneath the lock plate. I quickly put these things together in my head and ordered another Zigbee Sensor. I will need two of them for more precise reporting.
The right sensor
The senor I picked wasn’t supported natively by Zigbee2MQTT so I had to manually update the device list. If you use Benexmart sensors like me, you can use the template below. Open the device list sudo nano /opt/zigbee2mqtt/node_modules/zigbee-herdsman-converters/devices.js and add the new door sensor type.
{ zigbeeModel: ['RH3001'], model: 'RH3001', vendor: 'Tuya', description: 'Magnetic door & window contact sensor', supports: 'contact', fromZigbee: [fz.ias_contact_alarm_1, fz.battery_percentage_remaining], toZigbee: [], },If your sensor isn’t supported natively, follow this guide on how to build the converter for your device.
Pair both sensors, (I also covered this before) and name it accordingly: ie.Front_door & Front_door_lock. Test and confirm that it works correctly.
Modifying the door sensor
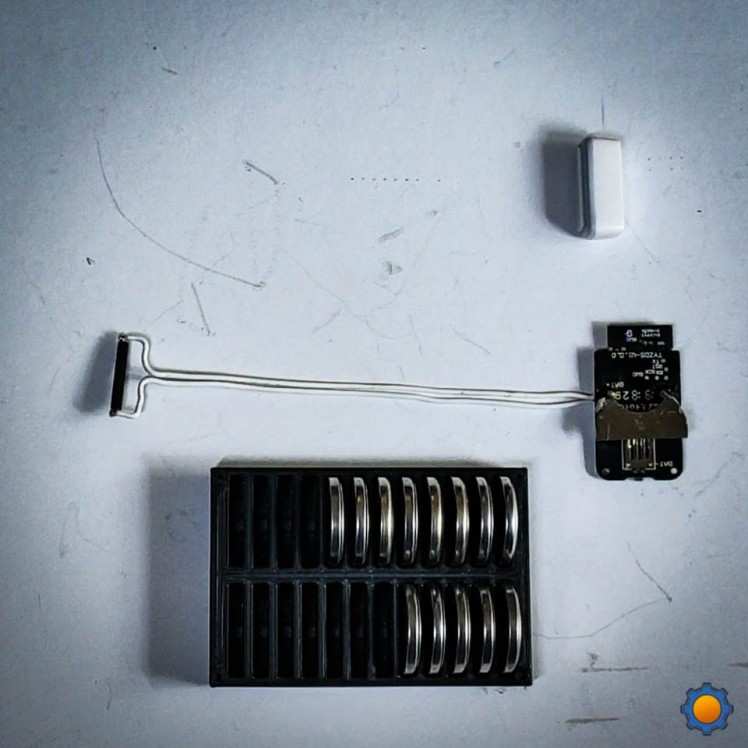
Door sensors use the Hall sensor to detect the magnetic field. The gadget is small but probably too big to fit where we want it to be so we have to extend the reach of the Hall sensor.
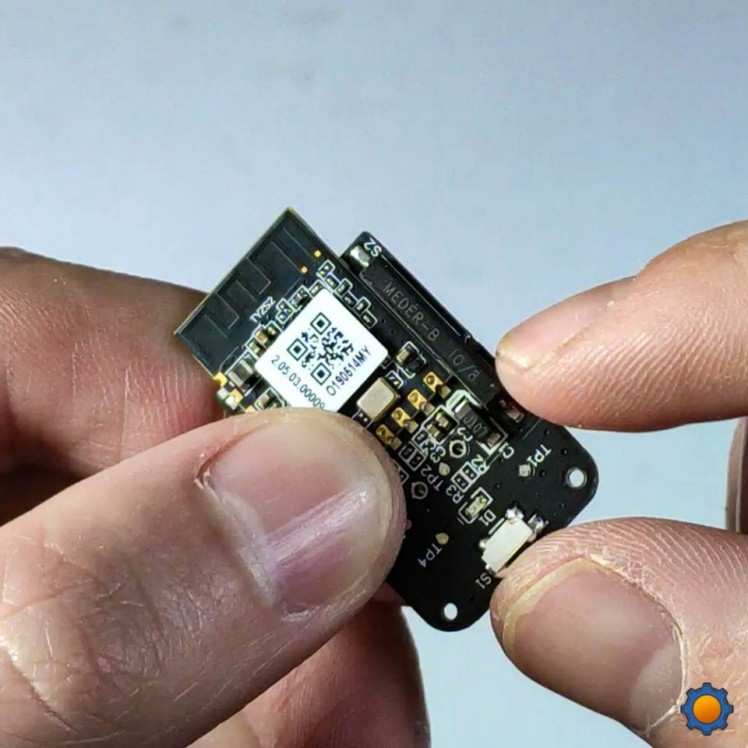
Take the sensor responsible for lock monitoring and open it up. Identify the Hall sensor (the black bar) and desolder it (pay attention to the sensor’s orientation). Use a hard, single-strand wire rather than a soft one to extend the Hall sensor. 10 cm should be enough. Now that you have the sensor ready (you probably won’t have space for the shell, so you can discard it). It’s time to work with the door.
Door modification
To activate the sensor, I have to turn the locking bolt into a magnet. The easiest way is to use a wafer-thin neodymium magnet embedded into the bolt. It won’t turn the whole bolt into a magnet, but if I place the Hall sensor where the bolt goes, the sensor will detect the presence of the bolt.
1 / 2
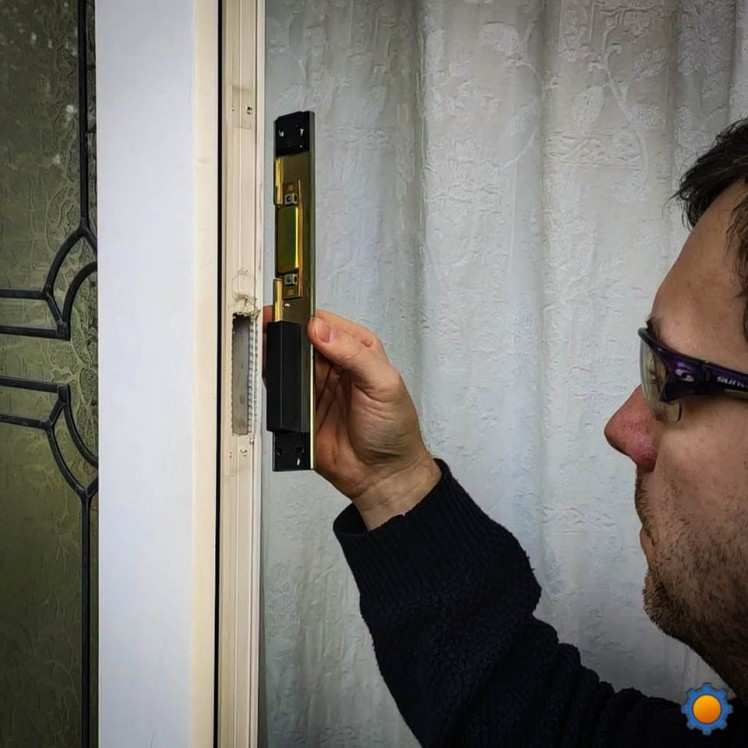
It’s easier said than done. Before you start drilling, examing your smart door-to-be. Remove the plate and check which side would fit the hall sensor better. Allocate the space, test it. This is the same side you will be drilling a shallow hole inside the bolt.
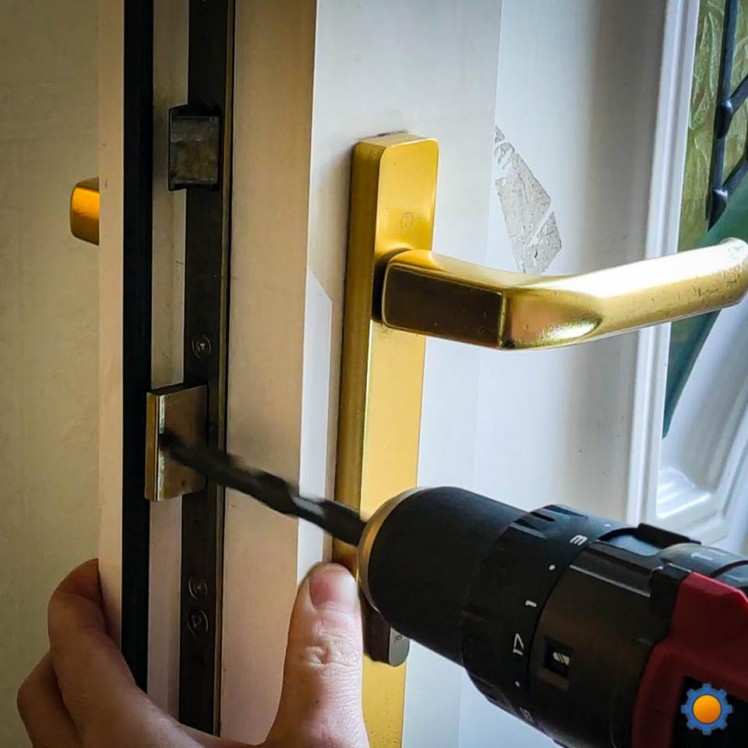
Grab a drill, 5mm drill bit and one slightly bigger than the magnet you have. Start with the small drill bit to pre-drill the hole then use the bigger one to finish the job. It should be deep enough to put the magnet flush with the surface. Use a little bit of glue to make sure the magnet won’t move.

Time to place the sensor. Use tape to secure it. Push the module inside the frame – this is where having stiff wires helps a lot, as you can position the module inside the door frame.
You should be able to monitor the door and the lock in the Zigbee2MQTT log. Congratulations, you just got yourself a half smart door. It’s time to make it smarter.
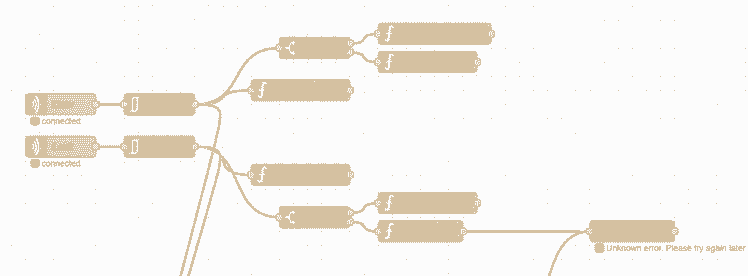
Smart Door with NodeRED
I’m using NodeRED, mainly because I want to make Home Assistant people jealous ?. To achieve the listed functionality I’m going to use additional nodes:
-
node-red-contrib-nora (Google Assistant query) -
node-red-contrib-alexa-home-skill (Alexa query) -
node-red-contrib-alexa-remote2 (Alexa notification) -
node-red-contrib-castv2 (Google Assistant notification) -
node-red-contrib-join-joaoapps (Android notification)
Android Notifications
NodeRED setup comes with custom timeouts. You can define how quick (in minutes) will you get notified about the door being open and the door being left unlocked (separate timeouts).
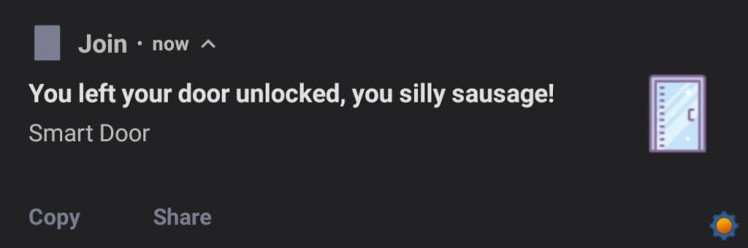
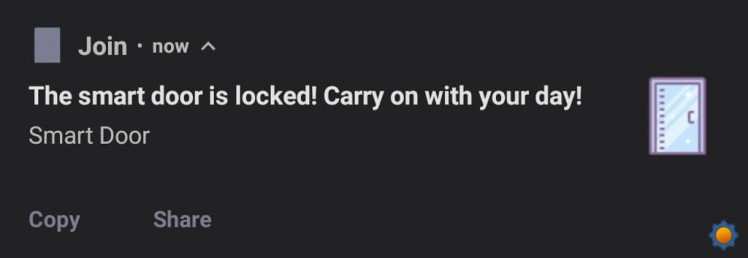
If the door is left unlocked or open, Android notification is also issued. If that alarm had been triggered, you will receive an additional message when the door is locked again (locked, not just closed).
I used Join (read more about Join and NodeRED integration) to send the notifications to my mobile.
Smart Speakers and query

In addition to the notifications, you can ask Alexa and Google Assistant about the status of your door (name the device Door, ask “Alexa/Hey Google, is the door locked?“).
For Amazon Echo devices use Alexa in NodeRED tutorial to add the smart lock to your automation. Disable auto-acknowledgement and pass these values back as a response instead:
msg.extra = {lockState: "UNLOCKED"}; //or "LOCKED"msg.payload = true;For Google Home speakers use NORA. The node takes true|false for the lock, so it’s already compatible with the flow.
Bedtime reminders
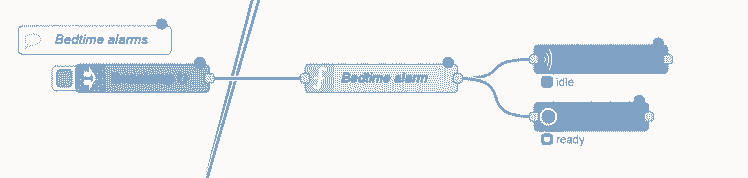
Every day at 10 PM, Both home assistants will also let you know if the door is left unlocked overnight.
To make Alexa speak, I used alexaremote2 (my tutorial for alexaremote2 isn’t ready yet) – you can use Echo routine to make the Alexa devices speak. The same goes for Google Home devices which you can cast voice to with castv2.
Tasker
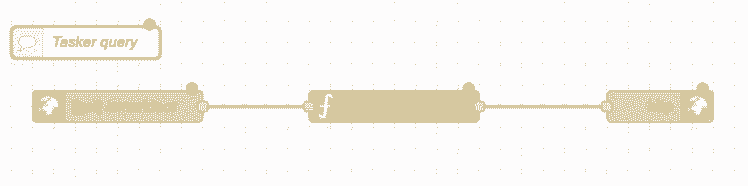
Lastly, the Tasker can check if the door is locked when you disconnect from WiFi or leave the geofenced area. This way, you don’t have to wait until the timeout is reached to get the notification. It triggers only if the door is left open/unlocked.
Tasker can monitor both, WiFi connection and GPS position – balance this against the power use to get the sensitivity you with. Use HTTP Request action to obtain the information from NodeRED. If the smart door reports “open”, create a notification on your device.
Profile: SD Query Door on dc Restore: no State: Not Wifi Connected [ SSID:FastBerry/SlowFrog MAC:* IP:* Active:Yes ]Enter: SD Query Door A1: Variable Set [ Name:%noderedserver To:XXXXXXXXXX Recurse Variables:Off Do Maths:Off Append:Off Max Rounding Digits:3 ] A2: HTTP Request [ Method:GET URL:http://usr:pass@%noderedserver:1880/smartdoor Headers: Query Parameters: Body: File To Send: File/Directory To Save With Output: Timeout (Seconds):10 Trust Any Certificate:On Automatically Follow Redirects:Off ] A3: AutoTools Json Read [ Configuration:Input Format: Json Simple Mode: true Json: %http_data Fields: door,lock Separator: , Timeout (Seconds):60 ] A4: Variable Set [ Name:%lockstatus To:the lock is unlocked Recurse Variables:Off Do Maths:Off Append:Off Max Rounding Digits:3 ] If [ %lock ~ false ] A5: Variable Set [ Name:%doorstatus To:The door is open Recurse Variables:Off Do Maths:Off Append:Off Max Rounding Digits:3 ] If [ %door ~ false ] A6: Notify [ Title:Smart Door Text:%doorstatus, %lockstatus Icon:mw_hardware_security Number:0 Permanent:Off Priority:5 Repeat Alert:Off LED Colour:Red LED Rate:0 Sound File: Vibration Pattern: Category:Security ] If [ %lock ~ false & %door ~ false ] A7: Notify [ Title:Smart Door Text:The door is closed, %lockstatus Icon:mw_hardware_security Number:0 Permanent:Off Priority:5 Repeat Alert:Off LED Colour:Red LED Rate:0 Sound File: Vibration Pattern: Category:Security ] If [ %lock ~ false & %door ~ true ]Conclusion
I will end this article with “my door is smarter than yours na na na na na“, until you get your own version. ? I hope you found this tutorial inspiring and you will come up with your own version od smart door too! If you have any suggestions about what else could be implemented – do let me know
If you want to get the latest updates to this project you can follow me via your preferred social media:
And if you feeling like buying me a coffee or supporting me in a more continuous way:
I hope you have enjoyed the project!
Code
Credits
NotEnoughTech
Some say I run a decent tech blog online. The truth is I needed to find a hobby that fits between my bicycle rides. Robotics engineer in making at Labman.
Related products


Leave your feedback...