

Setting Up The Arduino Ide To Program Esp8266

Made by Ron / Displays / Environmental Sensing / Notifications / Robotics / Sensors
About the project
Program ESP8266 and NodeMCU Wi-Fi controllers directly from your Arduino IDE.
Project info
Difficulty: Easy
Platforms: Arduino, NodeMCU, Espressif
Estimated time: 1 hour
License: GNU General Public License, version 3 or later (GPL3+)
Items used in this project

Story
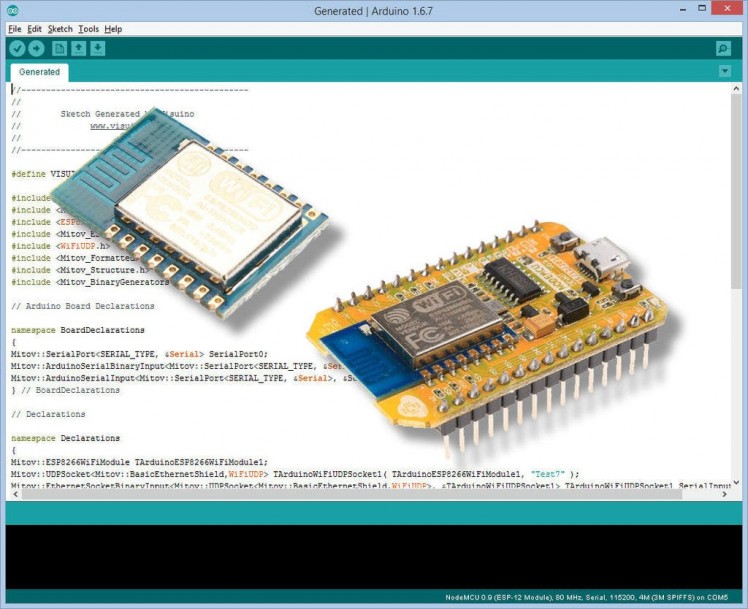
ESP8266 are widely available low cost Wi-Fi modules. They consist of single chip CPU with GPIO, Analog channel, Serial channels, I2C, SPI, and most importantly on chip Wi-Fi. Initially marketed as a low cost Wi-Fi modules for Arduino, and Raspberry Pi boards, they also can be programmed as stand alone controllers with the Arduino IDE. To program them, you need first to install the ESP8266 libraries and tools in the Arduino IDE.
In this Tutorial I will show you how you can install the ESP8266 libraries and tools, and start programming your ESP8266 modules in the Arduino IDE.
The libraries and tools are available on github here: https://github.com/esp8266/Arduino
Step 1: Add the ESP8266 boards manager link to the Arduino IDE Preferences
1 / 2 • Picture 1

Picture 1

Picture 2
- From the Menu select |FilePreferences| (Picture 1)
- For the “Additional Boards Manager URLs”, in the "Preferences" dialog (Picture 2) set one of the following:If you want to use the stable release of the ESP8266 libraries: http://arduino.esp8266.com/stable/package_esp8266com_index.json
- If you want to use the latest staging version of the ESP8266 libraries: http://arduino.esp8266.com/staging/package_esp8266com_index.json
- Click the OK button.
1 / 3 • Picture 1

Picture 1

Picture 2

Picture 3
- From the Arduino IDE Menu select |ToolsBoard:......Boards Manager...| (Picture 1)
- In the text box of the Boards Manager dialog type ESP, then select the “esp8266 by ESP8266 Community” and click on the Install button (Picture 2)
- When the installation finishes, clock on the “Close” button (Picture 3)
1 / 3 • Picture 1

Picture 1

Picture 2

Picture 3
- Connect with USB cable your ESP8266 module to the computer.
- You can test with an empty sketch or a small sketch such as Blink.
- In the Arduino IDE from the menu select the type of the board type that you have. In my case this is “NodeMCU 0.9 (ESP-12 Module)” (Picture 1)
- Also from the Arduino IDE menu, select the Serial Port to which the module is connected (Picture 2)
- Click on the Upload button to compile and upload the sketch (Picture 3)
Congratulations! Your Arduino IDE is ready to support ESP8266 modules.
In the following Tutorials I will show you how you can program the ESP8266 with Visuino and how you can connect multiple ESP8266 modules together to create IoT projects.
Code
Credits
Related products


Leave your feedback...