

Using Arduino Yun To Detect Intruders

Made by electrouser384 / Home Automation / Notifications / Productivity / Security / Sensors
About the project
In this project I am trying to use amazon SQS and IOT services with temboo and arduino YUN to detect intruders.
Project info
Difficulty: Moderate
Estimated time: 1 hour
License: GNU General Public License, version 3 or later (GPL3+)
Items used in this project
Hardware components

Software apps and online services
Story
The project revolves around building a messaging interface for the arduino yun incorporating Amazon AWS services for detecting intruders . For a beginner like me, it was quite difficult to get the AWS quickly. So I relied on the temboo services which are actually very easy to get and learn. It offers choreos from a lot of different services like youtube and khanacademy. Having said that I particularly used it to communicate with the arduino yun. I used the Amazon SQS and IOT services to send messages to my arduino yun which was retrieved on the serial console of the arduino yun. The yun is particularly impressive in this regard. The Yun is very easy to setup and operate.
Parts
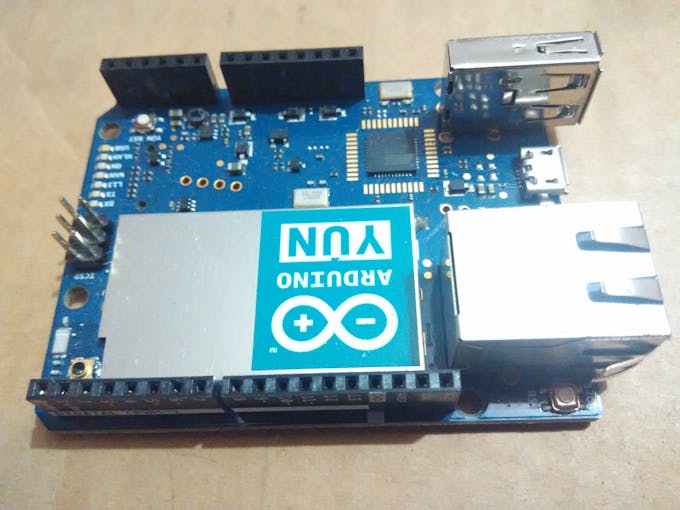
Arduino Yun
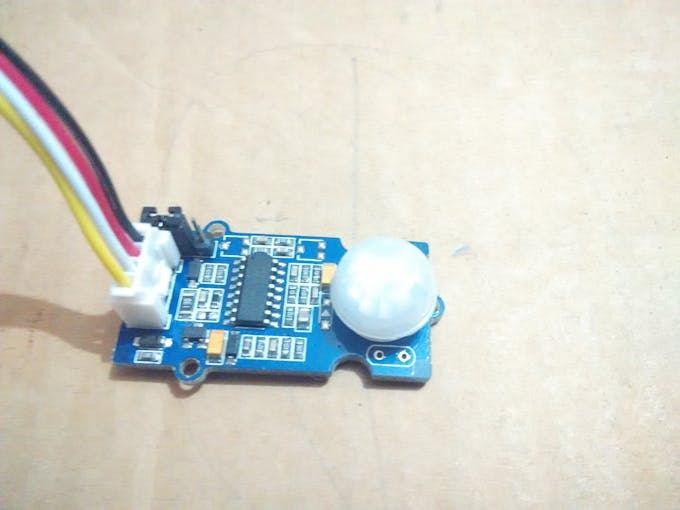
PIR Motion sensor
Getting started with YUN
Install the Arduino IDE 1.5.4 or later from this link : https://www.arduino.cc/en/Main/Software
Yun can be easily configured to connect to your local network. Connect the new arduino yun to the computer and wait for a minute for the yun to boot. When you first start the Yun, it will create a WiFi network called ArduinoYun-xxx. Connect to this network.
Once you've obtained an IP address, open chrome, and enter http://arduino.local or 192.168.240.1. After a few moments, a web page will appear asking for a password. Enter "arduino" and click the Log In button.
Press configure and in the consequent webpage enter the required details like password and credentials of your wifi network basically the SSID, password and network security type.
Save the changes and reboot.
Configure Temboo
Now connect to your local wifi network and enter http://arduino.local/ to confirm if the arduino is connected to the network. When the arduino is connected move on to the next part temboo : http://www.temboo.com/
Create a temboo user account and login.
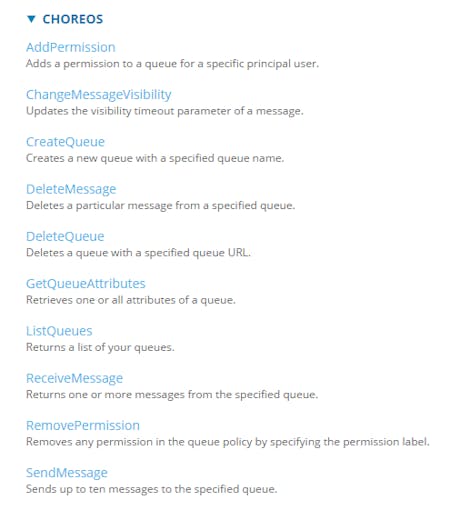
In the left side choose the Amazon choreo. In the amazon services choose the SQS services.

Configure AWS SQS
Now move to the AWS IOT page to create a free AWS account.
Complete the account registration and move to the Security Credentials under the dropdown on your username.

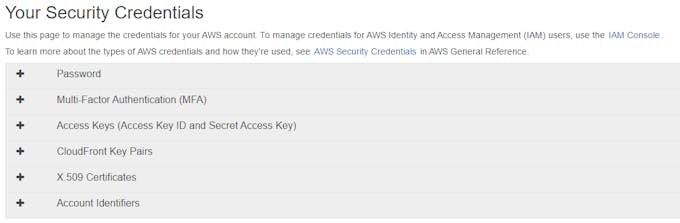

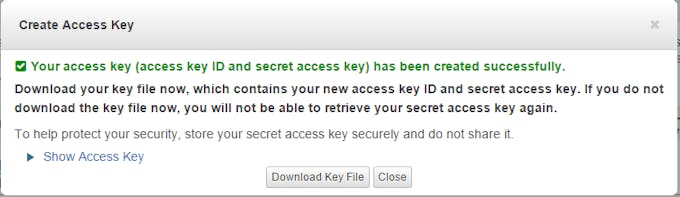
Download the Key file and save it for future reference.
Change the region on the upper right corner of the AWS account near the username to U.S. East. Among the Services dropdown choose SQS from Application services. Create a new queue. Give your queue a name and ignore the rest of the details.
Configure AWS IOT (Windows)
Download the AWS-IoT-Arduino-Yún-SDK zip package and extract it from here :
https://s3.amazonaws.com/aws-iot-device-sdk-arduino-yun/AWS-IoT-Arduino-Yun-SDK-latest.zip
Download Putty and WinSCP from
http://www.chiark.greenend.org.uk/~sgtatham/putty/download.html and
http://winscp.net/eng/download.php
Download AWS IOT CA file from here. Move the AWS IOT CA file, private key and certificate into certs folder of the Arduino Yun SDK. With WinSCP upload the certs and aws_iot_mqtt_client.py file to the root directory of Yun. ssh into the yun and execute :
opkg update
opkg install distribute
opkg install python-openssl
easy_install pip
pip install paho_mqtt
Copy the AWS-IOT-ARDUINO-YUN-LIBRARY to the arduino libraries folder in My Documents. Restart the arduino IDE and the examples will appear in the IDE.
Send the Message
In the SendMessage choreo turn on the IOT mode and connect the Arduino Yun to the computer.
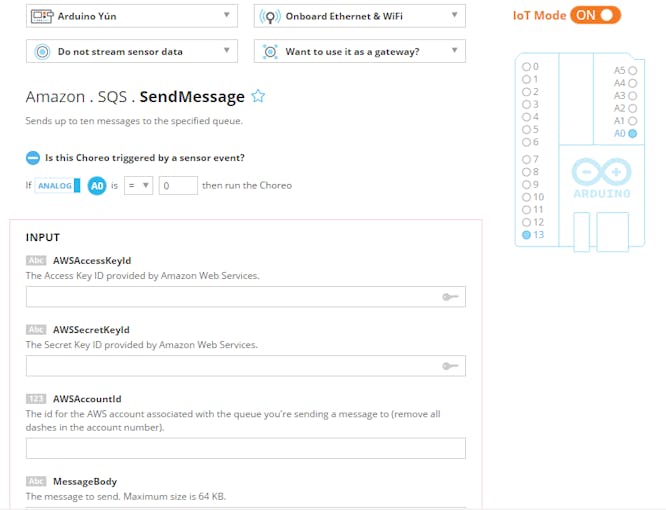
In the Send Message choreo choose "Is this choreo triggered by a sensor event?" and choose Digital pin 0 to be the trigger event so that when pin 0 is high the choreo is run and the message is sent. Connect the PIR motion sensor to the Arduino Yun's VCC, GND and D1 of the sensor to pin 0 of the Yun.
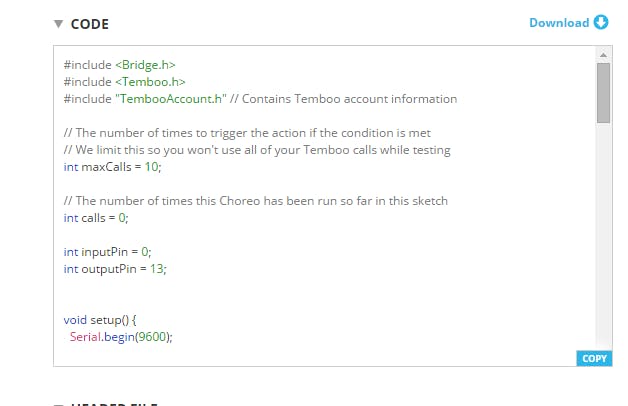
Now fill the Input fields AWSAccessKeyId with the Access key Id and AWSSecretKeyId with the Secret Access Key. Fill the AWSAccountId with your account ID from account settings. For the message body insert "Intruder detected". The QueueName field should be filled with the name of the new queue created in the Configure AWS field. Run the choreo and download the code.
Uploading the Sketch
Download the Sketch and the header file representing your temboo account, make necessary changes and compile. Upload the sketch on the arduino yun .
When any intruder is detected in front of the PIR motion sensor the D1 signal is high, the port 0 is triggered and the choreo is run. Open the serial monitor and you will get the message "Intruder detected".
For AWS IOT create an instance of the aws_iot_mqtt_client through :
aws_iot_mqtt_client inst1;
Then load the configuration in setup() and connect like :
if((x = inst1.setup(AWS_IOT_CLIENT_ID)) == 0) {
if((x = inst1.config(AWS_IOT_MQTT_HOST, AWS_IOT_MQTT_PORT, AWS_IOT_ROOT_CA_PATH, AWS_IOT_PRIVATE_KEY_PATH, AWS_IOT_CERTIFICATE_PATH)) == 0) {
if((x = inst1.connect()) == 0) {
success_connect = true;
Now subscibe to a topic and then publish messages as in :
myClient.subscribe("topic", 1, msg_callback);
myClient.publish("topic", msg, strlen(msg), 1, false);
In this way the Intruders detected can be monitored from the AWS IOT platform.
Code
Credits
Related products


Leave your feedback...