
Rp2040 Raspberry Pi Pico Led Blink Using Visuino

Made by Ron / Communication / Displays / Lights / IoT
About the project
Learn how to program a Raspberry Pi Pico to blink the built-in LED using Visuino.
Project info
Difficulty: Easy
Platforms: Arduino, Raspberry Pi, Visuino
Estimated time: 1 hour
License: GNU General Public License, version 3 or later (GPL3+)
Items used in this project

Story
1 / 2
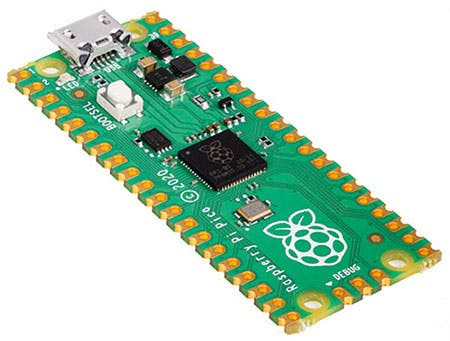
- Raspberry Pi Pico RP2040
- Visuino program: Download Visuino
1 / 2
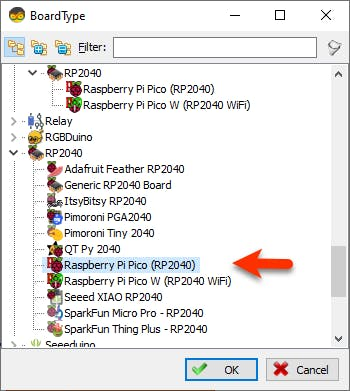
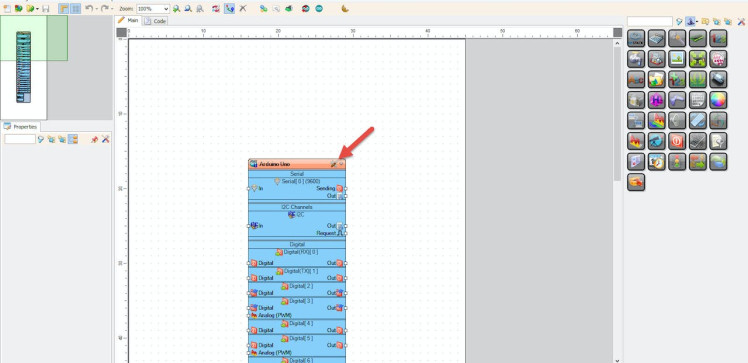
Start Visuino as shown in the first picture Click on the "Tools" button on the Arduino component (Picture 1) in Visuino When the dialog appears, select "Raspberry Pi Pico (RP2040)" as shown on Picture 2
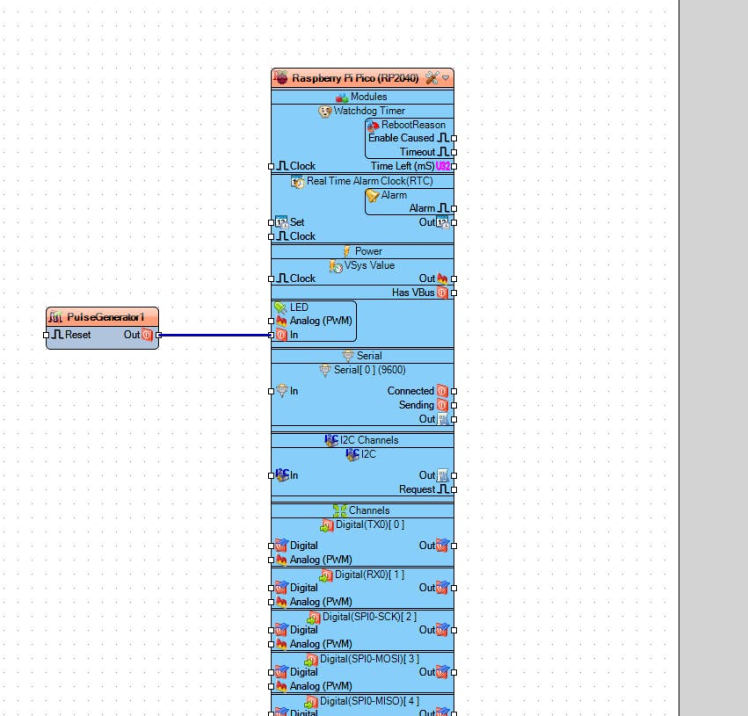
Step 3: In Visuino Add & Connect Components1 / 4
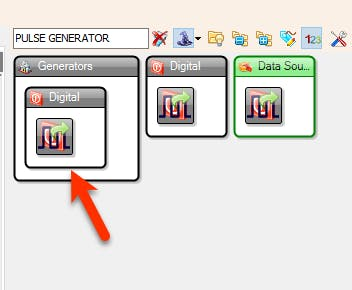
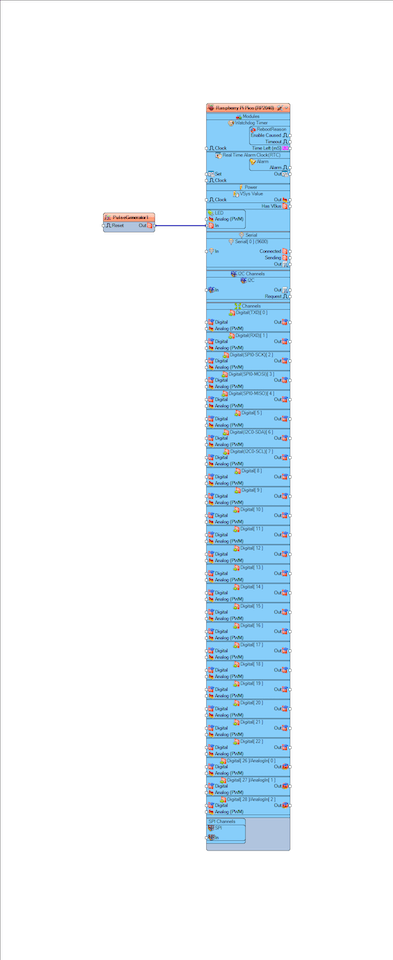
- Add "Pulse Generator" component
- Connect "PulseGenerator1" pin [Out] to Raspberry Pi Pico (RP2040) board > LED >Digital pin [In]
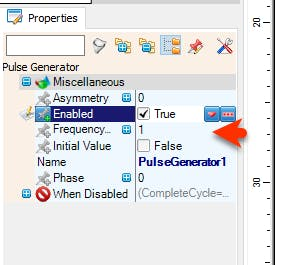
Optionally: You can set the speed of the LED blinking by selecting the "PulseGenerator1" component and in the property set the "Frequency" to a higher or lower number.
Step 4: Generate, Compile, and Upload the Project1 / 2
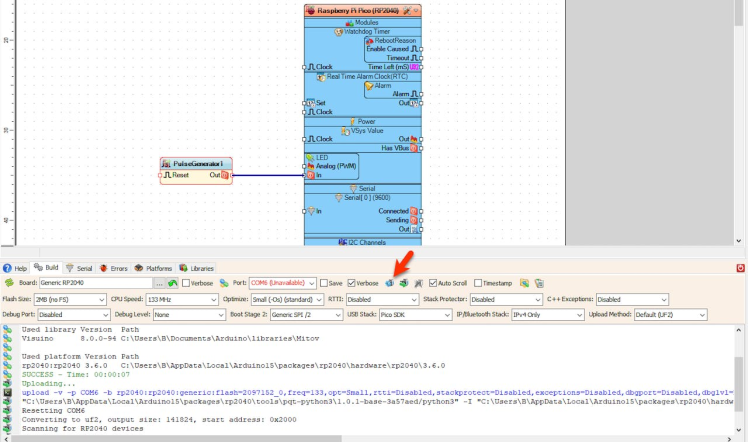
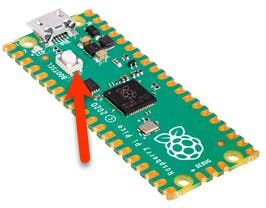
- Before uploading the Project hold the button "BOOTSEL" on the board while connecting it to the USB on your computer.
- After connecting it to the USB, release the button and in Visuino click on the button Compile/Build and Upload.
- You don't need to select any port or anything else, Visuino will do all the work and Upload the project.
1 / 3


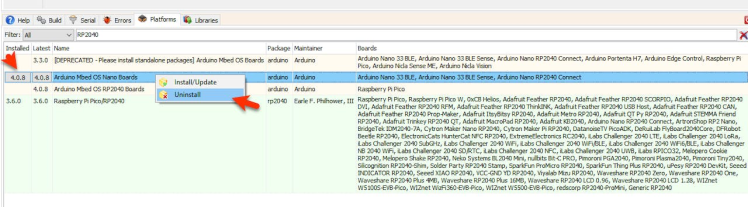
In case Visuino would not upload the project, in Visuino click on the bottom tab "Platforms" and in the search box type "RP2040" and check if the "Raspberry Pi Pico/RP2040" is installed (Picture 1), if it is not installed or the Installed version is lower then the Latest version right click on it and select "Install/Update" (Picture2).
Note: sometimes the files could be in conflict, if you still can not achieve to upload the project try to uninstall other files for Pico board (Picture3).
Step 6: PlayAfter uploading the project to the Raspberry Pi Pico/RP2040 the internal LED will blink.
Congratulations! You have completed your LED project with Visuino. Also attached is the Visuino project, that I created for this Tutorial. You can download and open it in Visuino: https://www.visuino.com
For more simple Ideas that you can add to this project check out this tutorials:
Visuino How to Use Pulse Width Modulation (PWM) to Change Brightness
Schematics, diagrams and documents
Code
Credits
Related products


Leave your feedback...