
Remake Of S. Francis Writing Machine
Made by TommyBiancoTM / Art / Lights / Music
About the project
Modern QWERTY keyboards are simply not challenging enough. Let's use a piano roll instead!
Project info
Difficulty: Easy
Platforms: Arduino
Estimated time: 1 hour
License: Creative Commons Attribution-NonCommercial CC BY-NC version 4.0 or later (CC BY-NC 4+)
Items used in this project
Hardware components

Story
What and Why?
This is a Samuel Francis writing machine, nicknamed "Literary Piano" [0]. Patented in 1857, it is an early typing mechanism that combines a piano-like keyboard with a circular typewriter mechanism. It has nothing in common with a modern computer keyboard, which is is quite a shame. Many of the brain areas that process language also process music [1], only making the association of a piano with a typewriter more appealing.
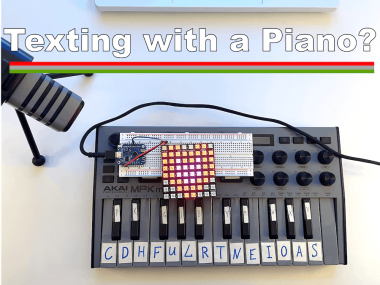
So let's see if we can revive Samuel Francis heritage by turning a modern MIDI keyboard into a "perfect" writing machine, starring in the second image below:

A typewriter prototype patented by Dr. Samuel Ward Francis of Newport, Rhode Island in 1857. Image from National Museum of American History.
.")
An advanced prototype made with a marker pen, sticky notes and tape, circa 2023 (colourised).
Project on video
Project summary in an entertaining form & results showcase.Capturing MIDI controller input
Once we have added letter stickers, it is time to learn about capturing and handling MIDI signals. Python has a number of libraries designed to control MIDI streams [2]; in this project we are using Pygame [3].
Once a MIDI controller is connected to the laptop, it will appear on the list of the available input [1, 0, 0] and output [0, 1, 0] devices. We can simply pick our keyboard, read the message and start deciphering.

MIDI input and output device selection: select your controller as input and loopMIDI as output.
A single MIDI message consists of a status byte followed by some data bytes. First, we isolate the status byte to tell if the key is pressed down or released. 1001 corresponds to a "Note On" message - the signal that we are looking for. From the first data byte, we can read the key number, adjust for changing octaves and convert it to an appropriate letter output using keyboard library [4].

MIDI message structure. MIDI CH = MIDI channel. Diagram by Bernardo Breve et al. 2020 / DOI:10.18293/DMSVIVA20-011
Sending MIDI output
Typing messages with the piano is cool, but where is the music? Unfortunately, our little script "hijacks" the MIDI stream, which means that the message is never sent to your musical software. Let's fix that.
All it takes is adding a MIDI output and forwarding a copy of the received message back into the system. Or at least so I thought... To make this actually work on my Windows machine, I needed a little crutch - loopMIDI software [5] - that acted as an intermediate virtual MIDI port between my script and Ableton. Theoretically, Mac users shouldn't have this issue. Practically - let me know :)
Another neat trick we can do is use the keyboard library [4] to capture standard keyboard input and convert it to MIDI. Just in case you want to make your typing more musical without the hustle of sticking letters on a MIDI controller. Unlike with MIDI, keyboard hooks do not interrupt the signal, so there is no need to return the keys "into the wild".
MIDI visualisation with Arduino
Now, this is a project on Hackster, so we have to talk hardware and prototyping. The same MIDI capture and release code can be repurposed to be sent to two outputs: a Digital Audio Workstation (DAW) and to an Arduino.
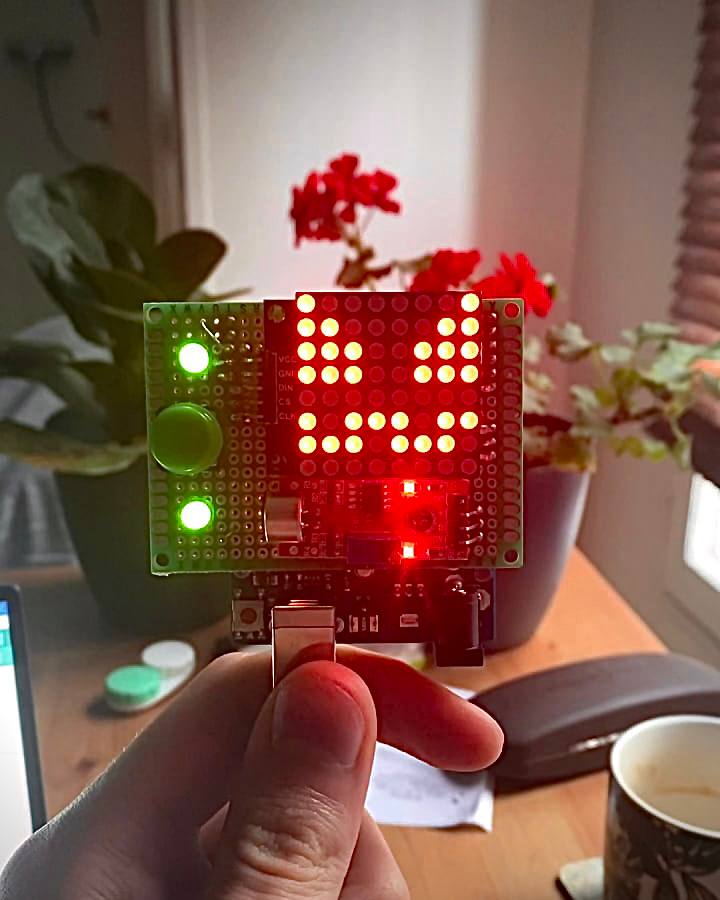
If you use a simpler microcontroller that does not support MIDI over USB, you will need another small program - Hairless MIDI [6] - to send a receive MIDI messages with your microcontroller. Once the data stream is established, you can hook up your favourite visuals, like an 8x8 RGB matrix, and convert every press of a piano key into a cool animation.
The best part is that your visuals can be essentially anything. Live performers, here is an upgrade idea for your stage presence :)
Tell me what you think about this project!
Please share some feedback! I need your input to keep improving my articles and videos.
Thanks!
Code
Credits
Related products


Leave your feedback...