

Original Xbox Rgb Ring mod | Arduino

Made by 314Reactor / Games & Gaming / Lights / Retro Tech
About the project
Adding RGB to an original Xbox with Arduino!
Project info
Difficulty: Easy
Estimated time: 1 hour
License: GNU General Public License, version 3 or later (GPL3+)
Items used in this project
Hardware components


View all
Story
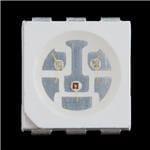
RGB
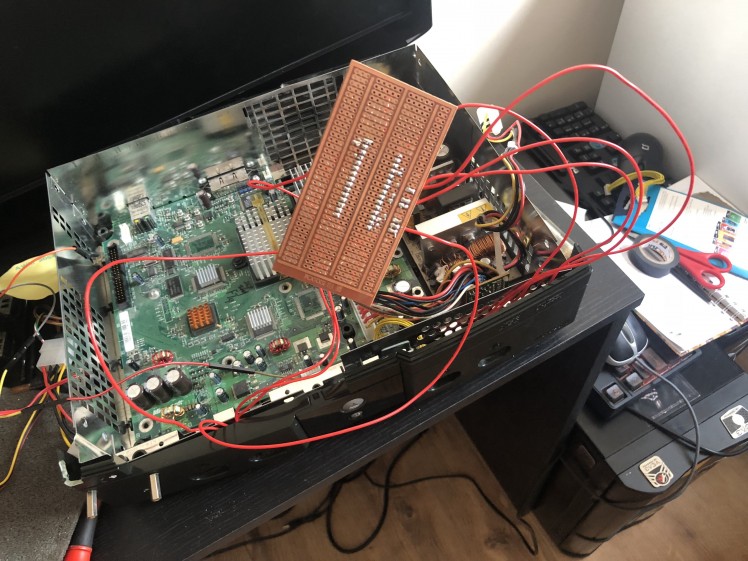
The other day my original Xbox I originally got in 2003 started turning itself on again – which means it’s due for an open up and some maintenance as this is usually caused by some degradation of traces on the board.
I thought well this is a perfect time to mod it a bit more and use some of my recently acquired Arduino skills to turn the front LED ring into an RGB light show!
Key Goals.
- Upgrade my original Xbox with an RGB LED ring.
- Use an Arduino for the job.
Parts.
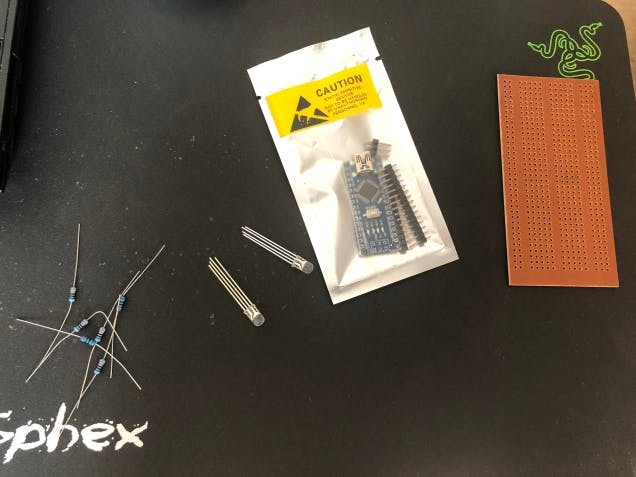
X marks the spot.
First I got the Arduino and prototyped it up to 2 RGB LEDS with some assistance from this guide, I wired up a common cathode RGB LED and added in a second LED using pins 6 (R), 5 (G) and 3 (B). I found some very useful code here at gist.github.com/jamesotron that I modified to use 2 LED’s and slow down the colour change process a bit – you can grab the modified code at my GitHub:
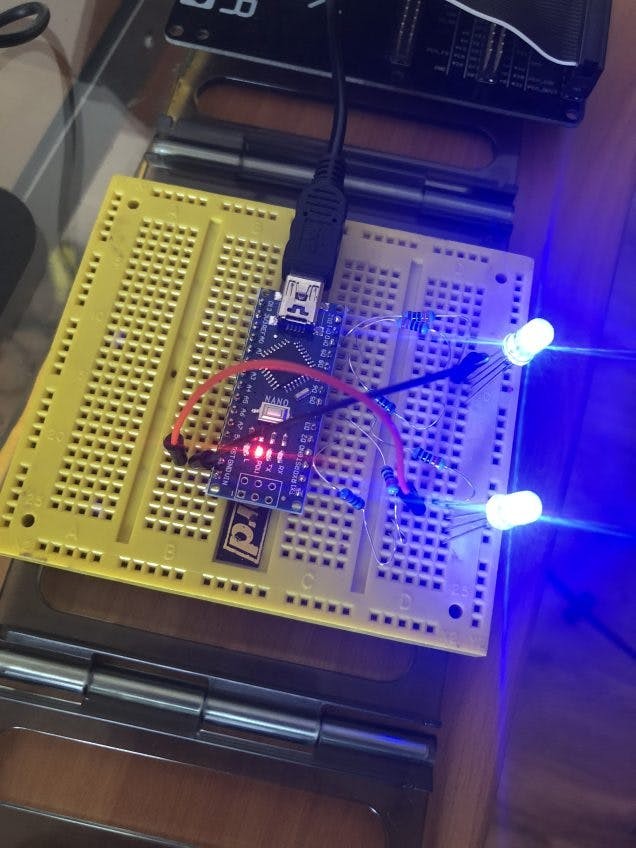
Once this was done I soldered it into a bit of veroboard and wired up the LEDS, using the Nano pin out:
; ; 1 / 2
1 / 2
WARNING: Don’t open up an Xbox if you don’t know what you are doing, the PSU internals are exposed and can still hold high voltages for a very long time and so can be dangerous. I also take no responsibility for any damage to an Xbox if you do choose to open one up.
I opened up my Xbox as per the instructions here and the instructions for specifically modding the front LED’s here.
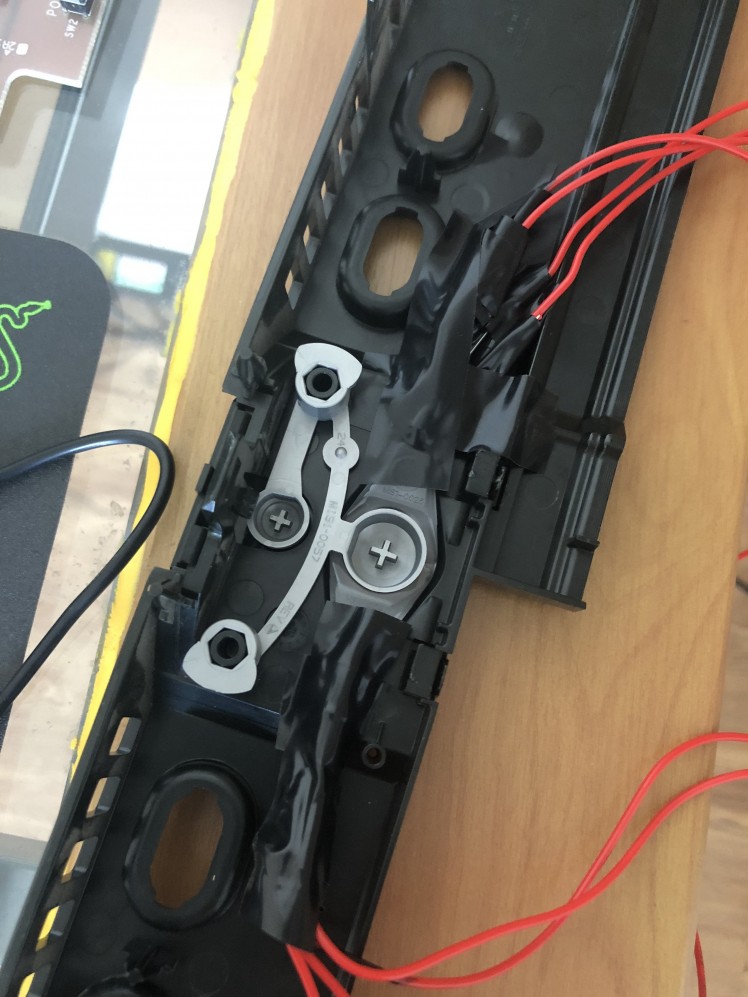
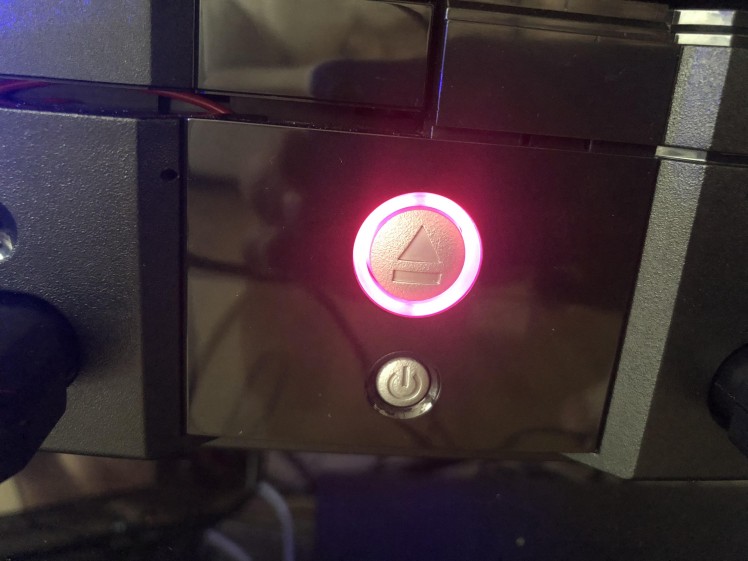
I put the LED’s into the front panel for an aesthetics test:
; ; 1 / 2
1 / 2
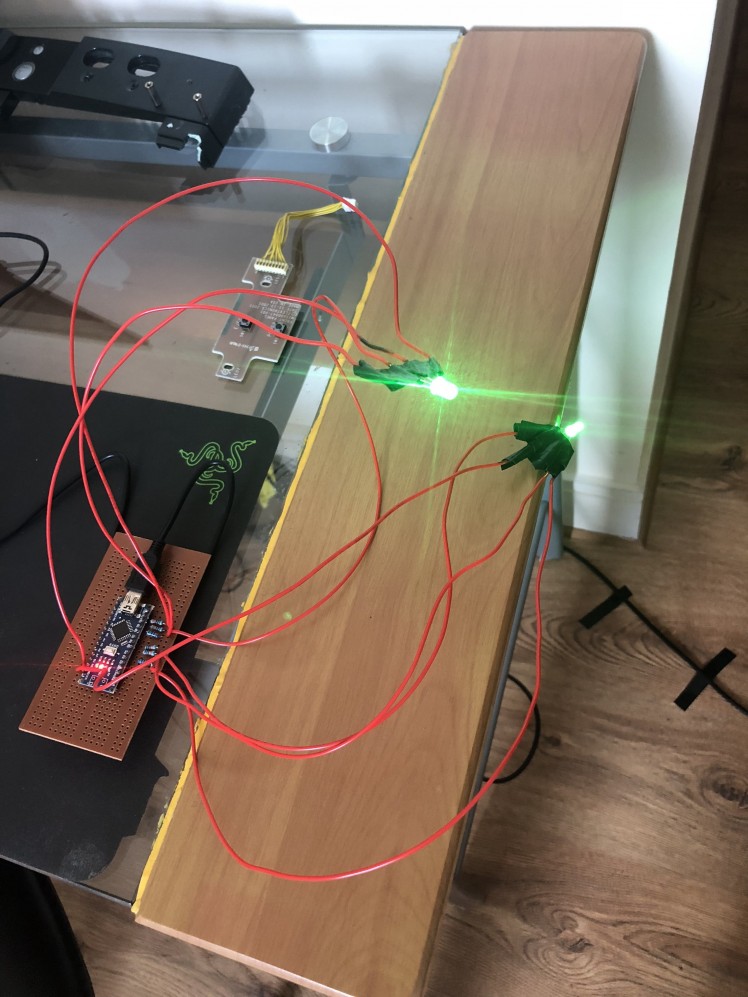
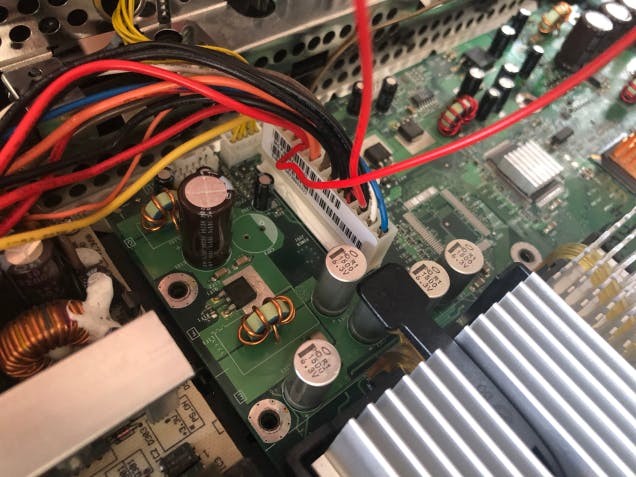
Using the pin out of the Xbox PSU as per these handy diagrams I figured out the best pins to use to power the Arduino board – the red and black pins – red will supply 5v when the system is booted and power up the board.
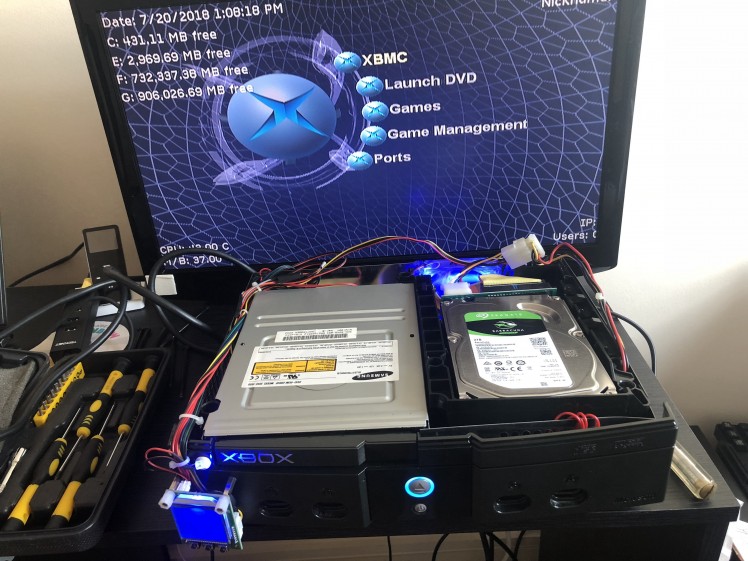
Next up was getting the placement of the board right, it managed to fit in just under the hard drive, I also added some electrical tape to the veroboard to prevent shorts and also some tie wraps to tidy up the wires a bit:
; ; 1 / 3
1 / 3
Then it was time for a quick test:
; ; 1 / 2
1 / 2
All looking good, so time to put the lid on and screws in and away we go:
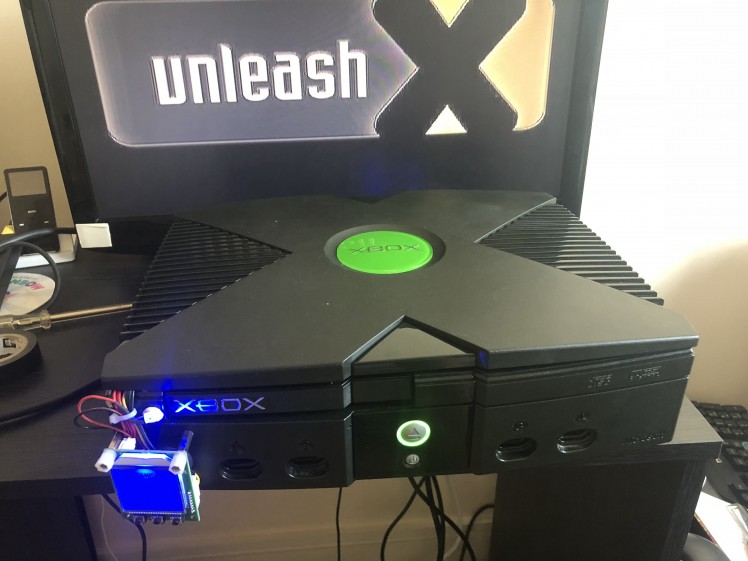
As you can see I’ve done some mods to this Xbox before, to the point where the lid does not fit fully flush any more.
And it’s done! Nothing went wrong or exploded!
Finale.
; ; 1 / 6
1 / 6
This was a quick weekend project and I’m very happy with the results; it’s also possible in future to add more to this project; perhaps an entire LED strip that can shine through the grills and really light the whole box up.
Let me know what you think of the project and if I can make any improvements!
Also subscribe to my stuff if you want to see more projects:
Code
Credits
Related products


Leave your feedback...