
Monty - The Maker Faire Measuring Monster
Made by 8BitsAndAByte / Animals / Sensors / Upcycling / IoT
About the project
We love going to Maker Faires, but 2020 has decided otherwise. So instead, we are building a suitable substitute called Monty, who will capt
Project info
Items used in this project
Hardware components

View all
Hand tools and fabrication machines
Story
In short, our project will travel to Maker Faire, measure the atmosphere using a number of sensors, save the data and return home, all whilst looking amazing.
With this idea, there are some things to keep in mind:
- International shipping: it has to fit inside a box, arrive safely and not cause any kind of panic, so you’ll be limited in weight, size and contents. To be on the safe side, it’s best to buy a box at your local postoffice and work from there.
- Plug & play: to limit the hassle at the event itself, the project only has to be plugged in for it to work.
- Privacy: we want to capture the atmosphere at the event, but not intrude on the privacy of the people attending it.
- Connectivity: reliable wireless internet is never a guarantee at events, so our device will have to function both online and offline.
That sounds like a fun challenge, let’s get to work!
Setting Up the Sensors and Hardware

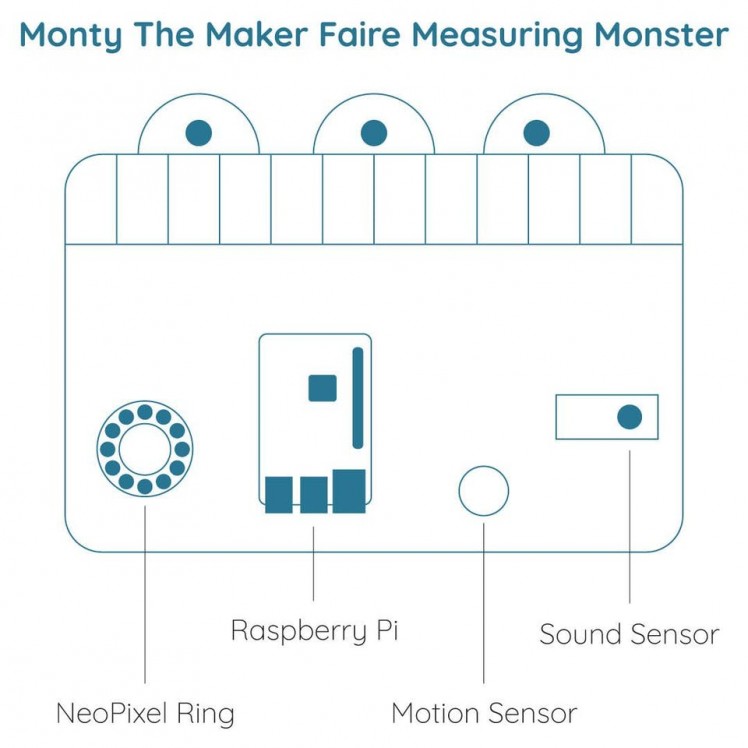
First things first, we’ll start by capturing the mood using a Raspberry Pi, a sound level sensor and a motion sensor.
We opted for these two sensors as you can get a bit of a feel of the event, whilst also respecting the privacy of the visitors. You can detect when there’s a lot of movement going on or none at all, without registering who walks by at what time. You can notice if it’s currently very quiet or really loud, without recording any audio.
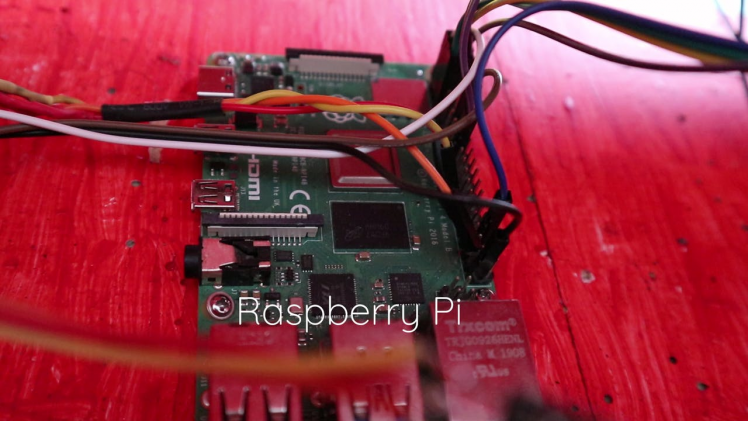
Raspberry Pi If you’re new to Raspberry Pis, there’s a great getting started guide here on the Raspberry Pi website.
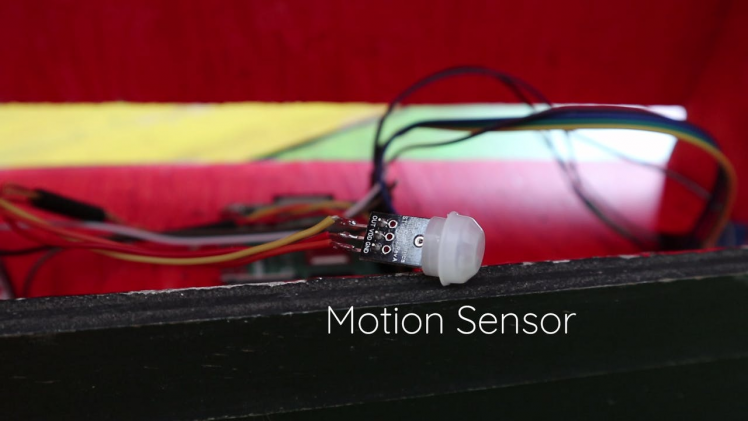
Motion Sensor To learn more about motion sensors and how to connect them to the Raspberry Pi, you can follow these steps in the Parent Detector Project by the Raspberry Pi Foundation.
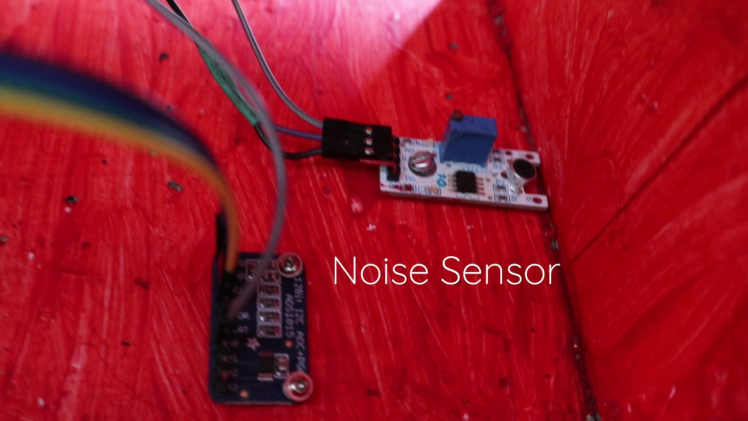
Sound sensor & ADCAs the output of our sound sensor is analog, but the Raspberry Pi can only receive digital input, we’ll need to convert our analog values to digital ones using an Analog to Digital Converter (ADC).
Adafruit provides this great tutorial on setting up and getting started with their ADC breakout board right here.
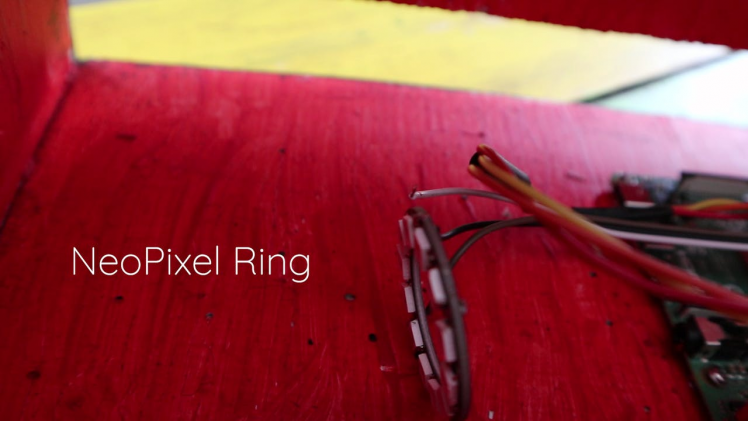
NeoPixel RingWhat’s a monster without some pizzazz? That’s where a NeoPixel Ring comes in handy. To light up your monster, you can follow the steps outlined in the Adafruit NeoPixel Überguide.
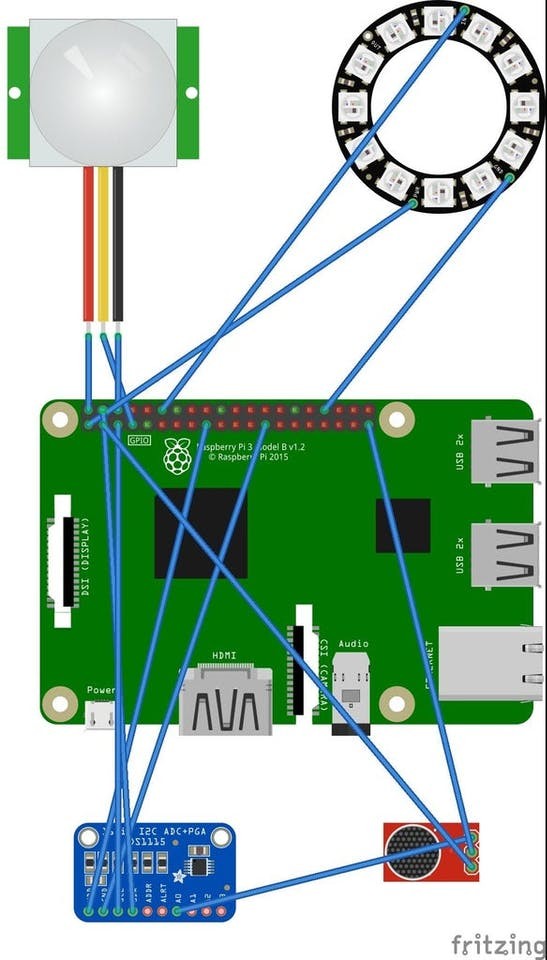
Full Code and Schematics Don’t worry if you don’t feel like following all these different tutorials to get your monster up and running, as we’ve added the full code and final schematics of this project to this step!
The code does the following: - Import all the libraries and configure the hardware
- Every second:
- Change the color of the NeoPixel Ring
- Measure the noise level
- Detect motion
- Get the current time in Epoch
- Save the collected data locally to a JSON file (see next step)
- Every minute:
- Try to send the latest measurement to the Thingspeak IoT Platform (see next step)
To run your code on startup there's a fantastic guide right here.
Data Collection and SharingOne of the key elements of our project is that it shares its findings with the world, which is what we’ll jump into in this step.

Online with ThingSpeakWhen our creature has an internet connection, it would be great if it sends the latest measurements to an IoT platform that’s accessible to everyone, like ThingSpeak.
To learn more about creating a ThingSpeak channel and collecting data with it, check out their getting started tutorial.
The code to send your data to ThingSpeak has already been added to the previous step, all you need to do is add your own API key.
You can check out the Montys channel here!
Wifi Credentials
Because Monty will be attending Maker Faire on his own, we’ll have to configure his internet access before he leaves.
If you happen to have the network connection details of the event, you can add them to your Raspberry Pi beforehand by following this guide written by the Raspberry Pi Foundation.
Offline with JSON
No need to panic if you don’t know the wifi credentials or if the internet connection is spotty, we’ll also save the data locally on the Raspberry Pi in a JSON file. This way, you’ll have a record of the atmosphere of the event that you can access the moment your measuring monster returns home.
If you’ve never worked with JSON before, W3Schools has a pretty good introduction here.
To analyse the JSON data, you can import it into your free data processing tools like the Google Data Studio or you can go nuts in R.
Creating a Monster
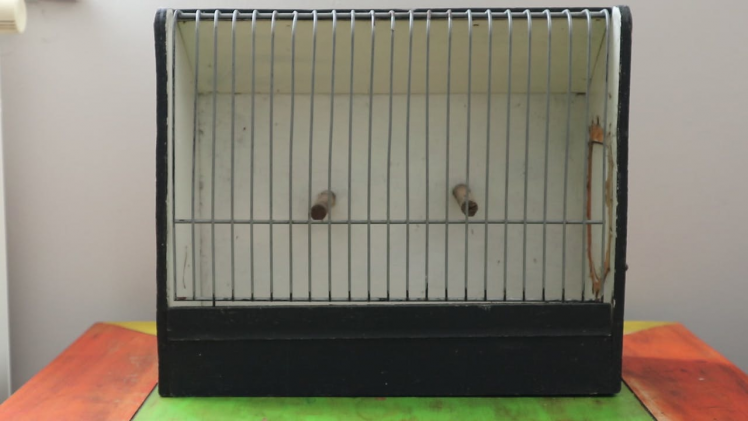
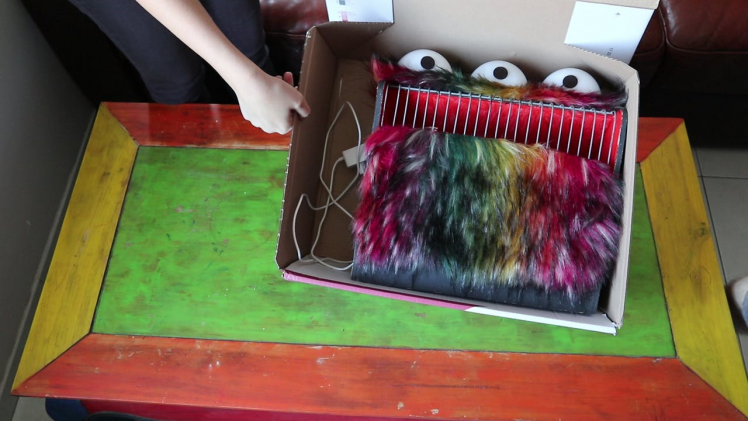
Birdcage
As luck would have it, we found an old bird cage that nicely fits inside the biggest shipping box our local post office provides.
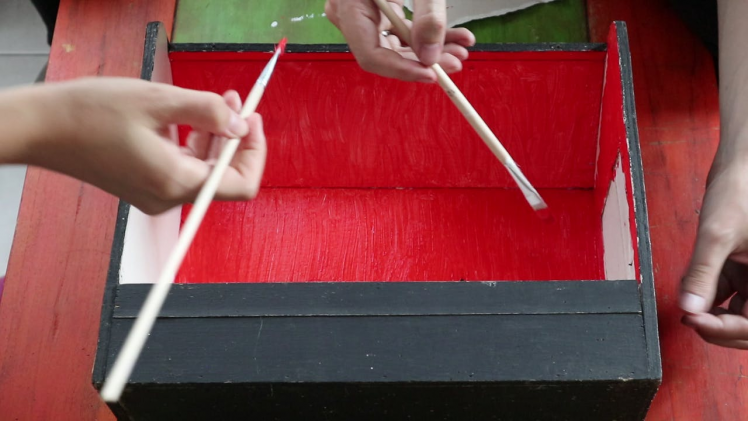
To prep it for monsterification, we cleaned it, removed the bird sitting sticks, figured out how to remove the cage bars and painted the insides red.
Hardware

After the paint dried, we attached the hardware to the bottom of the cage using a set of tiny screws. Make sure to leave a little bit of wiggle room, so there’s not too much tension on your electronics.
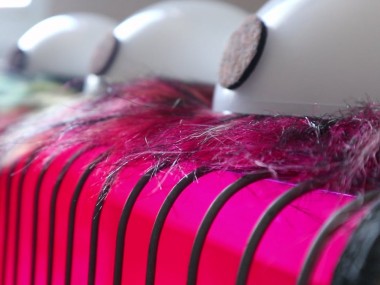
Monster
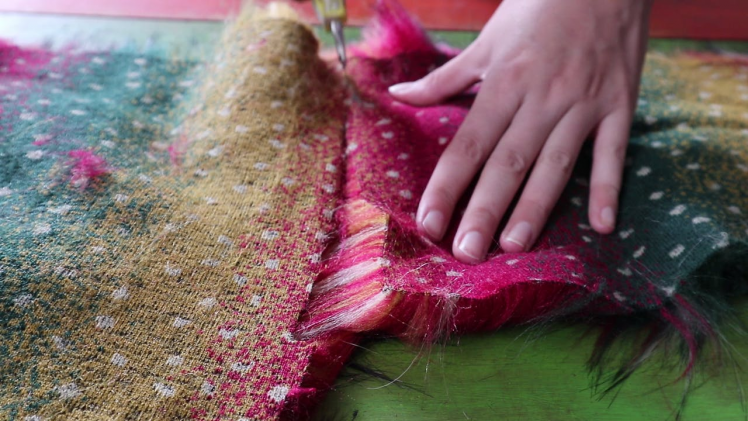
To create the monster, add plenty of fake fur! We glued a patch to the top of Montys head and hand stitched another piece to the bars of the cage.
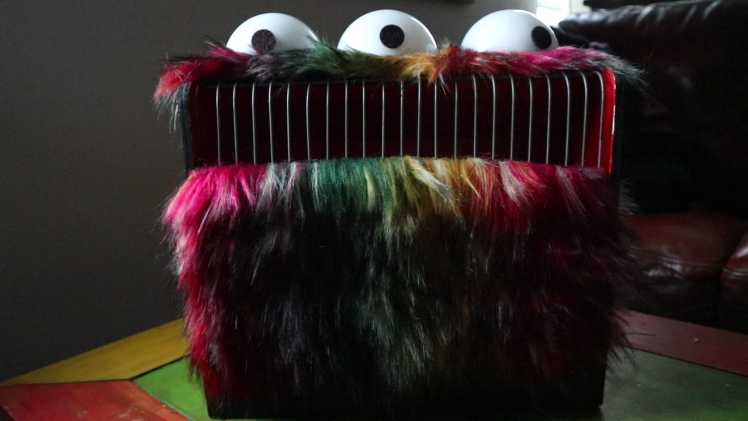
For his three eyes, we spray painted the insides of two decorative christmas ornament balls white. We attached three halves to the fur on Montys head using some very strong glue. The finishing touches are three round furniture pads that function as pupils.
Measuring Maker Faire
To round off our project, we designed a poster with a bit of an explanation about Monty The Measuring Monster to give the visitors of Maker Faire a bit of context.
Finally, we packaged Monty securely and shipped him off to Eindhoven Maker Faire. We really hope he survives the journey and has a wonderful time at the event!
If Monty has an internet connection, you can check out his measurements here on ThingSpeak. We’ll also keep you posted on his adventures via our Instagram and Twitter!
Schematics, diagrams and documents
Code
Credits
8BitsAndAByte
We’re Dane & Nicole, two makers that create tremendously terrible tech, which we happily share with you on our channel! https://www.youtube.com/c/8bitsandabyte
Related products


Leave your feedback...