

Lego Interactive Wall

Made by amiedd / Environmental Sensing / Music / Sensors
About the project
My little brother works for Facebook and in Building 14 they have an amazing LEGO wall! I knew I needed one in my house!
Project info
Difficulty: Moderate
Platforms: Adafruit, Bare Conductive
Estimated time: 1 day
License: MIT license (MIT)
Items used in this project
Hardware components
Hand tools and fabrication machines

Story
My little brother works for Facebook and in Building 14 they have an amazing LEGO wall! I knew I needed one in my house! LEGO has always been my therapeutic way to calm or wind down for the night. It's my way of relaxing.
 LEGO Wall in Building 14 at Facebook
I decided to use the Bare Conductive Touch Board and Electric Paint to make my LEGO wall interactive and come to life!
You don't need to know any programming for this project.
Step 1: Bill of Materials (BOM) List
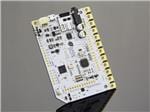
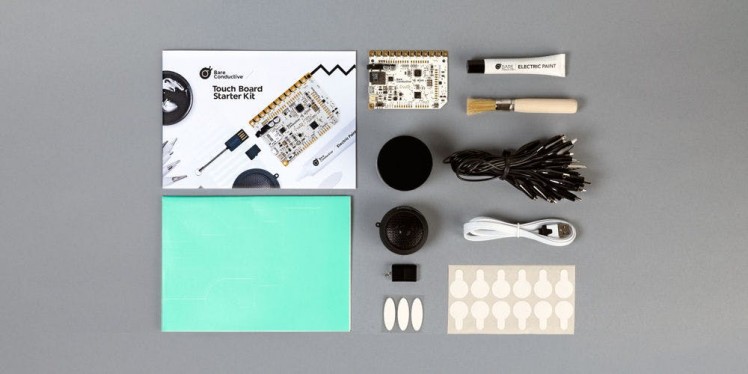
Bare Conductive Touch Board Starter Kit
The Touch Board Kit includes:
 1 / 2 • Bare Conductive Touch Board Starter Kit
- 1 x MicroSD card! Wahoo!
- 1 x Touch Board
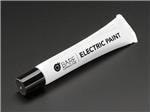
- 1 x Electric Paint 10ml Tube
- 1 x Electric Paint 50ml Jar
- 1 x Guidebook
- 1 x MicroSD Card Reader
- 1 x Micro USB Cable
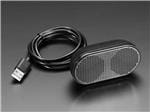
- 1 x Mini Speaker
- 10 x Alligator Clips
- 1 x Stencil
- 1 x Stencil Brush
- 12 x Sticky Tabs
- 3 x Velcro Stickers
- 2 x Paper Cutouts
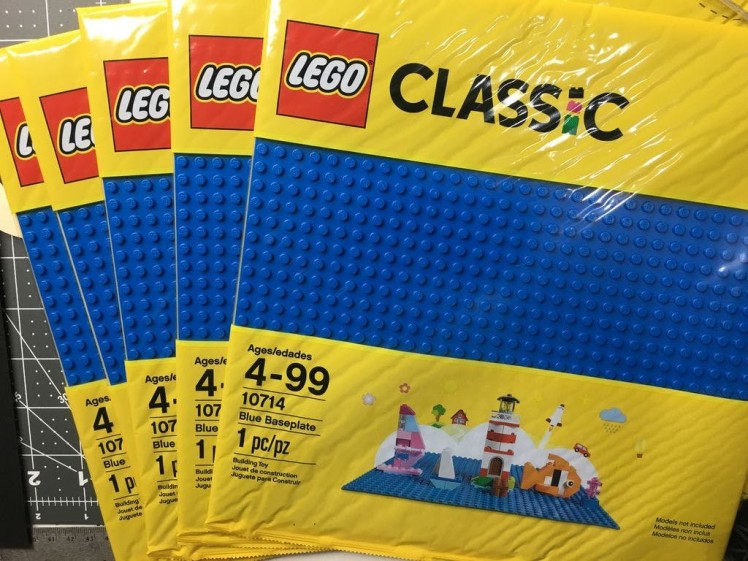
Step 2: LEGO Baseplates
I used 92 x Blue LEGO Base plates that measure 32x32 studs or 10" square.
 1 / 3
1 / 3
You can make the wall any size you want.
You don't have to drill sheets of plywood into your wall, you could just use the Liquid Nails to apply the LEGO Baseplates to your wall. I choose to use plywood and a few screws so if I ever sell my house one day I wouldn't have to sheetrock the walls when trying to remove the LEGO baseplates.
I let the wall completely dry for 24 hours before I started to add brick designs and electronics.
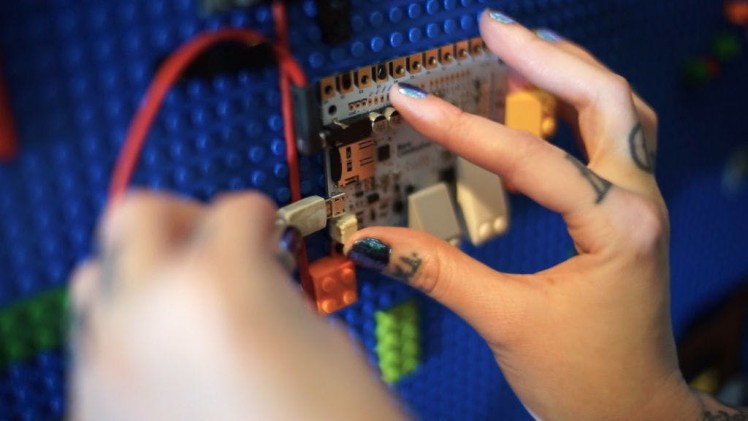
Step 3: Bare Conductive Touch Board
Power Up
 1 / 3
1 / 3
Plug your micro USB cable into the Touch Board. You can power the board directly from your computer or from a USB charger. Make sure the on/off switch at the bottom left hand corner of your Touch Board is switched to ON. You should see the green light next to the on/ off switch come on. This means your Touch Board is live.
Audio Jack
Plug your speaker (or headphones) into the audio jack on the top left hand corner of your board.
Electrodes
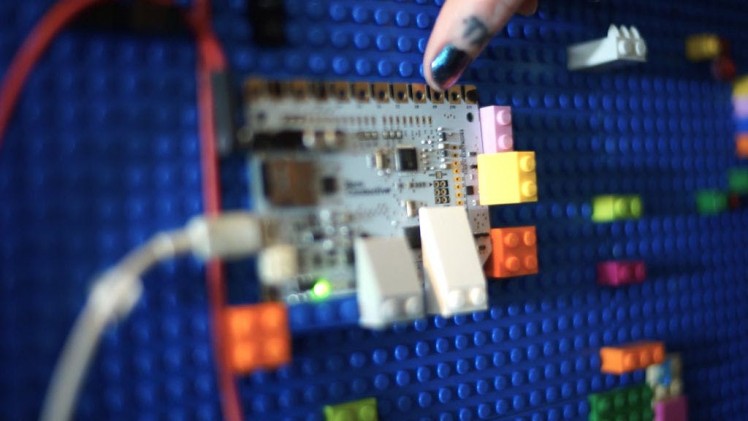
Now, touch the electrode on the upper lefthand corner of your board. Can you hear Becky’s voice? The electrodes are the twelve golden squares that run along the top edge of your Touch Board. They are numbered E0 to E11. Listen to the Audio Guide to find out more about the Touch Board and it’s different features. Once you’ve explored it and you’re ready to upload your own sounds, just move on to the next tutorial.
Schematics, diagrams and documents
Code
Credits
Related products


Leave your feedback...