

How To Configure And Setup Ws2812 Wled With Relayfi

Made by Yatinjoshi93 / Home Automation / Kids & Family / Lights / Robotics / IoT
About the project
Run WLED WS2812 with RelayFi - 4 channel relay board with ESP32
Project info
Difficulty: Easy
Platforms: Amazon Alexa, Arduino, Arm Mbed, Raspberry Pi, Arm
Estimated time: 1 hour
License: GNU General Public License, version 3 or later (GPL3+)
Items used in this project
Hardware components


Story
Overview
The main goal of this project is to run LED WS2812 with RelayFi by help of firmware WLED. You can set the colors of LED by your phone or laptop. You can learn about RelayFi - 4 Channel Relay Board on ESP32
The world is paying a lot of attention to IoT goods and applications. People's lives are improved since they can use electronic gadgets to operate their appliances. One of the products that you should use for automation is RelayFi.
For a detailed video of connection of ESP32 with WLED, please go through the below video,
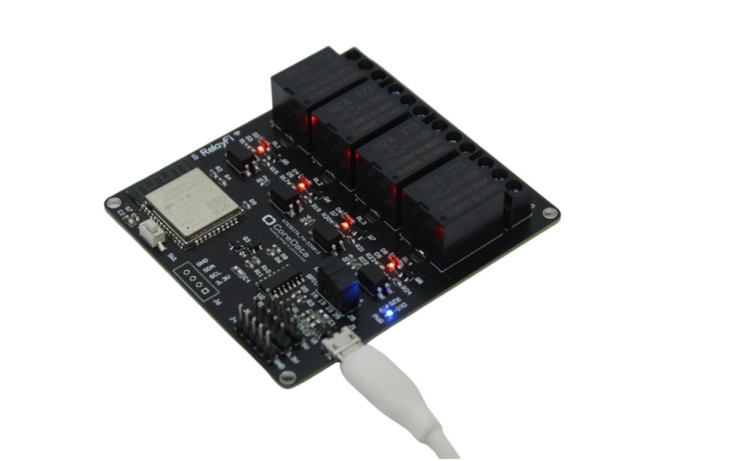
The ESP32-WROOM, along with 4 channel relays, an optocoupler for safety, a jumper for selecting the relay, a USB port for programming, and a power supply, power RelayFi. The board is small and offers four simultaneous device running capabilities. With it, you may connect up to 4 devices and enhance the smarts of your house. If you have a similar interest We'll go over what WLED is, how it functions, and what it can accomplish for you in this article.
Kickstarter link - https://www.kickstarter.com/projects/smartdevices/relayfi-4-channel-relay-based-on-esp32/dashboard
About WLED
To control addressable LEDs (WS2811, WS2812b, WS2813, etc.) from your iOS or Android smartphone, or really any device that can send a command through http/https over a network, check out the wonderful open source programme WLED! It is powered by the ESP32 platform of microcontrollers, which, while comparable to the Arduino, is distinct from it and, if you understand those differences, is largely compatible.
1. Connect RelayFi with your PC or MAC, now download WLED tool to install WLED onto the ESP32. Visit to http://install.wled.me
2. The install button should then be clicked. The one whose name corresponds to your ESP32 is the one you should connect to. Something like CH340C UART should be written there. Click connect after selecting that serial port or device.
3. After the successful installation of WLED, connect it on your WiFi network. Connect first to its private network and reconfigure it. Now look for WLED-AP in your device( iOS or Android device). Tap the network and connect to it. The default password is wled1234.
4. Once connected, wait just a second and a welcome screen will automatically pop-up. From here you will want to click on WIFI SETTINGS.
5. Go to LED preference setting in WLED, and set LED to pin no IO21 and save it to connect it with RelayFi.
6. Now you can control the LED by the UI of WLED over assigned IP address.
Please comment down below if you have any query or concern.


Leave your feedback...