
Holiday Song Player With Coordinated Leds

Made by electrouser881 / Games & Gaming / Holidays / Kids & Family / Lights / Music
About the project
Light up some LED's to the tunes of the holidays
Project info
Difficulty: Easy
Platforms: Arduino
Estimated time: 1 hour
License: CERN Open Hardware Licence version 1.2 or later (CERN-OHL1.2+)
Items used in this project


Story
The Holiday Song Player plays classic Christmas songs from a piezo buzzer and syncs them with LED decorative lights.
I was inspired by Elegoo Mega Basic Starter Kit and the Elegoo Component Kit.
Setting up the LED's
 After setting up the LEDs
After setting up LEDs
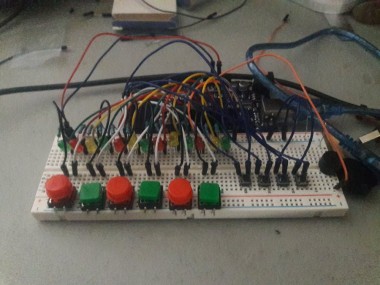
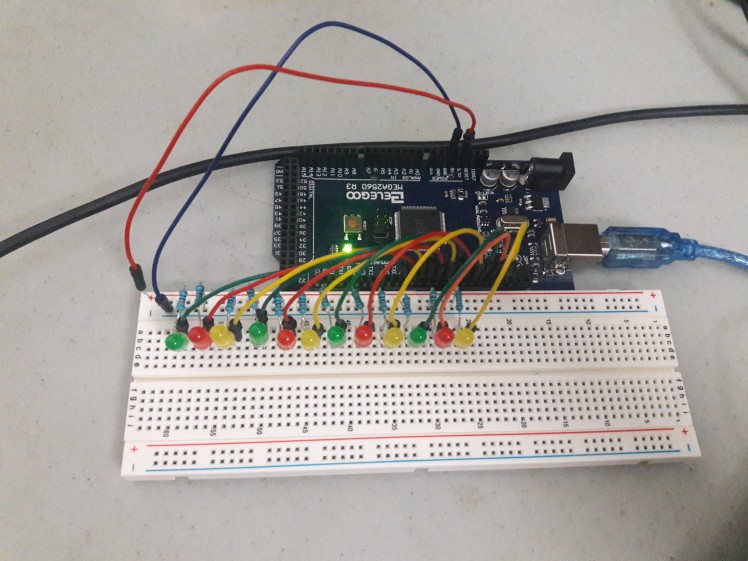
First off, we're going to setup our LEDs. Run jumper wires from your Mega's GND and 5v pins to your breadboard's power sockets. You'll need 13 LEDs of any color you like, though I chose green, red, and yellow as those are traditionally Christmas colors. You might notice that the image above only has 12 LEDs. I needed to add another one later because Jingle Bells needs an extra indicator. You'll also need 13 1K resistors, one for each LED. One by one, place your LEDs on your breadboard in your preferred arrangement. I placed mine in a line for demo purposes, but you could set them up as a snowman, bell, or anything else you come up with.
Now connect your resistors to the ground side of each one of your LEDs and connect the positive side to the digital pins 2-13 and 34. I wanted to leave the communication pins open because they might come in handy in other projects, so the last LED didn't fit and I set it to 34.
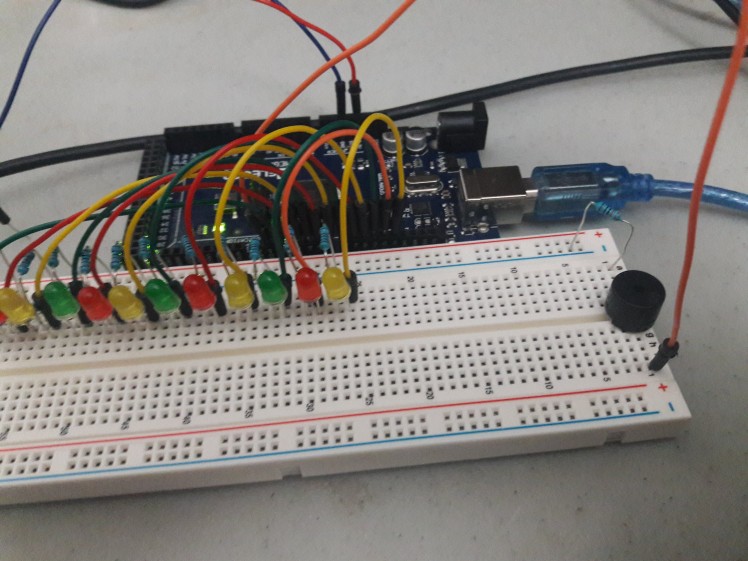 Adding the buzzer
Hook up your buzzer's positive side to pin 22 and the negative to ground using a 330 resistor. I used a larger one in the video just so it could be recorded better, but the one that comes with the Elegoo Mega Kit works just as well.
Adding the Buttons
After setting up the buttons
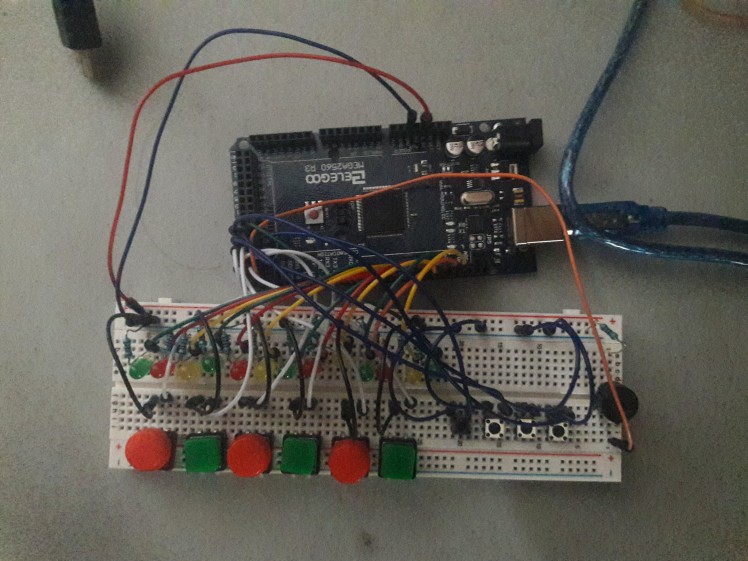
Next, we'll be adding some buttons to let you play notes and full songs. First off, grab six large buttons (red and green caps are optional) and place them on your breadboard. Make sure one half is hanging off! The back two pins must hang off because we don't have space to give each side half of the breadboard. In our sketch, we're using the internal pull-up resistors so that we don't have to use more resistors on the breadboard. This means that the default input read by the buttons' pins is HIGH, instead of LOW. That's already accounted for in the code, so if you want to use external resistors, you will need to modify it.
Connect one pin of each button to ground and the other to an input pin from 24-29. Start from right to left where the green button at the end is connected to pin 24.
After adding the large buttons which serve as our piano keys, go ahead and add 4 small buttons beside them. The first three buttons are each used to select a different song, with the fourth button's use left as an exercise to the reader. Connect one of the pins of each button to ground and the other to an input pin from 30-33. This one is left to right.
After doing this, everything is ready! Simply plug in your board and upload the code below to start playing!
Link to code: https://github.com/mitomon/MitosArduinoScripts
Special thanks to Elegoo for sponsoring this project.
Code
Credits
Related products


Leave your feedback...