

Hexabitz Greeting Card

Made by Aula_Jazmati / Art / Games & Gaming / Holidays / Kids & Family / Lights / Photos & Video
About the project
The main idea of this project is to simply make a light-up electronic greeting card with Hexabitz Modules.
Project info
Difficulty: Easy
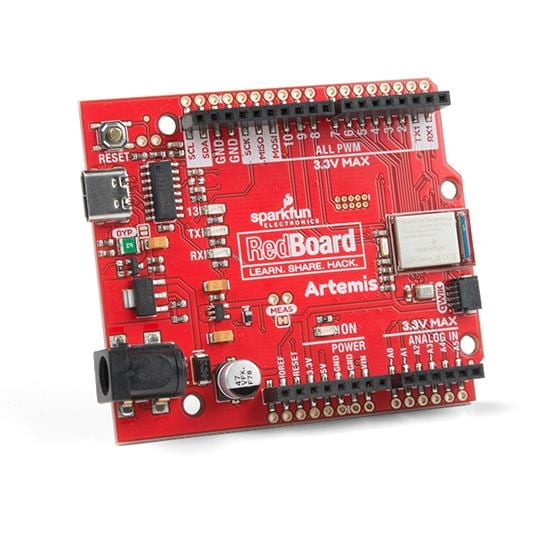
Platforms: SparkFun, STMicroelectronics
Estimated time: 1 hour
License: MIT license (MIT)
Items used in this project
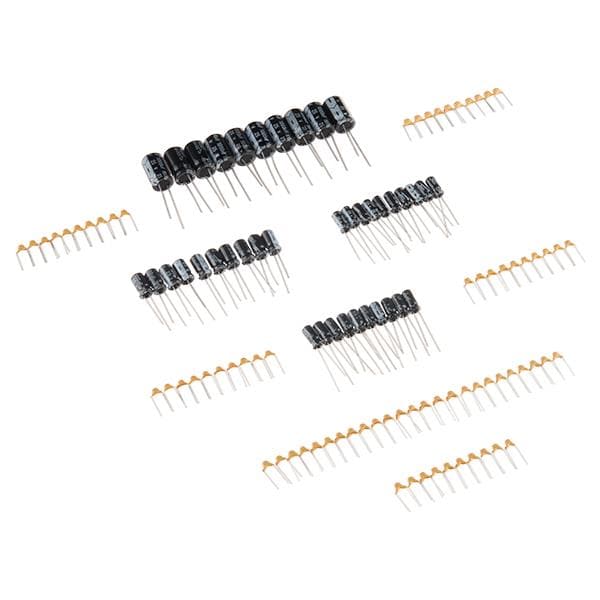
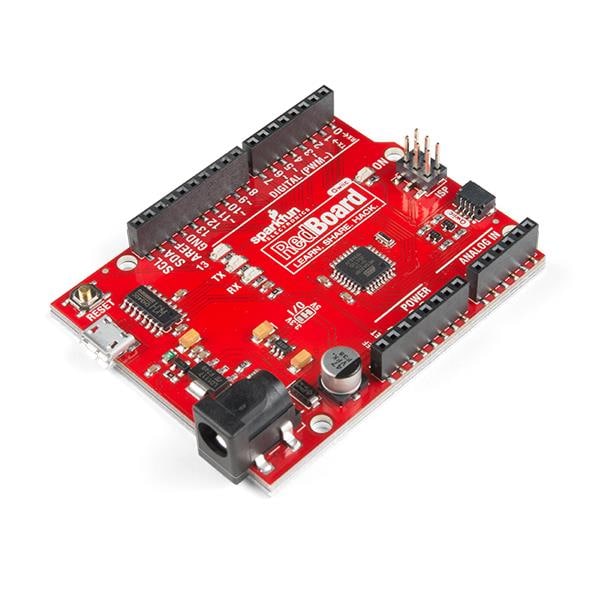
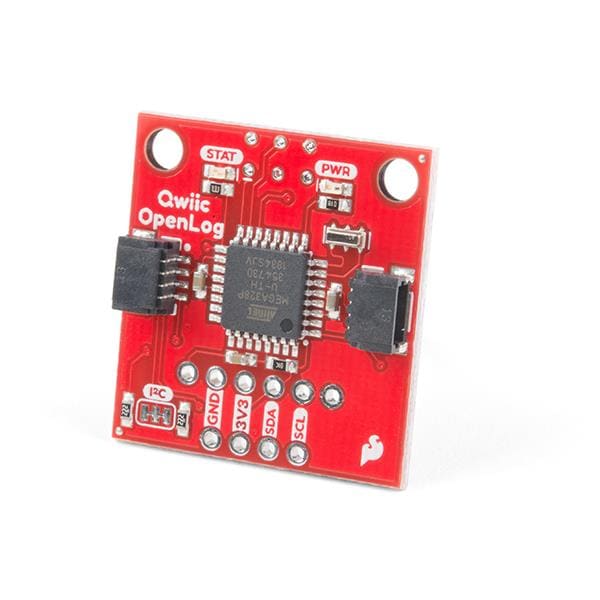
Hardware components

Story
The main idea of this project is to simply make something yourself. You do not have to build anything complicated; just learn how to make a greetings card instead of purchasing it from a store.
From doing so, you not only finish your own project, but also Shows your artistic touches and creative personality and gain new practical skills that go along with it.
We are going to learn how to make a light-up electronic greeting card with Hexabitz Modules.

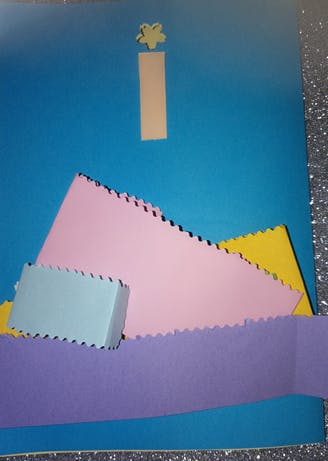
Choose your design:
We choose designs for greeting cards from krokotak website.
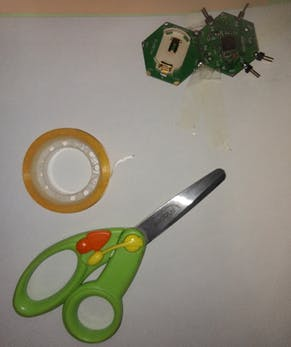
You'll need a window or hole to actually let the light shine through and holes for buttons. I cut out a flower shape with paper punches.


CLI Connection
1. Install MobaXtrem from here for Windows OS or we can install Putty for Linux/MacOS or Raspbian Buster like this guide.
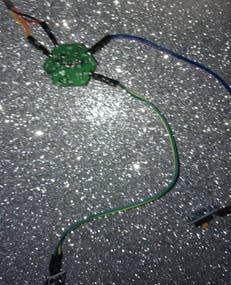
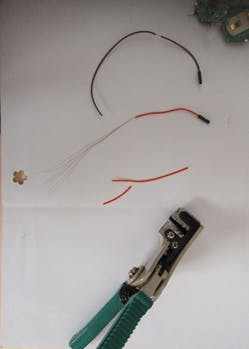
2. Connect the FTDI USB to UART Serial cable to the USB hub.
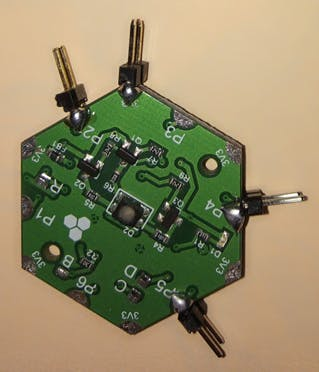
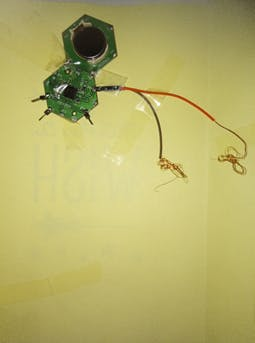
3. Solder a header connector to one of the power ports of module H01R00.
4. Connect the red wire of the FTDI cable to H01R00 module power port top side.
5. Connect the black wire of the FTDI cable to module power port bottom side.
6. Connect the yellow wire of the FTDI cable to module port P2 top side.
7. Connect the orange wire of the FTDI cable to module port P2 bottom side.
8. You should see a single red indicator LED blink on the module.
9. Open MobaXtrem and choose the settings in Attachment file.
10. Press enter in the Commands window, you should see BOS CLI welcome message. You can use backspace if you misspell a letter.
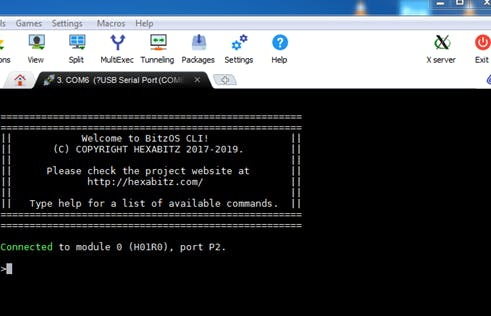
11. Type help to view a list of available Commands.
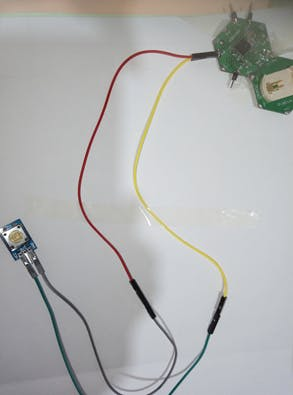
12. Solder two pins to port P4 of the H01R00 module.
13. In the module with tactile push button, type add-button momentary-no p4.
14. Type status and you will see the added button.
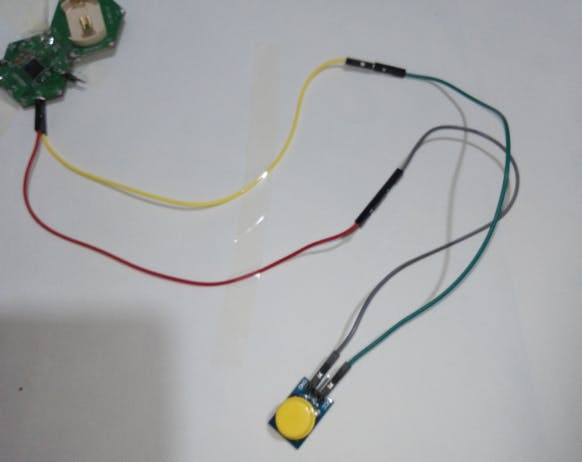
15. Solder two pins to port P5 of the H01R00 module.
16. In the module with tactile push button, type add-button momentary-no p5.
Command Snippets
1. Type the following commands each on a separate line followed by pressing enter:
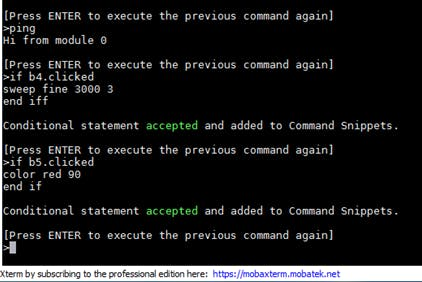
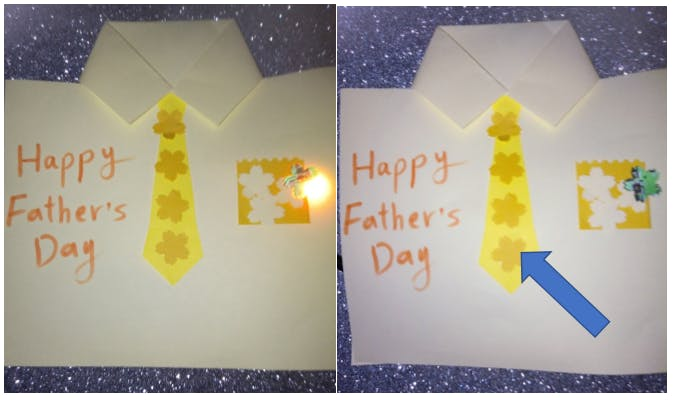
Now click the push buttons and you should see the result on Happy Birthday Card.


2. Type snip, to view the list of Command Snippets, then type del-snip 1 to delete Snippet 1. Snippets and button settings are stored permanently. If you power cycle the module, they are still there.
3. In addition, we can use this command for the second button in Happy birthday card:
if b5.pressed for 3
color red 90
end if
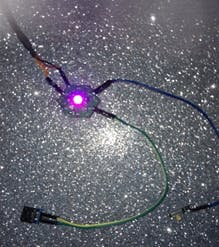
or this command to light up the RGB Led like Lightning during the storm (in Hello November card)
if b5.pressed for 3
pulseColor yellow 300 60 500
end if
4. Now let's try designing new models

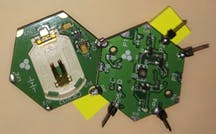
Prepare Battery Holder
To power the card we used (Hexabitz Coin Cell Battery Holders Module (H04R20)).
Its contain 2 x CR2032 coin lithium batteries in series.
Note that it's better to write Command Snippets using power from USB cable connection without batteries (to avoid power confusion and reset states). Once done, you can insert the batteries and then remove the USB cable.


Note:
We can use copper tape or jumper wires after removing their plastic wrap instead of buttons to make contact.

The video of greetings cards test:
References:
https://hexabitz.com/wiki/#command-snippets
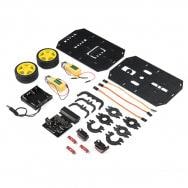
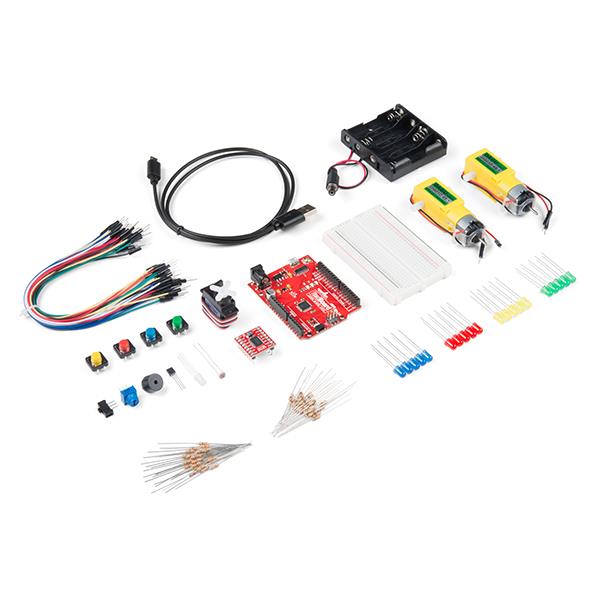
https://hexabitz.com/product/hexabitz-intro-kit/
Schematics, diagrams and documents
CAD, enclosures and custom parts
Credits
Related products


Leave your feedback...