

Getting Started With Electric Imp And Rgb Led Tail
About the project
Explains how to make a project using Electric Imp and NeoPixel shield.
Project info
Difficulty: Moderate
Platforms: Electric Imp
Estimated time: 5 hours
License: GNU General Public License, version 3 or later (GPL3+)
Items used in this project
Hardware components

Story
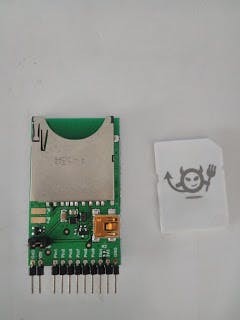
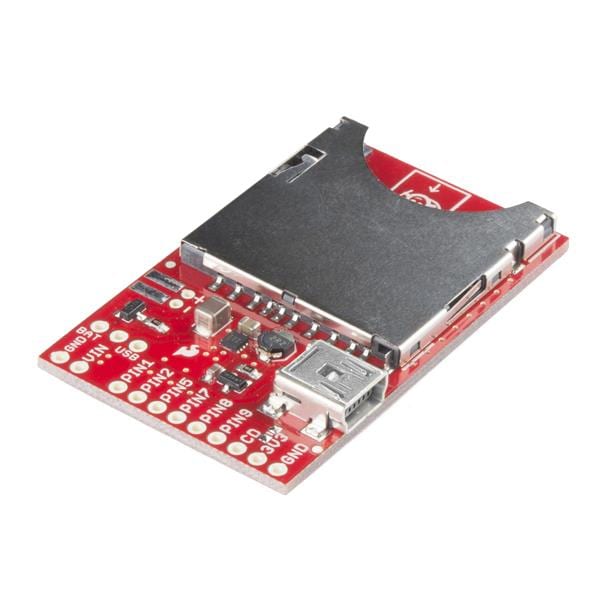
Electric Imp is again a cool DIY, WiFi-enabled development platform. It looks like an SD card! But it is not an SD card. This one is a Cortex M3 processor core. All stuff related to Electric Imp are highly innovative. When I got this card for the first time, I was really excited. "Wow, what a cool memory card!" - I thought. But when I read about this, I understood that this is not an SD card. We have already discussed a couple of WiFi development boards here, such as ESP8266 and Particle Photon.
Unlike others, there are some cool things in configuring an Electric Imp. WiFi configuration is transferred from smartphone to card, that's done optically. Yeah! The WiFi credentials are transferred to Electric Imp card using Electric Imp app. All the coding is in web IDE. We have to write a device code and agent code for a web based app development using Electric Imp. Coding is done in Electric Imp IDE. Imp is housed during working in Impee April or other breakout hookup boards. This is a memory-card shield-like device. Coding in Imp is in language “Squirrel” which is very similar to C programming.
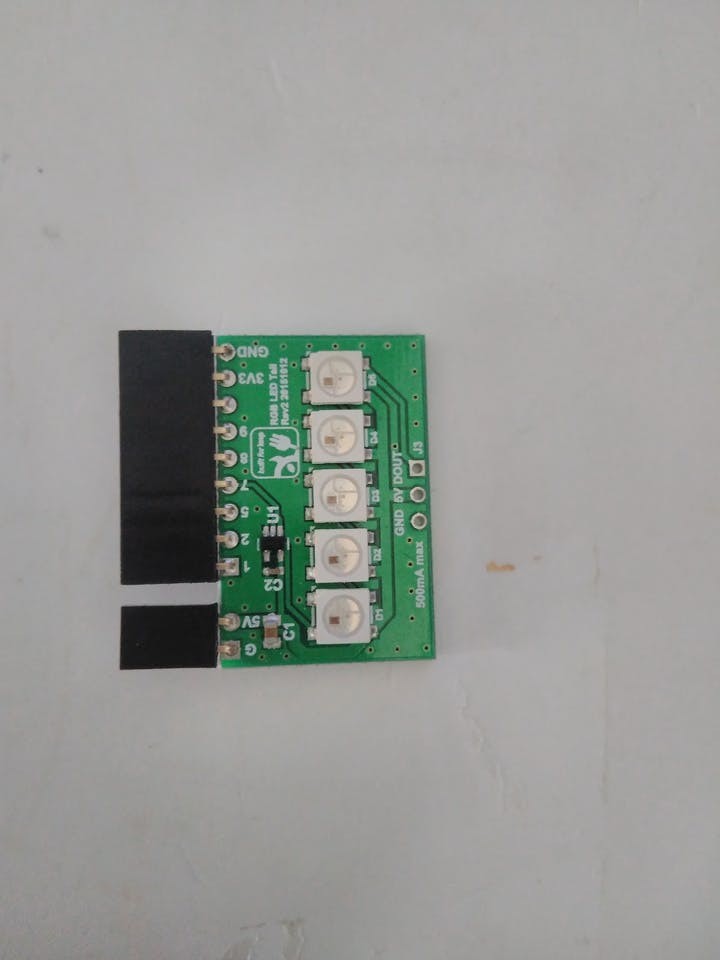
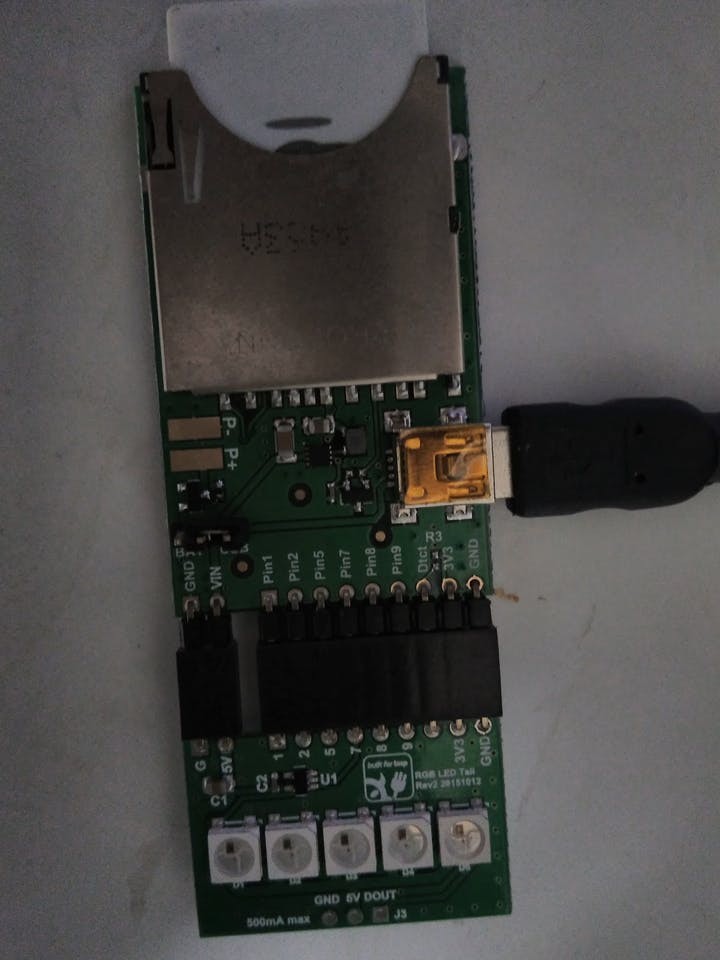
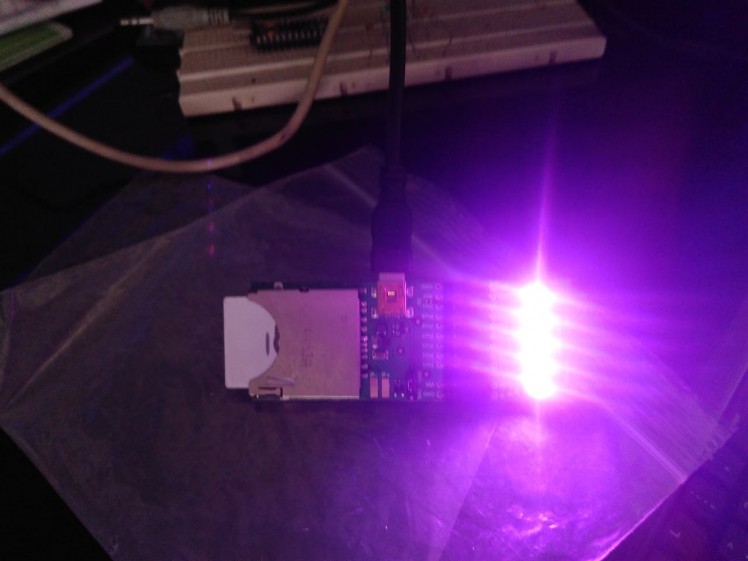
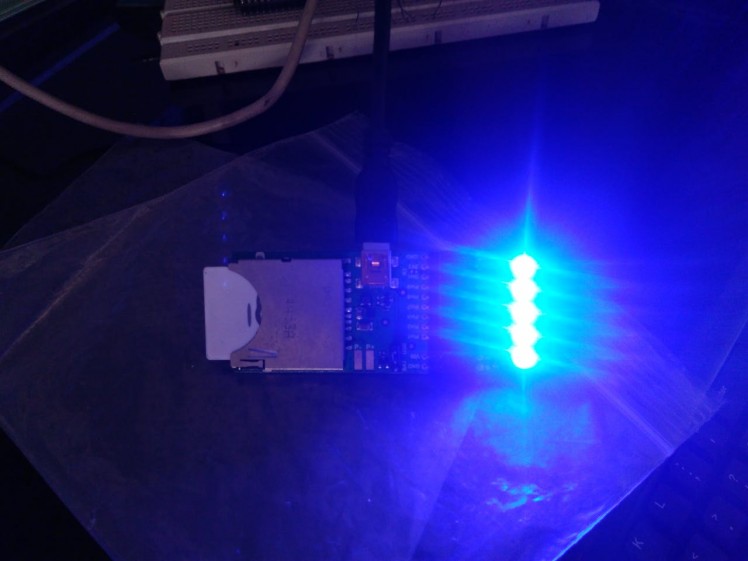
Imp with NeopixelThere are many ready-to-connect shields available for Electric Imp. RGB LED tail and env sensor tail are examples. This tutorial explains a simple demo project with RGB LED tail. For this, you need to create an account in Electric Imp. You should sign into the Electric Imp mobile app and set WiFi credentials. Then we can create the model in IDE. We will have to create two code parts:
- The device code
- The agent code
1 / 2
// DEVICE CODE
#require "WS2812.class.nut:2.0.1"
// CONSTANTS
const NUMPIXELS = 5;
const DELAY = 0.02;
const SPICLK = 7500; // kHz
const COLORDELTA = 8;
// GLOBALS
spi <- hardware.spi257;
spi.configure(MSB_FIRST, SPICLK);
pixelStrip <- WS2812(spi, NUMPIXELS);
// Color values
redVal <- 0; greenVal <- 0; blueVal <- 0;
redDel <- 1; greenDel <- 1; blueDel <- 1;
redOn <- true; greenOn <- false; blueOn <- false;
timer <- null;
pixel <- 0;
pDelta <- 1;
// FUNCTIONS
function glowinit(dummy) {
   // All the pixels run through the full range of colors
   if (timer != null) imp.cancelwakeup(timer);
   // Set up initial color and pixel values
   redVal = 0; greenVal = 0; blueVal = 0;
   redDel = COLORDELTA; greenDel = COLORDELTA; blueDel = COLORDELTA;
   redOn = true; greenOn = false; blueOn = false;
   // Start the effect
   glow();
}
function glow() {
   for (local i = 0 ; i < NUMPIXELS ; i++) pixelStrip.set(i, [redVal, greenVal, blueVal]);
   pixelStrip.draw();
   adjustColors();
   timer = imp.wakeup(DELAY, glow);
}
function randominit(dummy) {
   // A random pixel glows a random color
   if (timer != null) imp.cancelwakeup(timer);
   random();
}
function random() {
   pixelStrip.fill([0,0,0]).draw();
   redVal = ran(255); greenVal = ran(255); blueVal = ran(255);
   pixel = ran(NUMPIXELS);
   pixelStrip.set(pixel, [redVal, greenVal, blueVal]);
   pixelStrip.draw();
   timer = imp.wakeup(DELAY * 2, random);
}
function looperinit(dummy) {
   // The pixels run through all the colors.
   // Only one pixel is illuminated at once
   if (timer != null) imp.cancelwakeup(timer);
   redVal = 0; greenVal = 0; blueVal = 0;
   redDel = COLORDELTA; greenDel = COLORDELTA; blueDel = COLORDELTA;
   redOn = true; greenOn = false; blueOn = false;
   pixel = 0; pDelta = 1;
   looper();
}
function looper() {
   pixelStrip.fill([0,0,0]).draw();
   pixelStrip.set(pixel, [redVal, greenVal, blueVal]).draw();
   ++pixel;
   if (pixel > 4) pixel = 0;
   adjustColors();
   timer = imp.wakeup(DELAY, looper);
}
function larsoninit(dummy) {
   if (timer != null) imp.cancelwakeup(timer);
   redVal = 0; greenVal = 0; blueVal = 0;
   redDel = COLORDELTA; greenDel = COLORDELTA; blueDel = COLORDELTA;
   redOn = true; greenOn = false; blueOn = false;
   pixel = 0; pDelta = 1;
   larson();
}
function larson() {
   pixelStrip.fill([0,0,0]).draw();
   pixel = pixel + pDelta;
   if (pixel > 7) {
       pDelta = -1; pixel = 6;
   }
   if (pixel < 0) {
       pDelta = 1; pixel = 1;
   }
   if (redOn) {
       redVal = redVal + redDel;
       if (redVal > 127) {
           redDel = COLORDELTA * -1; greenOn = true;
       }
       if (redVal < 1) {
           redDel = COLORDELTA; redOn = false;
       }
   }
   if (greenOn) {
       greenVal = greenVal + greenDel;
       if (greenVal > 127) {
           greenDel = COLORDELTA * -1; blueOn = true;
       }
       if (greenVal < 1) {
           greenDel = COLORDELTA; greenOn = false;
       }
   }
   if (blueOn) {
       blueVal = blueVal + blueDel;
       if (blueVal > 127) {
           blueDel = COLORDELTA * -1; redOn = true;
       }
       if (blueVal < 1) {
           blueDel = COLORDELTA; blueOn = false;
       }
   }
   pixelStrip.set(pixel, [redVal, greenVal, blueVal]);
   pixelStrip.set(15 - pixel, [redVal, greenVal, blueVal]);
   pixelStrip.draw();
   timer = imp.wakeup(DELAY, larson);
}
function ran(max) {
   // Generate a pseudorandom number between 0 and (max - 1)
   local roll = 1.0 * math.rand() / RAND_MAX;
   roll = roll * max;
   return roll.tointeger();
}
function adjustColors() {
   if (redOn) {
       redVal = redVal + redDel;
       if (redVal > 254) {
           redVal = 256 - COLORDELTA; redDel = COLORDELTA * -1; greenOn = true;
       }
       if (redVal < 1) {
           redDel = COLORDELTA; redOn = false; redVal = 0;
       }
   }
   if (greenOn) {
       greenVal = greenVal + greenDel;
       if (greenVal > 254) {
           greenDel = COLORDELTA * -1; blueOn = true; greenVal = 256 - COLORDELTA;
       }
       if (greenVal < 1) {
           greenDel = COLORDELTA; greenOn = false; greenVal = 0;
       }
   }
   if (blueOn) {
       blueVal = blueVal + blueDel;
       if (blueVal > 254) {
           blueDel = COLORDELTA * -1; redOn = true; blueVal = 256 - COLORDELTA;
       }
       if (blueVal < 1) {
           blueDel = COLORDELTA; blueOn = false; blueVal = 0;
       }
   }
}
function setColor(color) {
   if (timer!= null) imp.cancelwakeup(timer);
   pixelStrip.fill([0,0,0]).draw();
   local colors = split(color, ".");
   local red = colors[0].tointeger();
   if (red < 0) red = 0;
   if (red > 255) red = 255;
   local green = colors[1].tointeger();
   if (green < 0) green = 0;
   if (green > 255) green = 255;
   local blue = colors[2].tointeger();
   if (blue < 0) blue = 0;
   if (blue > 255) blue = 255;
   for (local i = 0 ; i < NUMPIXELS ; i++) pixelStrip.set(i, [red, green, blue]);
   pixelStrip.draw();
}
// START OF PROGRAM
// Register handlers for messages from the agent
agent.on("glow", glowinit);
agent.on("looper", looperinit);
agent.on("larson", larsoninit);
agent.on("random", randominit);
agent.on("setcolor", setColor);
// Pick a random effect to begin with
switch (ran(4)) {
   case 0:
       glowinit(true);
       break;
   case 1:
       randominit(true);
       break;
   case 2:
       looperinit(true);
       break;
   case 3:
       larsoninit(true);
}
 function requestHandler(request, response) {
   try {
       if ("setcolor" in request.query) {
           device.send("setcolor", request.query.setcolor);
           response.send(200, "Color Set");
           return;
       }
       if ("glow" in request.query) {
           device.send("glow", true);
           response.send(200, "Glow effect on");
           return;
       }
       if ("random" in request.query) {
           device.send("random", true);
           response.send(200, "Random effect on");
           return;
       }
       if ("looper" in request.query) {
           device.send("looper", true);
           response.send(200, "Looper effect on");
           return;
       }
       if ("larson" in request.query) {
           device.send("larson", true);
           response.send(200, "Larson effect on");
           return;
       }
       response.send(200, "Waiting for a command");
   } catch (error) {
       server.log("Error: " + error);
   }
}
// Reqister the handler to deal with incoming requests
http.onrequest(requestHandler);
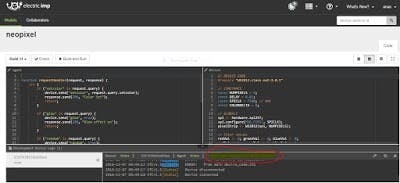
Now flash the above device code to your Imp. After flashing, you can see that when the device is online, the agent will also be online. Now you will get an agent link so that you can change the light effects in NeoPixel.
For example, consider this agent link. You can change the effect ”glow” to “looper” by changing the URL as https://agent.electricimp.com/BbM3A-Q4XQcJ?looper.
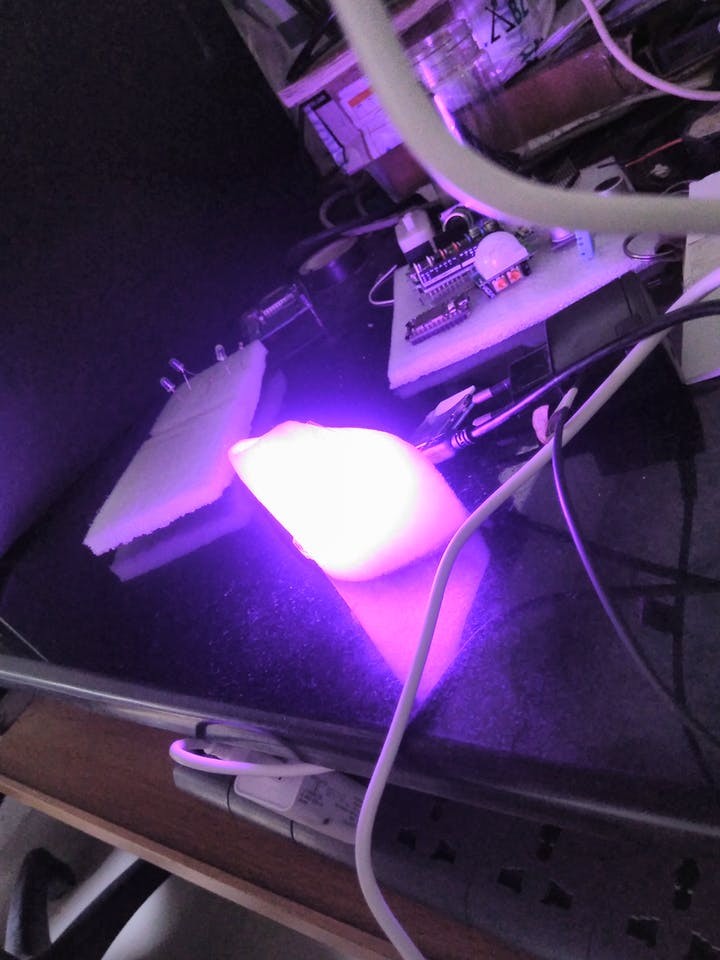
Here I made a simple DIY decoration lamp using this thing:
1 / 3
Please find the videos here:
My blog on this is here.
Code
Credits

Related products


Leave your feedback...