
Espboy - Esp12e Based Gaming Console

Made by mr-x / Displays / Games & Gaming / Lights / Photos & Video / Robotics
About the project
let's build a retro gaming console
Items used in this project
Hardware components

Software apps and online services
Story
Hello there,
In this tutorial, I will make a gaming console using an esp12e and OLED display. With this console, We can play different types of retro games like snake, space war, duck hunt etc. so let’s get started with the tutorial.
PROTOTYPE
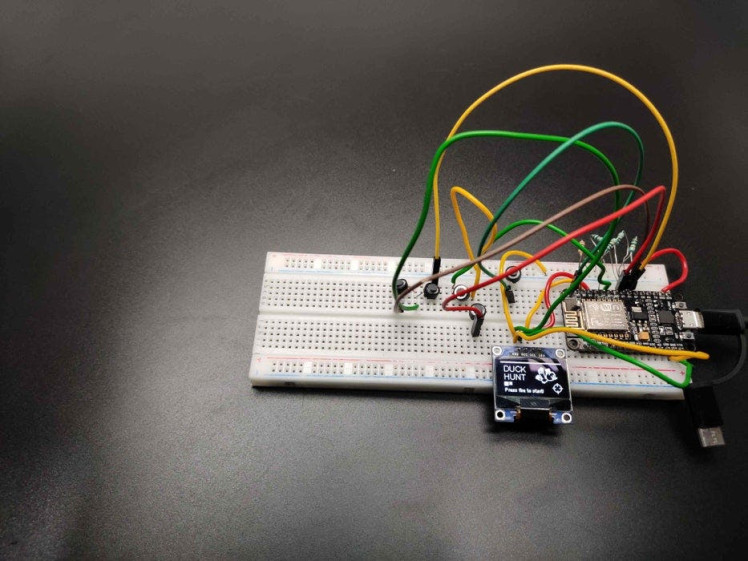
First, I made a prototype on the breadboard to confirm everything is working. Here I used the nodemcu development board. You can see lots of wires and connections so we can’t play games like this.
CIRCUIT DIAGRAM
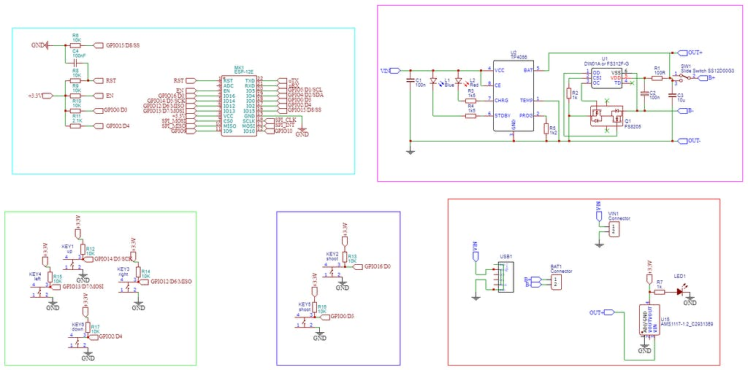
To turn this into a good-looking gaming console I decided to make a PCB. In easyeda, I designed the circuit. The main component or the brain of our console is this ESP 12e board. Then I included the buttons for controlling the OLED display and also included a lithium-ion battery charging circuit.
Download the circuit diagram from here
PCB DESIGNING
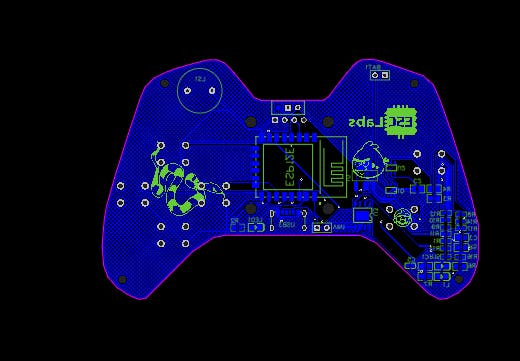
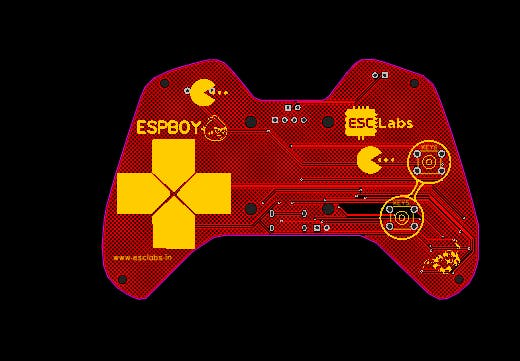
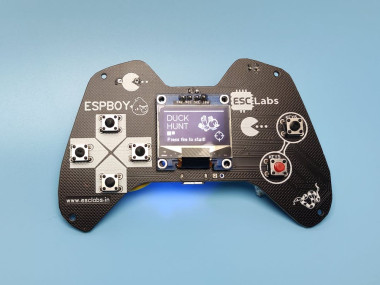
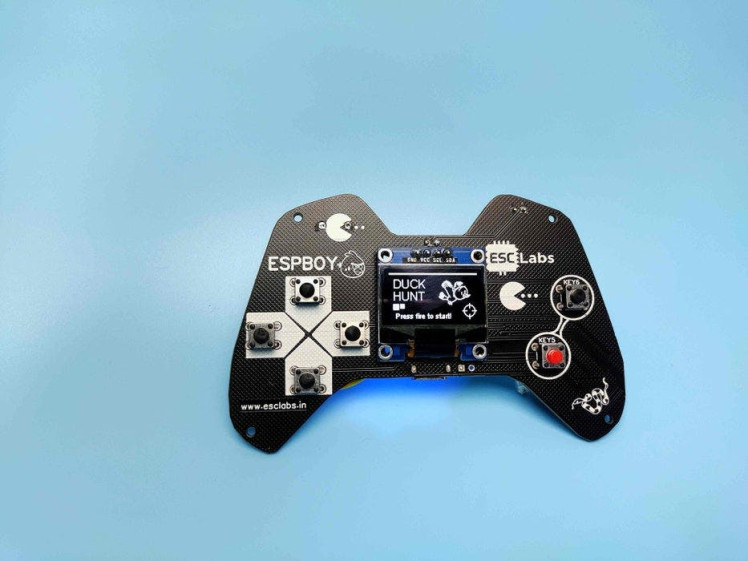
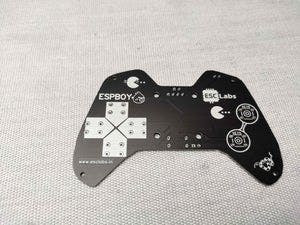
After designing the circuit I converted the circuit diagram into PCB. Here I made the PCB like a real game console. So we can use this Console without using any extra support.
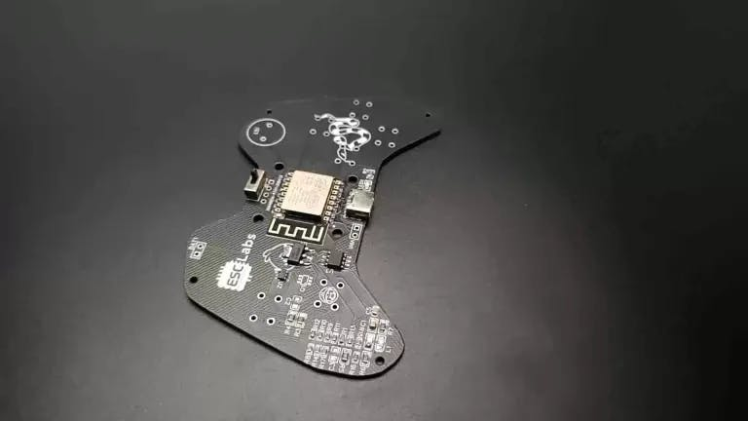
After designing the PCB our PCB looks like this. And I downloaded the Gerber file for PCB fabrication
PCB FABRICATION
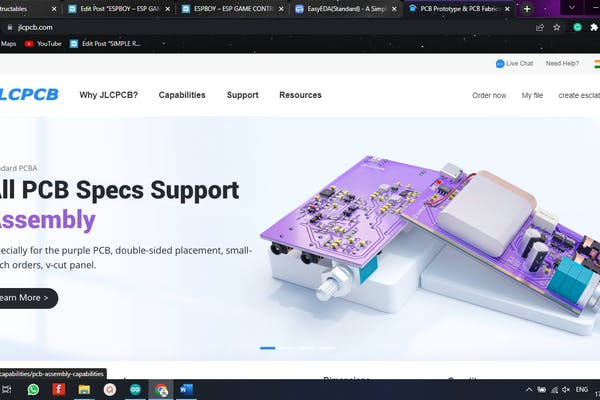

To fabricate PCBs I went to JLCPCB.com JLCPCB provides the best PCB fabrication, PCB assembly and 3d printing services for a cheap price. You can assemble your PCBs from jlcpcb to save time and the assembly starts from 0 dollars.
To order PCBs just click on order now and upload the Gerber file. After uploading we can select the quantity colour thickness etc. Here I choose the black colour and selected the shipping method and finally placed the order.
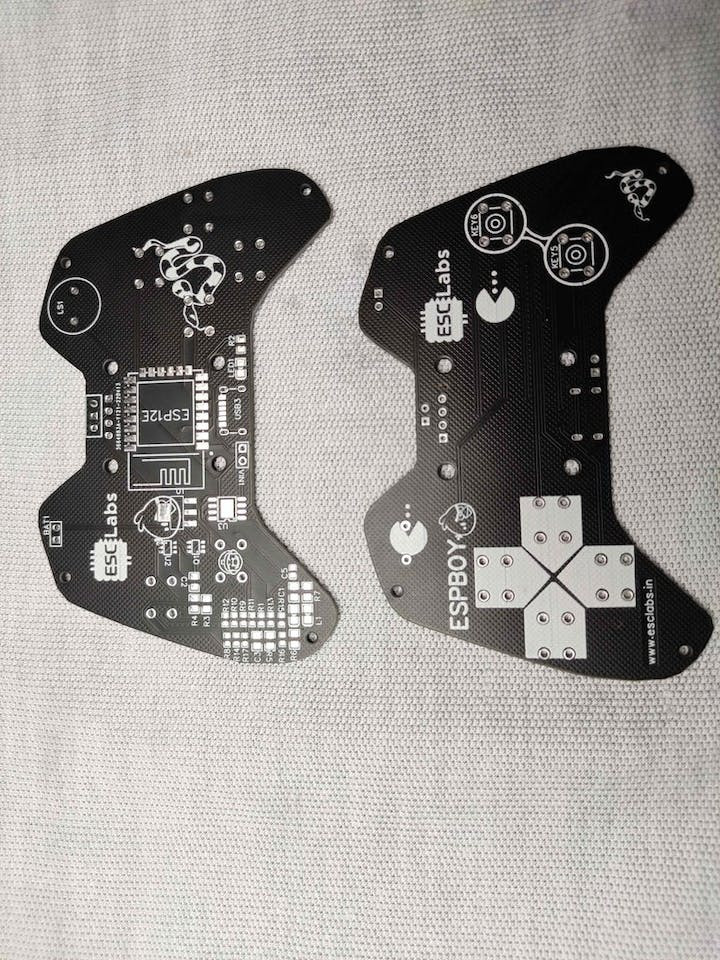
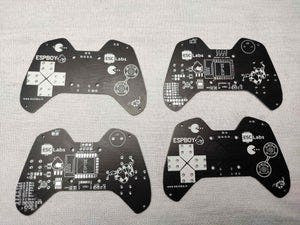
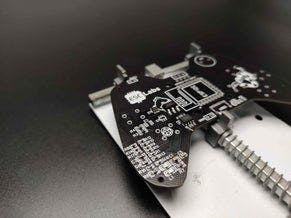
After 2 weeks I received the PCBs from JLCPCB. Here are our PCBs. it looks nice and the quality is superb
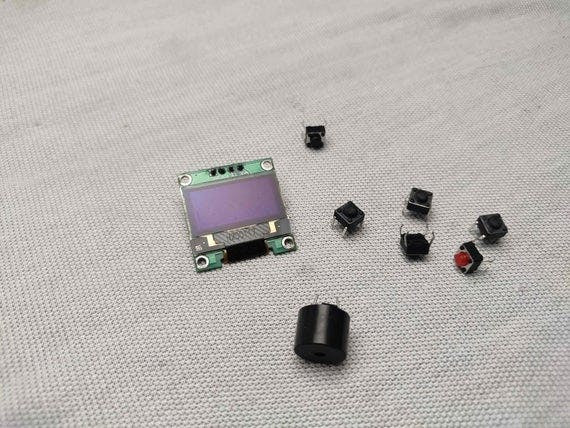
COMPONENTS NEEDED
- ESP12E/12F
- 128*64 OLED
- BUTTON SWITCH*6
- BUZZER
- 3.3V AMS1117 REGULATOR
- 0805 SMD RESISTORS-10K*12
- 0805 SMD RESISTORS-1.5K*2
- 0805 SMD RESISTORS-1K*2
- 0805 SMD RESISTORS-1.2K*1
- 0805 SMD CAPACITOR-100NF*2
- TP4056 IC
- DW01A or FS312F-G
- FS8205
- SWITCH*1
COMPONENTS SOLDERING
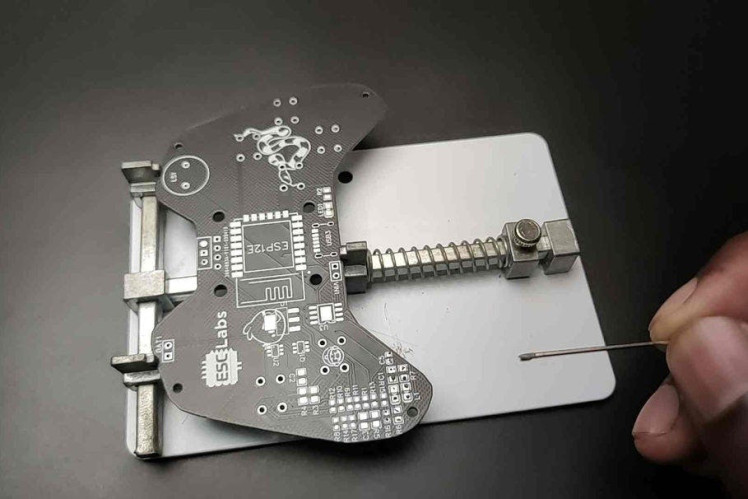
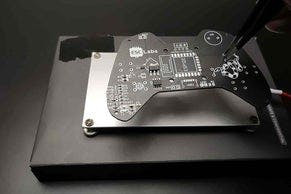
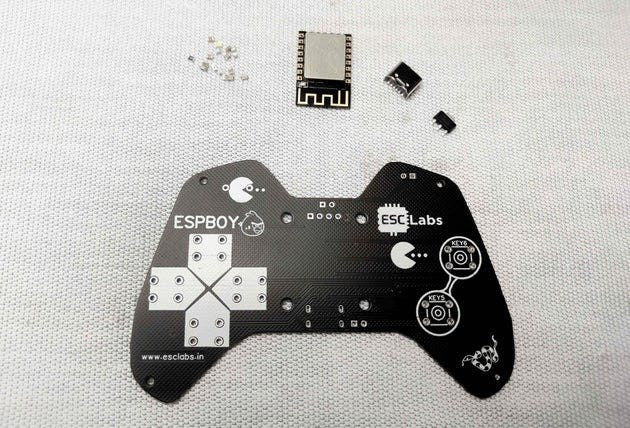
Now let’s solder the components to the PCB. Here you can see most of the components are SMD components so I decided to go with the reflow method. So first I dispensed the solder paste using a needle. Then I placed all components one by one. After placing all the small SMD components I placed the PCB on my DIY hotplate. then I heated the hotplate. After finishing that I soldered the type c USB port now it’s time to place the esp12e.
Before placing and soldering the esp12e I uploaded code to esp12e using my esp programmer. After uploading the code to esp12e I soldered the module to PCB then I added the switches for controlling and soldered and also added a buzzer for sound. After finishing the soldering Finally, I added the 128*64 OLED display and battery to PCB. And that’s it.
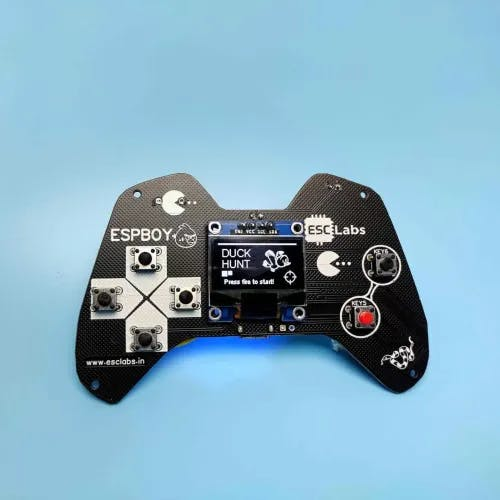
Now let’s turn on the Console and play the game. So the first game is duck hunt this code is developed by the Volos project. The game is simple we can move the pointer using the left-right key and we can shoot using the shoot key. Small ducks have higher points than big ducks. A simple but good game. Next is the legendary snake game. No need to explain this.
Download the CODE diagram from here
Okay, so this is how I made my gaming console we can add more games and menus to this console. I will do that later. So that’s all about today hope you enjoyed and learned something from my tutorial. Thanks and happy making.
Schematics, diagrams and documents
Code
Credits
Related products


Leave your feedback...