
Engineeringdads/smart-humidifier

Made by engineering-dads / 3D Printing / Environmental Sensing / Home Automation / IoT
About the project
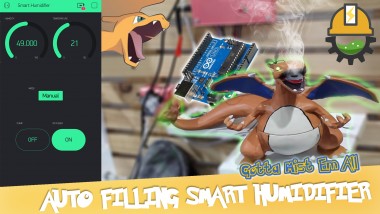
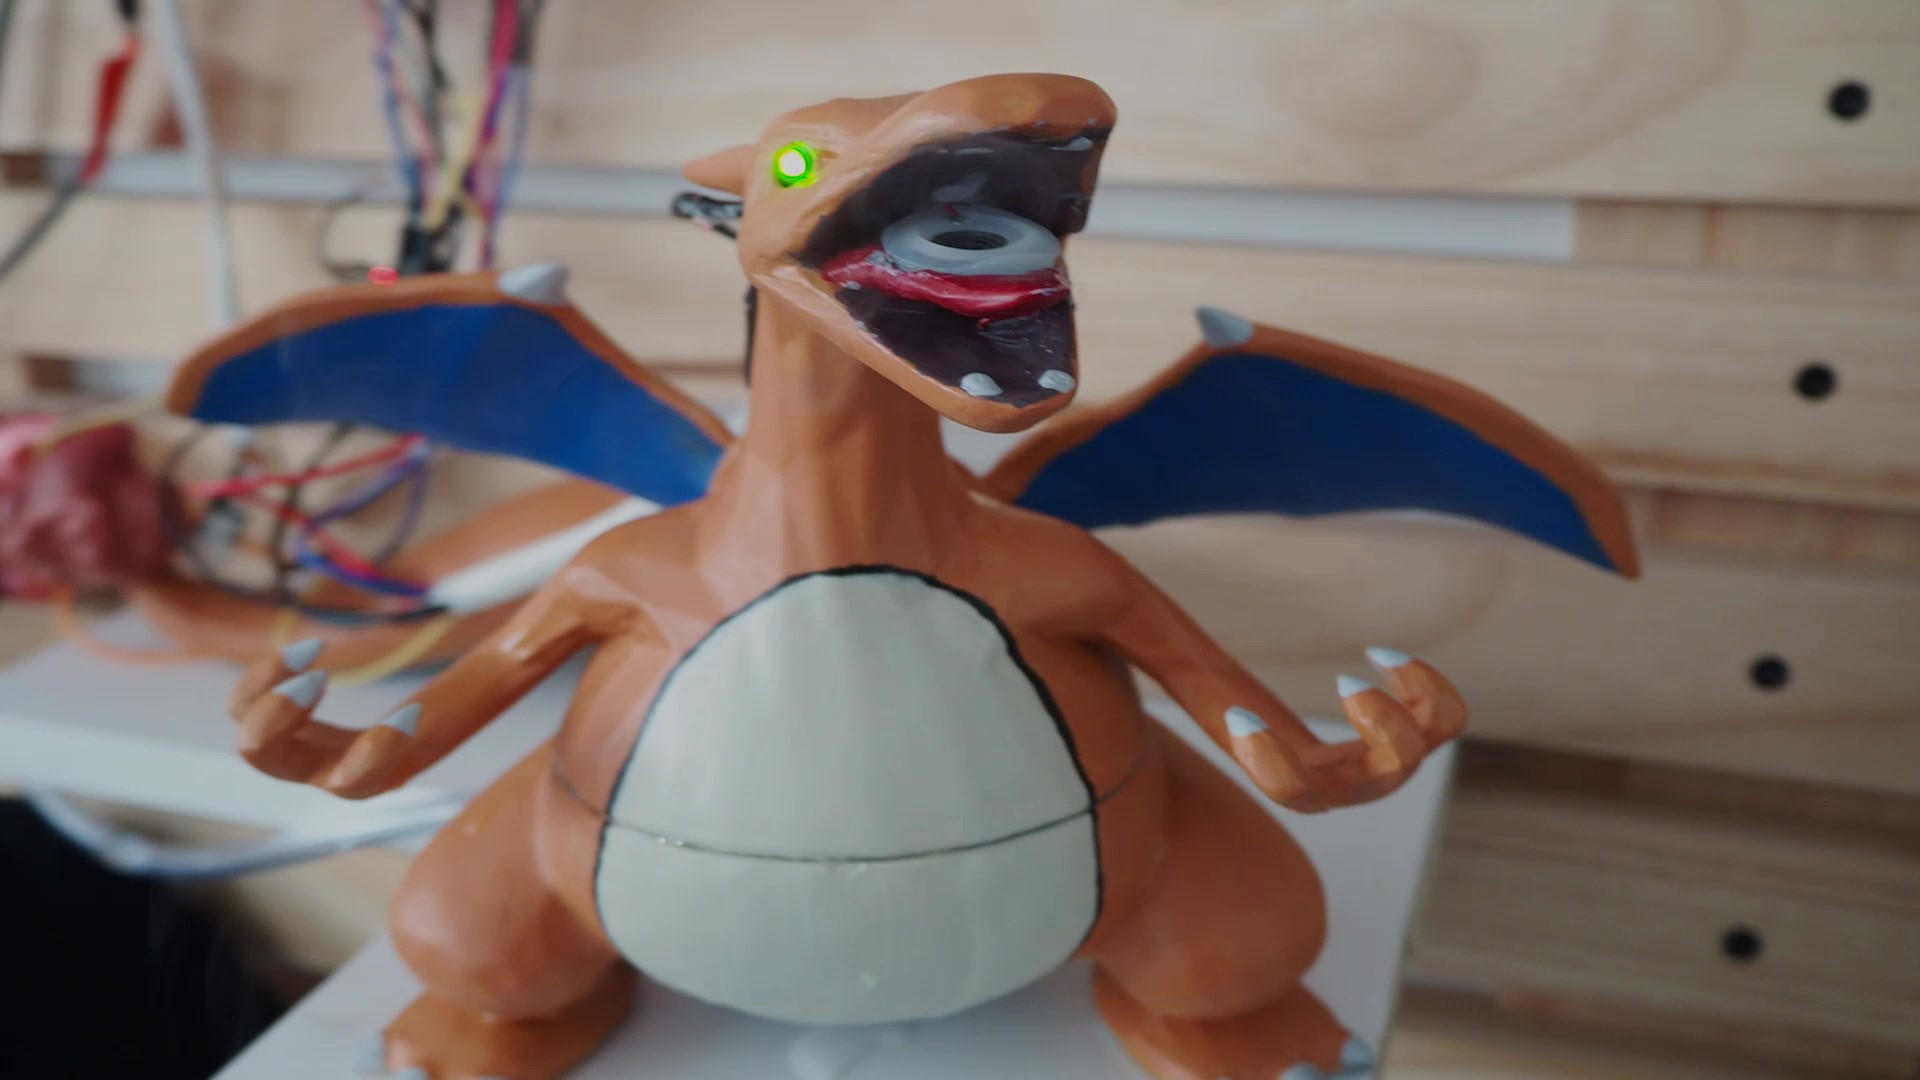
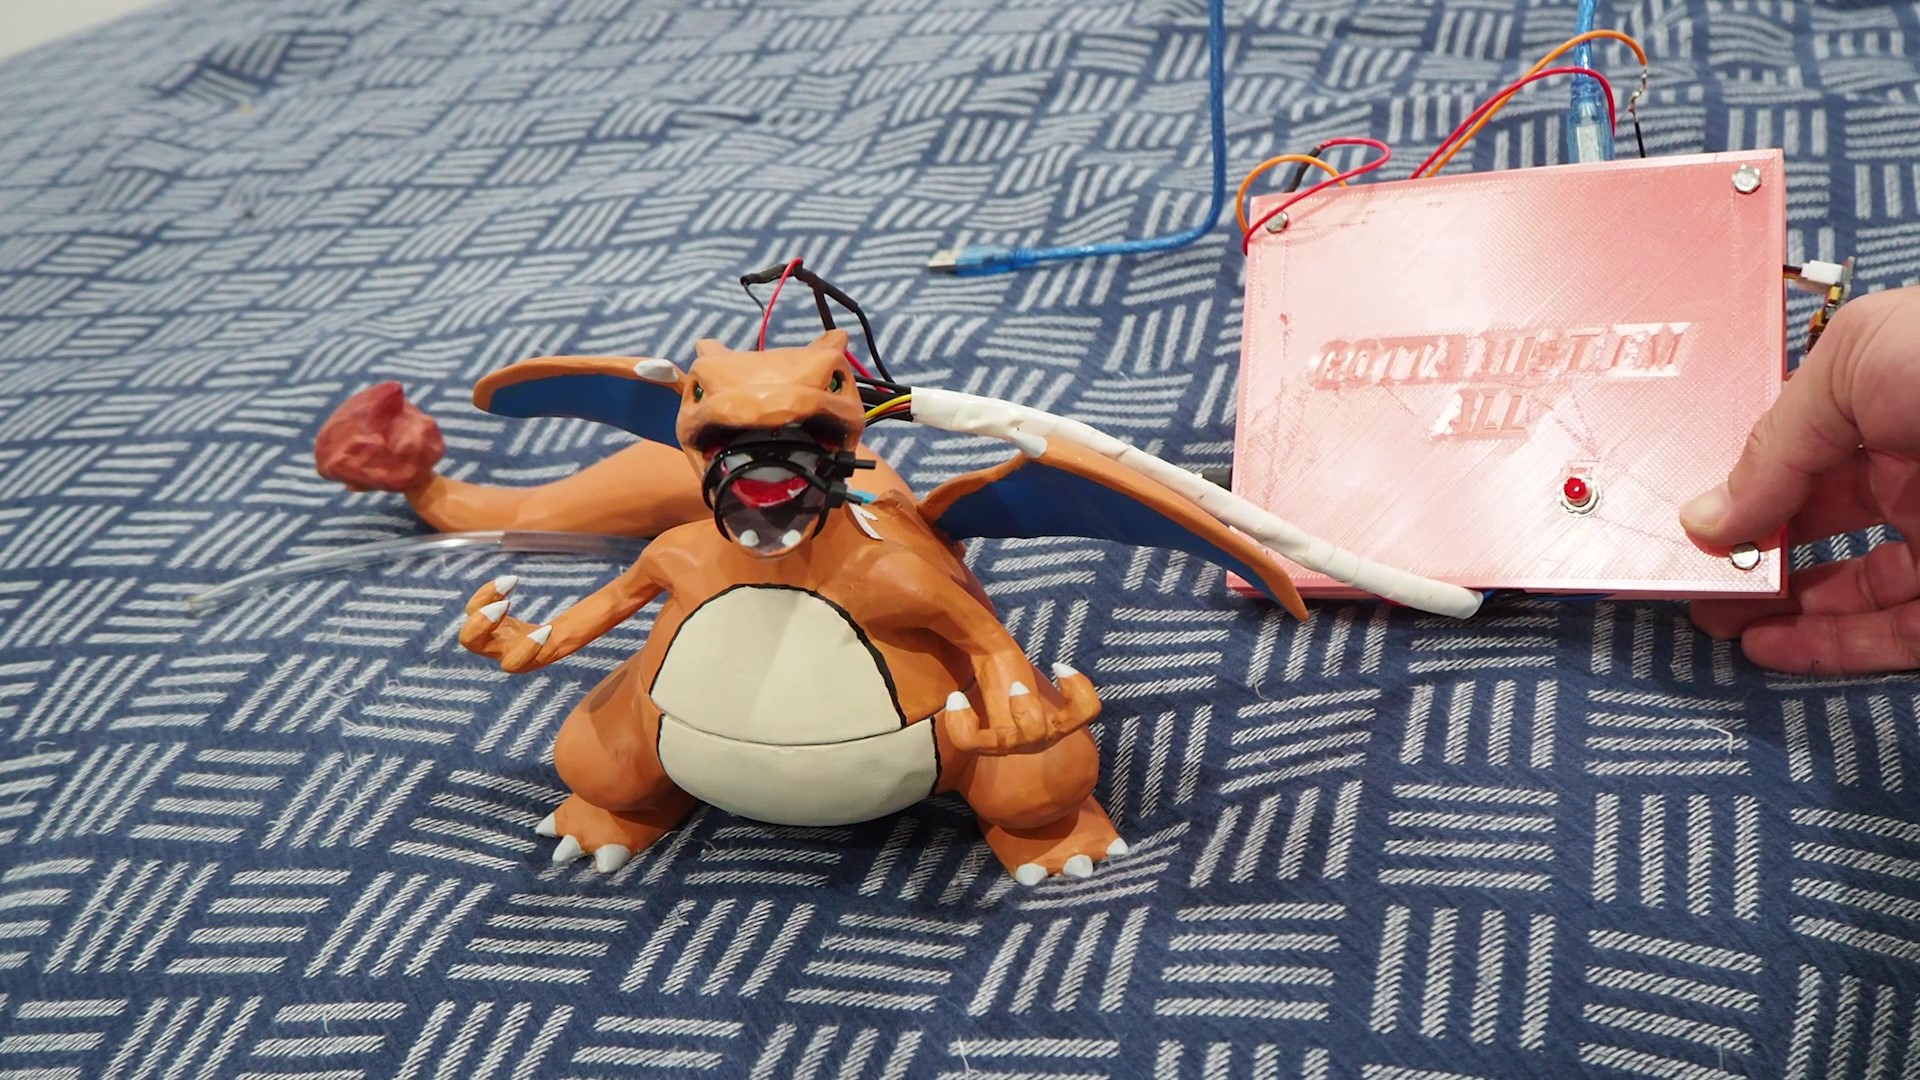
A smart humidifier that fills itself up... It's also Charizard!
Items used in this project
Hardware components


View all
Hand tools and fabrication machines
Story
Full project video can be found at: https://www.youtube.com/watch?v=8aF8Ct1oWLQ
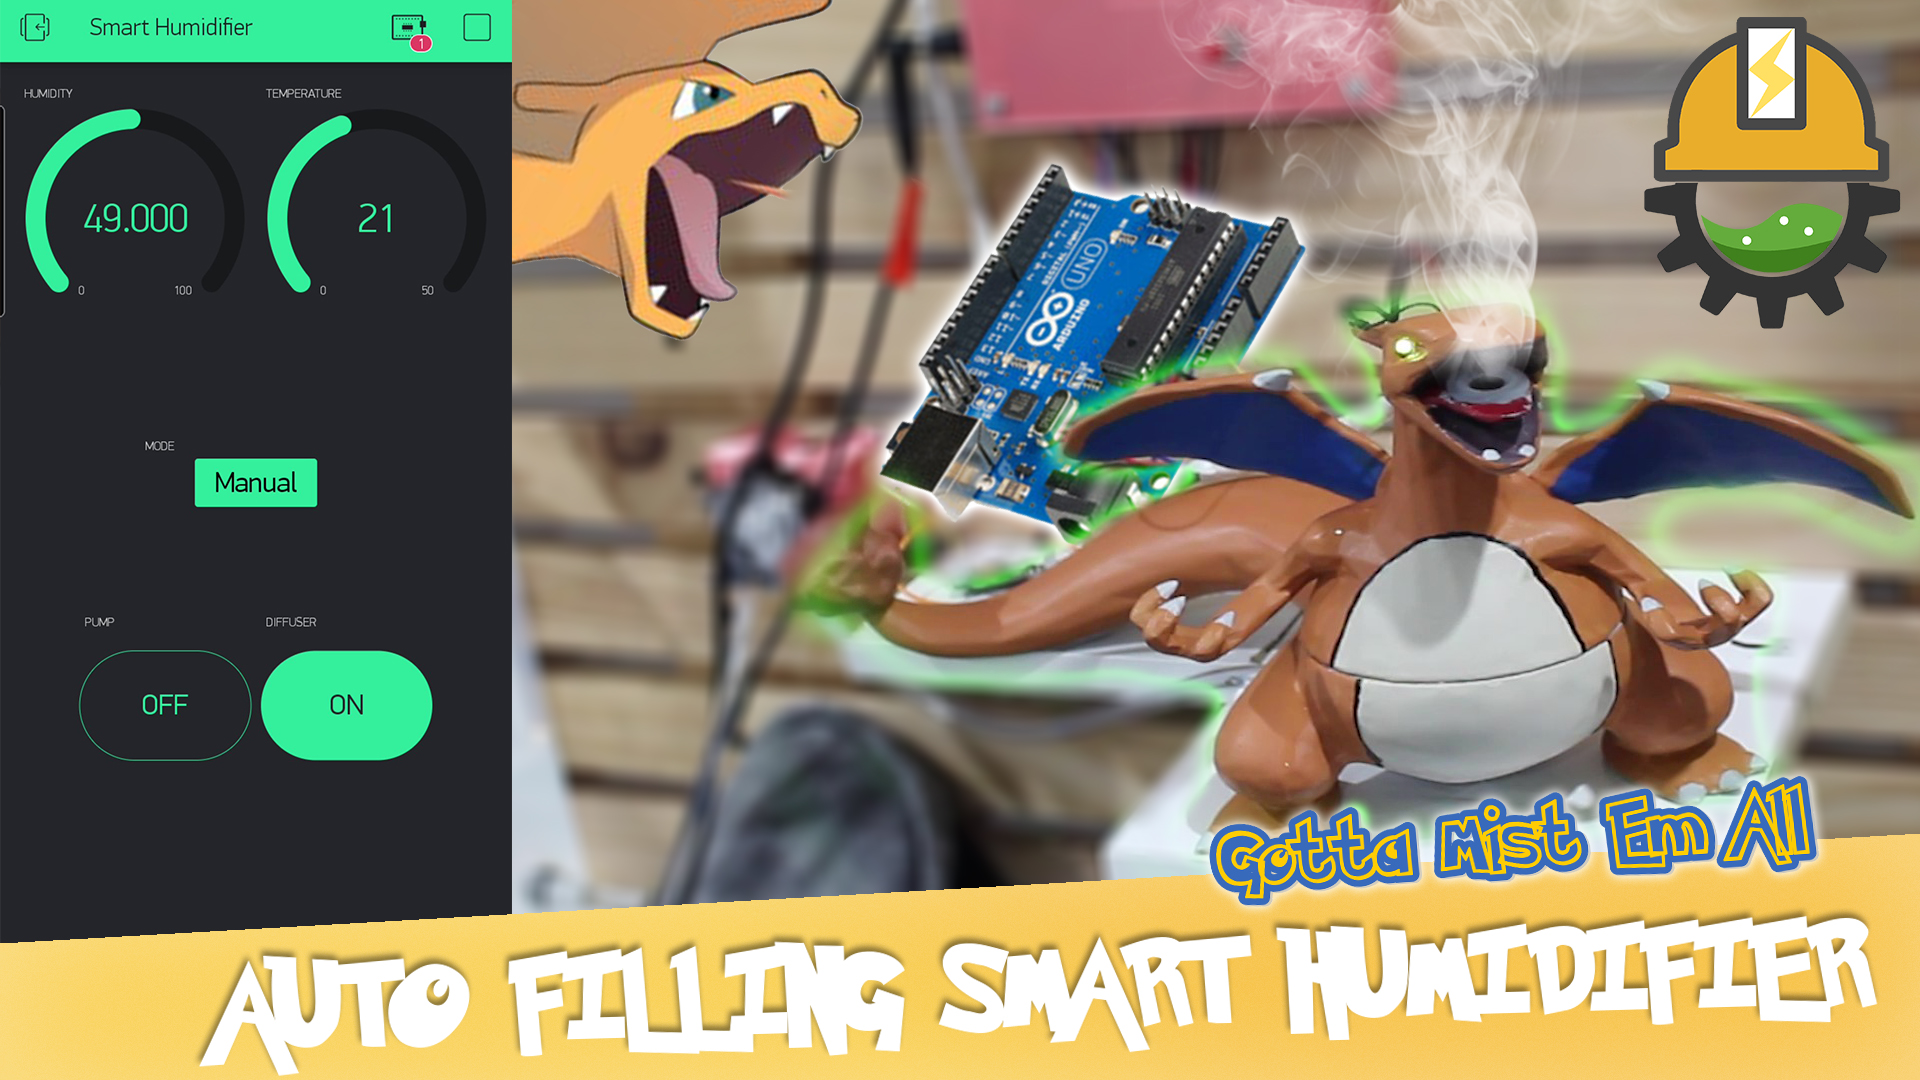
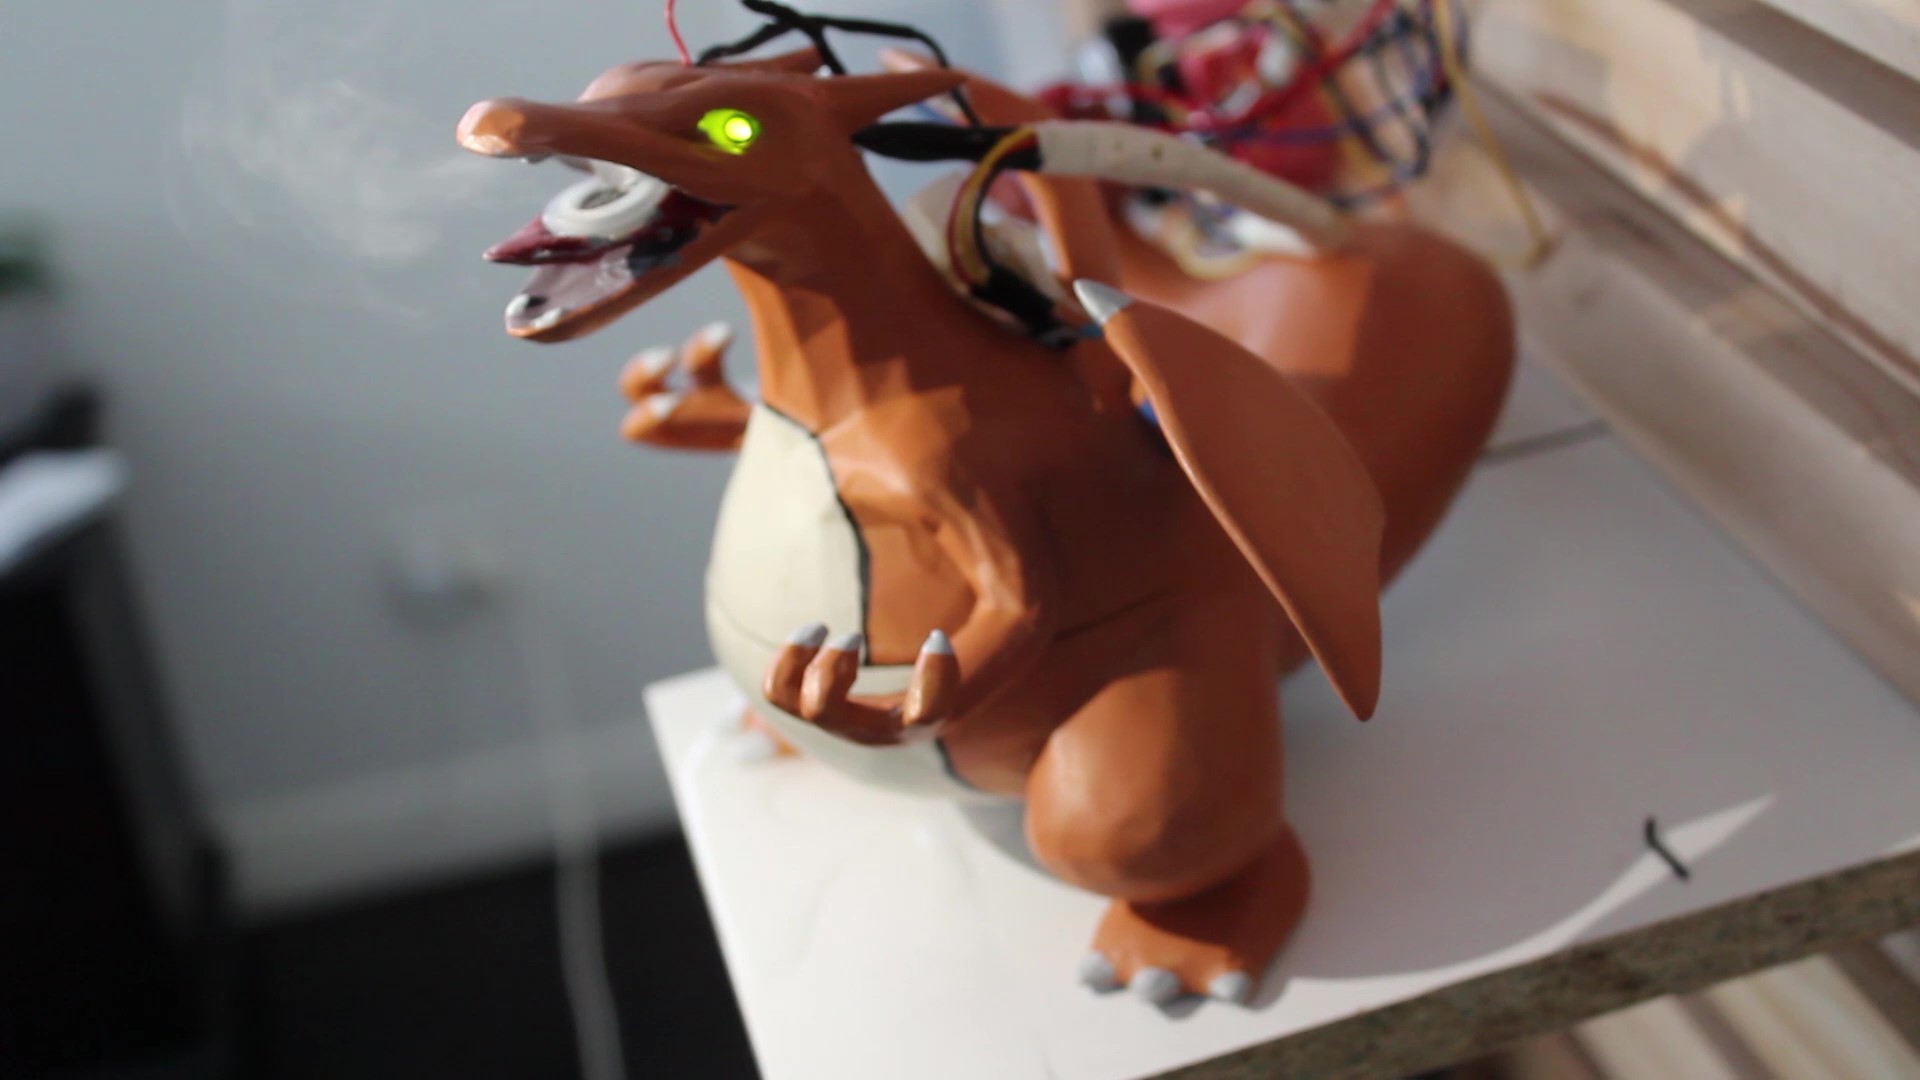
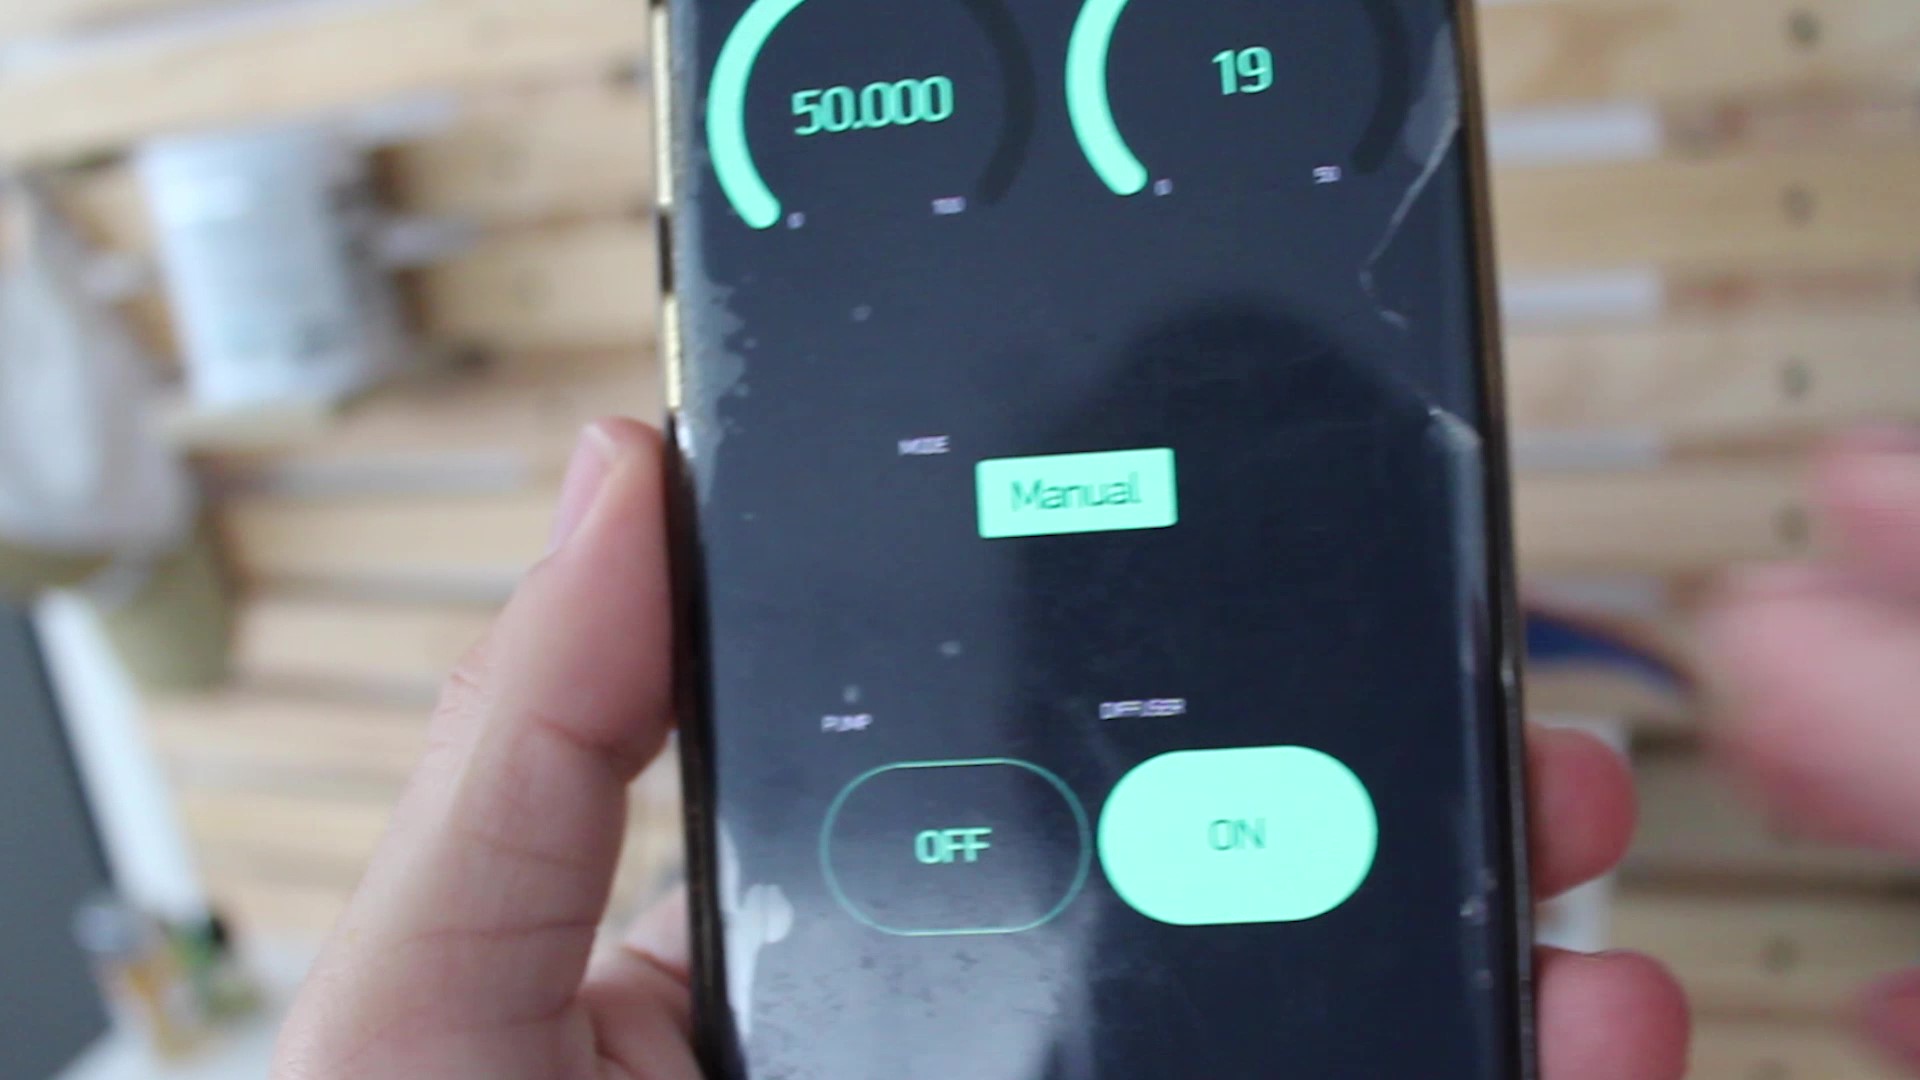
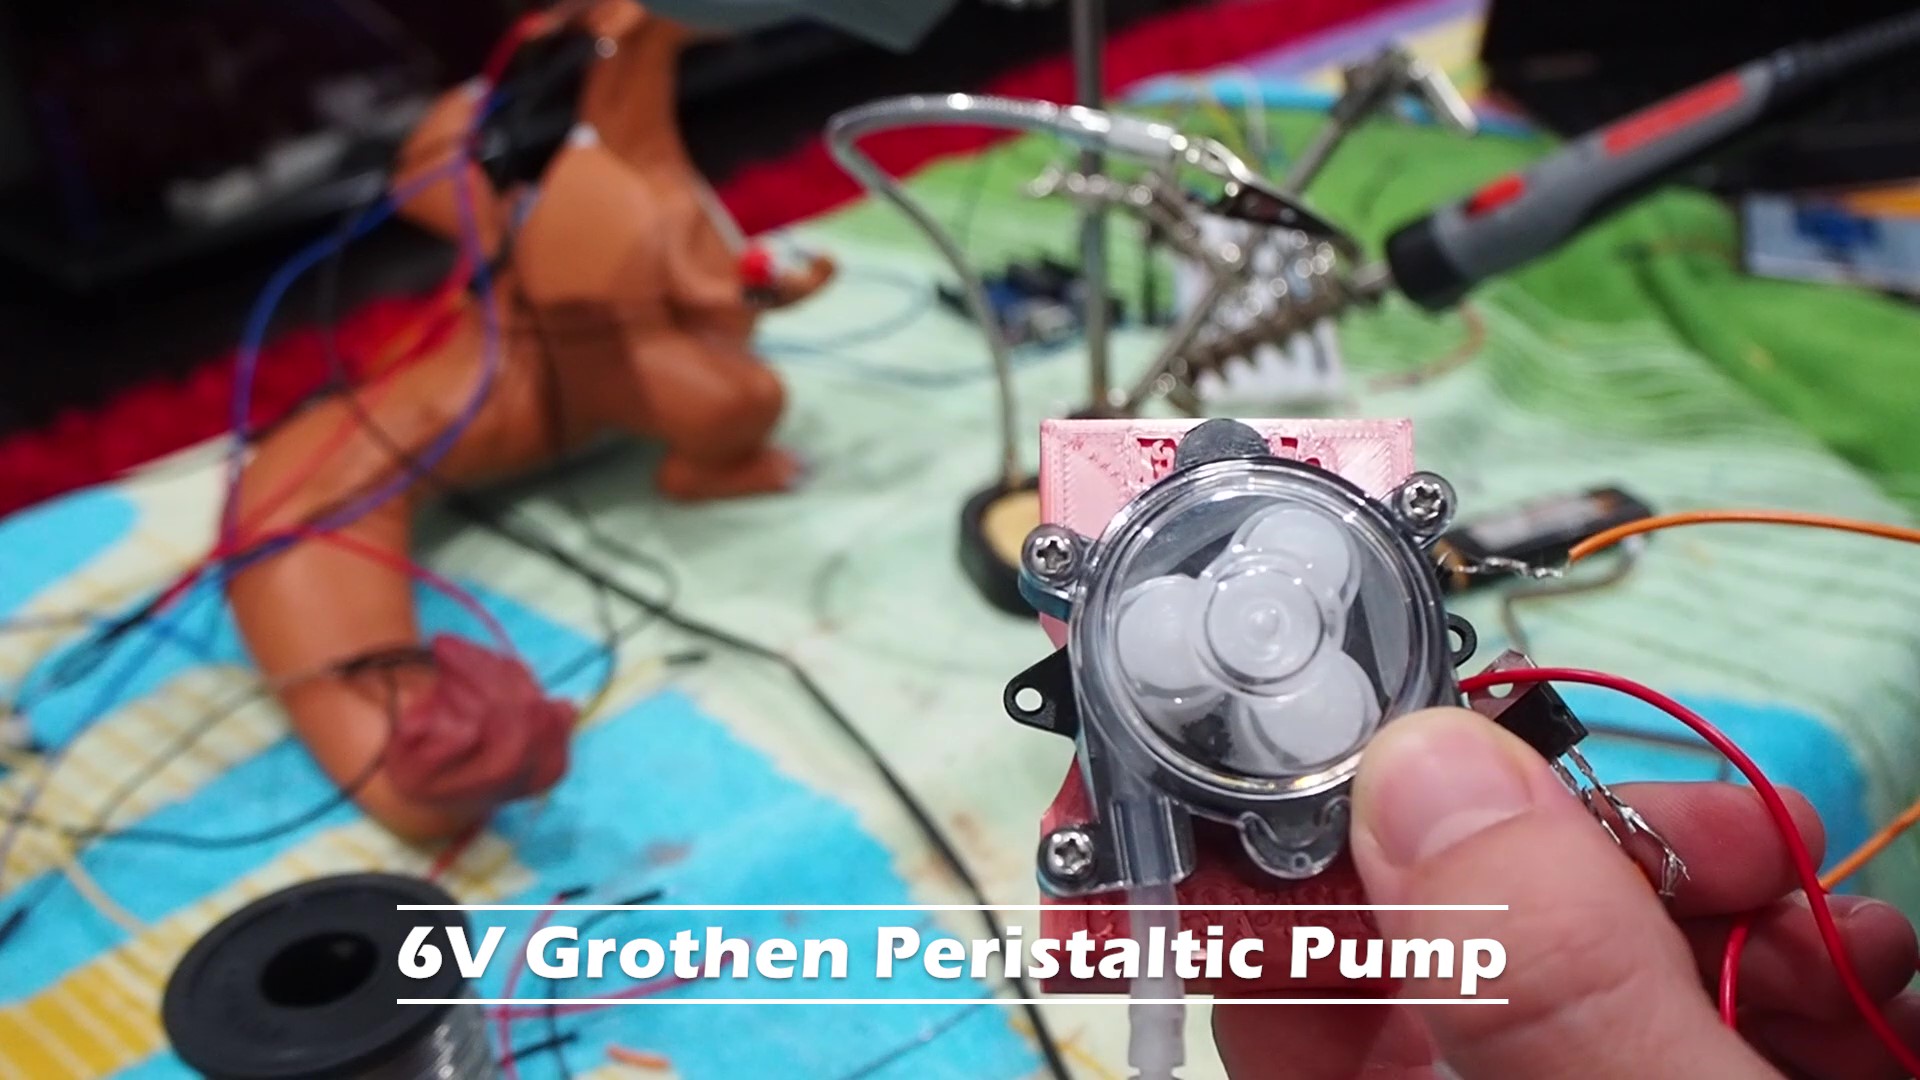
This is a completely automated, smart essential oils diffuser that we built using Arduino and an ESP8266 module. The device is controlled through Blynk IoT and allows multiple mode of operation. In auto mode, the diffuser will mist when the humidity, as measured by a DHT11 sensor is lower than 80%. Once humidity exceeds 80%, the diffuser will then shut off. In manual mode, users have the option to run the diffuser at their own command. There is also the option to run the 6V peristaltic pump, which will cut out when the LED lights on Charizard's eyes start flashing. The pump is controlled using an n-type mosfet, which is powered using a 12v power supply and a DC-DC buck converter.
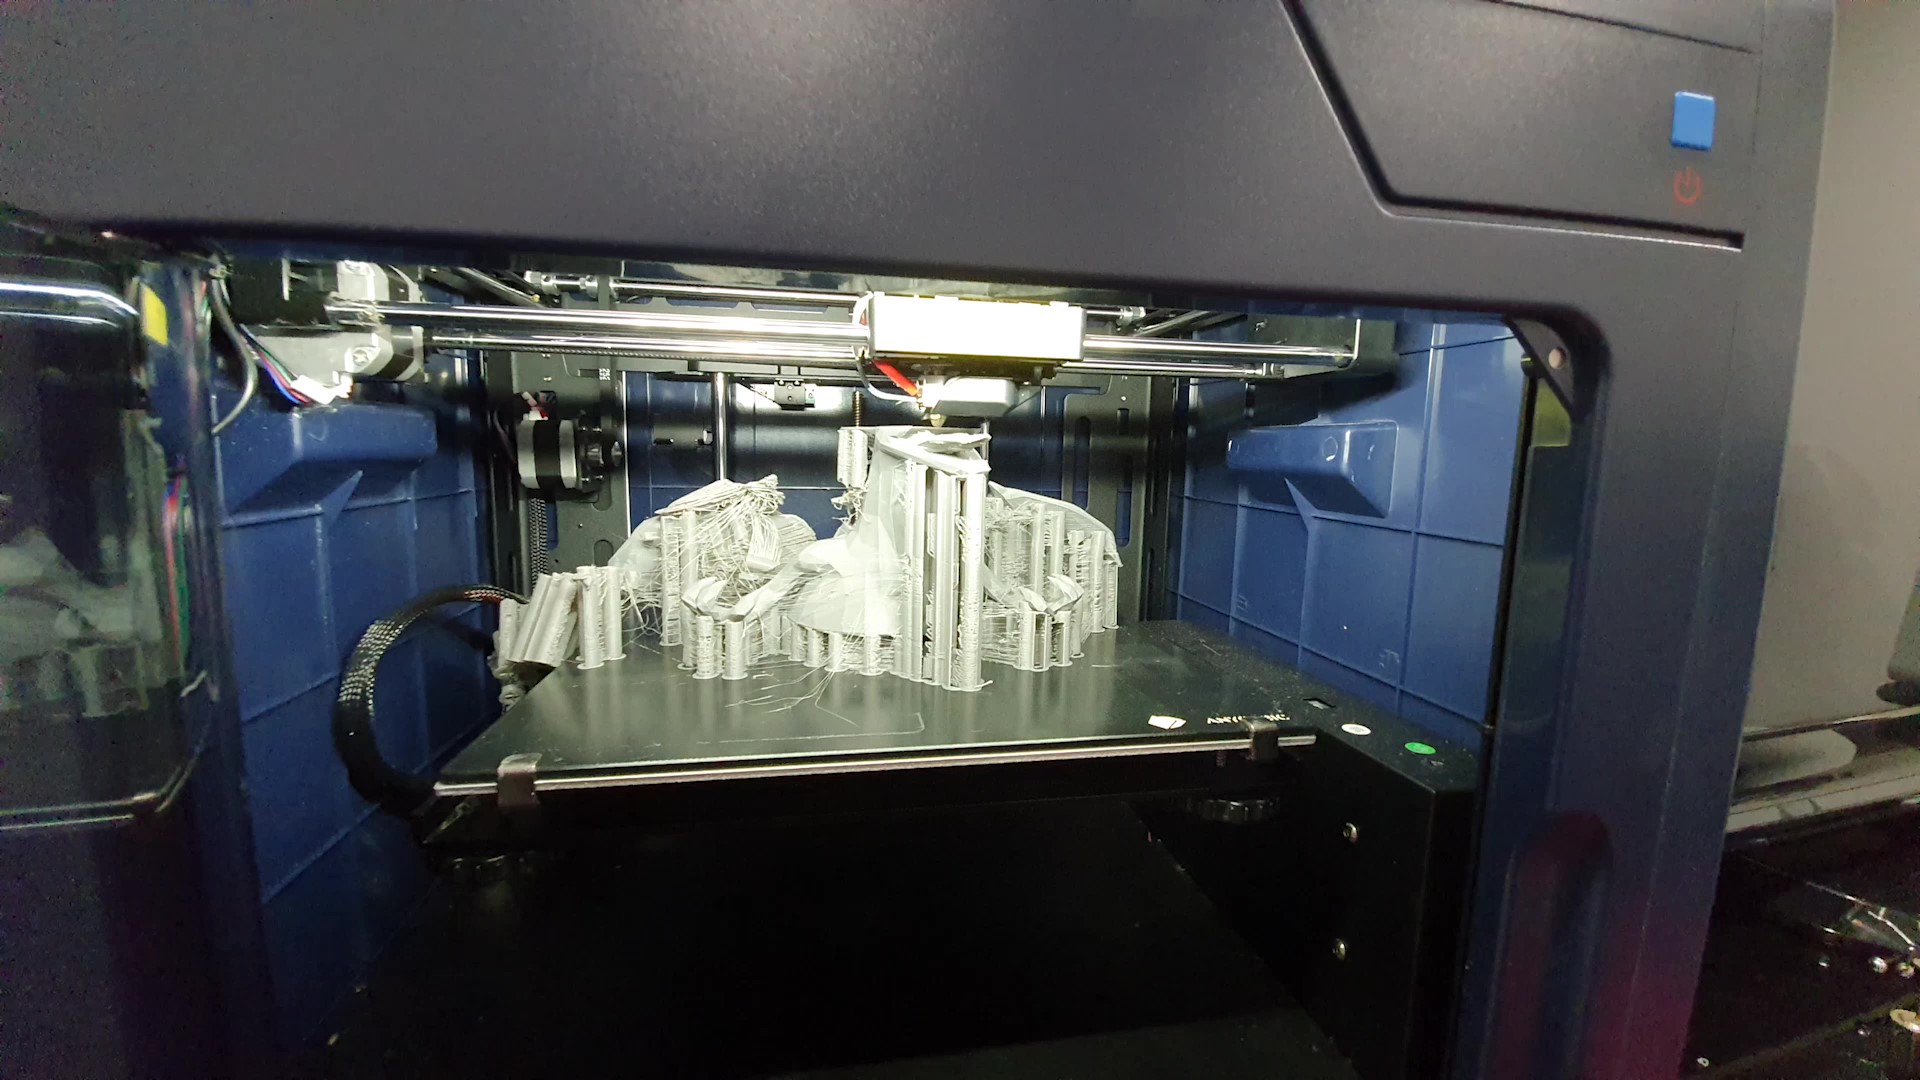
- Customised box to mount to the components (we used a 3D printer)
- Arduino Uno R3
- DHT11 Temperature & Humidity Sensor
- Piezoelectric Transducor
- 2 x LED Lights
- Grove Atomizer Module
- 6V Grothen Peristaltic Pump
- NPN TIP 120 Transistor
- 2 x 330 Ohm Resistors
- 2 x 1k Ohm Resistors
- 1 x 2k Ohm Resistors
- 1 x 10k Ohm Resistor
- 1N4001 Snubber Diode
- ESP8266-01 WiFi Module
- LM2596 DC-DC Buck Converter
- Power Supply
- Jumper Wires
- Blynk IoT installed on an Android or iPhone
- Vinyl Tubing Composition
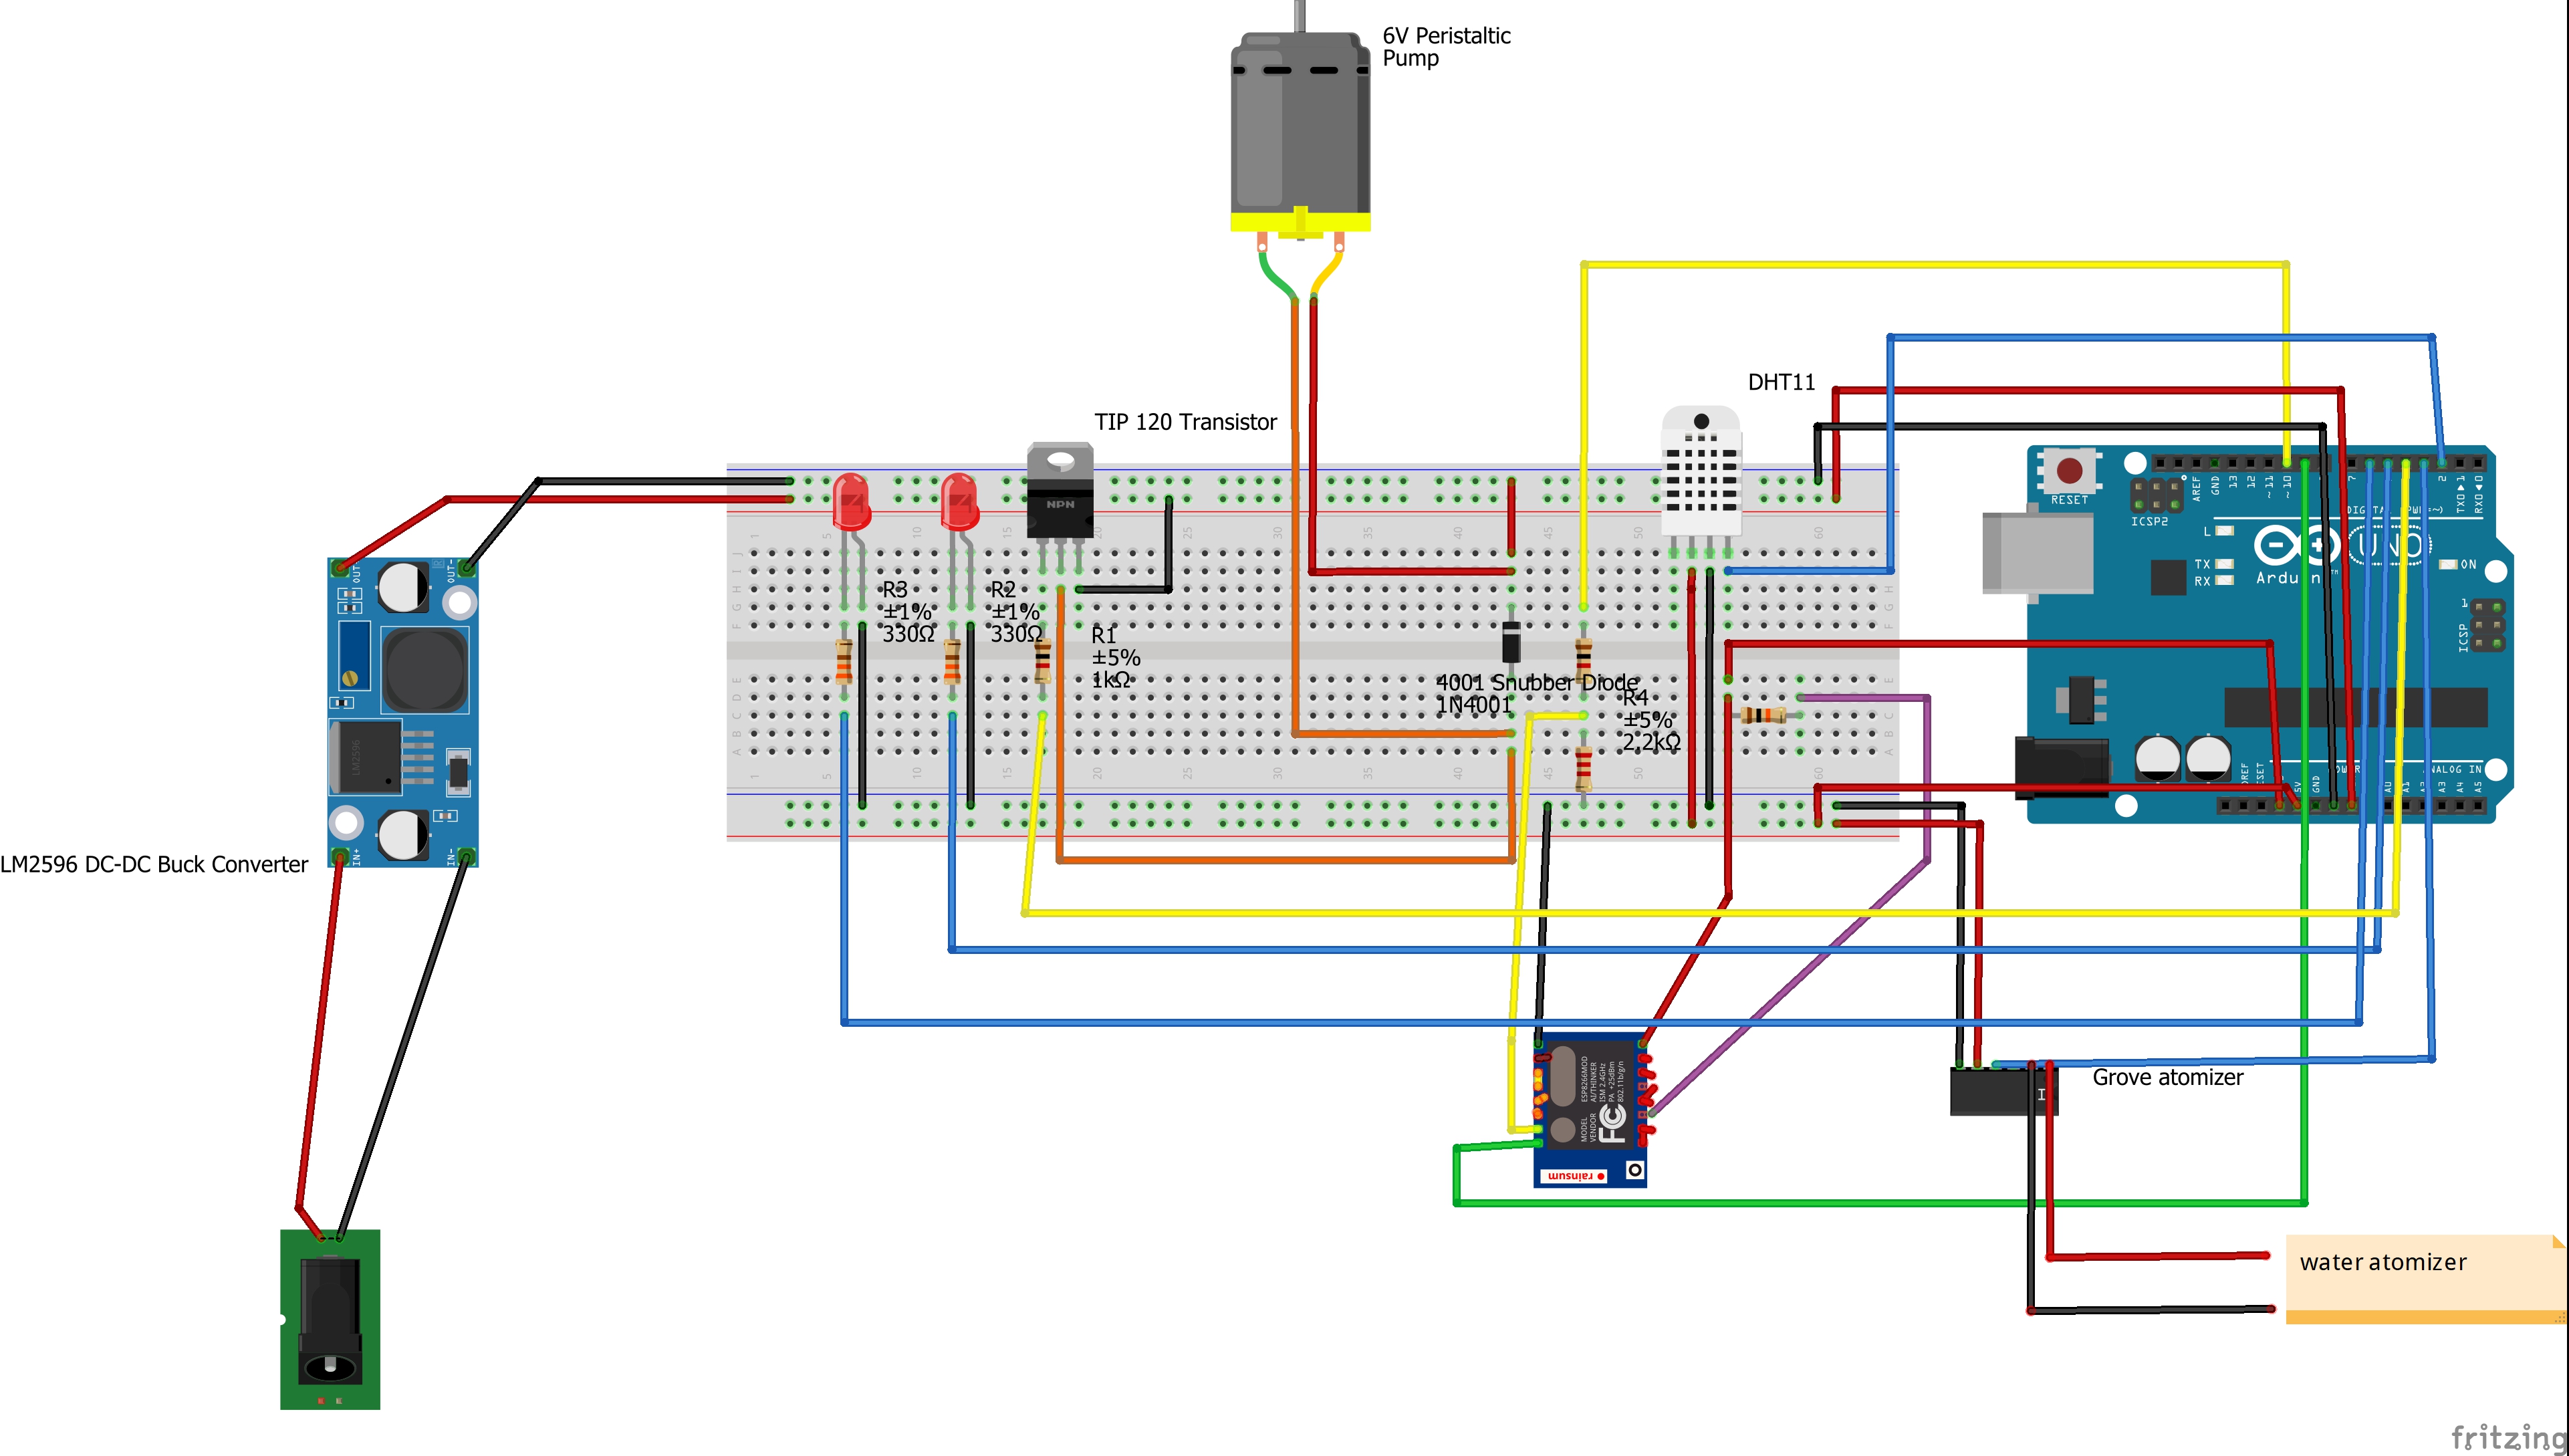
Below is the schematic of the electronic components. First lets talk about the pump. The 6V peristaltic pump is an inductive load that requires a dedicated power source. I utilised a 12-v power supply and attached it directly to the pump through a voltage step down module. Between the ground and power wires, i attached a 4001 snubbed diode (ensuring it faces the right way as shown in the image). The diode ensures current does not flow in the reverse direction and blow the circuit and negates transient voltage generated by the inductive load of the pump. The mosfet was then tapped into the ground side of the pump to enable low side switching, and is then attached through a 1k resistor to the arduino board. All other components used a 5V power supply. The mist maker (transducer) is connected to a grove atomizer driver, which generates specific frquencies (105 kHz) to ensure the atomizer piece works correctly. Two LED lights are attached for aesthetic and also safeguards for pumping water into the humidifier. the DHT11 sensor is a direct output from the arduino that measures humidity levels, as humidity effects capacitance level in the humidity sensor, which is proportional to the output. Lastly, an ESP8266 module was added, as this component is what allows internet conectivity and subsequent access to Blynk IoT. See image below of how to connect all pieces mentioned. The components were then soldered and fitted into the cirtui, and placed inside a 3D printed custom electronics box as shown below.
![]()
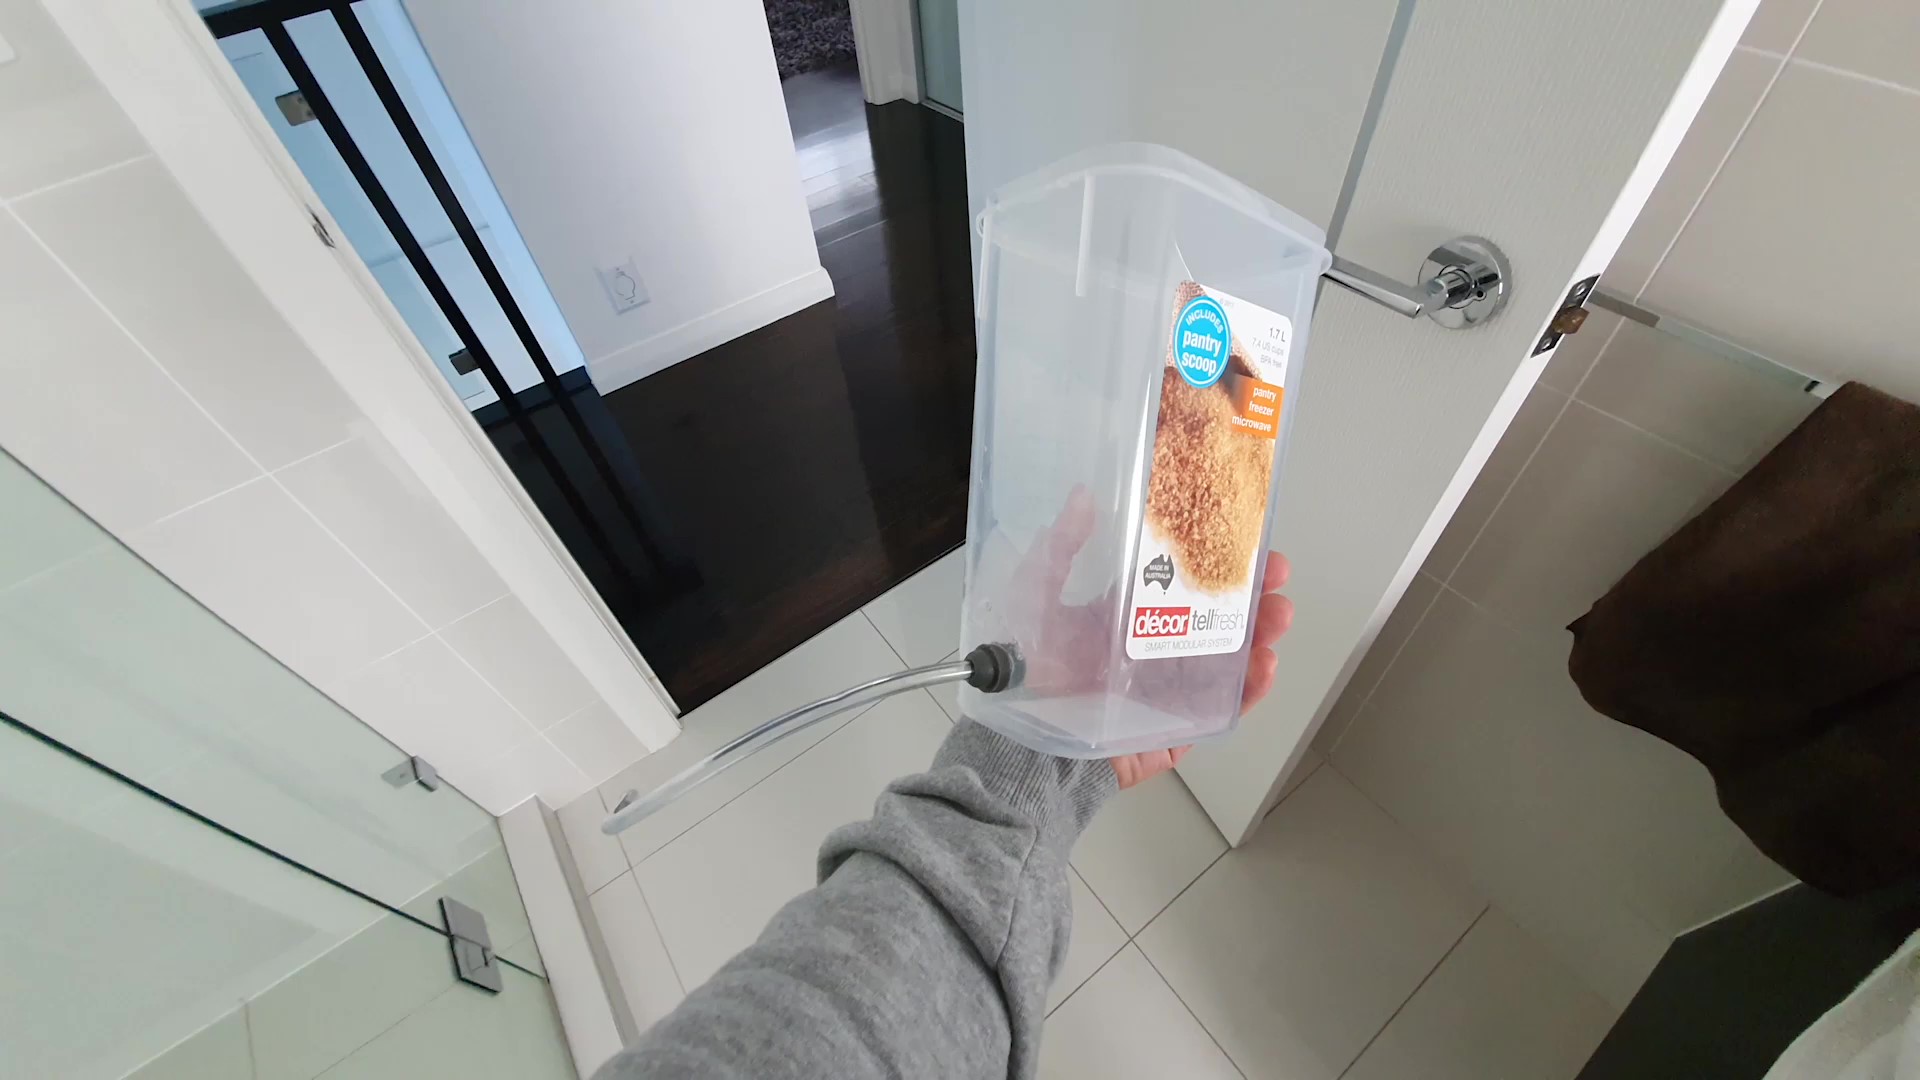
To enable auto filling, you first need to make sure you have safe, enclosed system around your pump. I used a sugar container from the supermarket, drilled a hole in the bottom and used a hot glue gun to attach the vinyl tubing and the adaptor piece to the container. Using this arrangement, i had a closed system from the container, all the way through to the diffuser without any leaks.
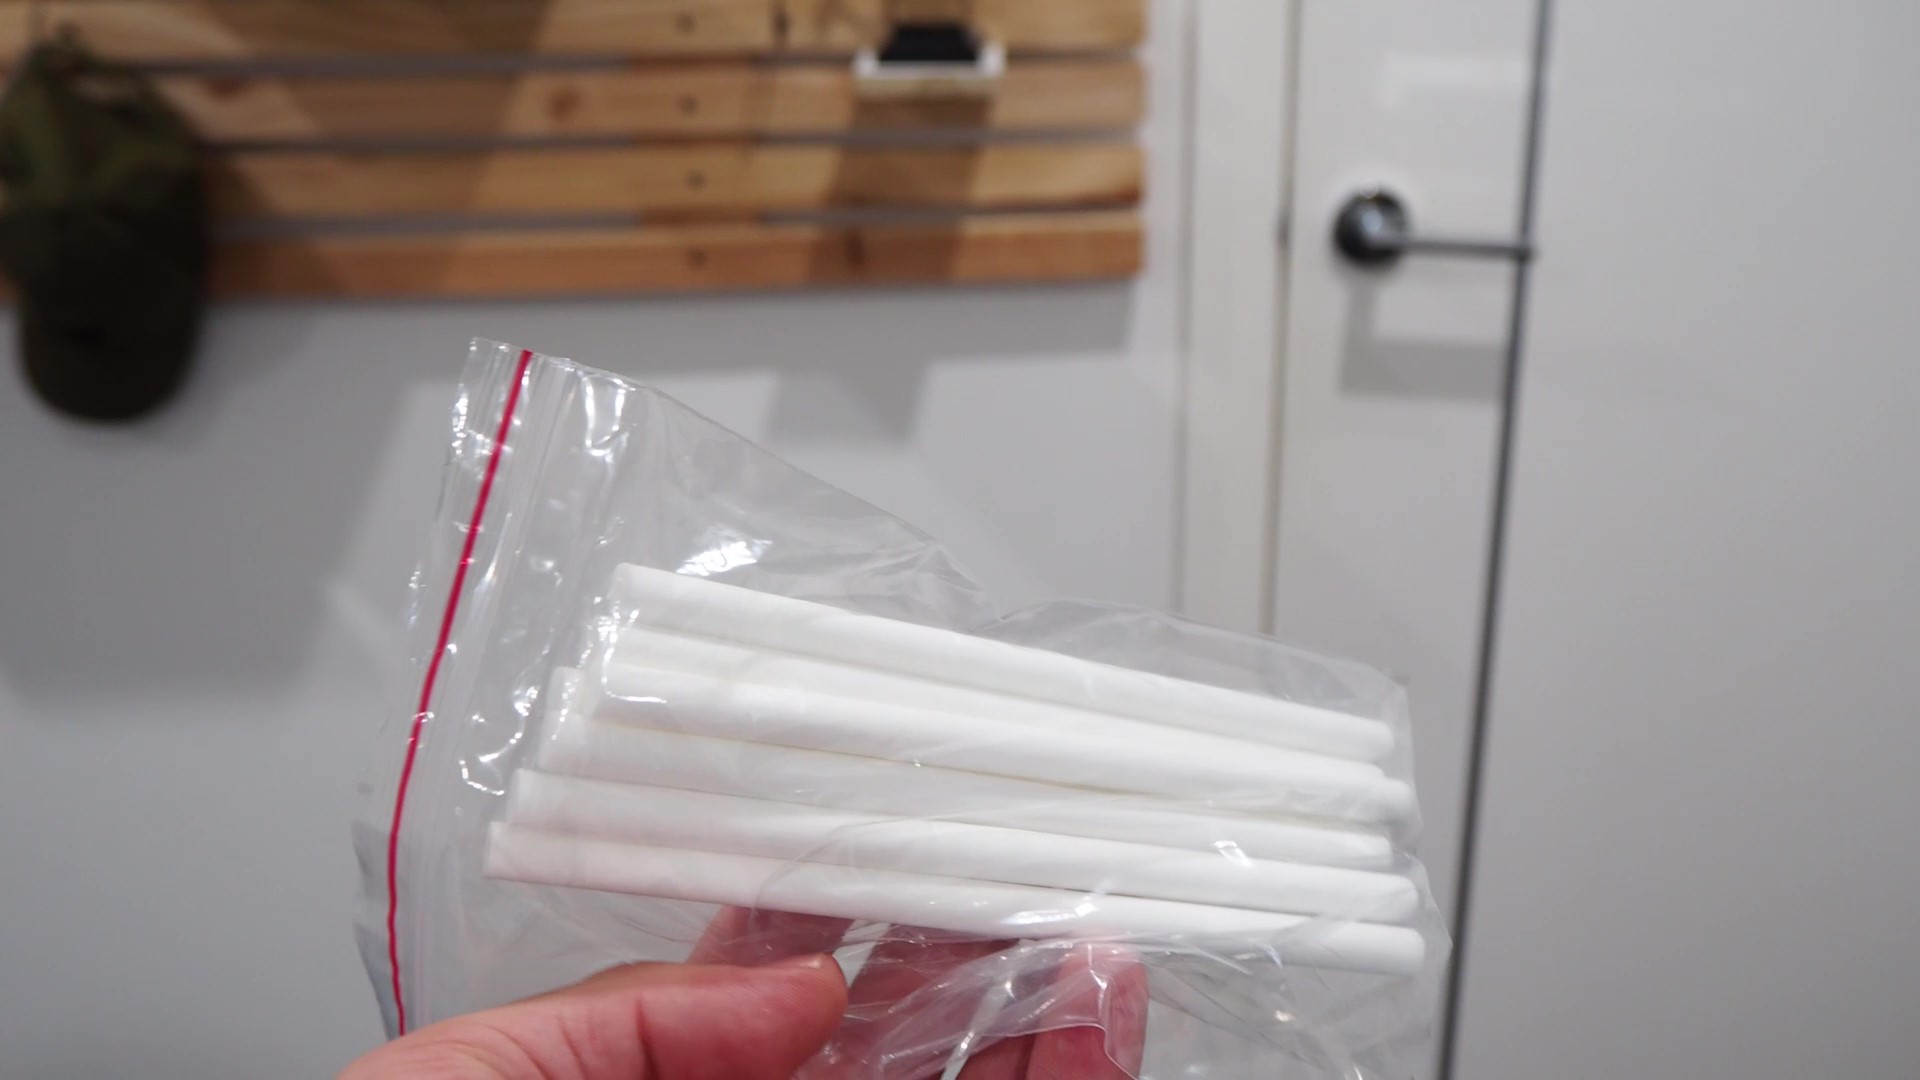
To enable water to reach the atomizer piece, i used special cotton wicks thats are used in all ultrasonic diffusers. Before putting the project together, i let the wicks so in the essential oil mix for 5 mintues as this allowed easier adhesion of water once pumping from the water tank. The atomizer's vibrations on the surface of the liquid water causes the molecules to escape as gas due to the kinetic energy they experience on the surface of the mist maker.
To duplicate this project, open the Smart_Diffuser.ino and upload it to the board, using your computer and a USB-B cable.
Schematics, diagrams and documents
Code
Credits
Related products


Leave your feedback...