

Self Watering Smart Gardener

Made by engineering-dads / Garden / Home Automation / Plants / Sustainability / IoT
About the project
Project Eden is a fully IoT equipped station that has the ability to monitor the humidity, moisture and temperature surrounding the soil. It also parses data from Willyweather (local weather station) to determine if a rain event is occuring, and interlock the pump if so. There is a graphical interface i have setup on node-red to
Project info
Difficulty: Moderate
Platforms: Arduino, Raspberry Pi, MQTT, Node-RED
Estimated time: 4 days
License: MIT license (MIT)
Items used in this project
Hardware components


View all
Story
Full project video can be found at: https://www.youtube.com/watch?v=b7gdtq6e7-A&t=1s
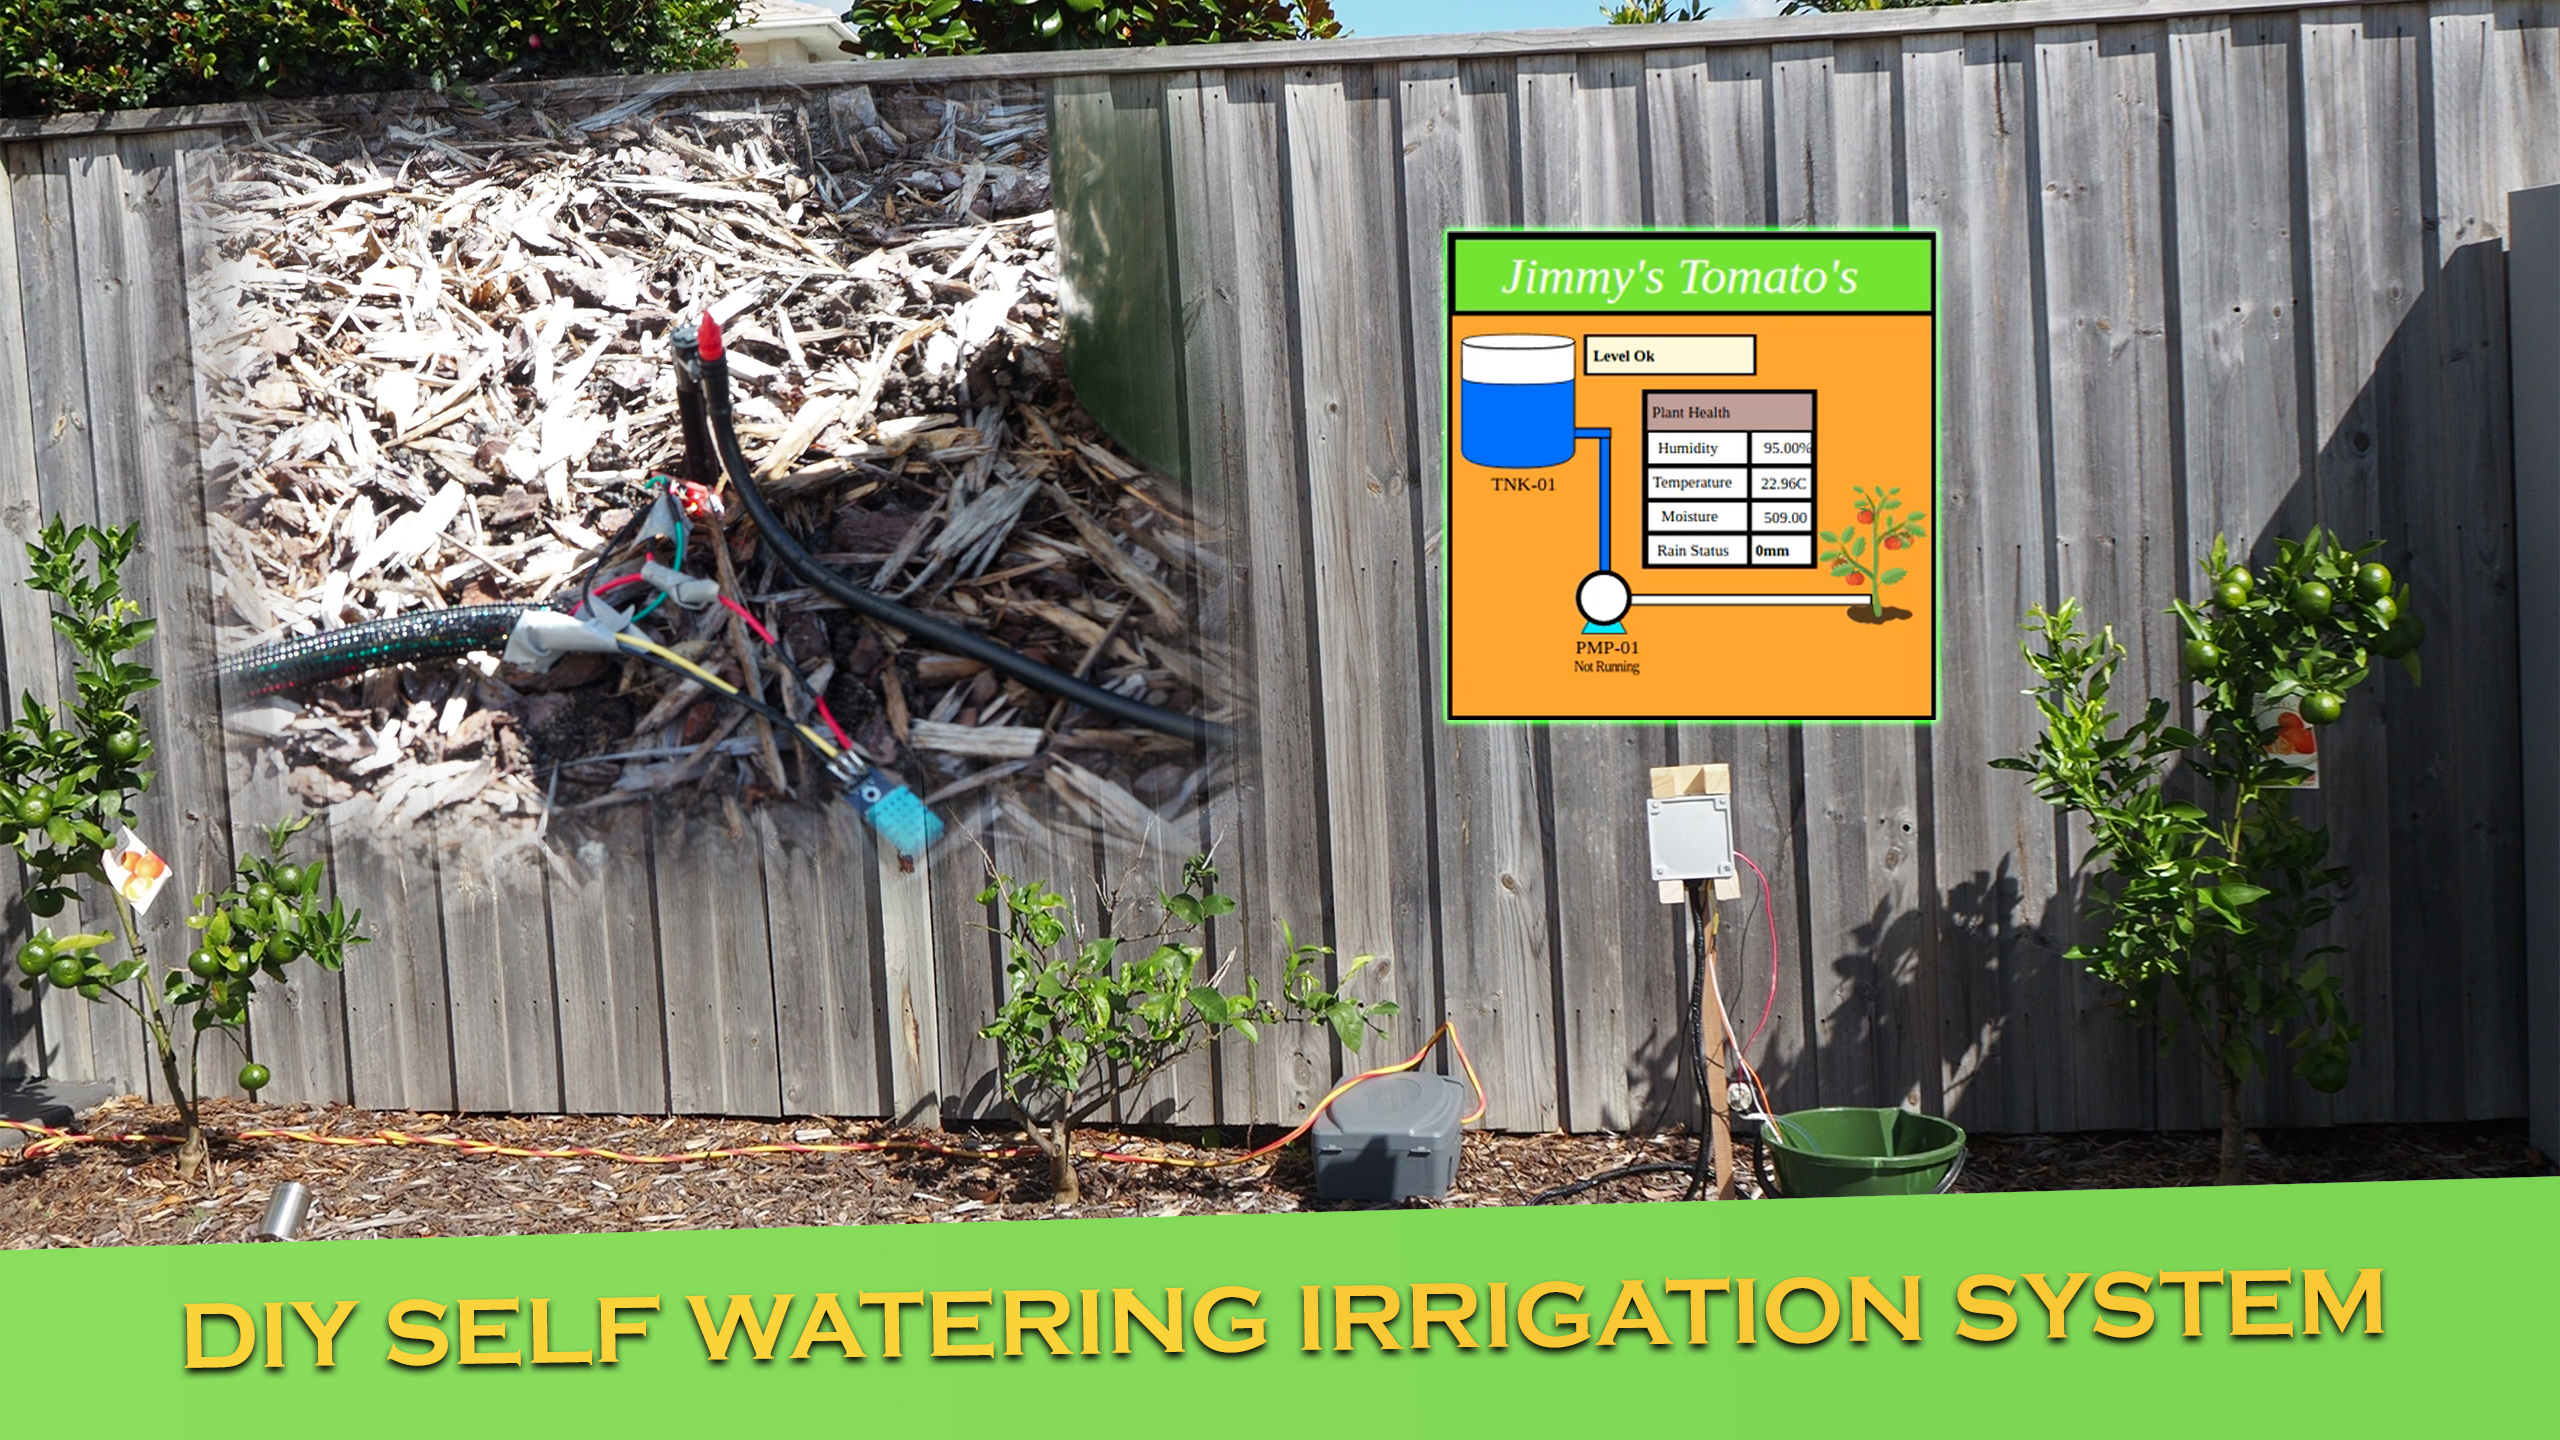
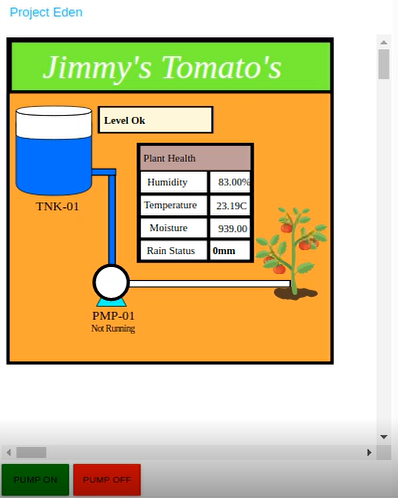
Project Eden is a fully IoT equipped station that has the ability to monitor the humidity, moisture and temperature surrounidng the soil. It also parses data from Willyweather (local weather station) to determine if a rain event is occuring, and interlock the pump if so. There is a graphical interface i have setup on node-red to allow 24/7 monitoring, data collection and control of the plant. The peristaltic pump has the ability to draw water from a bucket, which contains a float level switch in order to keep track of the water available for the pump.
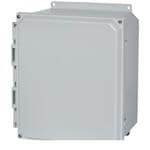
- IP56 Rated Junction Box ($20)
- Wemos D1 Mini ($10)
- DHT11 Temperature & Humidity Sensor ($10)
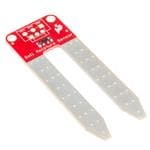
- Soil Moisture Sensor ($5)
- 5V Relay ($5)
- Cable Gland ($2)
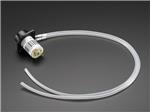
- 6V Grothen Peristaltic Pump ($20)
- Spare/Scrap Wood
- 5V Power Supply ($10)
- Jumper Wires
- Raspberry Pi or Laptop for node-red server
- Vinyl Tubing Composition
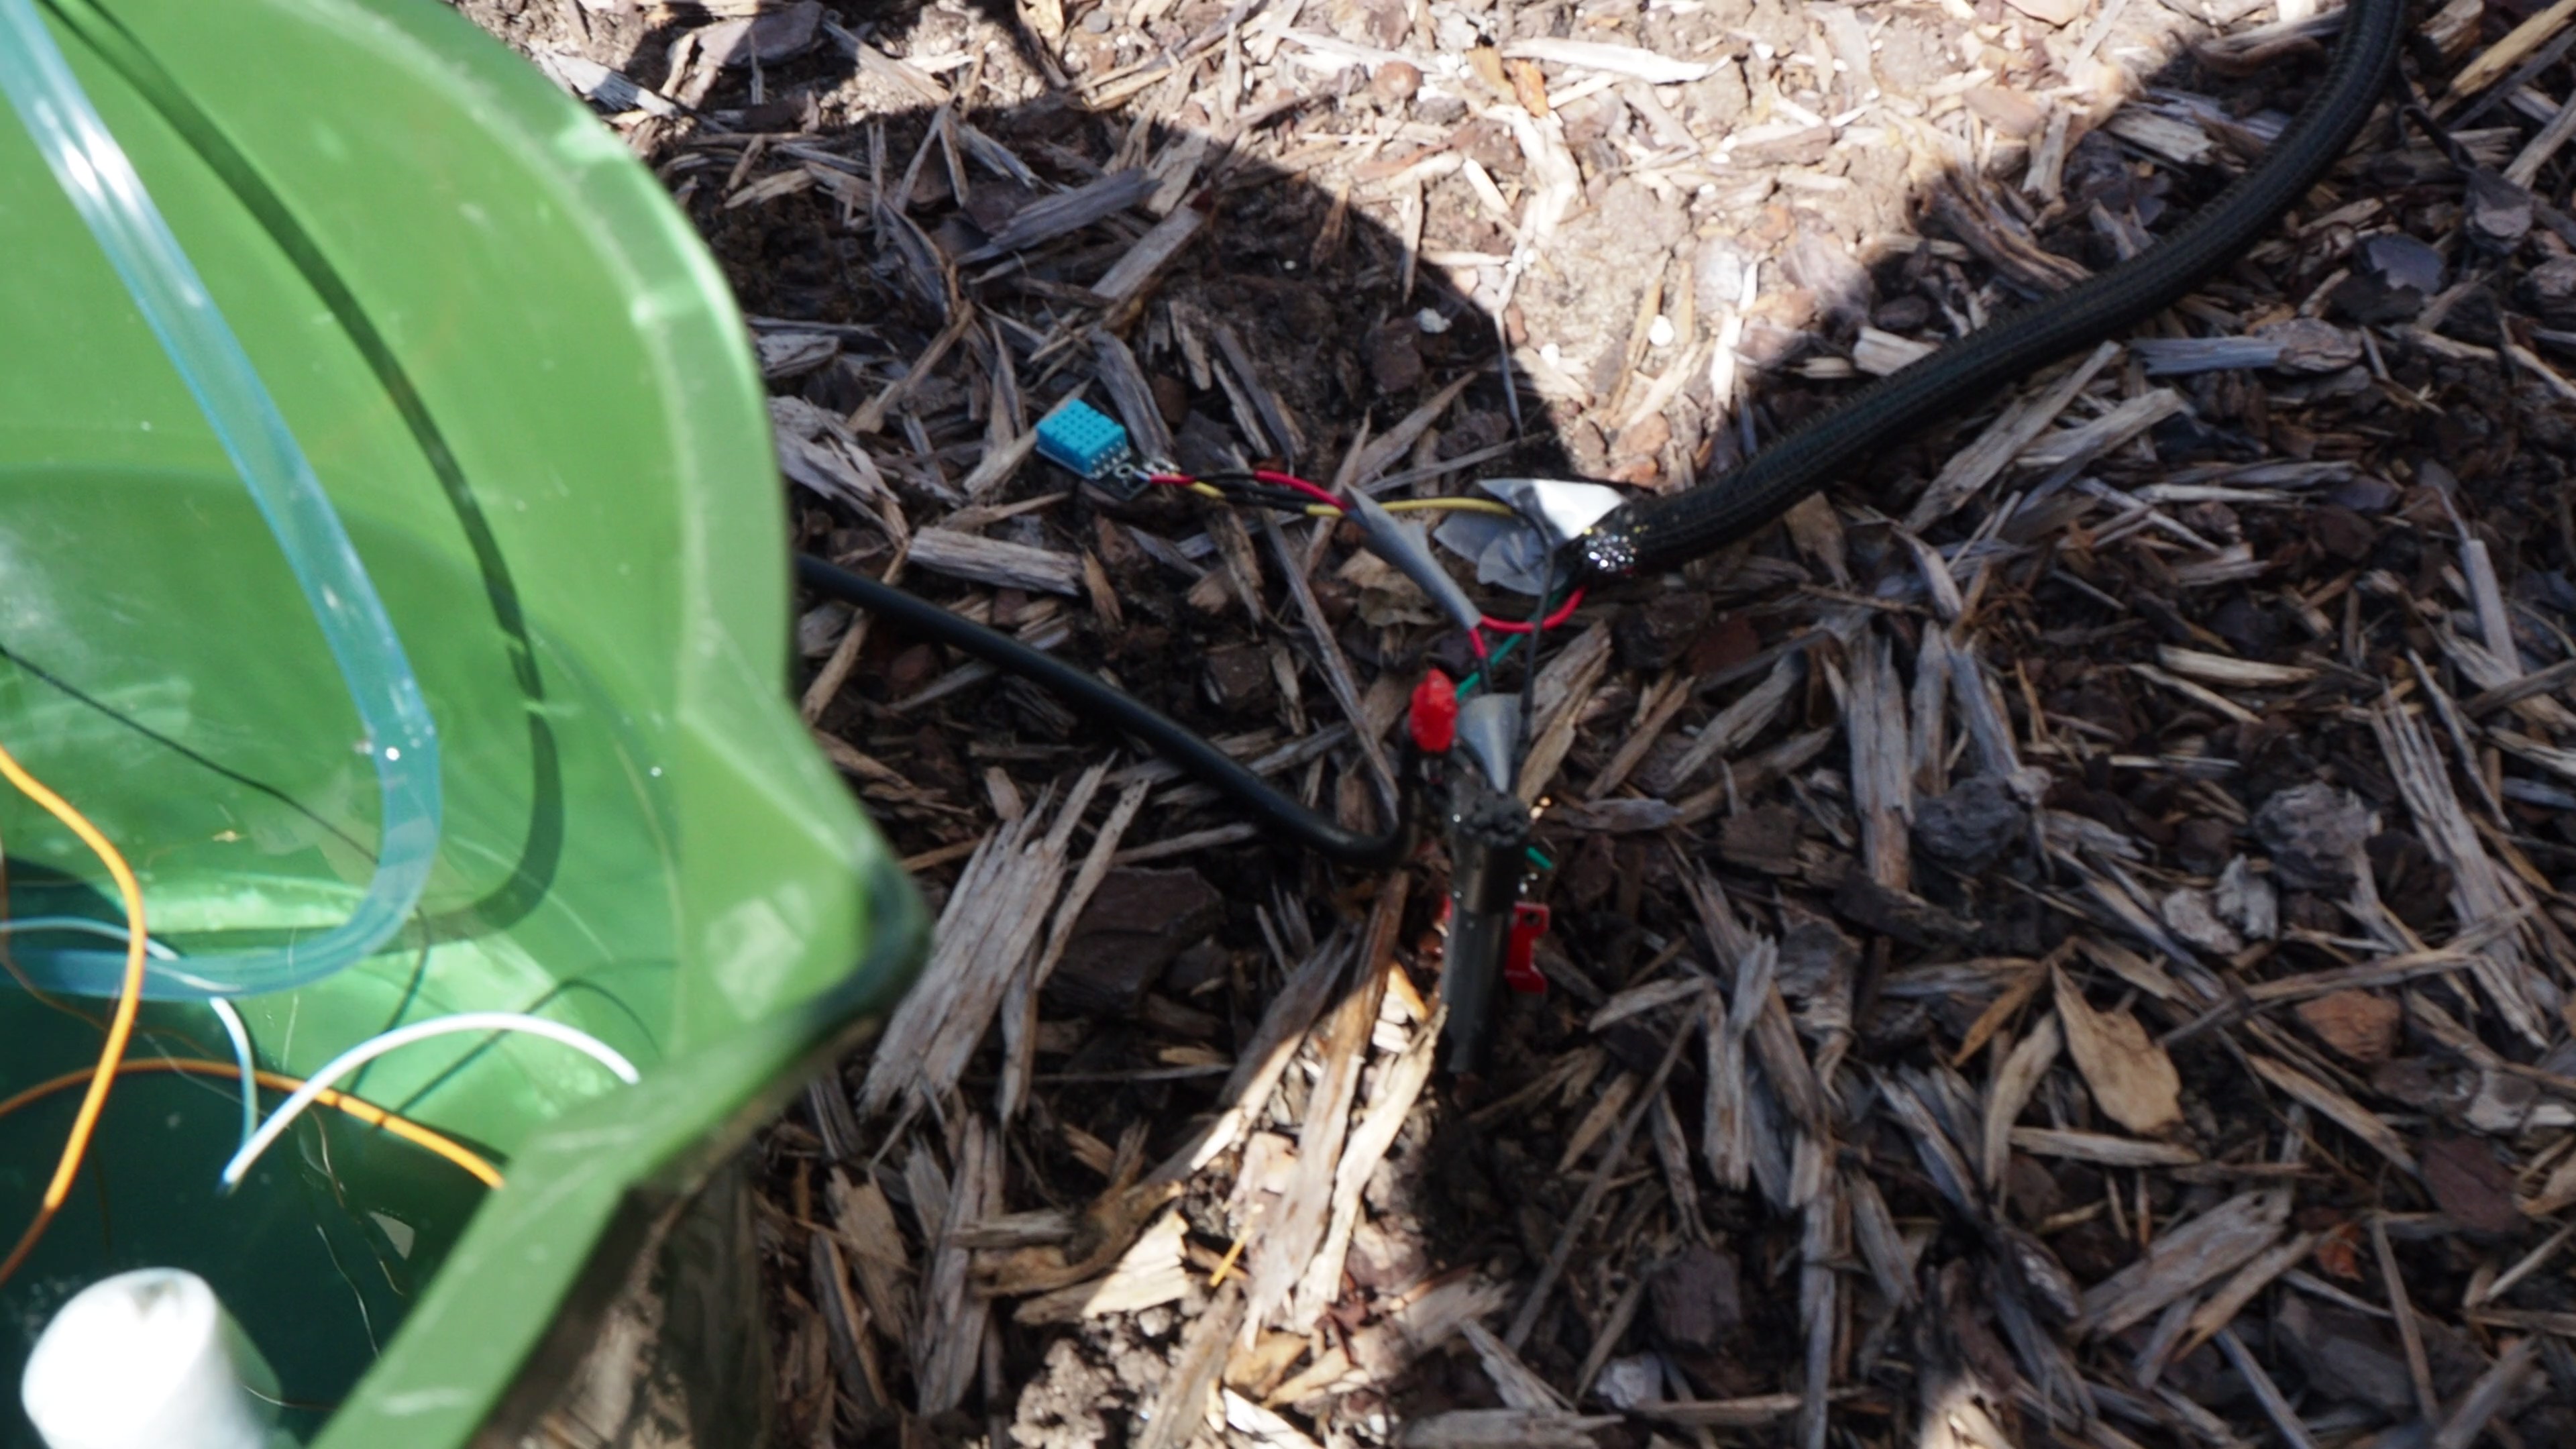
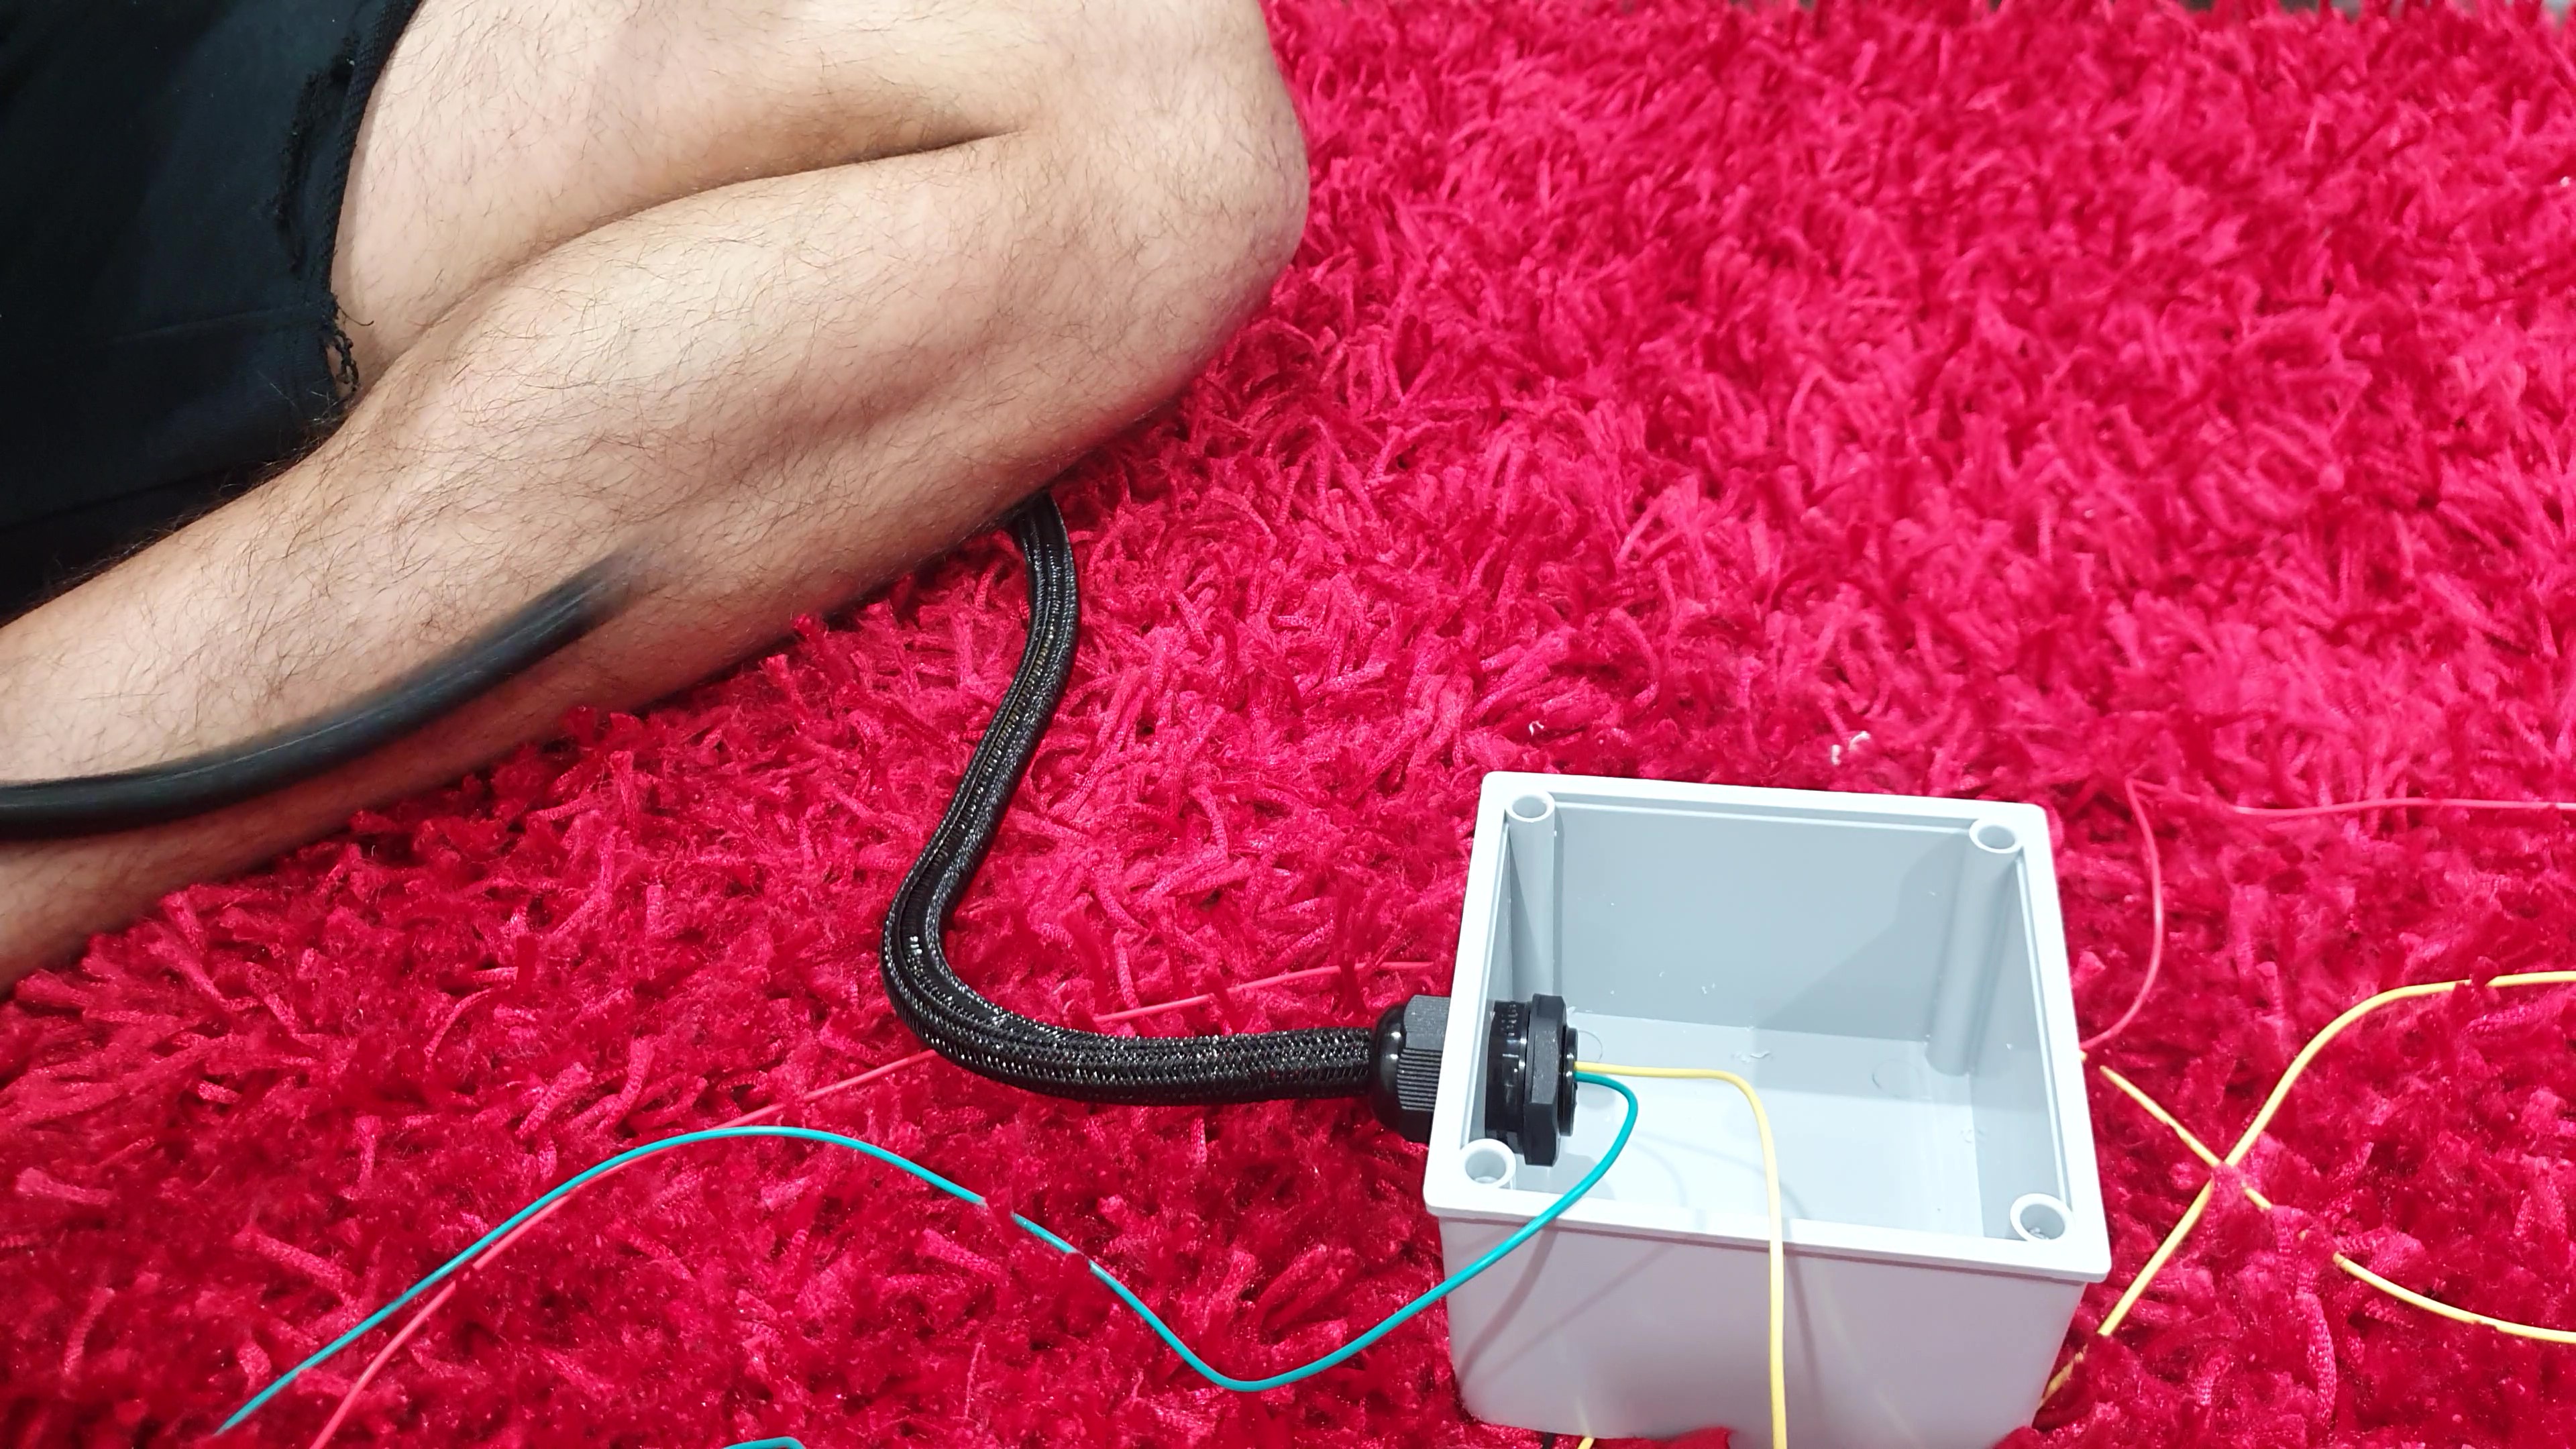
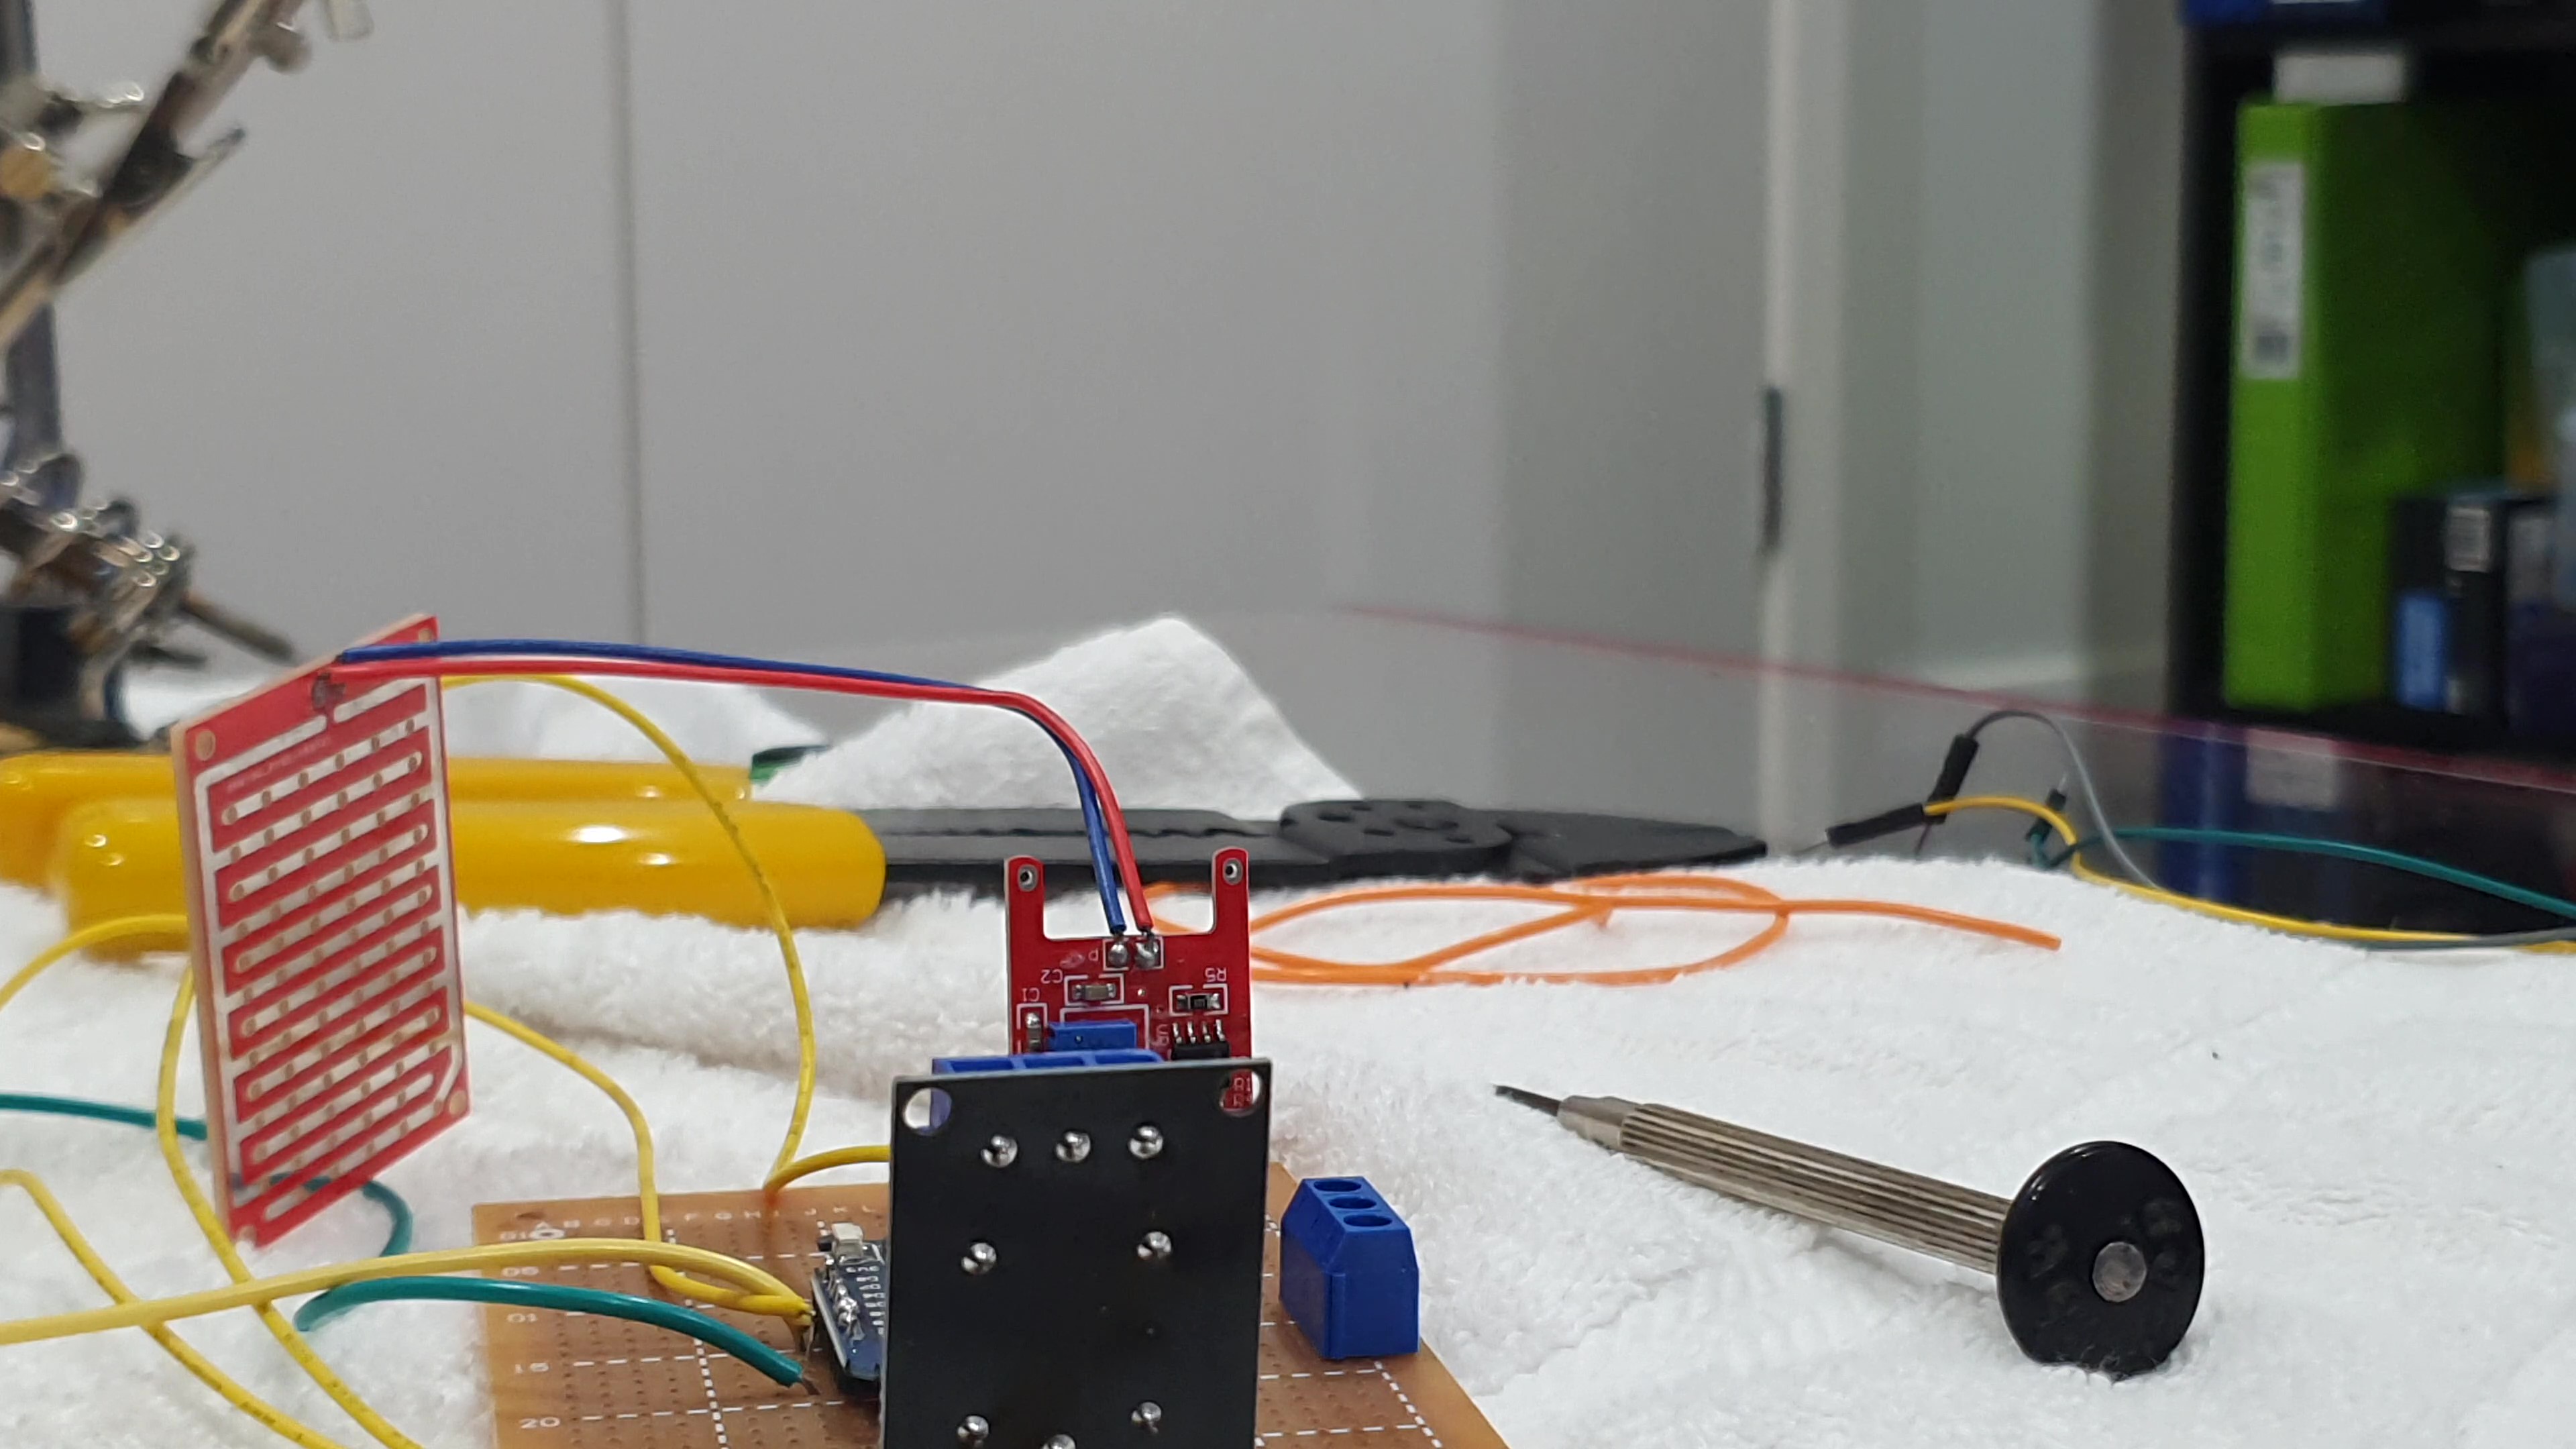
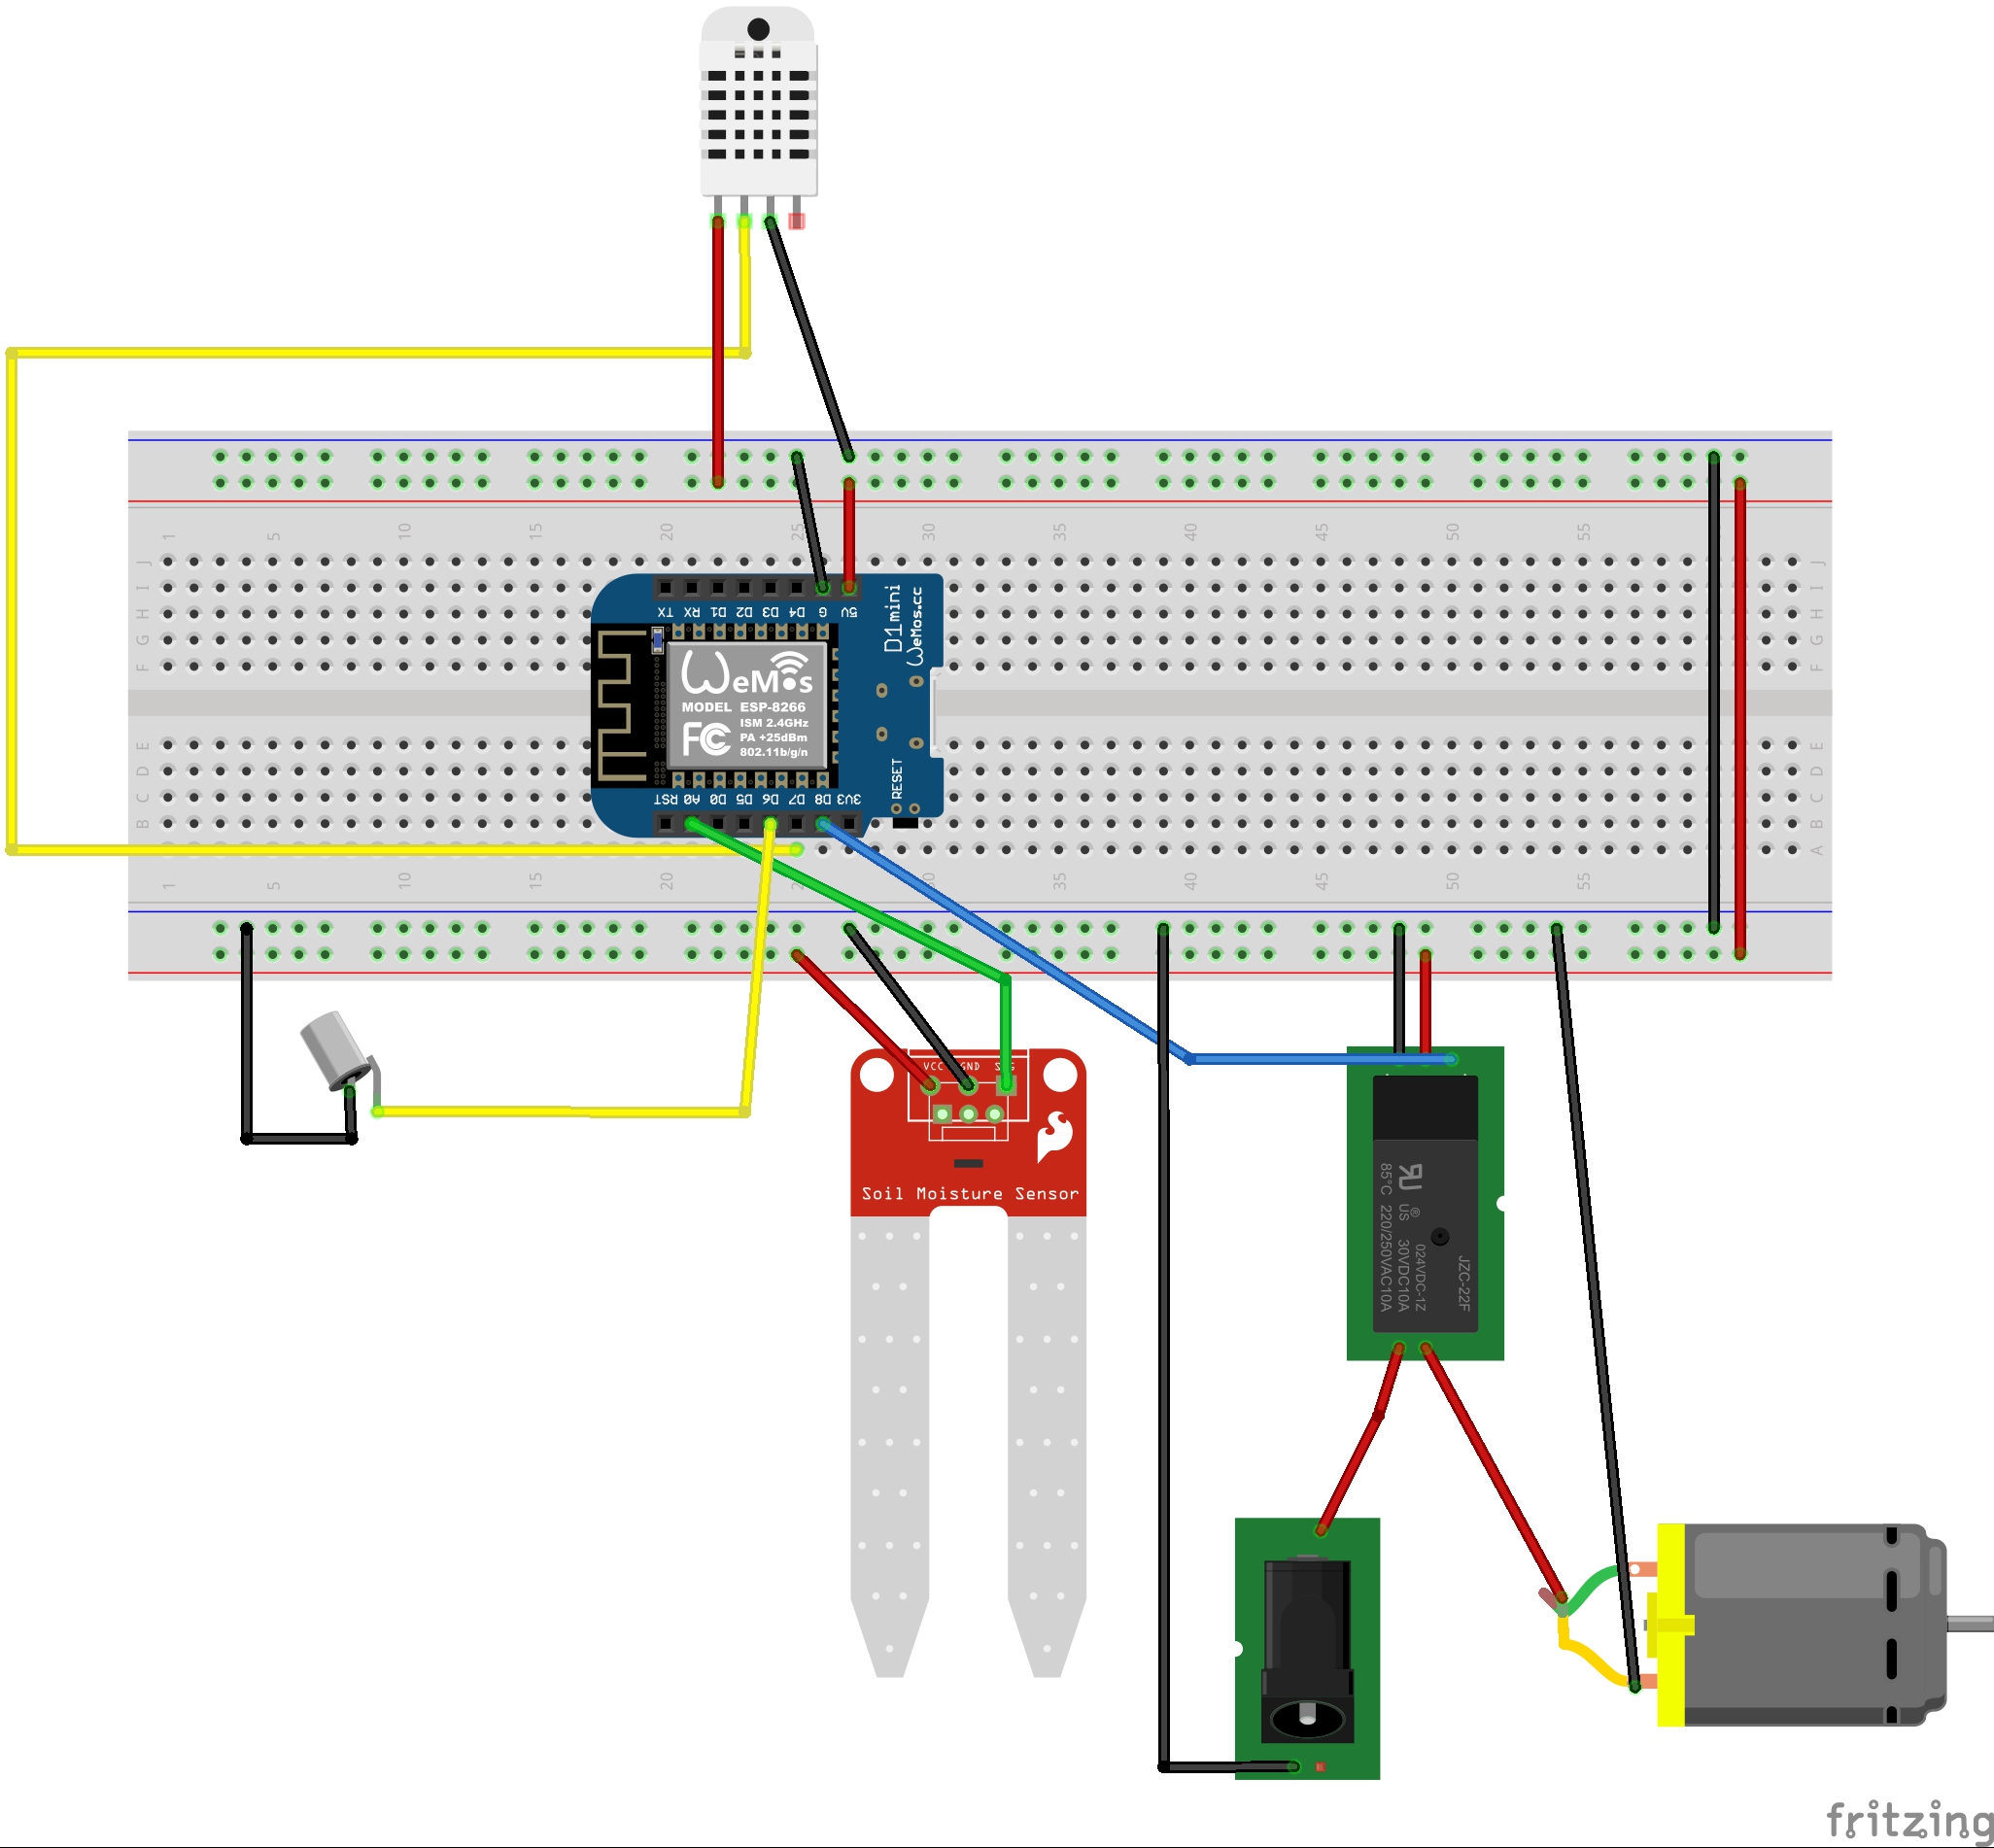
Below is the schematic of the electronic components. First lets talk about the pump. The 6V peristaltic pump is an inductive load that requires a dedicated power source. I utilised a 5-v power supply and attached it directly to the pumps relay. The soil moisture sensor is placed under the drip discharge, and works by measuring moisture as a function of decreased resistenace. the DHT11 sensor is a direct output from the arduino that measures humidity levels, as humidity effects capacitance level in the humidity sensor, which is proportional to the output. This is all wired to the wifi-compatible micro-controller, as this component is what allows internet conectivity and subsequent access to the node-red server. See image below of how to connect all pieces mentioned. The components were then soldered and fitted into the cirtui, and placed inside an IP56 rated junction box to grant extra protection during the rain.
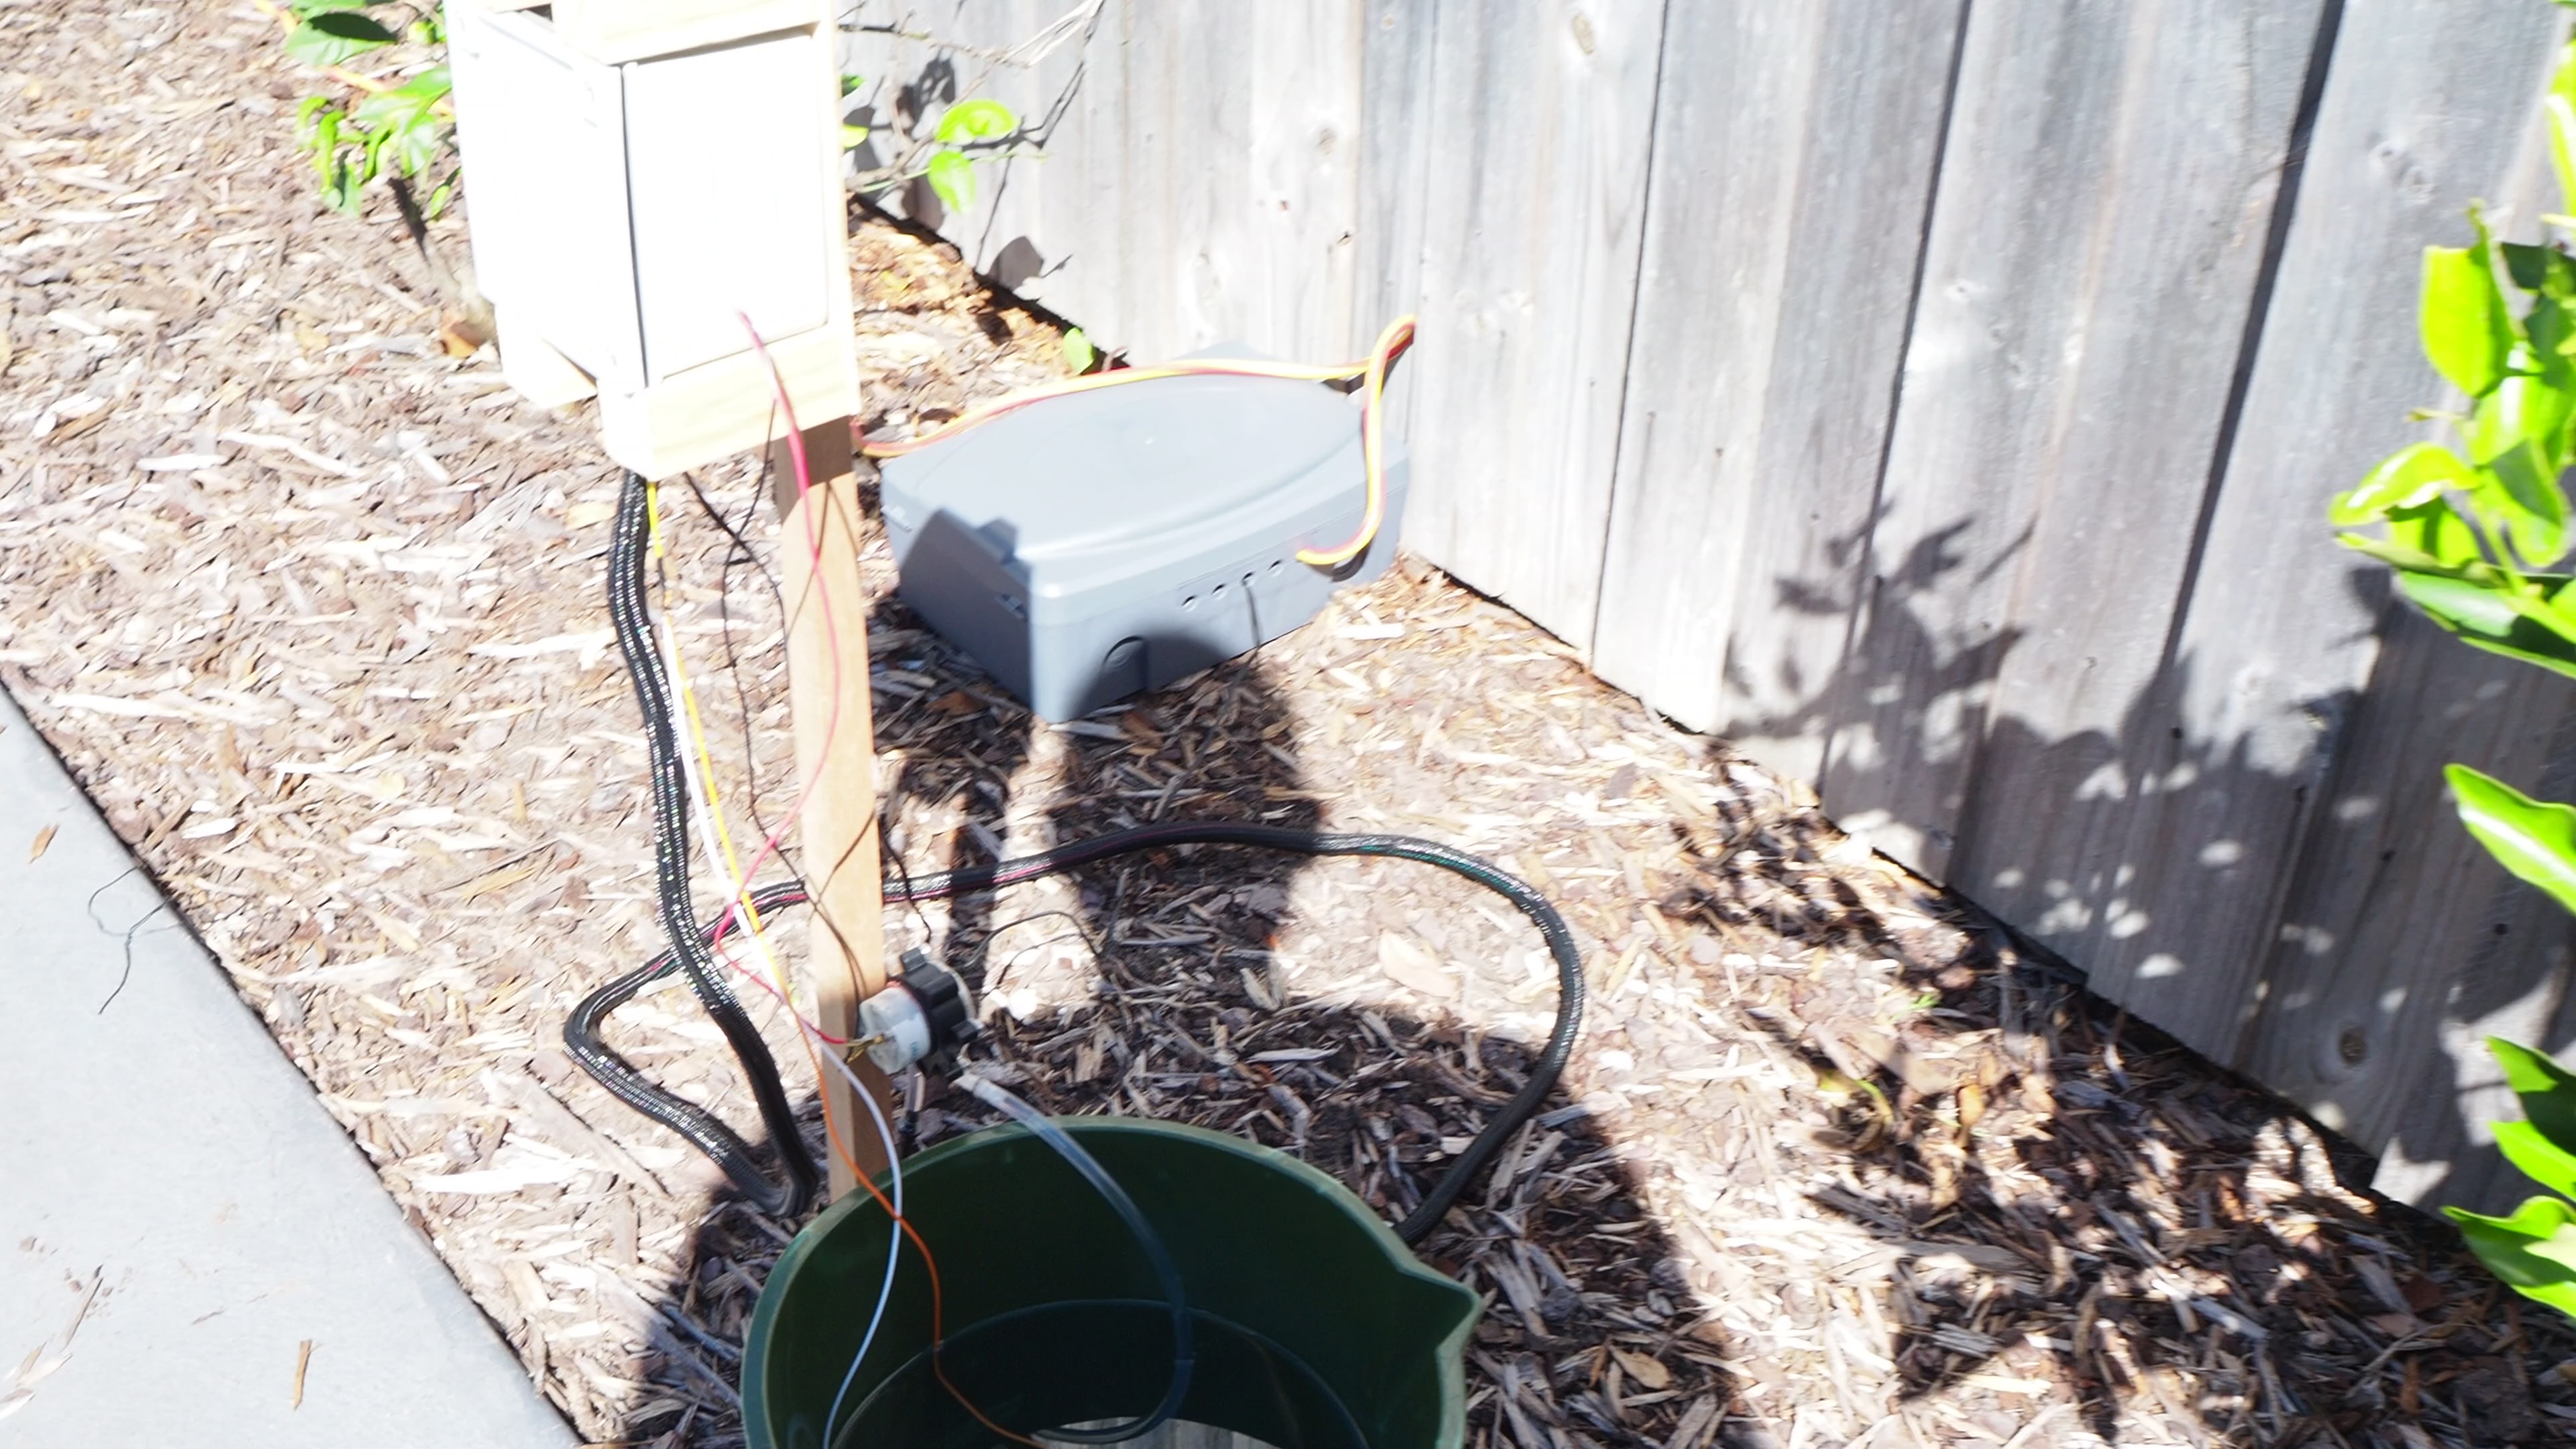
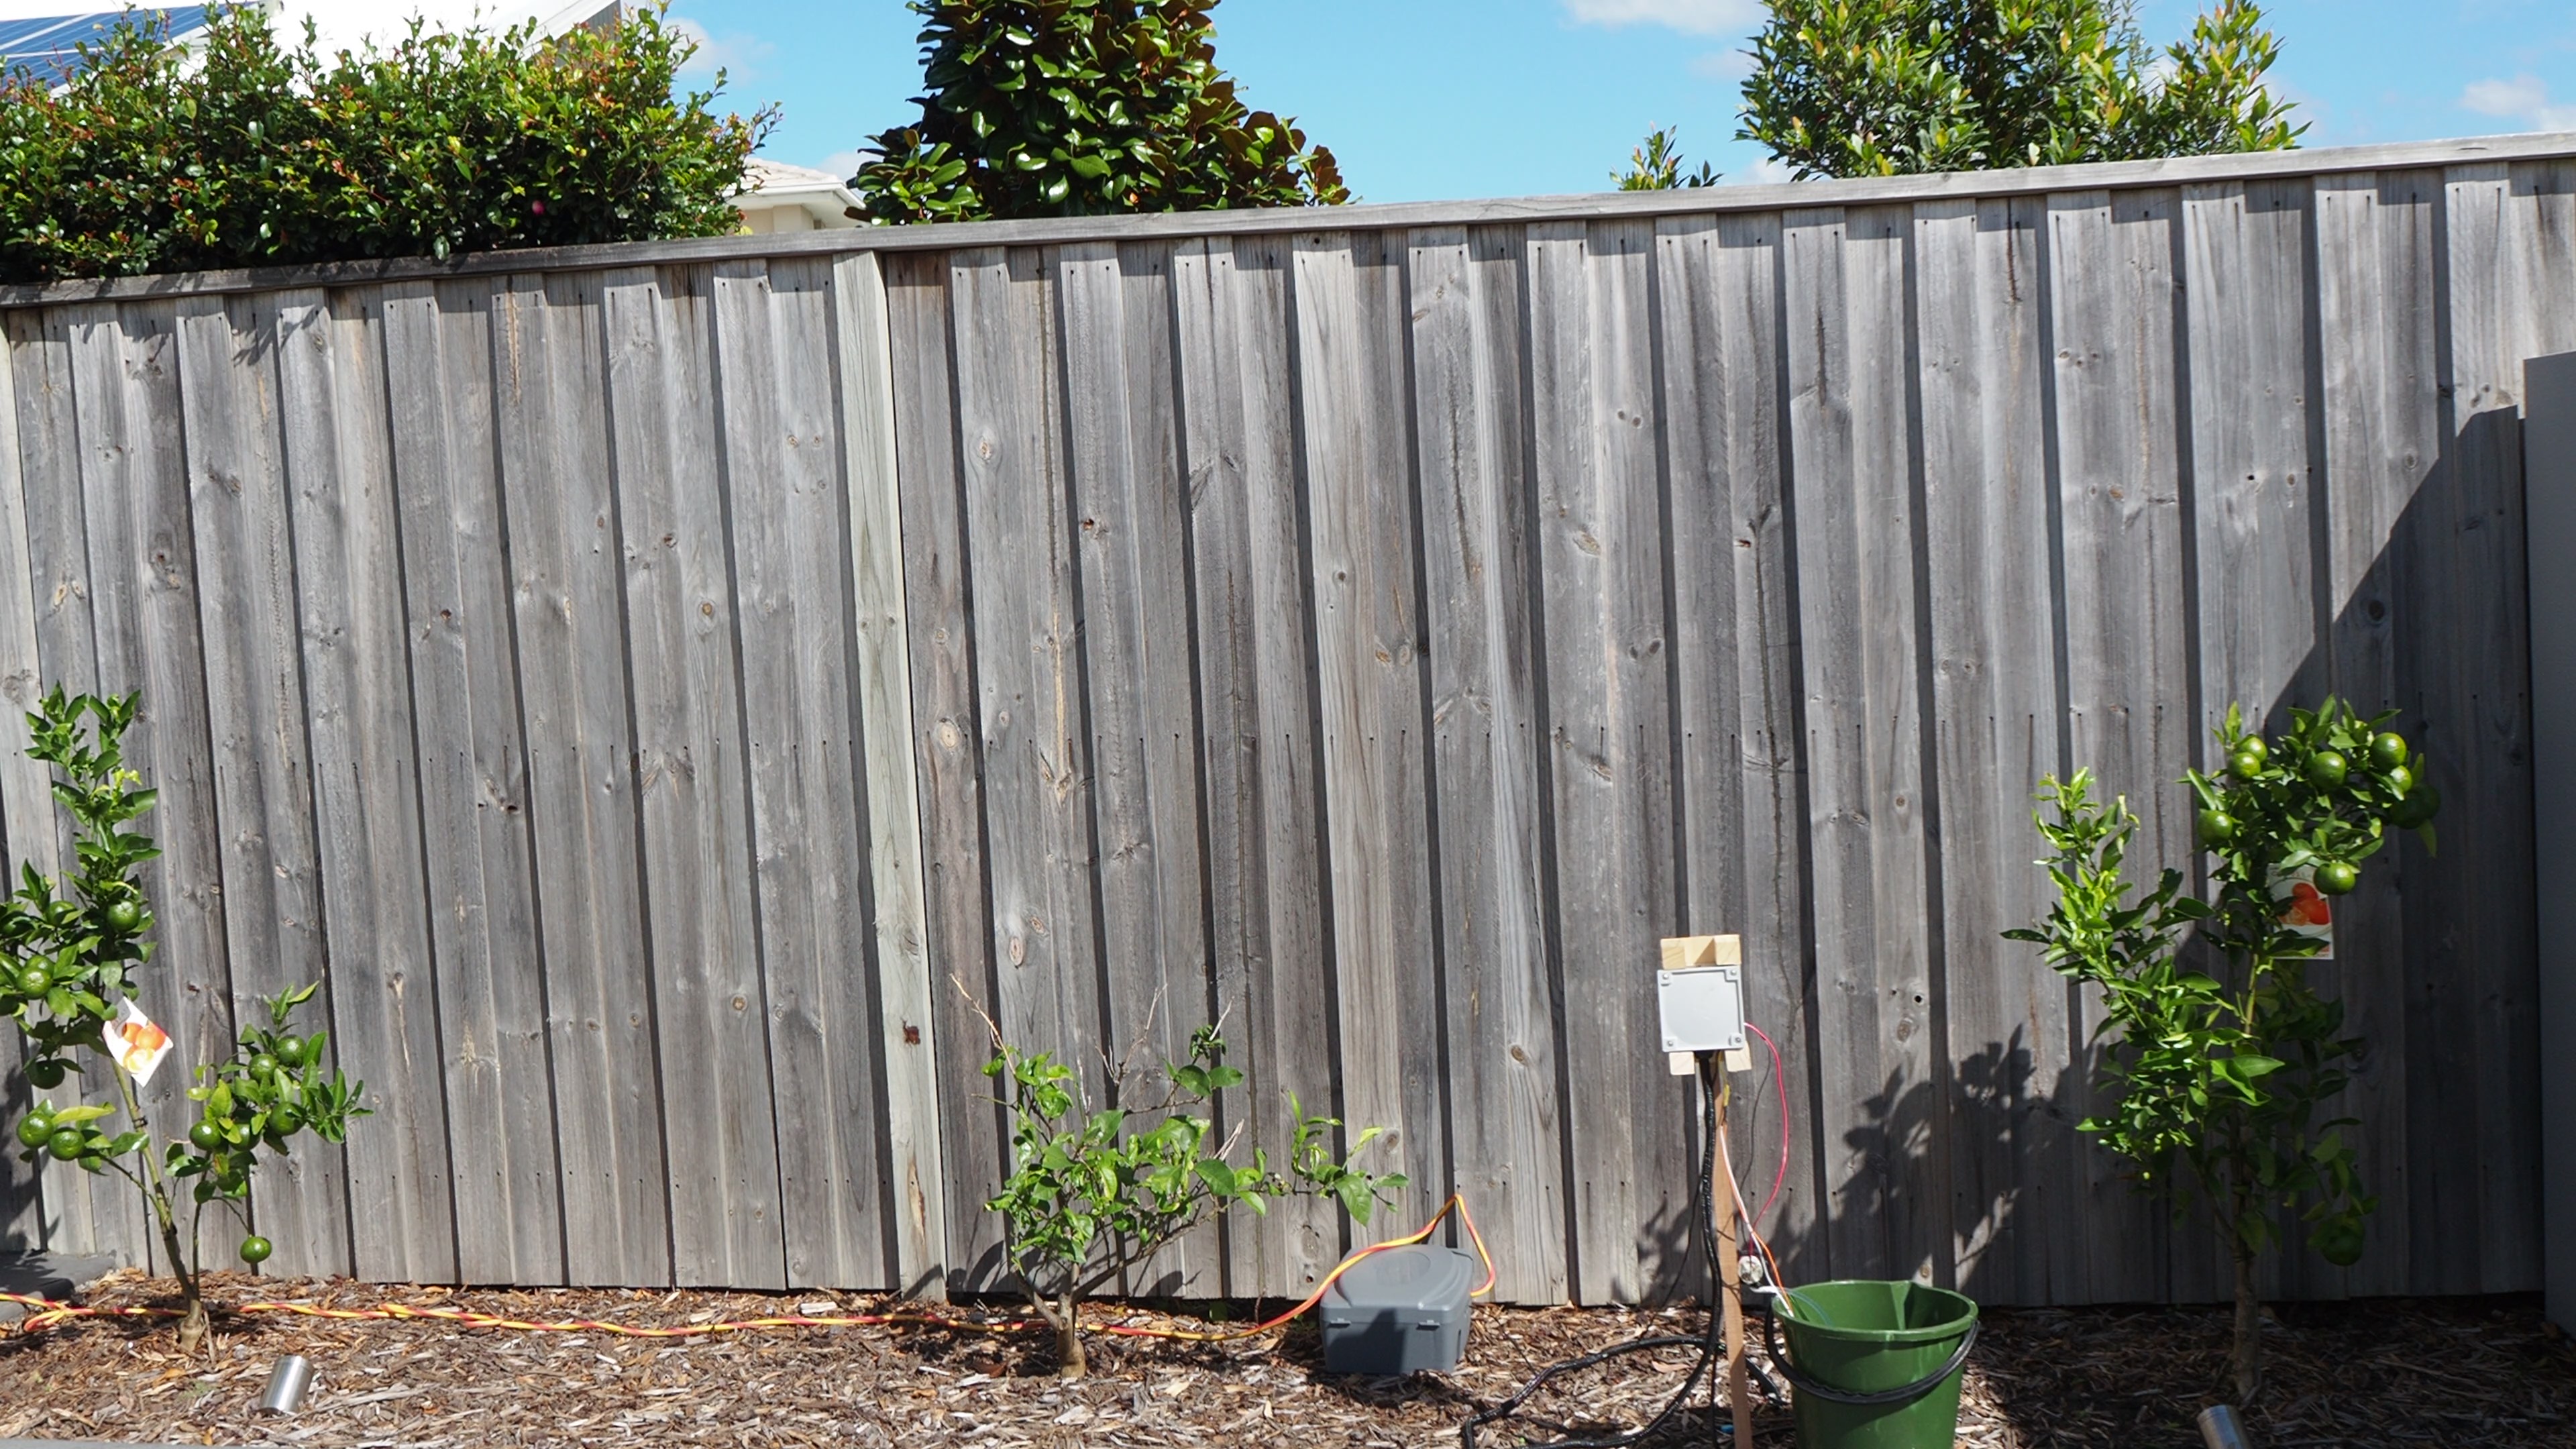
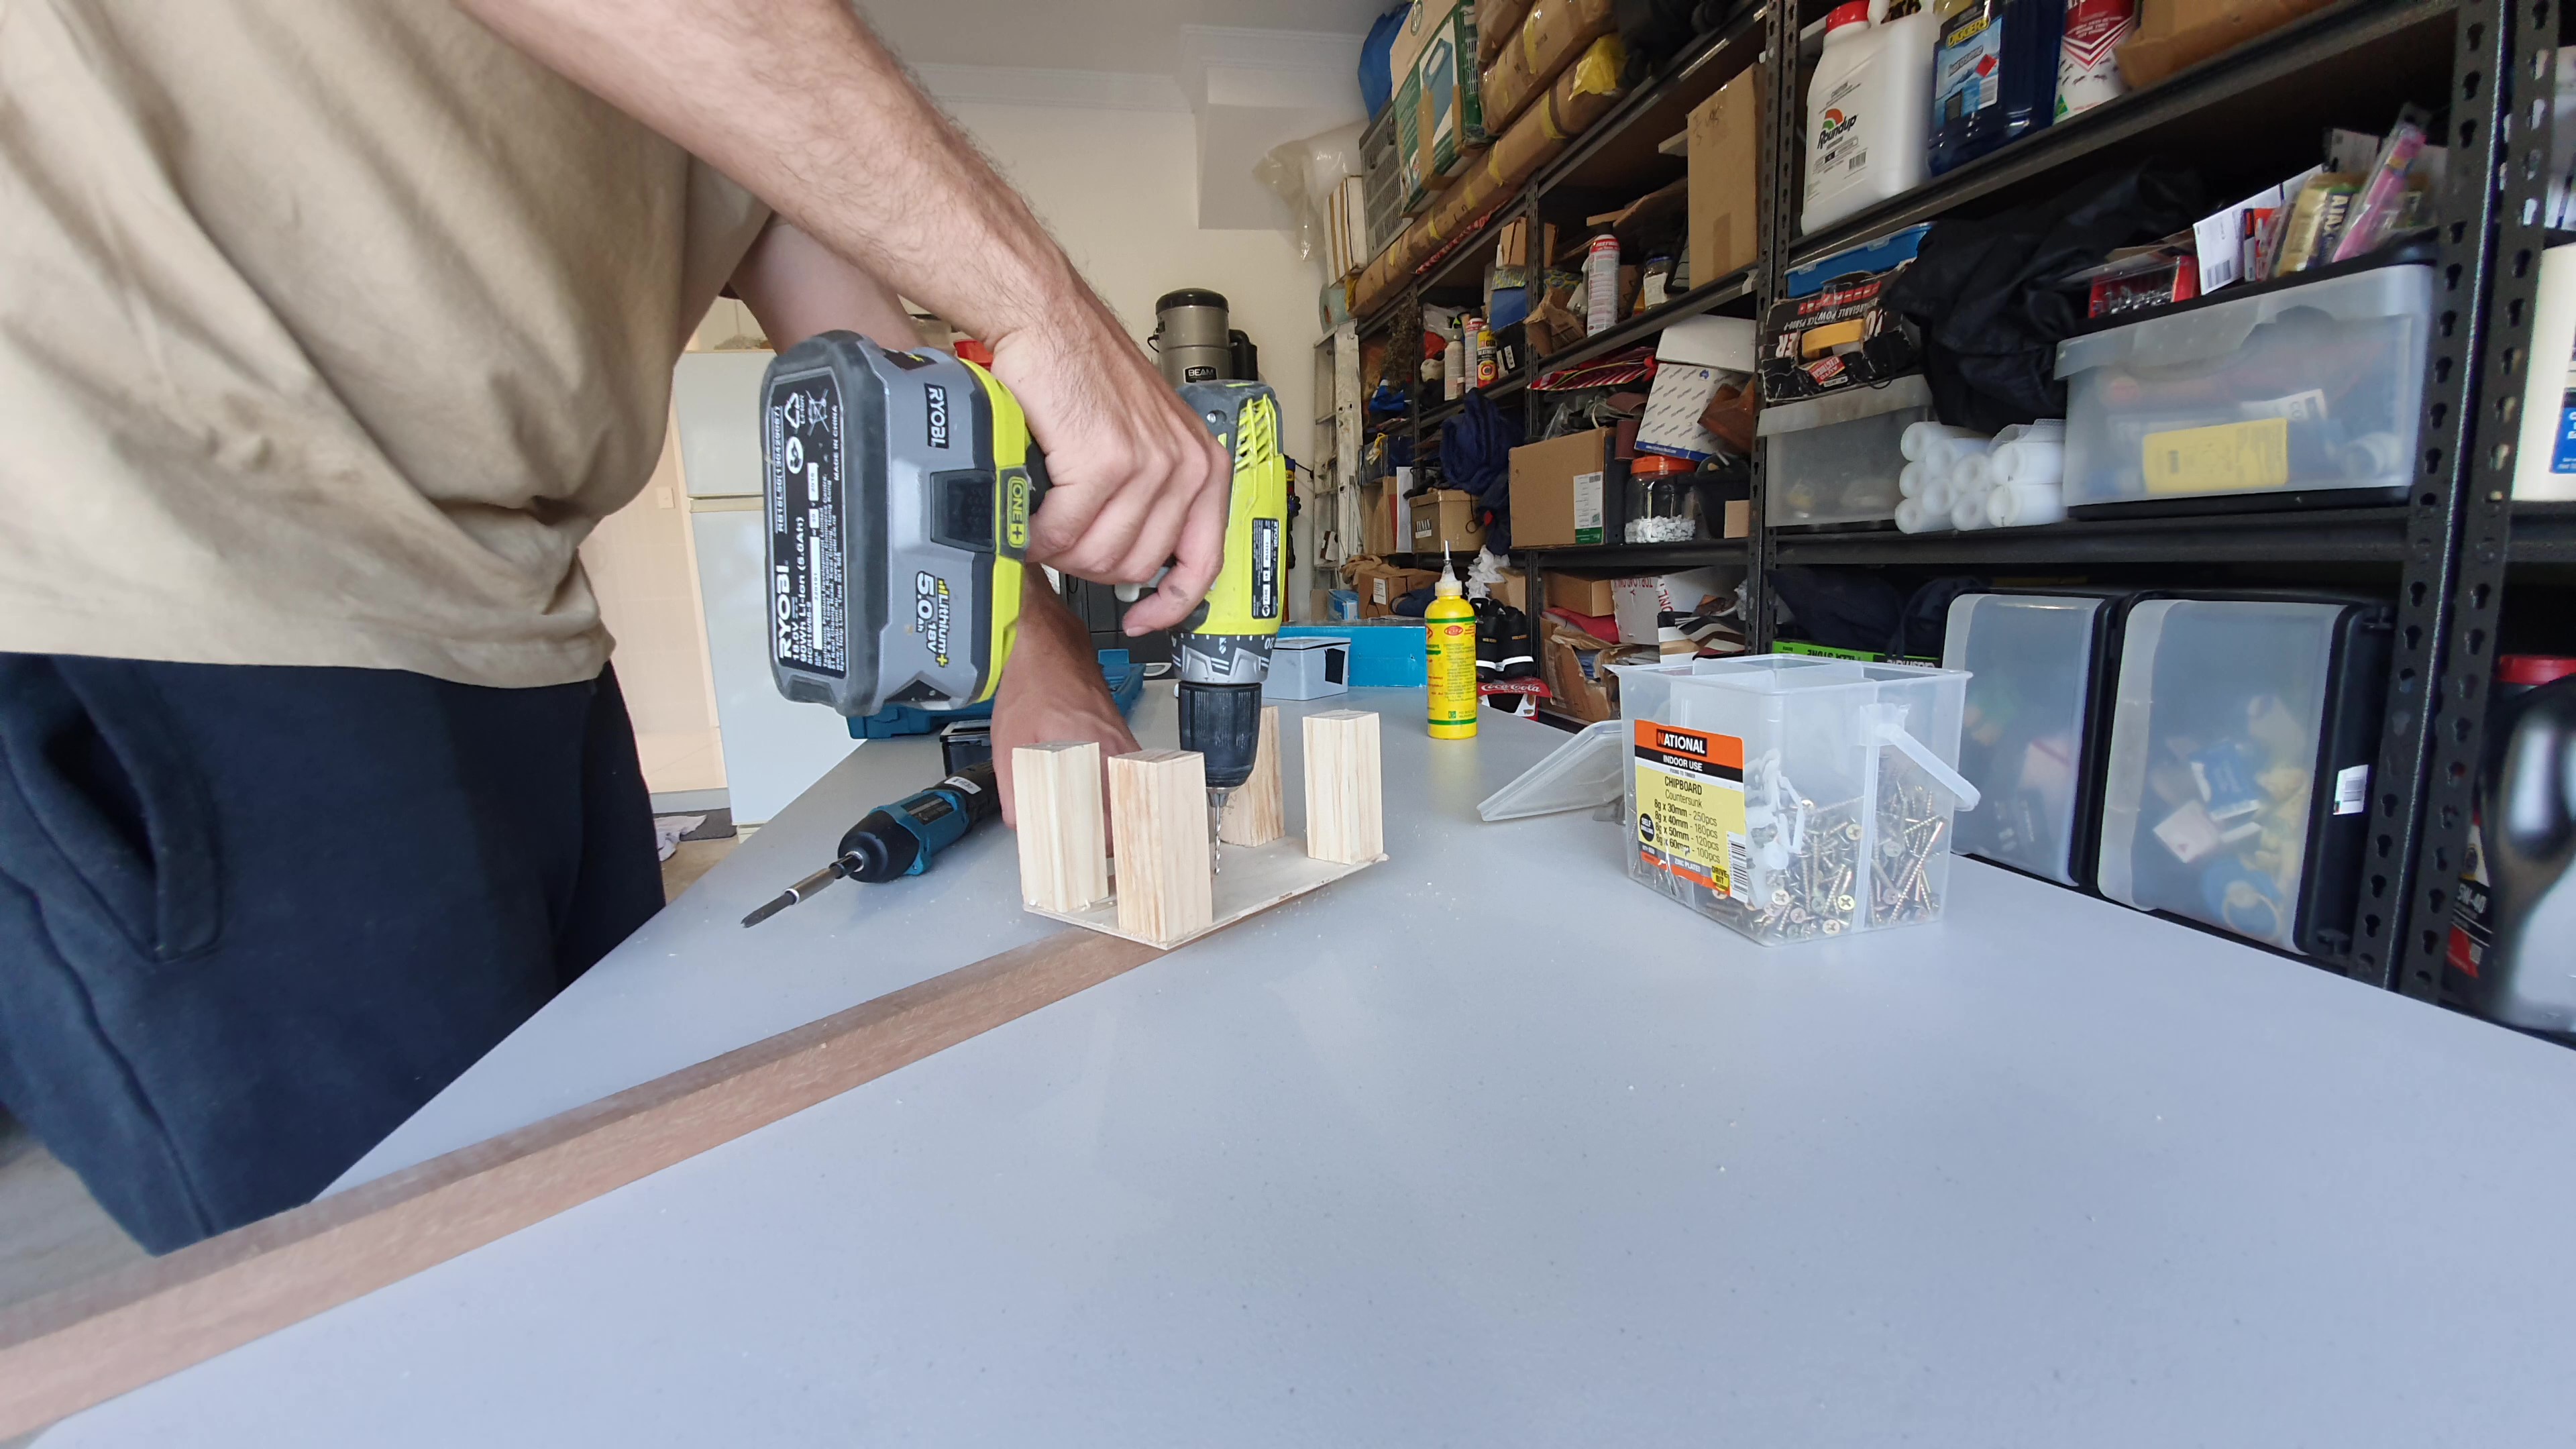
I decided to use spare wood i have laying around to create a wooden mount for the junction box. I cut out one ply wood log into 4 equally sized pieces, followed by a thin backboard using a drop saw. I then screwed these components together and mounted them to a garden stake that i purchased from the gardening section of my local hardware store. I then slid the j-box into the frame and connected the 5V power supply to an extension lead. I would highly recommend using a waterproof power box as you can see in the video, to give the power supply as much longevity as possible. I'm using a bucket for the water supply, which i found was extremely useful so the rain fills the bucket up and therefore, i hardly need to top it up with my own tap water. I've then mounted the pump to the stake and placed the float switch in the bucket.
The brilliant thing about having this connected to my raspberry pi and having a node-red MQTT server, is that i can modify the pumps control from anywhere in the world, without having to connect to the arduino. Currently, there is a manual method of controlling the pump using 2 virtual switches. In auto mode, i would have the pump water the plants based on the required soil moisture and have the pump interlock if there is a rain event.

To duplicate this project, open the Project_Eden.ino and upload it to the board, using your computer and a mini-usb cable. The node-red flow is also available for anyone wishing to extend this project onto a live server.
Lastly, i would like to give many thanks to:
- alex-controlx, who provides an excellent explanation of how to work with graphical interfaces using SVG, and how to change the graphical interface when data is received/sent. Please see the link to the github here https://github.com/alex-controlx/red-dashboard-svg-control
- Steve Cope, who has many videos on working with SQL databases and transmitting data between node-red. I found his videos super useful and have used parts of his node-red flow to develop my SQL database for Project Eden. Youtube channel https://www.youtube.com/c/stevecope
Code
Credits
Related products


Leave your feedback...