
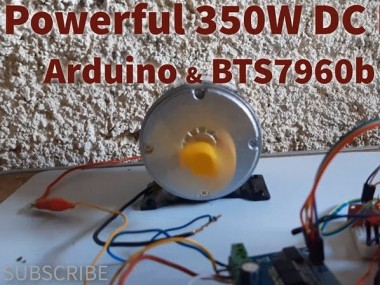
Control Powerful Electric Skateboard E-bike 350w Dc Motor...

Made by Ron / Automotive / Robotics / Sensors
About the project
In this tutorial we are going to learn how to control a DC motor using Arduino and Dc driver bts7960b.
Project info
Difficulty: Moderate
Estimated time: 1 hour
License: GNU Lesser General Public License version 3 or later (LGPL3+)
Items used in this project
Hardware components

|
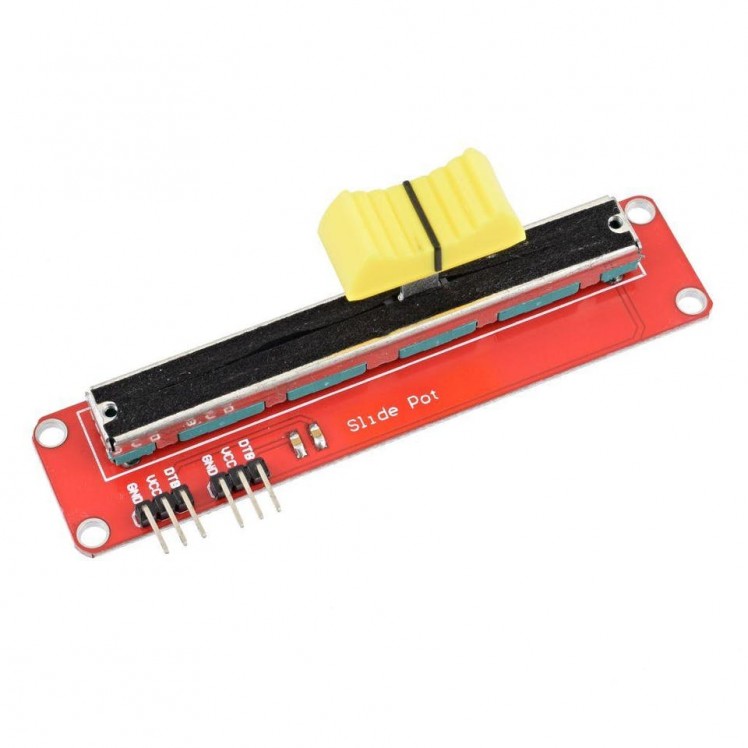
Potentiometer, Slide | x 1 | |
|
|
Jumper wires (generic) | x 1 | |
|
|
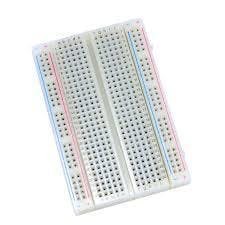
Breadboard (generic) | x 1 | |
|
|
Arduino UNO | x 1 | |
|
|
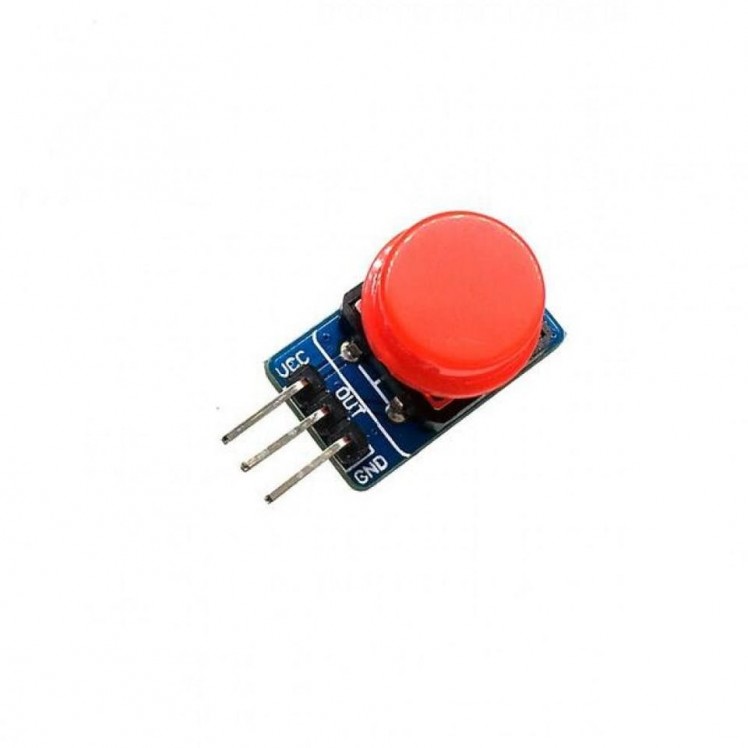
Simple Arduino Button | x 2 | |
|
|
Resistor 1k ohm | x 2 | |
|
|
Adafruit bts7960b dc motor driver | x 1 | |
|
|
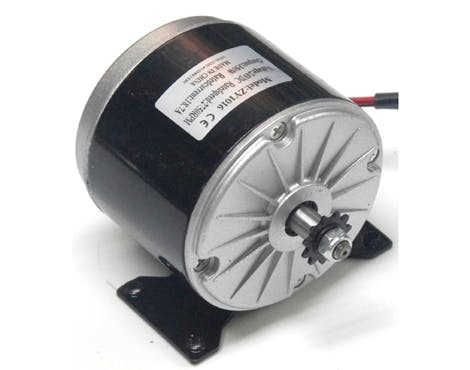
DC Motor, 12 V | x 1 |
View all
Story
In this tutorial we are going to learn how to control a DC motor using Arduino and Dc driver bts7960b.
The motor can be a 350W or just a small Toy arduino dc motor as long as its power don't exceed the BTS7960b driver Max current.
Watch the video!
Step 1: About the Motor
Rated output Power 350W. Rated Voltage 24/36V DC
Rated speed 2750 RPM.
No load speed 3300RPM
Full load Current =19.20A.
No load Current =2.5A
Rated Torque 1.11 N.m (11.1 kg.cm).
Stall Torque 5.55 N.m (55.11 kg.cm)Efficiency =78%
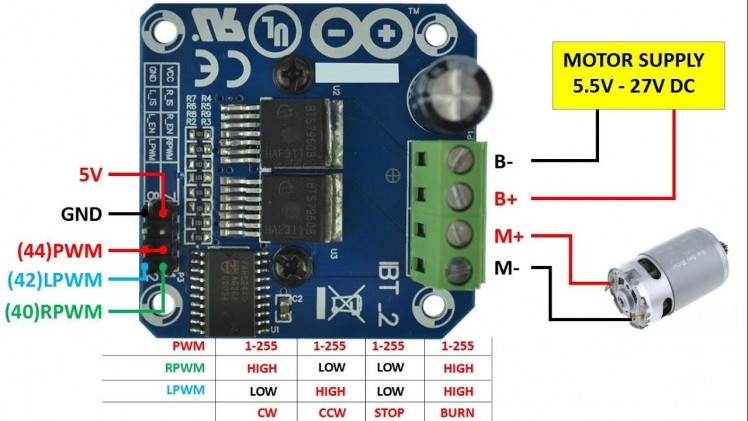
Step 2: About the DC Motor Driver Bts7960b

Specification:
Double BTS7960 large current (43 A) H bridge driver;
5V isolate with MCU, and effectively protect MCU;
5V power indicator on board; voltage indication of motor driver output end; can solder heat sink;
Just need four lines from MCU to driver module (GND. 5V. PWM1. PWM2);
isolation chip 5 V power supply (can share with MCU 5 V); Size: 4 * 5 * 1.2 cm;
Able to reverse the motor forward, two PWM input frequency up to 25kHZ; two heat flow passing through an error signal output; isolated chip 5V power supply (can be shared with the MCU 5V), can also use the on-board 5V supply; the supply voltage 5.5V to 27V
Step 3: What You Will Need
1 / 8
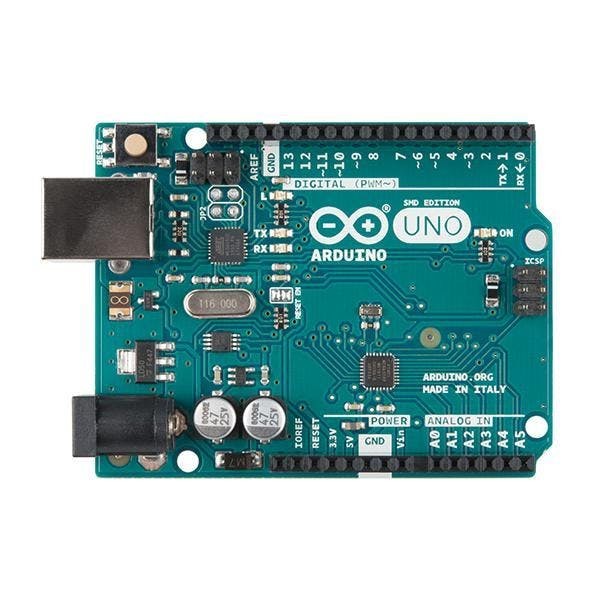

- Arduino Uno or any other Arduino board
- DC Motor Driver Bts7960b
- Some DC Motor it could be small or something more powerful like in tthis experiment
- Power supply for the motor
- Potentiometer
- 2X Button
- Jumper wires
- Breadboard
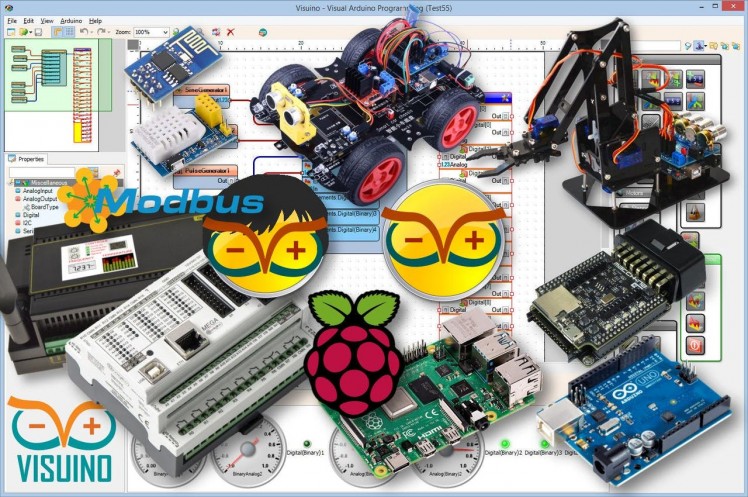
- Visuino software: Download here
Step 4: The Circuit
1 / 2
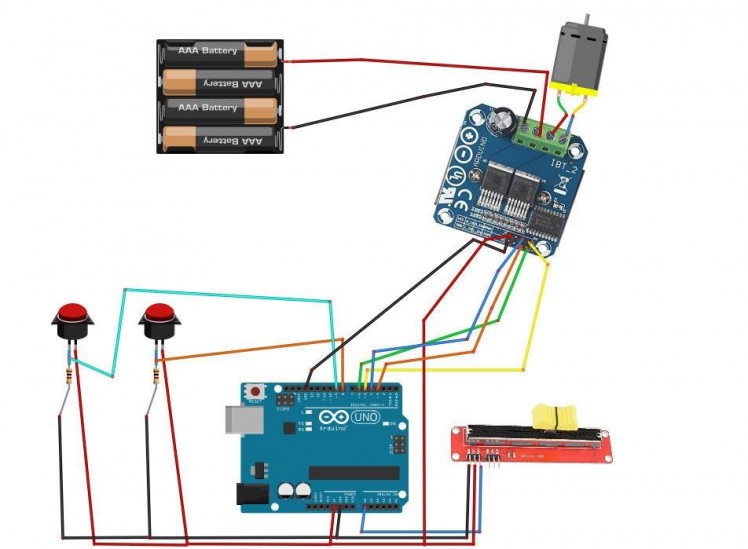
- Connect Arduino digital pin [3] to bts7960 driver pin RPWM
- Connect Arduino digital pin [3] to bts7960 driver pin LPWM
- Connect Arduino digital pin [4] to bts7960 driver pin R_EN
- Connect Arduino digital pin [3] to bts7960 driver pin L_EN
- Connect bts7960 pin VCC to Arduino Analog Pin 5V
- Connect bts7960 pin GND to Arduino Pin GND
- Connect Power Supply pin GND (-) for the motor to bts7960 driver pin B-
- Connect Power Supply pin VCC(+) for the motor to bts7960 driver pin B+
- Connect motor positive wire to bts7960 driver pin M+
- Connect motor negative wire to bts7960 driver pin M-
- Connect potentiometer pin OTB to Arduino Analog Pin A0
- Connect potentiometer pin VCC to Arduino Analog Pin 5V
- Connect potentiometer pin GND to Arduino Pin GND
- BUTTON1 Connect pin1 to Arduino pin 5V
- BUTTON2 Connect pin1 to Arduino pin 5V
- BUTTON1 Connect pin2 to Arduino digital pin 8 and to resistor 1Kohm, connect other pin on the resistor to Arduino pin GND
- BUTTON2 Connect pin2 to Arduino digital pin 9 and to resistor 1Kohm, connect other pin on the resistor to Arduino pin GND
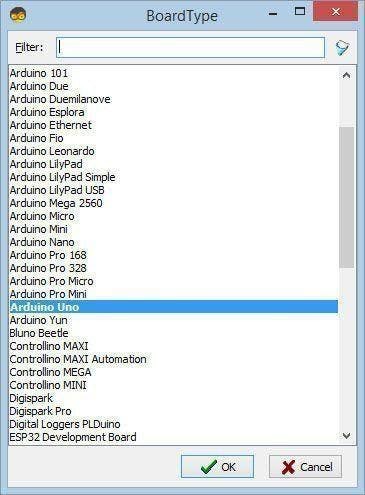
Step 5: Start Visuino, and Select the Arduino UNO Board Type
1 / 2
The Visuino: https://www.visuino.eu also needs to be installed. Download Free version or register for a Free Trial.
Start Visuino as shown in the first picture Click on the "Tools" button on the Arduino component (Picture 1) in Visuino When the dialog appears, select "Arduino UNO" as shown on Picture 2
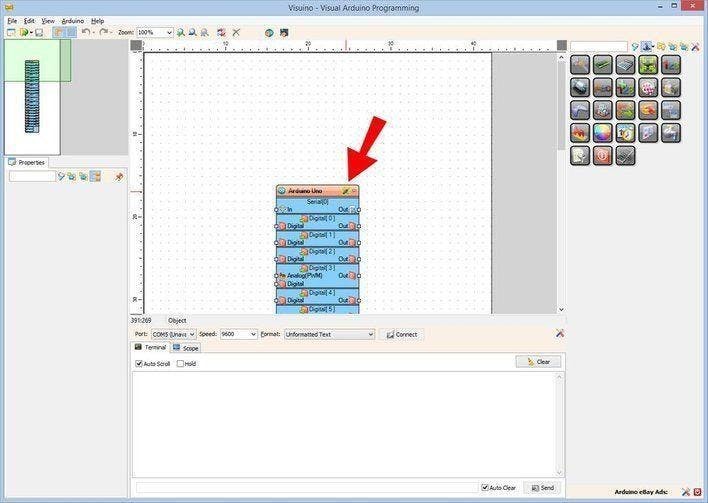
Step 6: In Visuino Add & Set Components
1 / 4
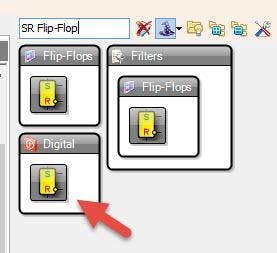
- Add "SR Flip-Flop" component
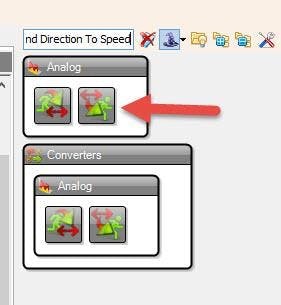
- Add "Speed and Direction To Speed" component
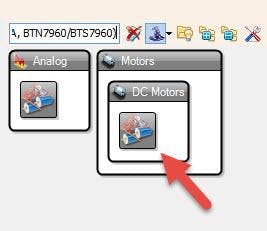
- Add "Dual DC Motor Driver 2 PWM Pins Bridge (L9110S, L298N, AM1016A, BTN7960/BTS7960)" component
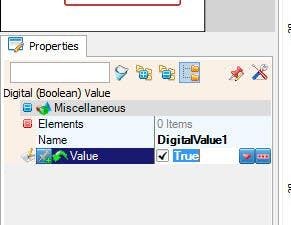
- Add "Digital (Boolean) Value" component
- Select "DigitalValue1" and in the properties window set "Value" to True , this will Enable the driver, setting it to false will disable the motor driver and the motor will not spin
Step 7: In Visuino Connect Components
1 / 2
- Connect Arduino digital pin 8 to "SRFlipFlop1" pin "Set"
- Connect Arduino digital pin 9 to "SRFlipFlop1" component pin "Reset"
- Connect "SRFlipFlop1" pin Out to "SpeedAndDirectionToSpeed1" pin "reverse"
- Connect Arduino Analog pin 0 to "SpeedAndDirectionToSpeed1" pin "Speed"
- Connect "SpeedAndDirectionToSpeed1" pin Out to "DualMotorDriver1" pin "Motors[0] > In
- Connect "DualMotorDriver1" pin "Motors[0] > Forward to Arduino digital pin 5
- Connect "DualMotorDriver1" pin "Motors[0] > Reverse to Arduino digital pin 6
- Connect "DigitalValue1" pin Out to Arduino digital pin 3 and digital pin 4
Step 8: Generate, Compile, and Upload the Arduino Code
In Visuino, at the bottom click on the "Build" Tab, make sure the correct port is selected, then click on the "Compile/Build and Upload" button.
Step 9: Play
If you power the Arduino UNO module, the motor will start to spin, you can adjust the speed with a potentiometer or change the direction by pressing the buttons.
Congratulations! You have completed your project with Visuino. Also attached is the Visuino project, that I created for this tutorial, you can download it and open it in Visuino: https://www.visuino.eu
CAD, enclosures and custom parts
Code
Credits
Related products


Leave your feedback...