
Cheap Portable Cocktailmaker Barbot Wit App!

Made by seafoxc / Communication / Food & Drinks / Home Automation / Sensors
About the project
Great to have and envoy with friends. Made compact so you take it with you on the go.
Project info
Difficulty: Moderate
Estimated time: 1 day
License: GNU General Public License, version 3 or later (GPL3+)
Items used in this project
Hardware components


View all
Software apps and online services
Hand tools and fabrication machines
Story
I was inspired to make a barbot after seeing some similar projects on Youtube. The skill level and the amount of parts of most barbots made me think I could simplify this by using pumps. Other design using pumps are pumping very slowly (over a minute to mix a small drink) and the pumps I use are great for the application.
Here is a video to show my progress on the project:
Making this project I also kept in mind the need of solid code and good comments so you can change the project to mix the drinks you want.
So I first started out by making a frame out of some wood panels that I had laying around. I cut 4 pieces of 16, 5cm x 33cm (6, 5 inch x 13 inch) and connected two of them with screws together like you see in the picture below:
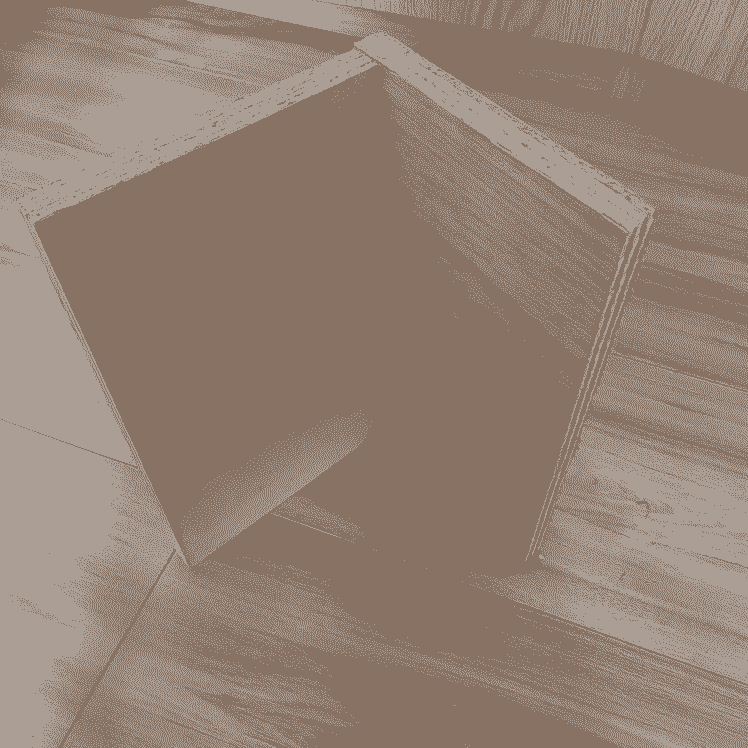
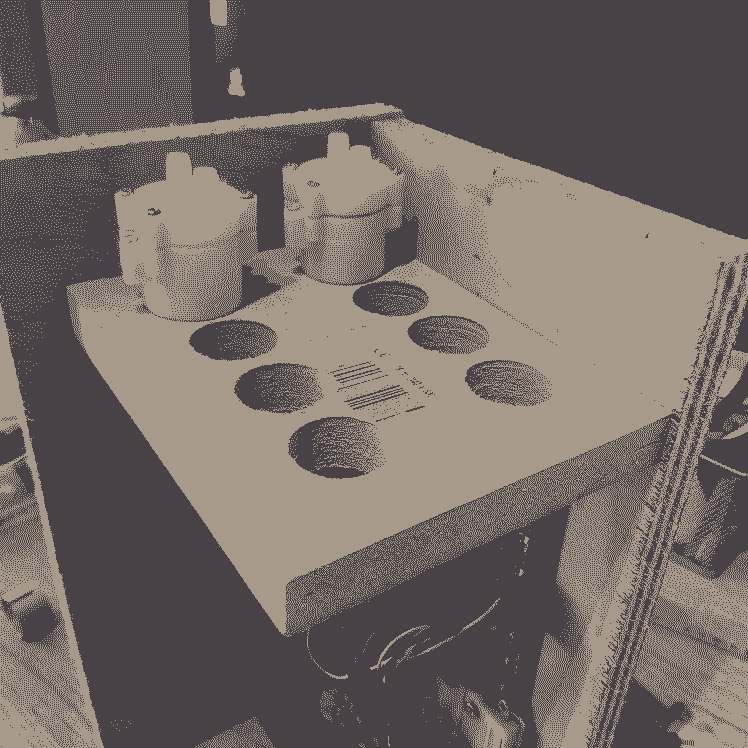
Then I cut a another piece of wood to the dimension of the inner side of the square when you would connect all plates together we cut previously. And drilled some holes in it with the 28mm drillbit. Make sure the centre of the holes are 5cm (2 inches) spaced out so you have enough room for the pumps there.
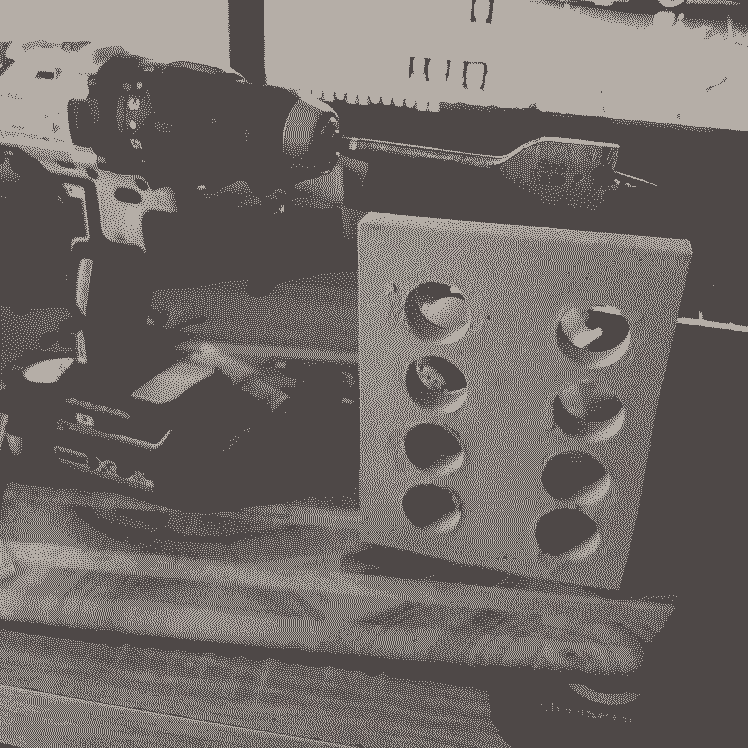
I screwed together the plates like you can see in the picture. Make sure you use a small drill to predrill the holes for the screws. This will help stop the wood from splitting.
Then it was time for connecting the Arduino Uno with the Bluetooth module and the relay board. You don't have to connect the pumps. Use the wire schematic to do so.
We wan't to check if the circuit of the relay board, Bluetooth module and the Arduino Uno work. So after this download the code to the Arduino Uno.
So now I should recommend testing the circuit. First you should download the app and connect the Bluetooth module. Make sure the Bluetooth module is powered on and is blinking.
Then follow this video guide:
Pleas note that I made the app so that you have to press for a longer time on a button to make sure accidents stay at a minimum. So push the buttons for 2-3 seconds.
So when pressing a cocktail you should hear the relays turn on and off. You can also check the lamps on the relay board. A good way to test all pumps is to run the cleaning program. Each relay should be activated for 5 seconds each one by one.
You should solder on the capacitor of 1qF. You have to do this because otherwise the radio frequency noise of brushes of the DC motor will cause the Bluetooth module to disconnect and other stuff you do not want.
The soldering of the wires should be done in a later step not this step

The soldering of the wires should be done in a later step not this step
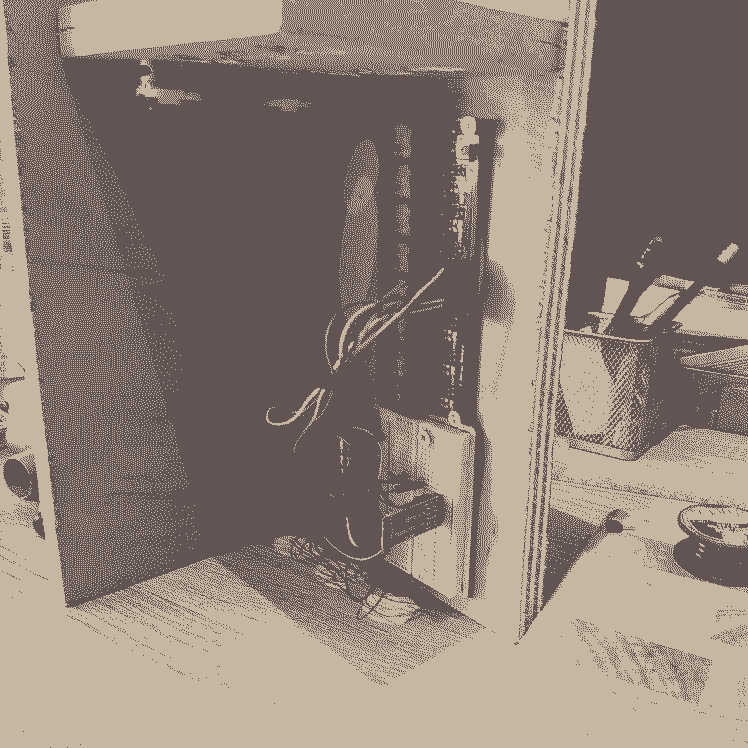
After this you can connect the power supply and the pump. Put the pumps in the holes we drilled earlier. To do so you have to remove the extra round shielding component. This snaps of easy. Keep one aside because we gone use it later.
No you can connect the power supply, relay board and pumps together using the wiring diagram. After this you can check with the app if the pumps are working. If you have problems with the Bluetooth communication you should check if any of the capacitors is came loose.
Then you can start setting things up to make real drinks. First I suggest to clean all the pumps. You should get a large pitcher or a a bucket with clean water and put all the suction hoses in the bucket. On the pressure side of the hoses (where later the cocktail glasses go) you should also put an empty pitcher or bucket. Now you can run the cleaning program and check if all pumps work.
After this you can set things up to make your first cocktails. You should put the hoses in the correct bottle. If you wired everything according to the wiring diagram Pump 1 (connected to relay 1 and pin2) is vodka. Pump 2 is cranberry juice and so on...
//defining the pins used for each drink, you can changes this depending how you connect the pumps and the drinks.
int Vodka = 2;
int Cointreau = 3;
int CranberryJuice = 4;
int Sprite = 5;
int LemonJuice = 6;
int SugarWater = 7;
int BlueCur = 8;
int Gin = 9;
If you changed something you can correct the pin numbers in the code.
There is a button named "Set-up all" and this button will activate all the pumps for a brief second to fill up the hoses and the pumps. For the first time I should suggest to set each pump up individual so you are sure it is connected to the wright bottle.
Start with "Set-up vodka" and work you way true all of the bottles so you know it is okay.
If this is all okay you can start by making your first cocktail. I programmed it for large glasses so make sure you use a large glass ;-).
If you find the proportions of the drinks not to your liking then you can change them in the code:
// Cosmo
if (state == 'c') {
 Serial.println("Cosmo in the making");
 Mix(2500,1500,3800,0,1200,1200,0,0); // Vodka, Triple Sec, Cranberry juice, Sprite, Lime juice, Sugar water, Blue Curacao, Gin
}
This is the code for a Cosmo. The values in the brackets are the times each pump works in milliseconds. For example if you want to change the quantity of sugar water in your drink from 1,2 seconds to 2 seconds you can change Mix(2500,1500,3800,0,1200,1200,0,0) to Mix(2500,1500,3800,0,1200,2000,0,0)
You can do this with all the values and so fine tune it to your taste.
UPDATE: made an other cocktail machine with the same code, components code but a different lay-out.
Schematics, diagrams and documents
Code
Credits
Related products


Leave your feedback...