
Build An Iot-based Automated Chicken Coop Door With Esp32 An

About the project
A servo motor-operated door that closes when it gets dark or at a specific time.
Project info
Difficulty: Easy
Platforms: Home Assistant, Espressif
Estimated time: 1 hour
License: MIT license (MIT)
Items used in this project

Story
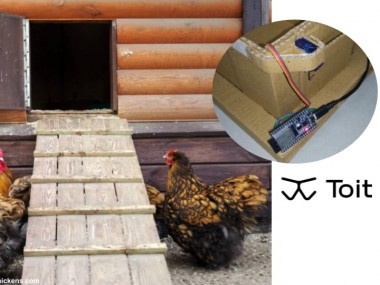
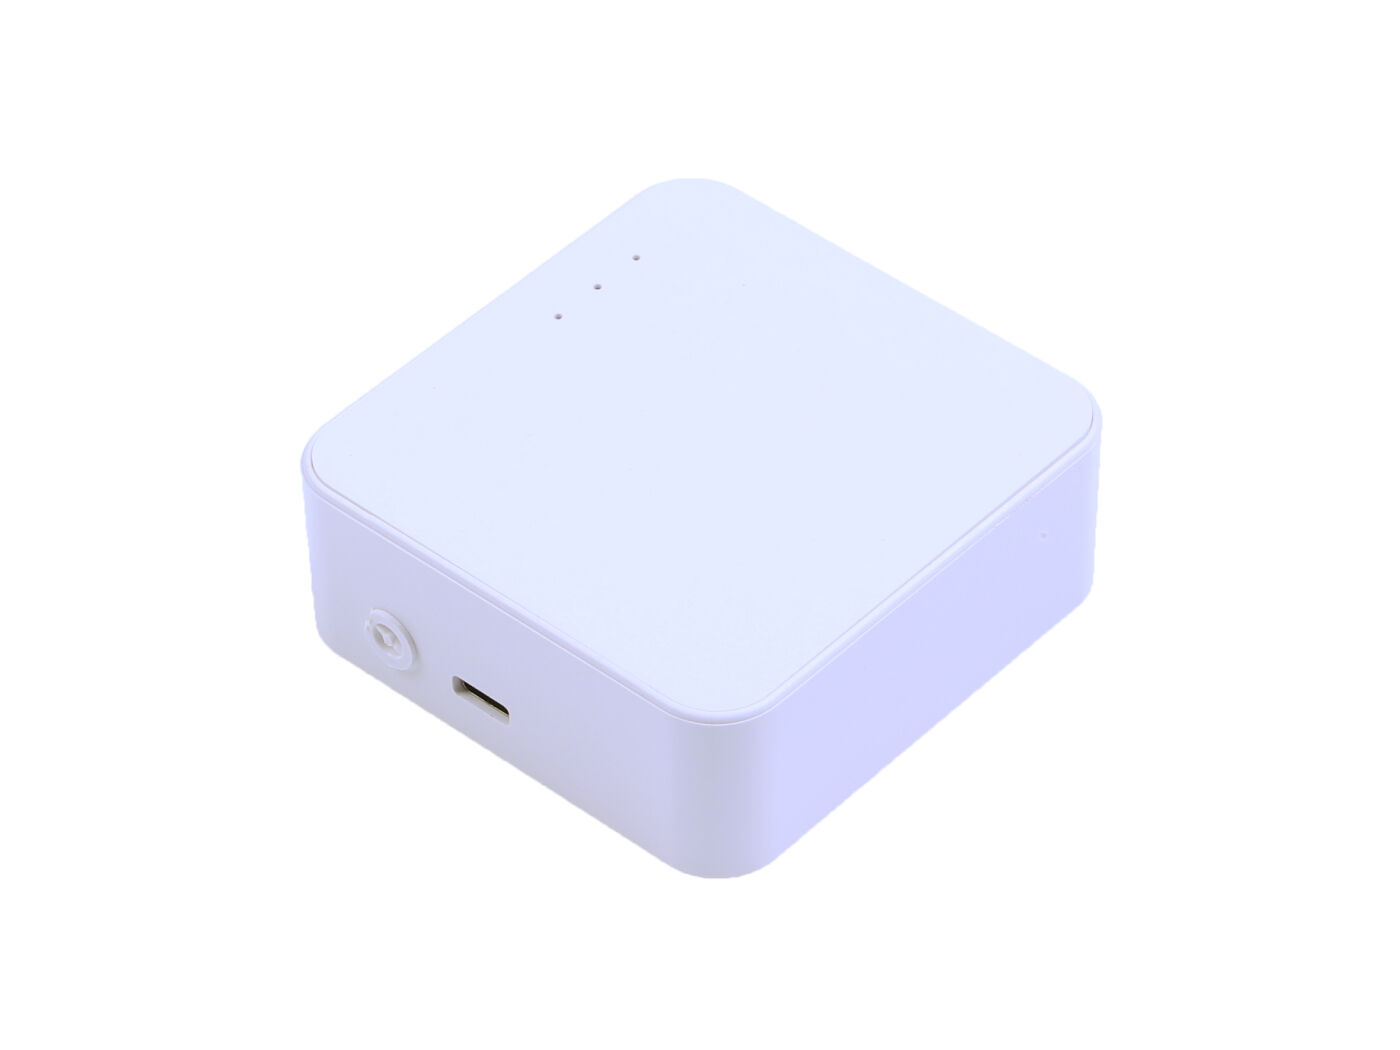
Opening and closing a chicken coop door is a repetitive annoying task that must be performed at the right time every day. In this tutorial, we will show how a small ESP32 can be used to automate this chore away. We will use just two components: an ESP32 and a DC servo motor.
To further ease up the process, we’ll use the Toit IoT platform to write our code in just 30 lines, and monitor the live status right from our desk. This tutorial will cover two automating options:
- Using Toit’s Solar position library to automatically set the sunrise and sunset times of your place.
- Setting your own opening and closing times.
An alternative would be to use a light sensor to detect the right moment for closing the door. However, this would require an additional component that is simply not needed.
Setting up the hardware
The main actuator here is a DC servo motor, which can precisely rotate to the desired angle. Right now, for demonstrating the working, I have built a very small coop with cardboard. For actual ones, you might require a high-torque servo motor like this one, but the control logic remains exactly the same. The door should be a hinge type for easy mounting of the motor, although you might also use a sliding one if you can think of a mechanism to make it work with the servo motor.
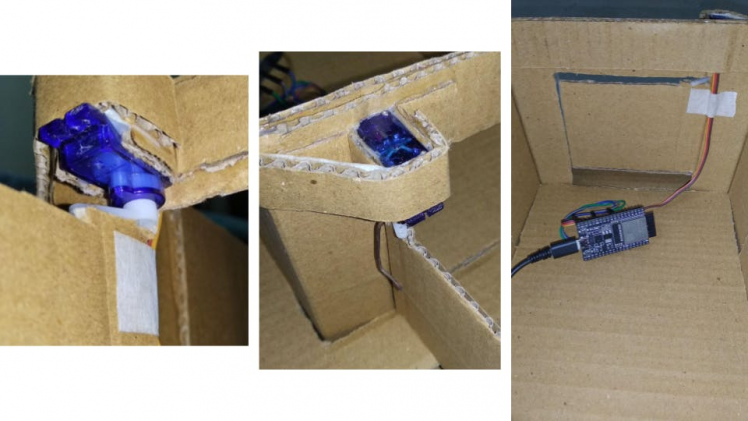
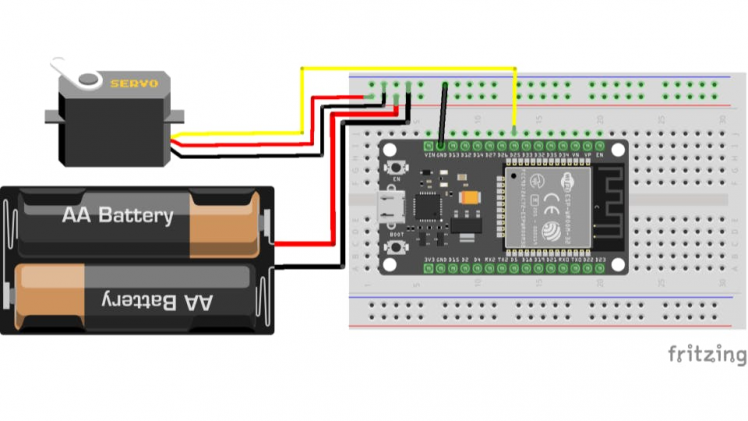
On the electronics side, you just need to connect three wires: VCC, GND, and signal. It is recommended to use an external power supply for your motor as the ESP32 won’t be able to provide sufficient current to it. Below is the schematic:
Programming and deploying the application with Toit
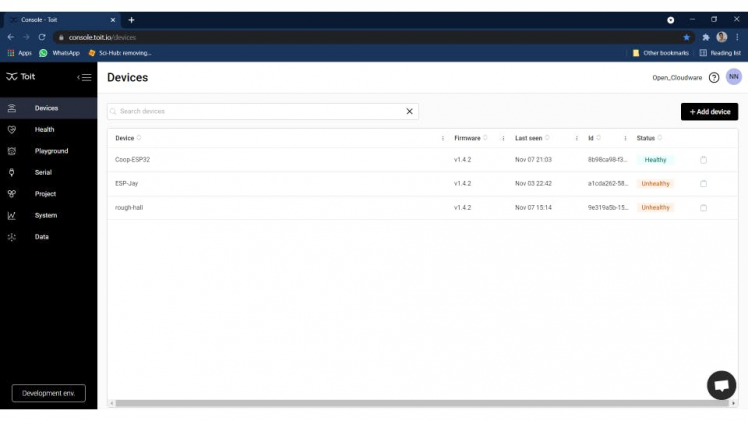
If you’re new to the Toit platform, follow the Quickstart guidewhich will get you running within a few minutes. After that, head over to the Toit console and you should see your device with status as Healthy.
Next, we need to install the servo and solar position package. Run the following commands in the Toit CLI inside your working directory:
$ toit pkg install github.com/andersjohnsen/servo
$ toit pkg install github.com/toitware/toit-solar-position
The packages (or libraries) are now installed locally in the working directory. All other packages come bundled with the firmware. Finally, create a new.toit file in which the code will be written.
Automatically set sunrise and sunset times of your place
Toit has a package called Solar positionwhich, as stated, can calculate the sunrise and sunset times for a given place and time on Earth. It also understands civil twilight, nautical twilight, and astronomical twilight. You just need to provide the geo-coordinates of your place i.e. longitude and latitude and Toit will handle the rest. Beginning with the code, we first import the necessary libraries and define the longitude and latitude as global variables.
import servo
import gpio
import solar_position show *
MUMBAI_LONGITUDE ::= 73.077787
MUMBAI_LATITUDE ::= 19.047505
Going into the main function, we first set GPIO-25 as the signal pin for the servo motor. Next, we get the sunrise and sunset times which will be accessible through the object named “today”. Finally, we put an if-else statement to check whether the sun is up or not. All the times here are in the UTC time zone.
main:
servo_motor_pin := gpio.Pin 25 --output
servo_motor := servo.Motor servo_motor_pin
today := sunrise_sunset (Time.now) MUMBAI_LONGITUDE MUMBAI_LATITUDE
if today.sunset < Time.now < today.sunrise:
servo_motor.degrees = -45
sleep --ms=2000 // Wait for the door to open
print "Door opened, will close at: $today.sunset UTC"
else:
servo_motor.degrees = 67
sleep --ms=2000 // Wait for the door to closeprint "Door closed, will open at: $today.sunrise UTC"
For your coop door, you might need to play around with the value of servo_motor.degrees to find the desired opening and closing angles. Now, to deploy the app you need to create a.yaml file with the same name as yours.toit and in the same directory with the content given belo
name: Coop door
entrypoint: coop-door.toit
triggers:
on_install: true
cron:
- "*/10 5,6,7,8 * * *"
- "*/10 17,18,19,20 * * *"
The program will run based on the schedule given in the two cronlists. We run it every 10 minutes between 5:00 to 8:00 (morning) and 17:00 to 20:00 (evening). These times are defined in UTC timezone, so change them according to your morning and evening times.
$ toit deploy -d rough-hall coop-door.yaml
Here, replace “rough-hall” with your device’s name. To see it in action, wait till the upcoming sunrise/sunset. Meanwhile, you can check the current status under the device’s logs:
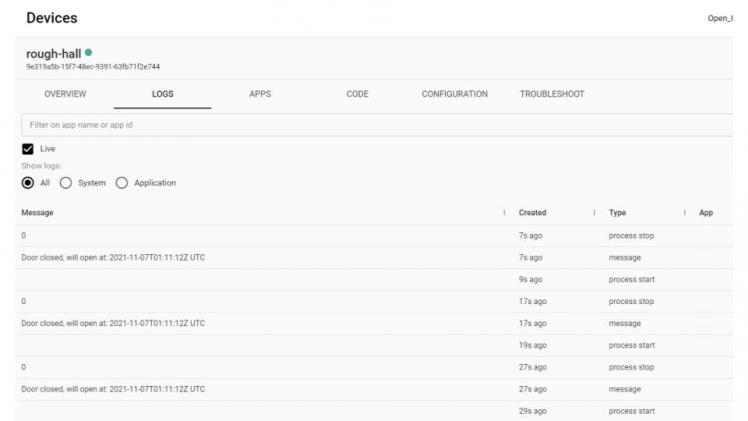
Set your own opening and closing times
The code for this is almost the same one as before, the difference being that we manually enter the times. So, we don’t import the Solar position library here. Below is the complete program:
import servo
import gpio
main:
servo_motor_pin := gpio.Pin 25 --output
servo_motor := servo.Motor servo_motor_pin
// Opening and closing times in UTC timezone
opening_time := "01:11:00"
closing_time := "14:36:00"
// Convert string to a UTC time instance
opening_time_utc := Time.from_string "$(Time.now.stringify[0..10])T$(opening_time)Z"
closing_time_utc := Time.from_string "$(Time.now.stringify[0..10])T$(closing_time)Z"
while true:
if closing_time_utc > Time.now > opening_time_utc:
servo_motor.degrees = -45
sleep --ms=2000 // Wait for the door to open
print "Door opened, will close at: $closing_time UTC"
else:
servo_motor.degrees = 67
sleep --ms=2000 // Wait for the door to close
print "Door closed, will open at: $opening_time UTC"
The variables opening_time and closing_time should be defined in UTC time zone. Next, we convert the string time to the format which Toit understands and store it in separate variables. Finally, we put an if-else statement to check whether the door should be open or not. For checking whether it works, set the opening and closing times just 1-2 mins apart and run with the following command:
$ toit run -d rough-hall coop-door.toit
The output should be like the following:
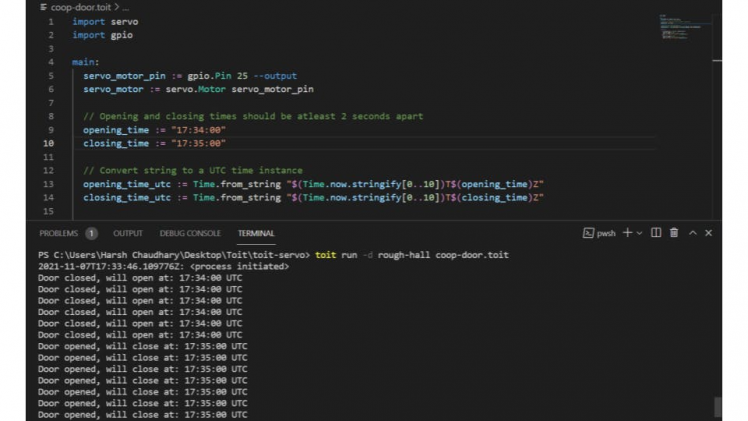
At the same time, you should see your door opening and closing. If everything works well, we can finally deploy the program in exactly the same way we did in the previous section. And that’s all you need to do. All the programs used in this tutorial can be found in this Github repository.
If in the future you decide to step up this setup, maybe by adding a temperature and humidity sensor, then that’s where Toit’s excellent multitasking capabilities come into the picture. You can easily program and deploy a separate app for it, without affecting the current one. This Toit tutorialon logging and monitoring the sensor data might help you with it. Or you might want to automatically cool down the temperature of the coop by adding an exhaust fan, then this Toit tutorialwill help to set that up.
Schematics, diagrams and documents
Code
Credits
Related products


Leave your feedback...