
Automatic Flag Waver

Made by Mellow_Labs / 3D Printing / Robotics / Upcycling
About the project
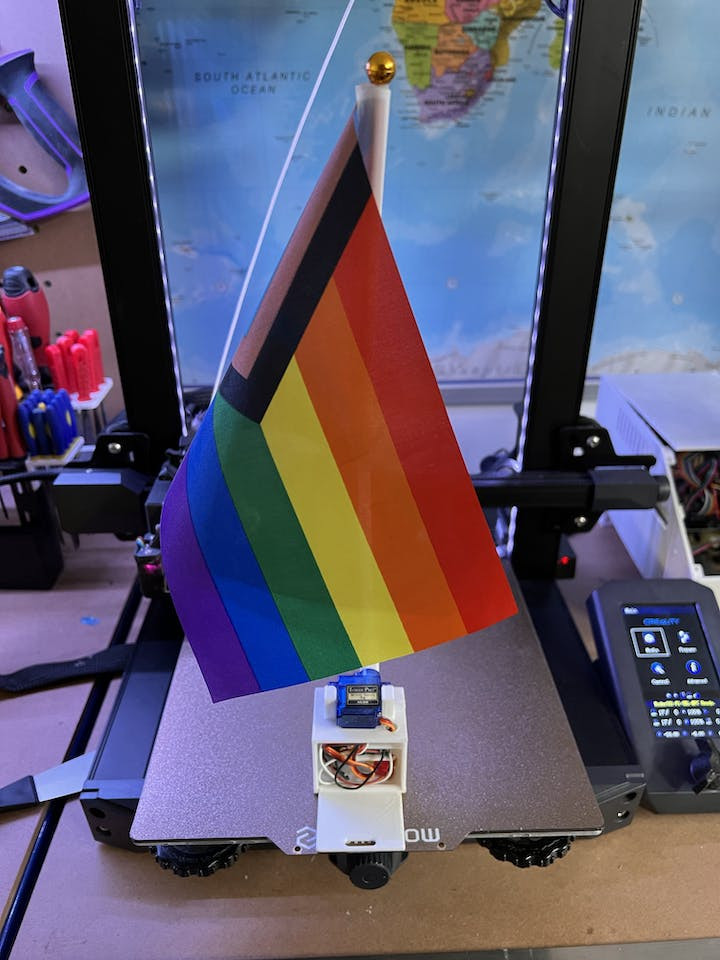
I love waving flags but my wrists get tired, so I made an automatic flag waver.
Project info
Difficulty: Easy
Platforms: Arduino
Estimated time: 3 hours
License: Creative Commons Attribution CC BY version 4.0 or later (CC BY 4+)
Items used in this project
Hardware components

Story
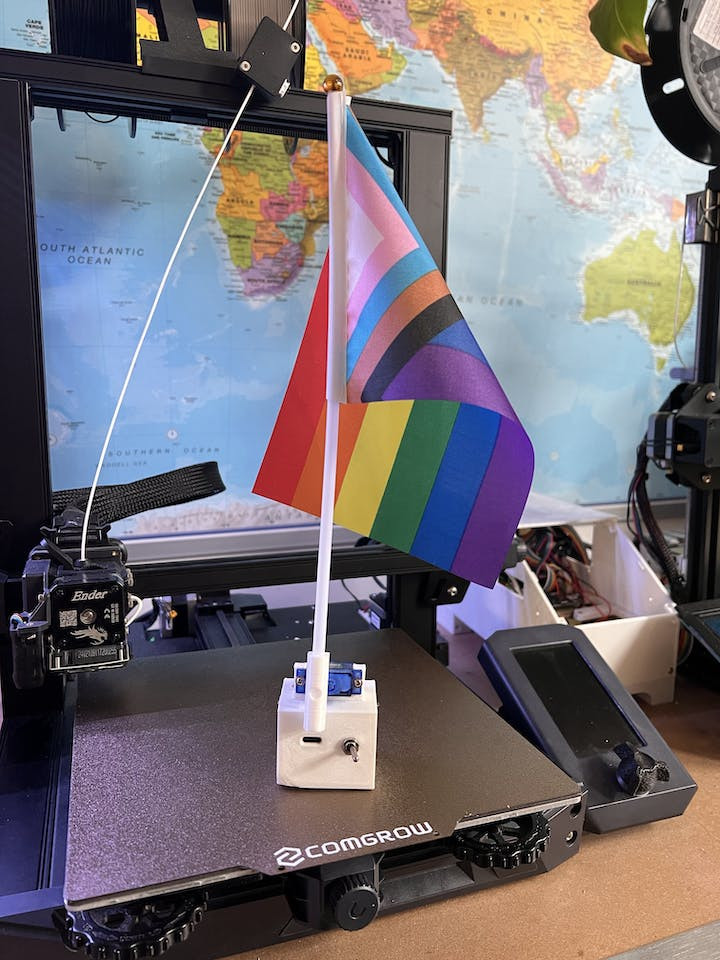
I like flags. I have loads of them around my office and apartment. But they always feel inadequate just sitting there motionless, so I decided to make an automatic flag waver.
Looking around online, I once again found that not a lot of people have had this problem before, so I had to engineer my own way.
I grabbed the few things I had laying around: a D1 Mini, servos, USB-C BMS, and some old disposable vape batteries that I've been collecting. After playing around for a bit, I found the best position for the flag to be in, and with all of that information it was time to start designing.
I finally decided to switch over from Shapr3D to Fusion 360. I always found Fusion 360 a little bit overwhelming like jumping in at the deep end of what feels like a depthless pool.
So many new features to memorize and learn how to use, but it was worth it.
The Design Process
The first thing I did was to model the D1 Mini and the servo in Fusion 360. This helped me figure out how much space they would take up and how they would fit together.
Then I sketched out the shape of the flag holder that would attach to the servo arm. It had to be big enough to hold different sizes of flags securely without damaging them.
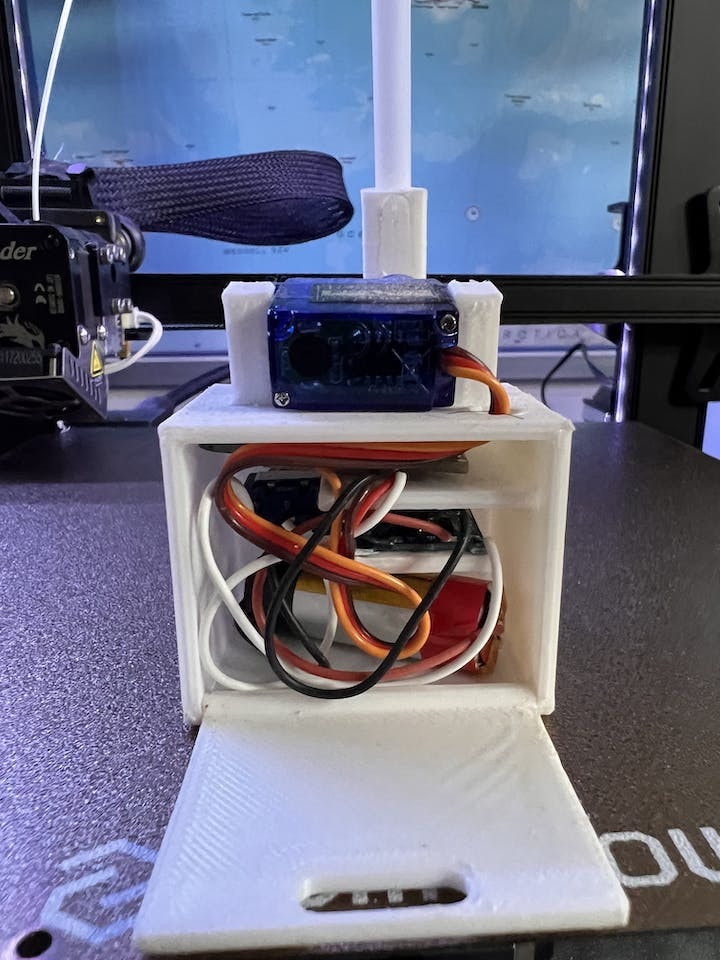
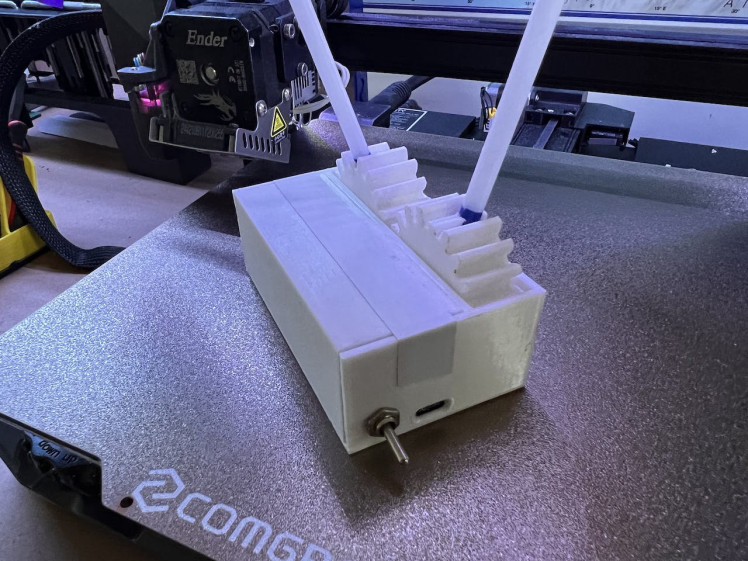
Next, I designed the base that would house the battery pack and the USB-C BMS. It also had a slot for inserting the servo wire through.
Finally, I added some details like screw holes, chamfers and fillets to make everything look nice and smooth.
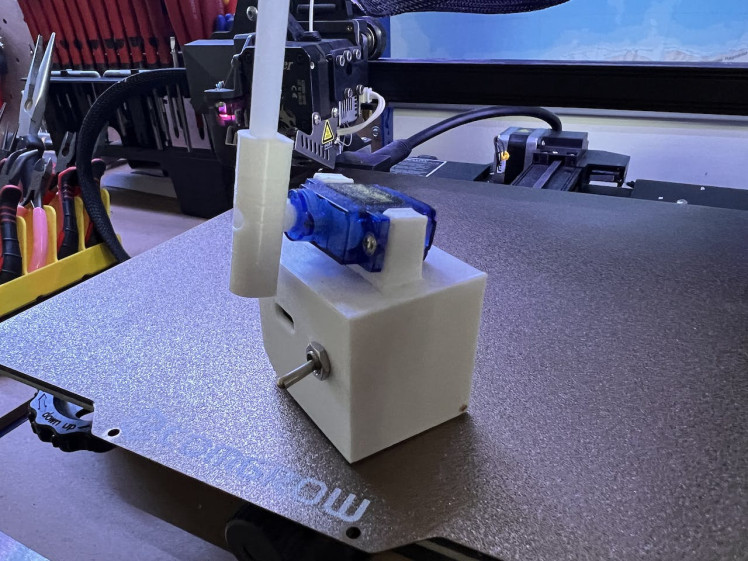
The Assembly Process
The assembly is relatively simple:
- The servo screws onto the top with two M3 screws
- The servo wire goes through the hole and is soldered on directly to the D1 Mini microcontroller
- The signal pin is soldered directly to pin D2 on the microcontroller
- The power wires are soldered to the battery management system (BMS) board
- Two wires go from the BMS board to pins 5V and GND on the microcontroller with a switch between them
- The battery pack is connected to another pair of wires from the BMS board
- The flag holder snaps onto the servo arm
The Code
import machine
import time
Servo = machine.PWM(machine.Pin(4), freq=50)

while True:
   for position in range(20,90,5):
       Servo.duty(position)
       time.sleep(0.04)
   for position in range(90,20,-5):
       Servo.duty(position)
       time.sleep(0.04)
1 / 4
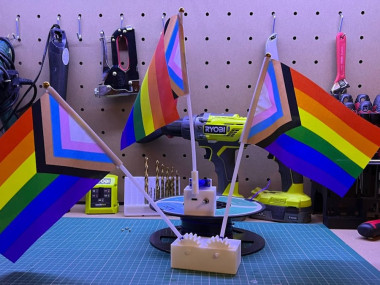
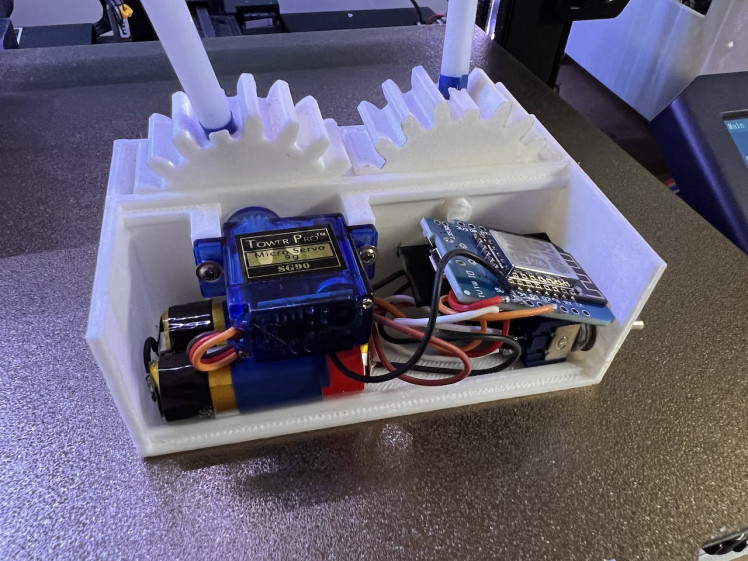
A challenge
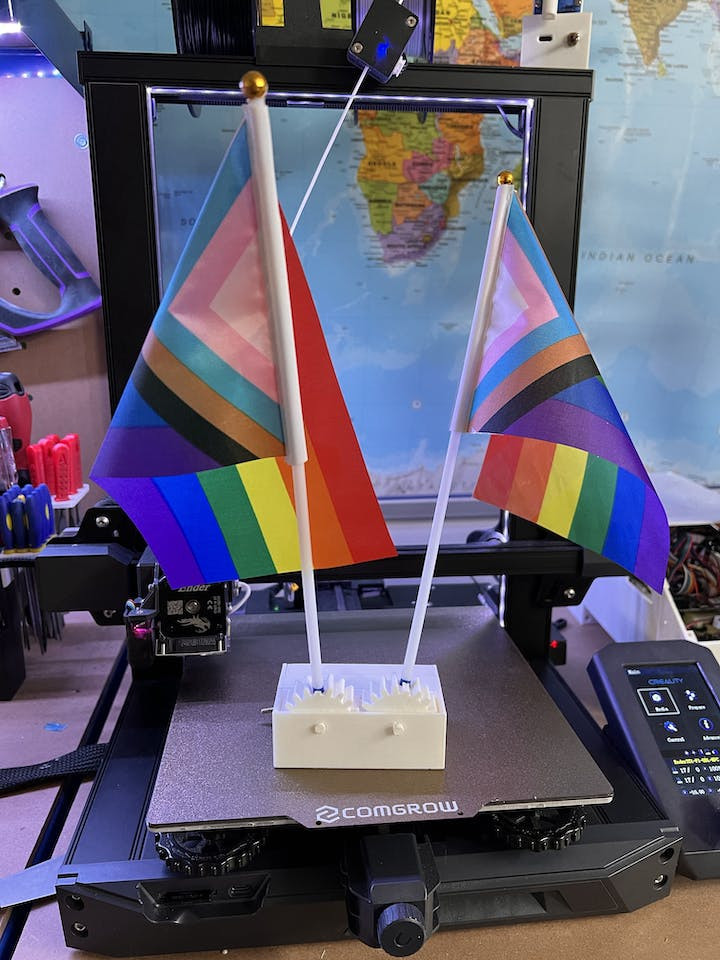
I wanted to give myself a challenge after learning a little bit of Fusion 360: can I make a double flag waver but only using one servo?
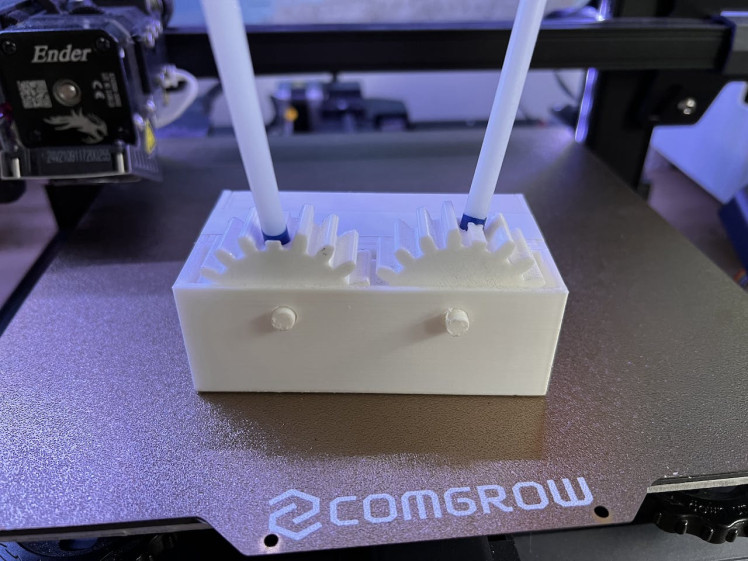
I had to play around with some gear plugins because as far as I know fusion doesn't have a built-in feature for generating gears but please prove me wrong.
The thing I had to keep in mind is that the flag had to be at an angle for it to look right when it's being waived so I had to offset the gear angles so the flags don't collide with each other.
The electronics and code are identical except for the servo values. I also added an extra battery to increase the runtime.
1 / 4
here's a link to all of the 3D files:
www.printables.com/model/286404-flag-waving-machine
if you enjoyed this blog post please consider supporting me on patreon:
CAD, enclosures and custom parts
Credits
Related products


Leave your feedback...