
Automatic Battery Charger V2

Made by Mellow_Labs / 3D Printing / Automotive / Home Automation / Upcycling
About the project
A charger that will automatically charge your batteries
Project info
Difficulty: Difficult
Estimated time: 1 hour
License: Creative Commons Attribution CC BY version 4.0 or later (CC BY 4+)
Story
This project emerged from a practical problem I frequently faced at home. I use a lot of rechargeable batteries, and every time I needed to charge them, I ended up with a confusing mix of charged and uncharged batteries. While a simple organizational method might solve this issue, I prefer thinking outside the box.
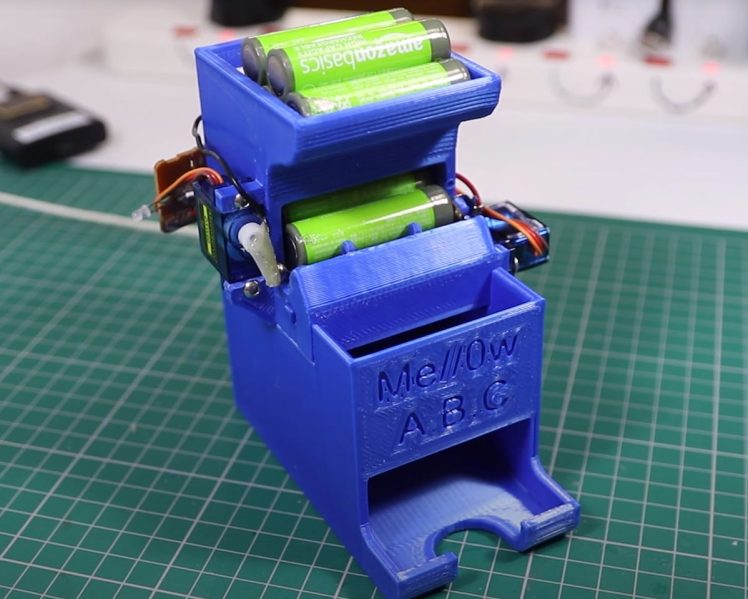
I envisioned a battery charger that could streamline this process. A charger where you can just toss in all the dead batteries, and it automatically charges them and sorts them into a battery holder.
I created a working prototype of this battery charger back in January 2023. After its initial development, I set the idea aside. Later, when I asked my YouTube audience for project suggestions for the new year, this automatic battery charger surprisingly topped the list.
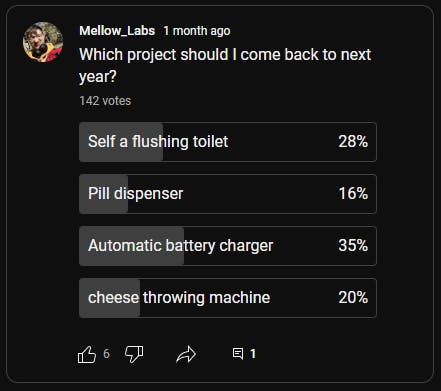
Encouraged by this feedback, I revisited the project, enhancing and refining the design. The final product is easy to 3D print and simple for users to assemble themselves. I've documented this entire journey in a video on my YouTube channel, showcasing the evolution from concept to final creation.
But here I'll just go over how to assemble it.
First off, I’ve provided some Amazon affiliate links for the components you'll need. You don't have to use them but if you do, you'll be supporting me with a small commission. which I greatly appreciate.
Copper Tape: https://amzn.to/48rubay
Stepper Motor: https://amzn.to/3vpaIbV
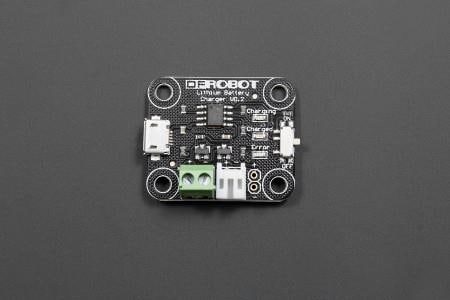
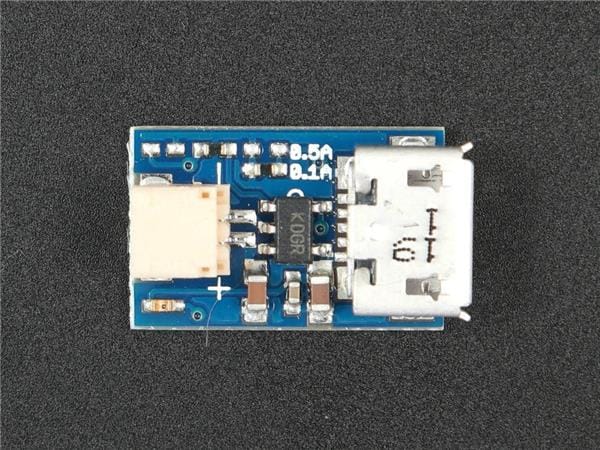
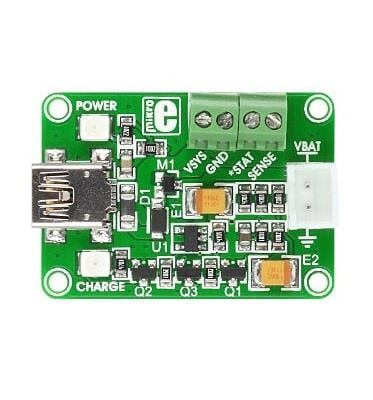
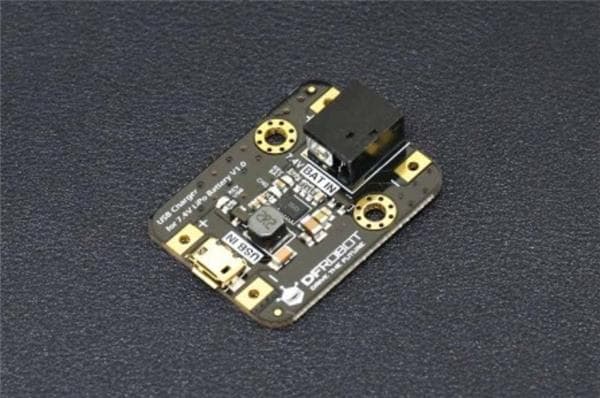
Charger Module: https://amzn.to/3tSOVZv
Pi pico: https://amzn.to/47rNRcM
Micro USB: https://amzn.to/41Qti91
Grub Screws: https://amzn.to/3TRAuzA
3D Models and Code: You can find the 3D files and the necessary code on my Patreon page. Here's the link to access them: https://www.patreon.com/Mellow_labs
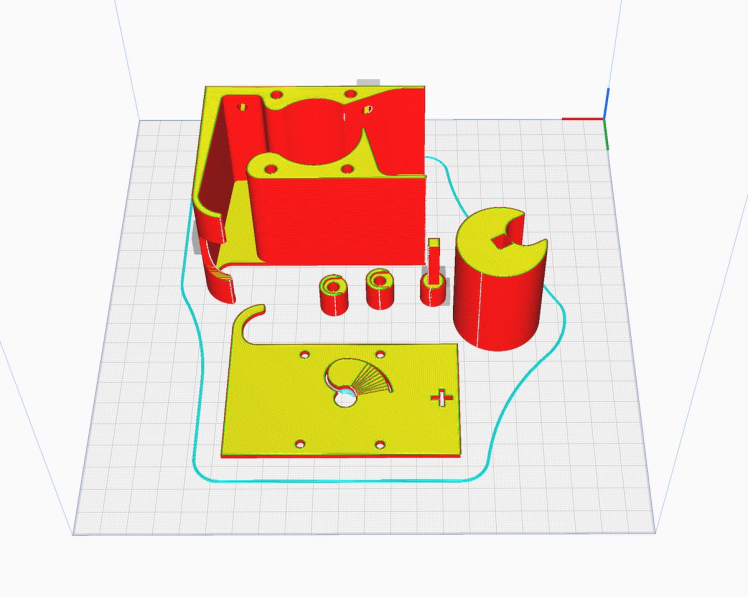
I designed all the parts to fit on a single build plate with minimal supports needed.
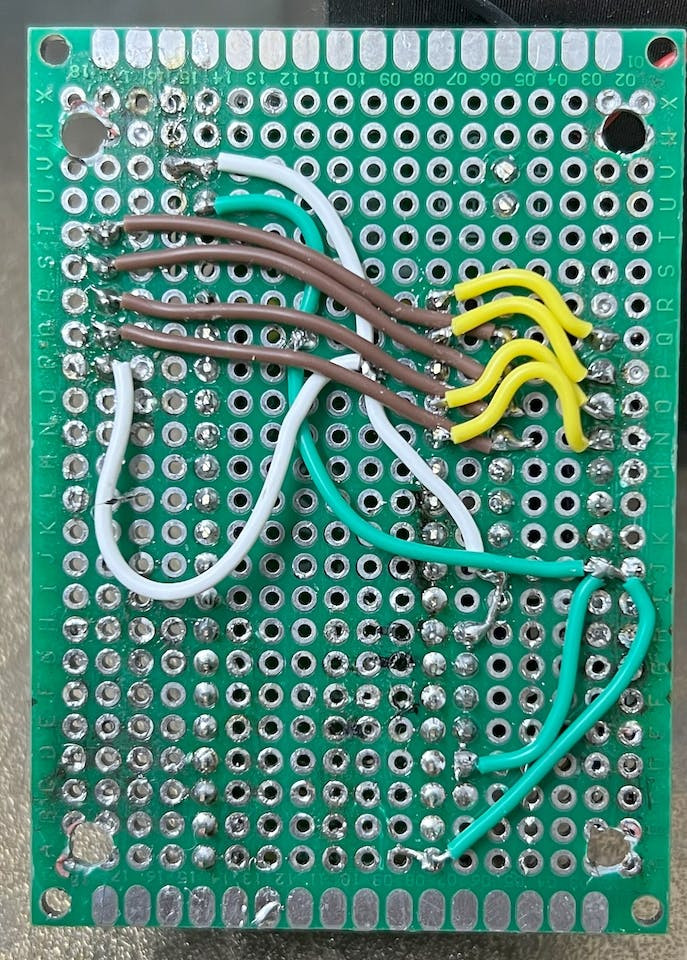
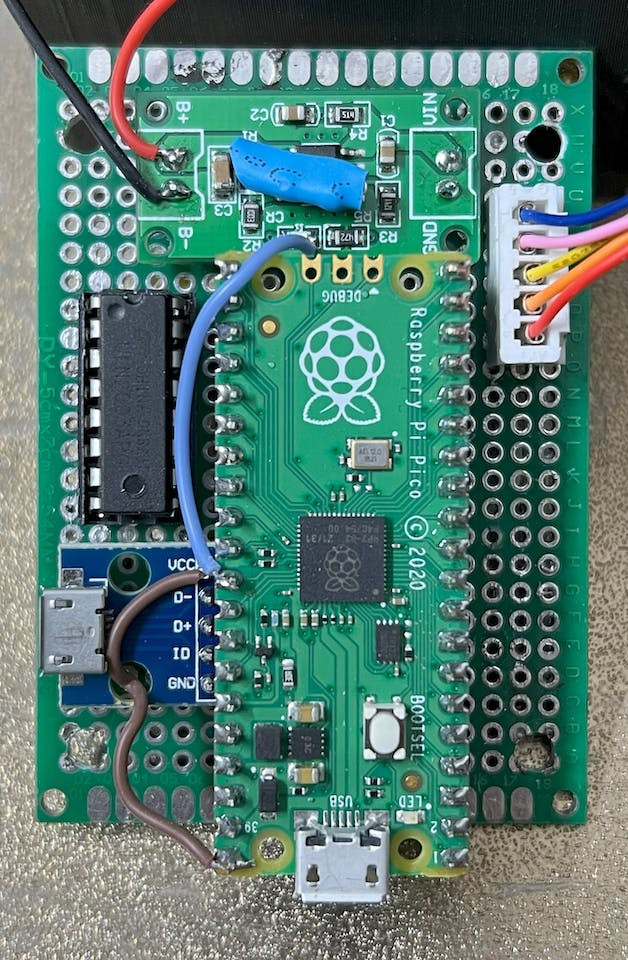
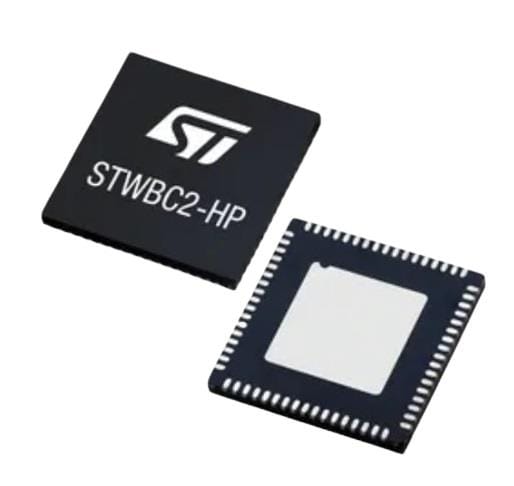
Assembling the Electronics, I began by moving the stepper motor IC onto a prototype PCB board. Then, I added a Raspberry Pi Pico, a micro USB connector, and the NiMH battery charger module, along with the stepper motor connector.
1 / 2
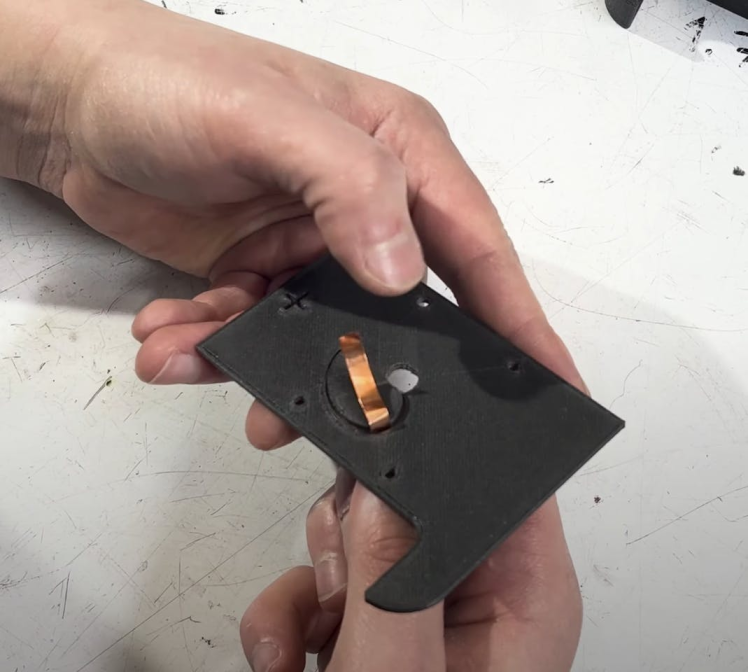
Preparing the Printed Model: After the 3D printing, I carefully removed the supports and attached the copper tape to the inside of the flexible parts. I found using tweezers really helps with this delicate task. Then, I solder two wires to each side of the tape.
1 / 2

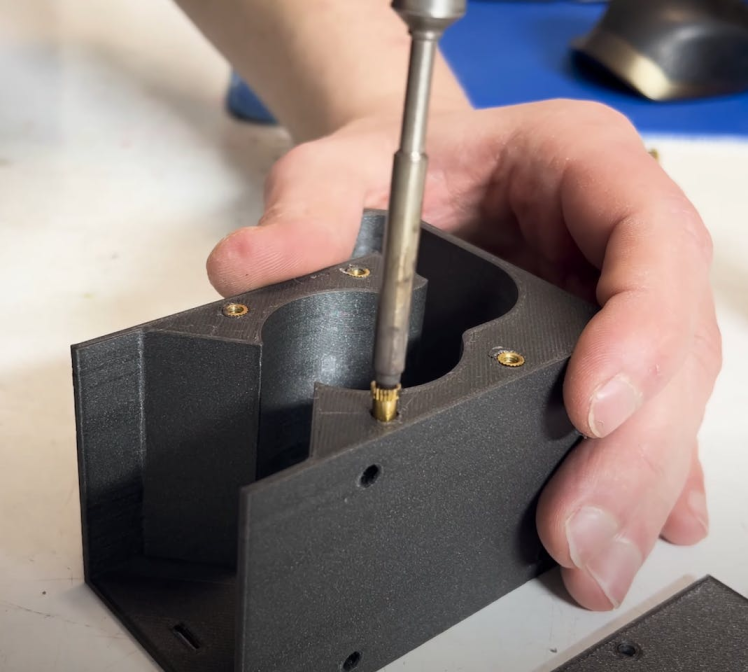
Installing Heat Press Inserts: I designed the model to accommodate heat press inserts. While there are spaces for ten, eight are sufficient, if you only use two to attach the PCB board.
Next, I placed the drum inside the model and secured the side on with M3 screws.
1 / 2
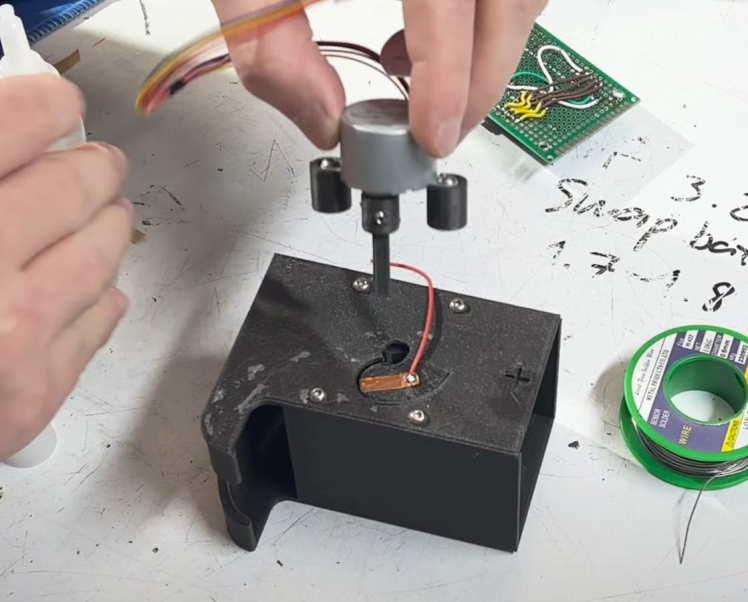
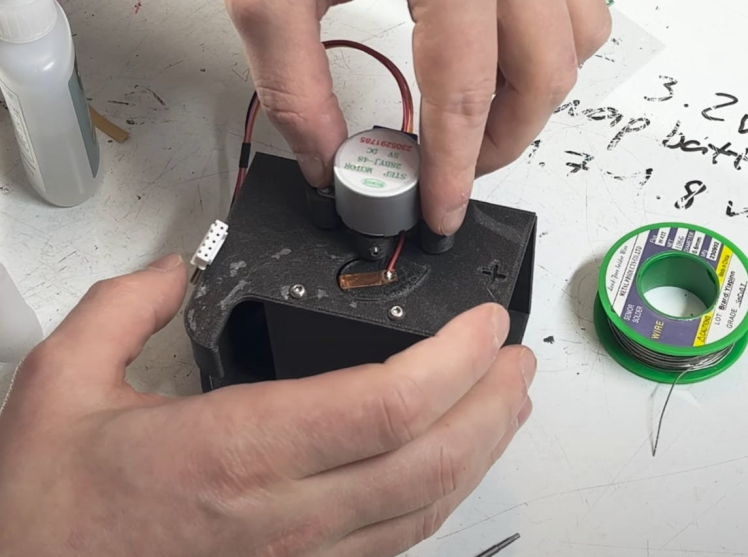
Mounting the Motor I attached the shaft to the motor using a grub screw, and then attached standoffs to the stepper motor with M3 screws. I used a bit of glue on the bottom of the standoffs to secure the shaft into the drum. Admittedly, this wasn’t the ideal solution, but it was necessary for printability.

Final Connections: Finally, I connected the battery terminals to the charger module, making sure to get the polarity right.
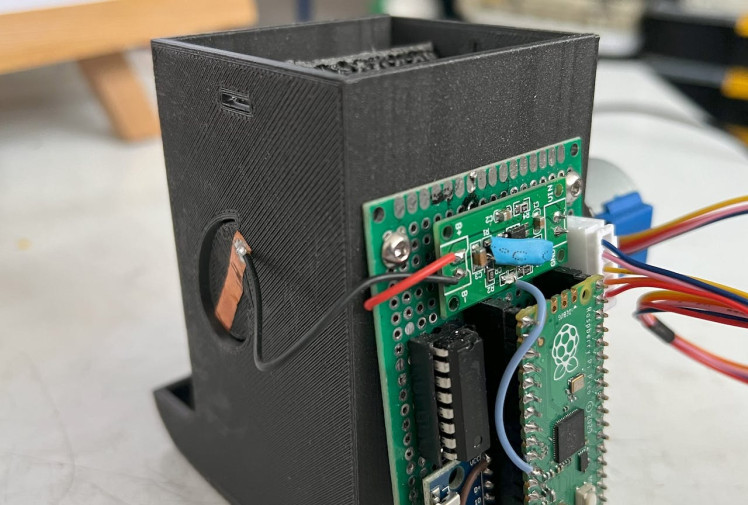
Then, I mounted the circuit board to the back of the model and plugged in the stepper motor. The last step was to upload the code onto the Raspberry Pi Pico.
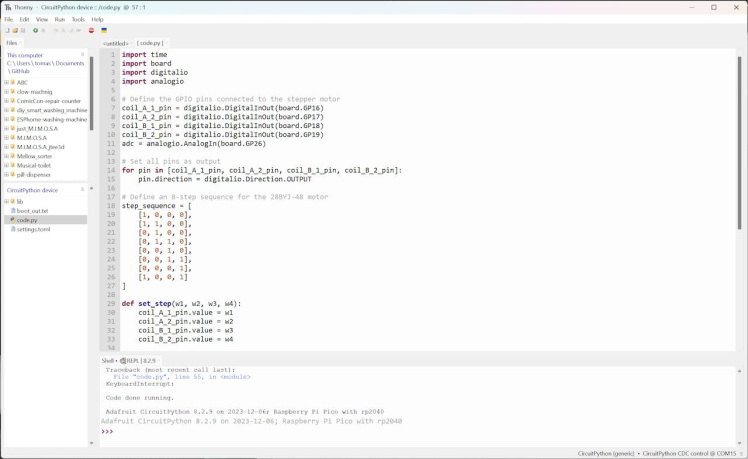
Testing Your Charge With everything assembled and the code uploaded, your automatic battery charger is ready to be tested. Make sure to test it with a few batteries first to ensure everything is functioning as expected.
And there you have it! Your very own automatic battery charger, straight from Mellow Labs. I hope you find this project as exciting and rewarding to build as I did. Remember, this requires some knowledge of electronics and careful assembly, but the result is definitely worth it. Happy building!
Credits
Related products


Leave your feedback...