
Arduino Iot Cloud With Esp32
Made by magicbit / Environmental Sensing / Notifications / Sensors / IoT
About the project
Sending temperature and humidity data from Magicbit (ESP32) to Arduino IOT Cloud.
Project info
Difficulty: Moderate
Estimated time: 1 hour
License: GNU General Public License, version 3 or later (GPL3+)
Items used in this project

Story
Arduino IoT Cloud is an application that helps makers build connected objects in a quick, easy and secure way. You can connect multiple devices to each other and allow them to exchange real-time data. You can also monitor them from anywhere using a simple user interface.
Arduino IoT Cloud is fully integrated in the Arduino Create ecosystem, you will be able to generate a template code in Arduino IoT Cloud and then edit and upload it to your board using the Arduino Web Editor. Recently arduino added support for ESP32. Magicbit is easy development platform powered by ESP32 https://magicbit.cc/
Arduino IOT Cloud

Arduino IOT Cloud
By making this project you will learn how to read the temperature and humidity from DHT11 Magicbit module and visualize data on the widgets available in the Arduino Cloud.
Getting started with Arduino IoT Cloud is quick and easy, and will require just two simple steps:
1. Create an Arduino account.
2. Go to Arduino IoT Cloud and start your journey through IoT!
A walk through the Arduino IoT CloudThe Arduino IoT Cloud is designed to help people create great things with ease. It is as simple as connecting a device, creating variables and a dashboard to monitor it. Whenever we create a Thing, a sketch is automatically generated, and updates with all changes we make in the cloud!
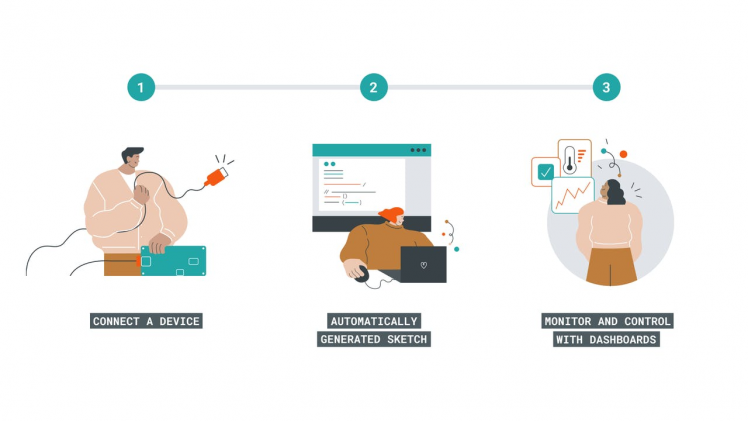
Based on what you want to achieve, an IoT application will require a few basic components:
- Devices to collect data or control something;
- Software to define the behavior of the hardware (e.g., Arduino Sketch);
- Cloud application to store data, or remotely control the equipment.
But let's take a look at some essentials of the Arduino IoT cloud!
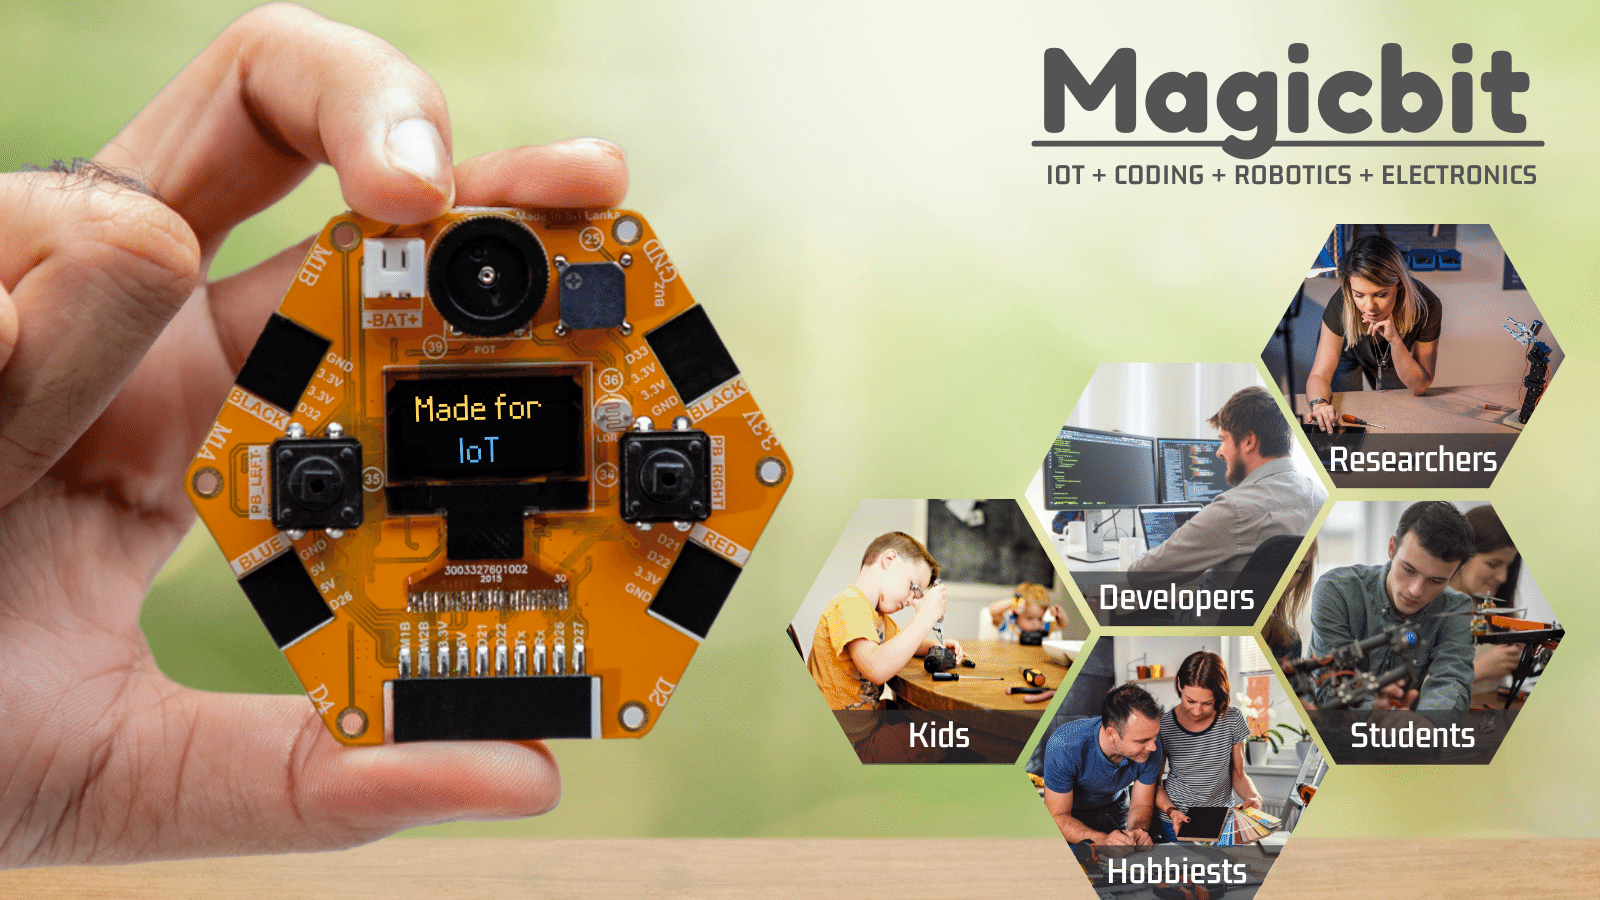
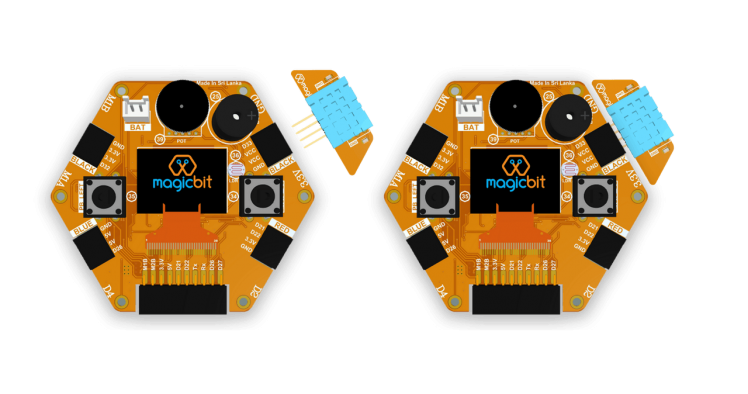
DevicesDevices are physical objects like a hardware board that can be contained inside a product. They’re the hardware that runs the software, reads sensors, controls actuators and communicates with the Arduino IoT Cloud. In here we use Magicbit development board powered by ESP32 as the hardware. We plug DHT11 module D33 of Magicbit.
Things are the digital twin of our hardware. When we create a new Thing, there are a few configurations that we need to do to get started.
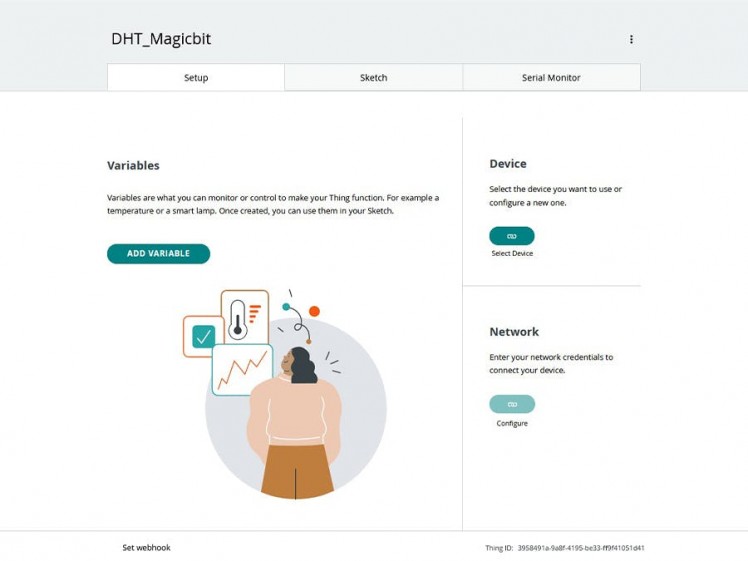
- Link a device - the first thing we need to do is to link a device to our Thing. To do this, we can choose between configuring a new device, or selecting a device that we already configured.
- Select a network - here we simply enter the credentials to the network we want to connect to. Which means in this SSID and password of the wifi network.
- Create variables - choose a data type, update frequency, and give it a good name! .
All of the configurations we make here are automatically generated into a sketch file. This means we don't have to enter any special tokens or passwords in the sketch at all, and we can start using the variables we create in the cloud straight in the code.
VariablesVariables are the qualities defining the characteristics of a system. A variable can be something like a 'read-only' (RO) setting to indicate the Arduino IoT Cloud can read the data, but cannot change the value of the variable. A variable might be designed as 'read and write' (RW) if the Arduino IoT Cloud can also remotely change the variable's value and send an event notification to the device. This can be configured by either selecting the Interaction option to ON or OFF inside the variable configuration.
For example, let's say we want to create a device that: can read a sensor, turn on or off something, and write an analog value to. The below table shows the needed information to create these variables.

Creating a variable is super-easy, all we have to do is:
- Name it,
- Select a data type,
- Set value range,
- Choose permission, and..
- Click the ADD button!
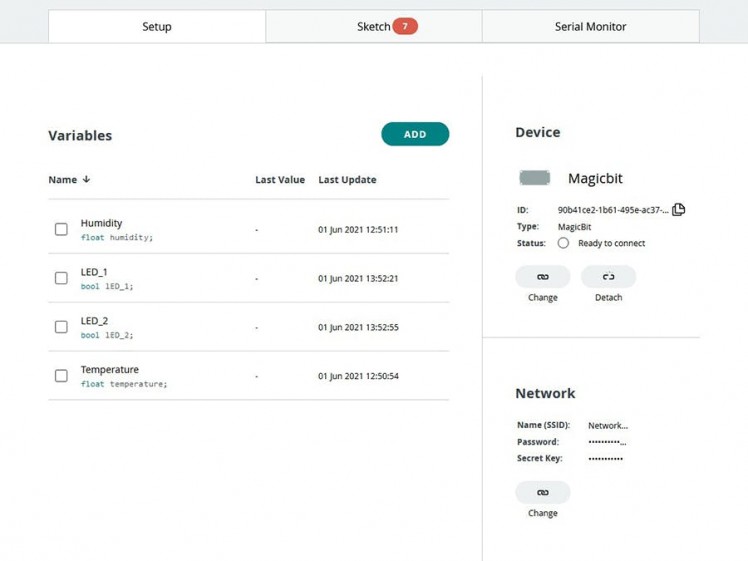
And this is how it looks like in the variable list once they have been created:
Here we use 4 variables to exchange data between cloud and the Magicbit.
As mentioned previously, all the configurations we make are generated into a sketch. With our most recent update, we have also included the Web Editor and Serial Monitor directly in the Arduino IoT Cloud.
We have little things to do thanks to auto generated sketch. Included DHT sensor library and read data from sensors every 3 seconds and assign to the variables we have created before. And for every variable we get callback functions in the sketch. Any change in variable will call respective function block. LED status are set in callback functions.
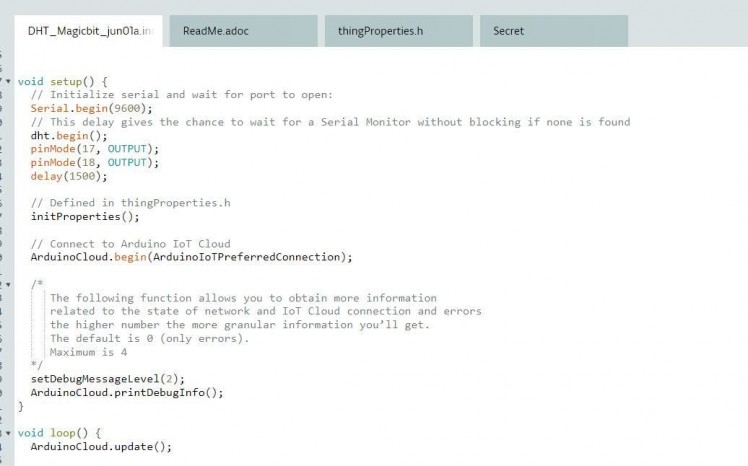
If we want to edit the sketch after a configuration, simply click on the sketch tab to begin. Here you can also verify and upload your code. You can still edit your sketches in the Web Editor, and there's a link here that will take you there!
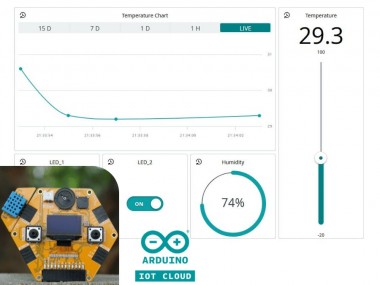
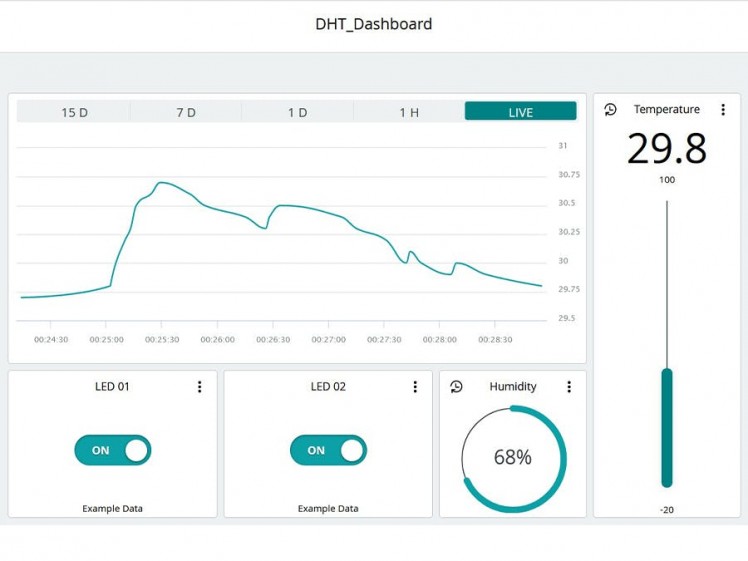
Dashboards and widgetsDashboards are the center of attention in the cloud! It is here we build our very own control panels to monitor and control our devices. We can build a unique dashboard for a unique thing, but we also have the possibility of monitoring several different things in the same dashboard. If we for example have five active devices, each linked to a thing, we can create one dashboard to rule them all!
But what is probably most valuable inside the dashboards are the different widgets that we create. There are over 15 different widgets that we can use to represent the variables we create. Here, we can choose from gauges, switches, RGB controls, maps, sliders and much more, to create powerful dashboards.
Take at a look at this dashboard. The widgets are directly linked to the variables mentioned earlier.
Code
Credits
Related products


Leave your feedback...