

Arduino Fortnite Boogie device

Made by 314Reactor / Displays / Games & Gaming / Upcycling
About the project
My attempt at bringing a bit of Fortnite to life!
Project info
Difficulty: Moderate
Platforms: Arduino, DFRobot, Pimoroni
Estimated time: 3 hours
License: GNU General Public License, version 3 or later (GPL3+)
Items used in this project
Hardware components


View all
Story
Dance dance.
Thanks to DFRobot for providing the parts for this!
There was a point earlier this year where pretty much every YouTube advert for me was a trailer for Fortnite, the one with the Boogie Bomb in it.
This bad boy:

Which essentially you throw into a group of enemies and it blasts out light and music and they all dance, at which point you comedically take them all out while they are entranced.
So I thought, well, I can probably make something that looks and works a bit like that and the awesome people at DFRobot agreed!
Items.
- Arduino UNO
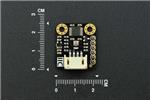
- DFPlayer
- Flexible LED matrix (8×8)
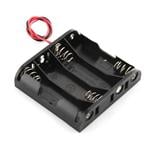
- 6x AA battery box
- 6x AA batteries
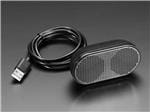
- 3w Speaker
- Button
- Veroboard
- Jumper wires M+F
- Tie wraps
- Blu-Tack
Making it.
If there’s one thing I learned from my Arduino Lightsaber project, it’s that hooking everything up with jumper wires alone can get messy, quick.
 ...yeah
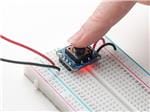
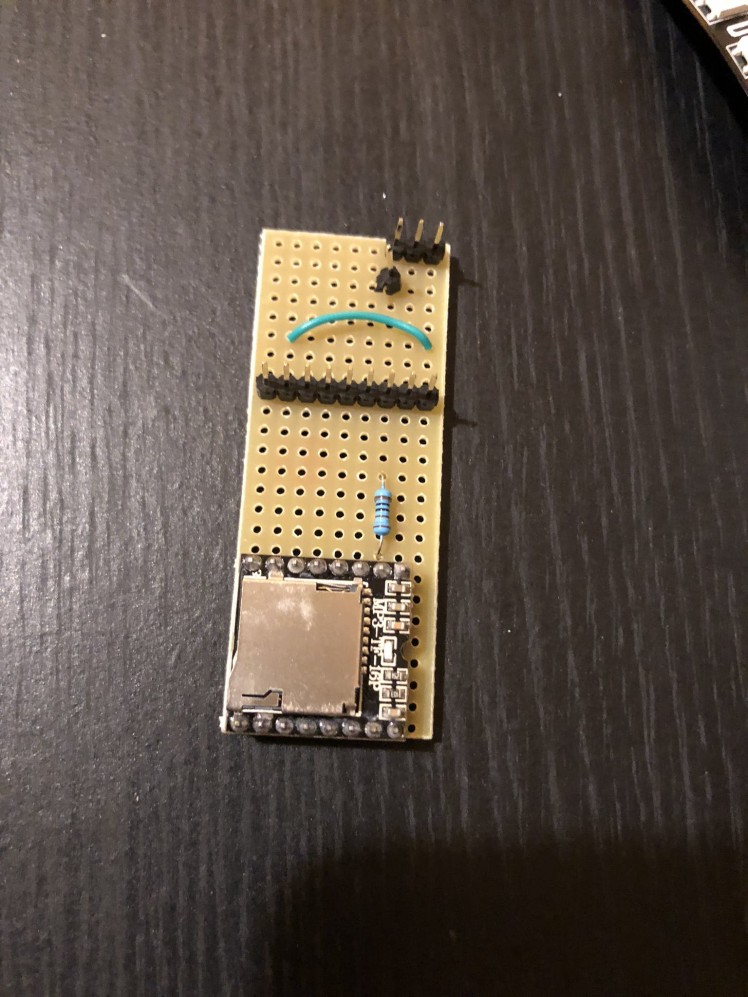
So I thought this time I’m gonna do some more soldering and get things looking tidier (will still be using jumper cables, but like – less) – so first up was soldering on the mp3 Micro SD card reader, following the wiring guides from here and here (for the LED matrix that will be plugged in later):
; ; 1 / 2
1 / 2
Then put some tape on the bottom of the PCB to ensure it won’t short out:

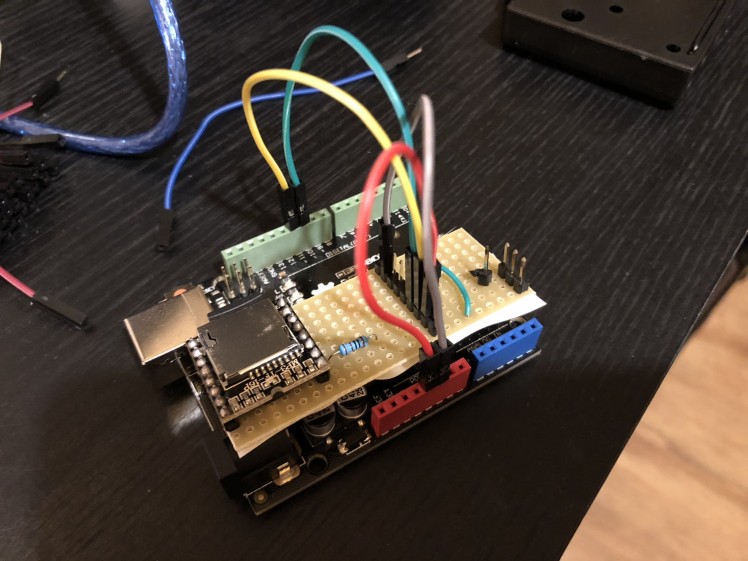
Then hooking it all up to the UNO for a test:
; ; 1 / 2
1 / 2
Looking much better, mostly.
Time to load up the mp3 from my GitHub and drop it onto an SD Card and then slot the card into the player.
Then the test code from here can be used to ensure it works.
With that working nicely it was then time to plug in the LED matrix and test that works by itself and then along with the audio as well:
; ; 1 / 2
1 / 2
And then taping up the loose wires on the back:

And a quick test.
Works!
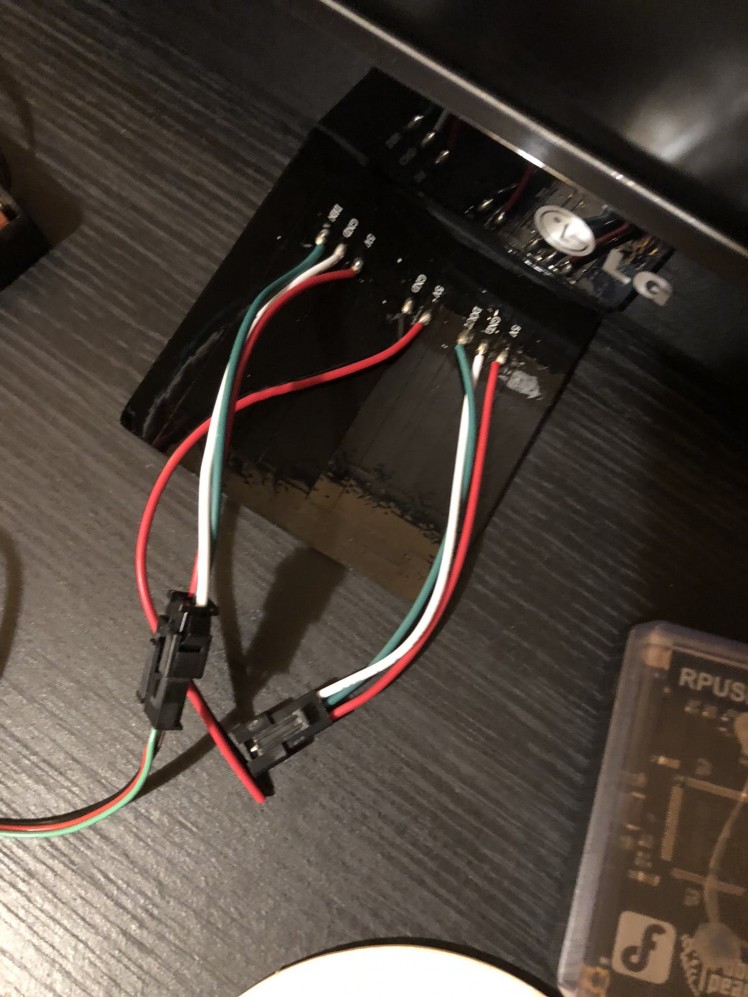
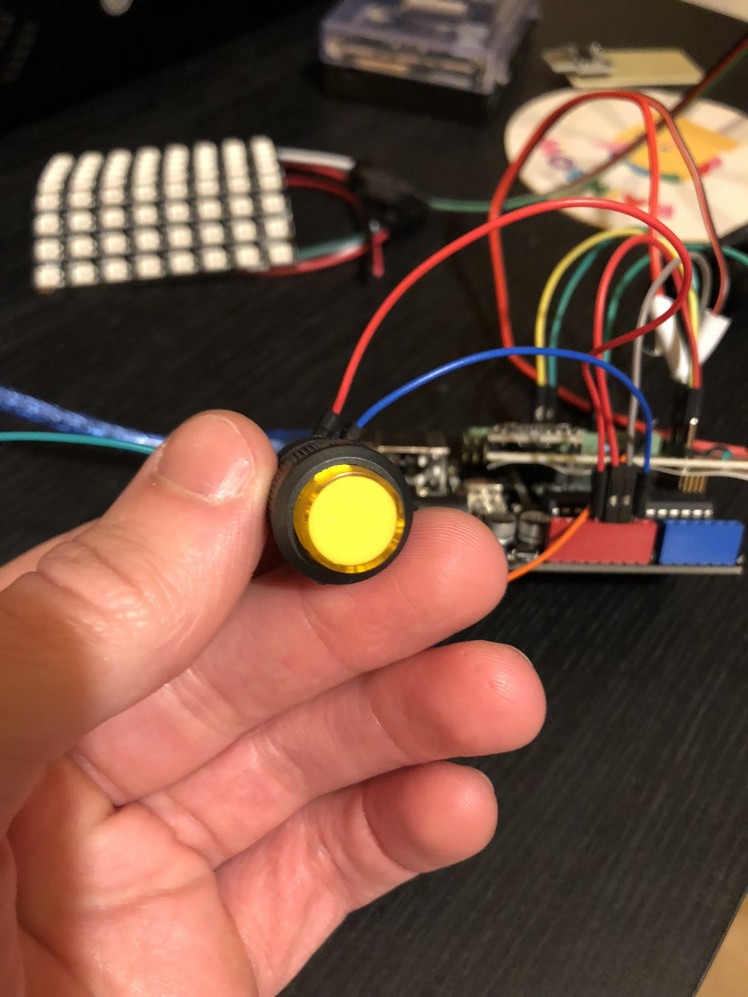
Now for the button of which I am using the basic wiring from here.
; ; 1 / 3
1 / 3
Connecting the 5v from the connection on the mp3 board, where I added another header to connect it to.
Also the button above there is a light up button, but I accidentally blew the LED in it like fool by testing it on a too high voltage power supply. So don’t be like me and don’t put more than 3v through the LED part of it.
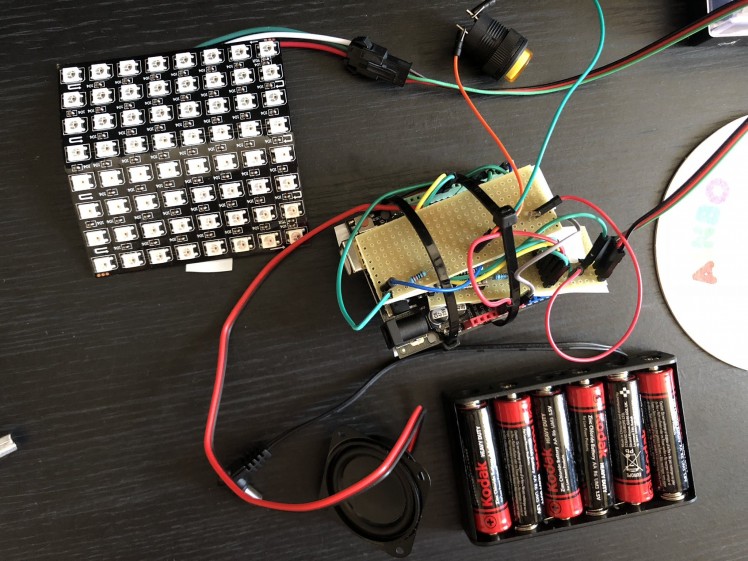
Time to hook that up to the Arduino as well as well as put some more tape on the bottom of the veroboard and then use some tiewraps to keep the boards together:
; ; 1 / 2
1 / 2
Now here’s where I bring in some recycling!
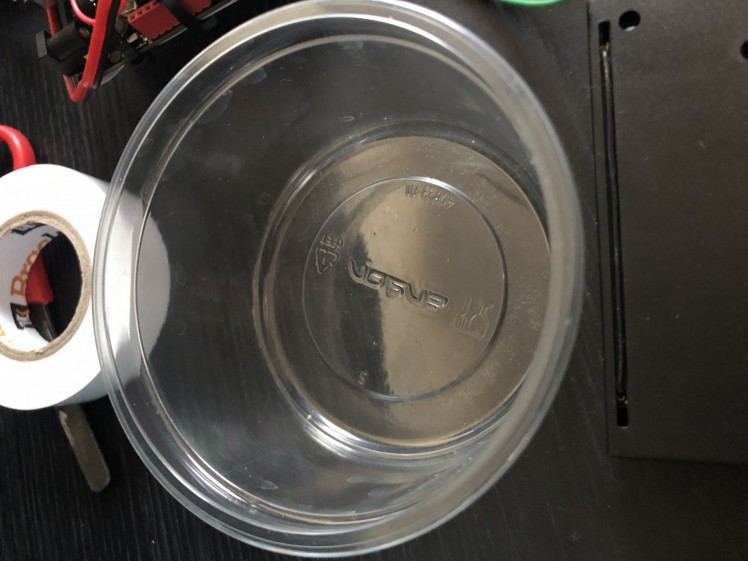
I found some old pots that had like, couscous or something in before, cleaned them out and those can be used as the main chassis:
; ; 1 / 2
1 / 2
Then attach the battery box onto the bottom with a screw and put a bit of Blu-Tack over the sharp end of the screw inside:
; ; 1 / 2
1 / 2
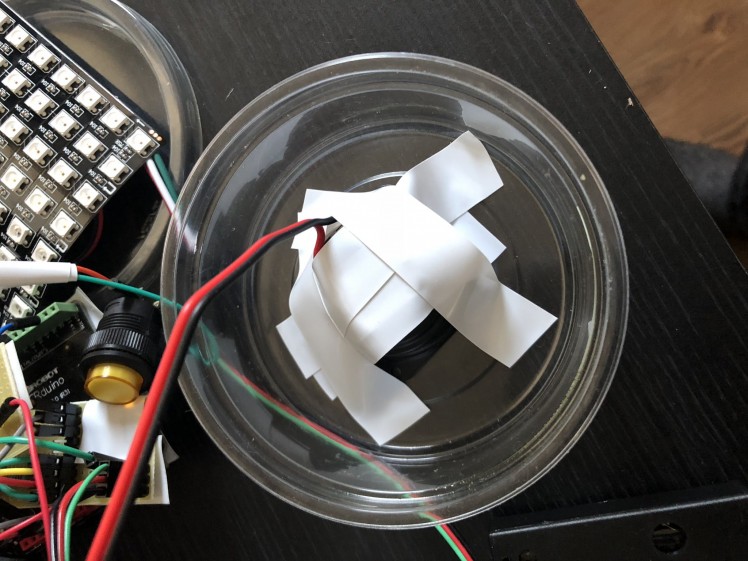
And then the speaker needs to be taped on to the top lid, with a small hole cut in it to allow the sound to go through:
; ; 1 / 4
1 / 4
Also as you can see above the activation button has been taped onto the top lid too.
On goes the lid and then the flexible LED panel is then attached on with some more tiewraps:
; ;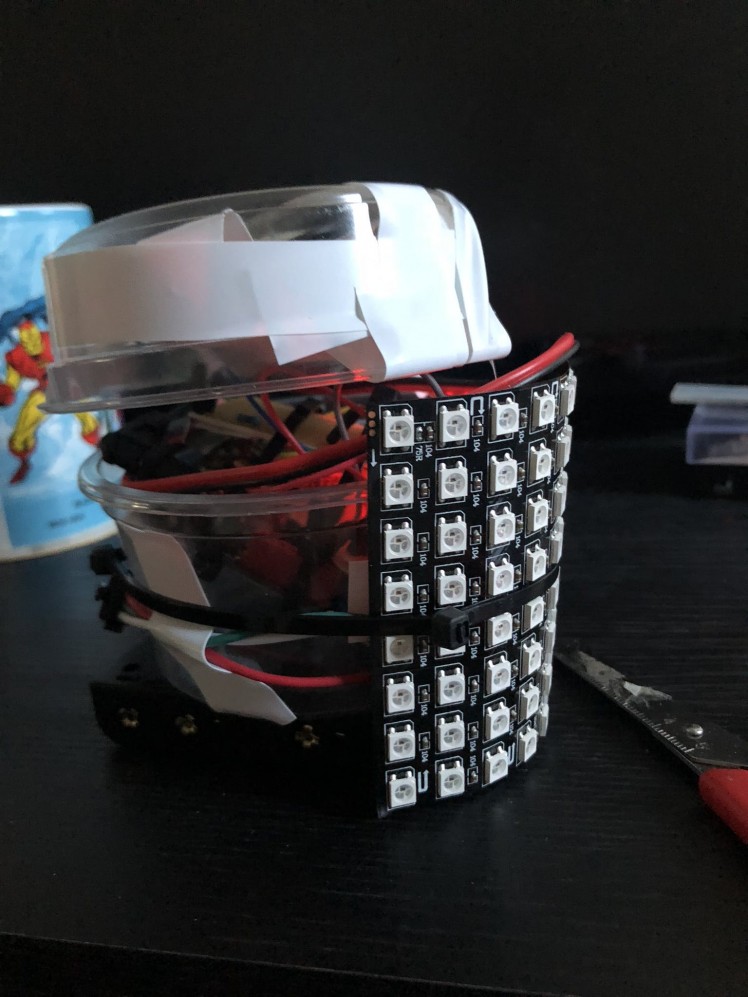 1 / 3
1 / 3
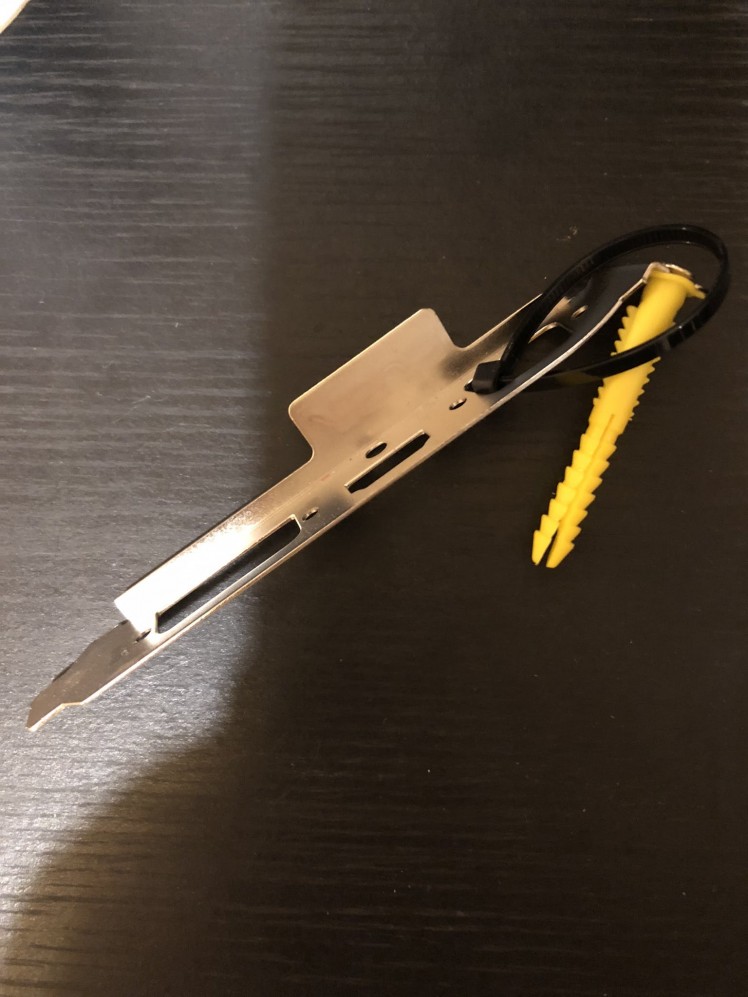
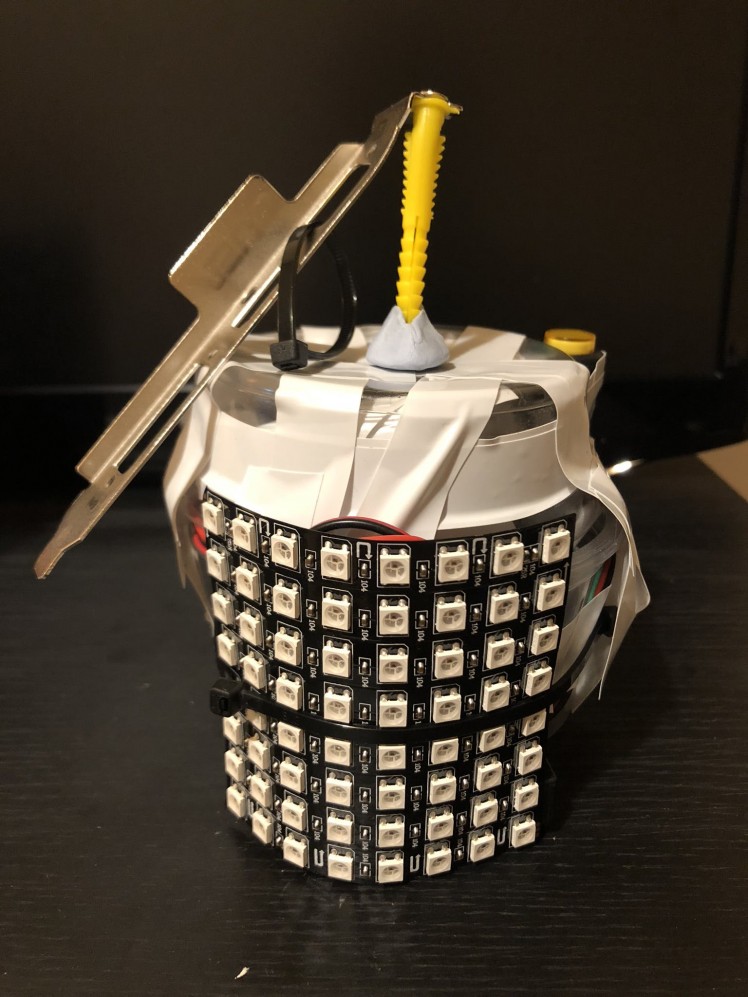
And as a final touch it’s time to dig about and find something that will look like the top pin, I found a PCI back-plate from a PC and a wall-plug then put them together, bit of Blu-Tack on top and then another few tiewraps around to hold it on:
Annnnd done!
Coding it.
Grab the code from GitHub and it can simply be uploaded into the Arduino.
I used code from here, here and here to get the LED matrix, mp3 player and a button all working.
Then added in code to make it so that the button is pressed and 5 seconds later the LED matrix turns on with a nice disco-ey pattern and the music starts playing on a loop, until the button is held down for a few seconds and then the LED matrix will clear and turn off and the music will pause; waiting for the next time the button is pressed to re-activate.
I found that pushing the audio too high or the brightness of the LEDs too high would cause some instability, I think as the batteries can’t push through enough power for both at full.
Using it.
This was a lot of fun to make and use, as you can see from the video above.
It lit the room really well and the audio is loud enough to work effectively too, so I’m very pleased with it.
The only main issue would be the build quality – I am going to have to start getting some 3D-printed stuff in soon in order to get more durable/better looking projects. Throwing this one would definitely break it.
Also it drained the batteries quite quick and also started to crash when the voltage on them dipped – but I guess this is to be expected given all they are powering at the once.
Conclusion.
Overall an enjoyable project and it’s always fun to work with RGB LEDs, as mentioned above though the looks and durability need to be improved upon, but it’s always good to recycle some old stuff.
I think I kind of replicated the look of the in game item so I’m quite happy with how that came out given that it’s made of pots and bits of stuff I found laying about.
But yes, 3D printing – I need to really get into that.
Also as mentioned above I tried to make this a tidier build than my previous projects, but it’s still a little messy. So I have a lot to learn.
The LED matrix is awesome as well, for such a relatively small component it really lights up rooms well, not even at full brightness. Makes me wonder what kind of home lighting projects could me made with it.
If you’ve made it this far then this where I admit I’ve never played Fortnite – not even been on the main menu.
Let me know what you think and see you next time!

Code
Credits
Related products


Leave your feedback...