
Aquassist : Diy Automatic Fish Feeder With Companion App

Made by CodersCafeTech / 3D Printing / Animals / Home Automation / IoT
About the project
A DIY Automatic Fish Feeder With Companion App
Project info
Difficulty: Easy
Platforms: Arduino, Autodesk, Espressif
Estimated time: 1 day
License: Apache License 2.0 (Apache-2.0)
Items used in this project
Hardware components

Story
Today, we are here with an interesting DIY project, the automatic fish feeder. You might be thinking, what's new in an automatic fish feeder, right? Sit tight; we've got you a surprise.
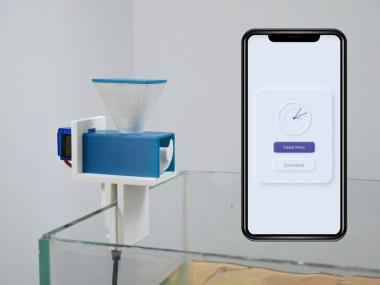
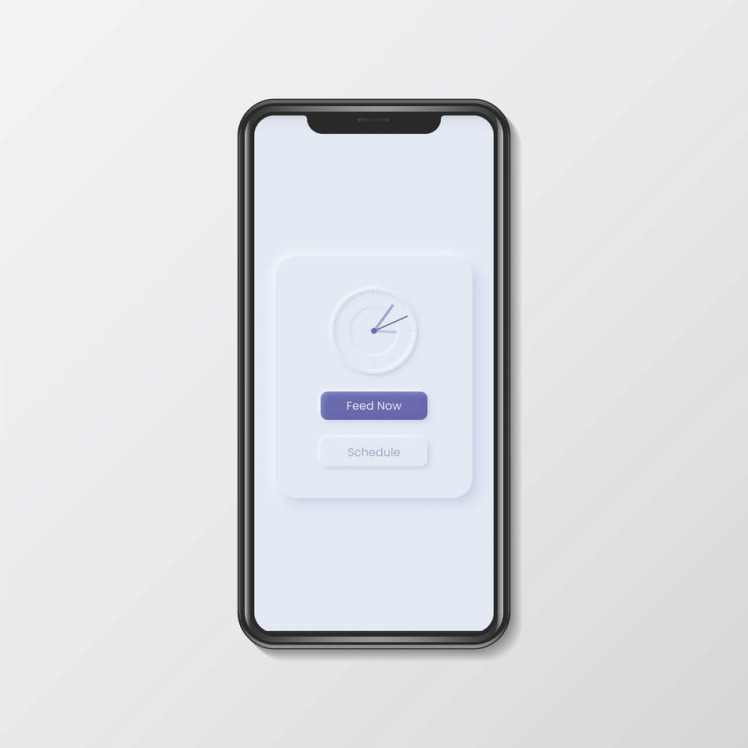
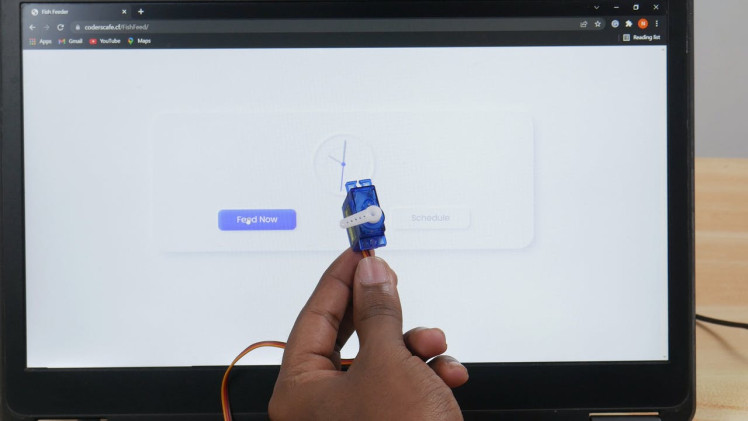
Apart from the existing automated fish feeders, this has a companion app that can control the fish feeder from anywhere in the world. You can instantly feed the fish using the "Feed Now" button. In addition, you can set your feeding schedule and change them easily using the scheduler in the companion app.
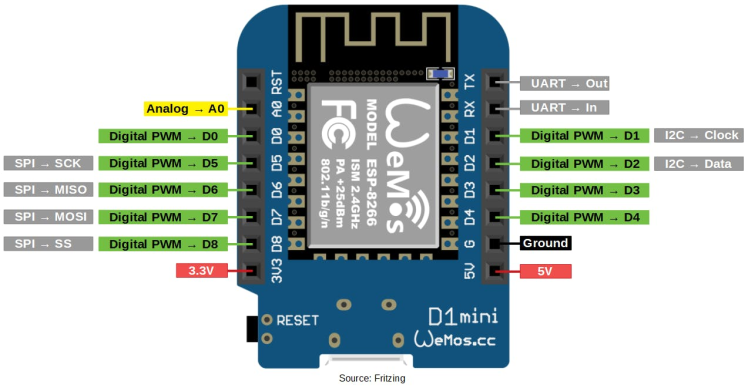
Why Wemos D1 Mini?There is a wide variety of development boards with the ESP8266 chip. We actually need a board with an optimum size that can be easily reprogrammable and powered from an external source. So Wemos D1 Mini satisfies our need.
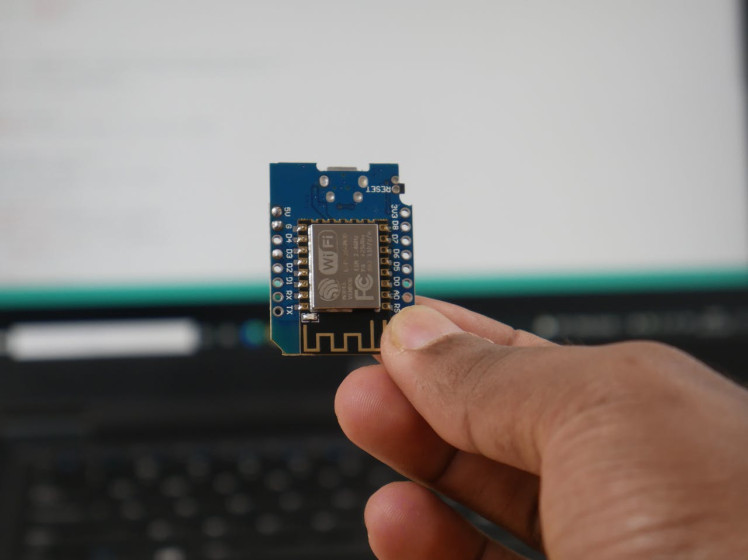
For programming up the Wemos D1 Mini with Arduino IDE, let's have a look here.
Continuous Rotation ServoIn this project, we are using a continuous rotation servo for rotating the Archimedes screw, because they have integrated motor drivers in a compact and very inexpensive. They can easily drive from the microcontroller itself, not needing an external power supply. The normal DC motor needs a driver circuit which will make the project a little messy. As you all know servo can provide high torque also.

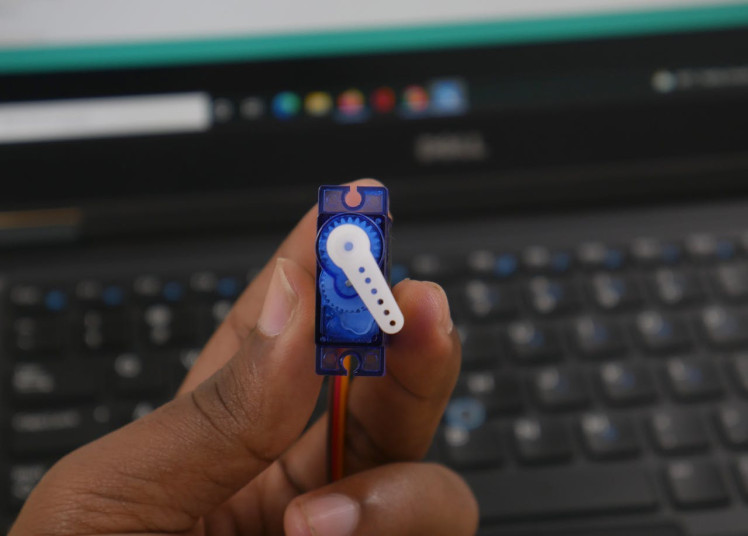
A continuous rotation servo (sometimes called a full rotation or 360°servo) looks like a regular hobby servo. While a regular servo motor only turns over a narrow range, with precise control over position, a continuous rotation servo has a shaft that spins continuously, with control over its speed and direction.
A continuous rotation servo motor can be controlled by calling the servo.writeMicroseconds() function, which typically accepts values from 1000-2000. A value of 1000 should rotate the motor counter-clockwise at full speed. A value of 2000 should rotate the motor clockwise at full speed. A value of 1500 should cause the motor to stop rotating (and without any vibration). Intermediate values can be used to change the speed of the rotation.
If you need your device to only rotate for a specific period of time, then simply use a delay() statement to wait for a specific amount of time in milliseconds (1000 milliseconds = 1 second) before stopping the motor. If you want to know more about this, just have a look here.
Here we used SG90 named servo which can produce optimum torque and that is very enough for this project. If you are planning to make a large feeder consider huge torque generating servos.
Note: You can also hack your normal servo for continuous rotations by referring to this guide.
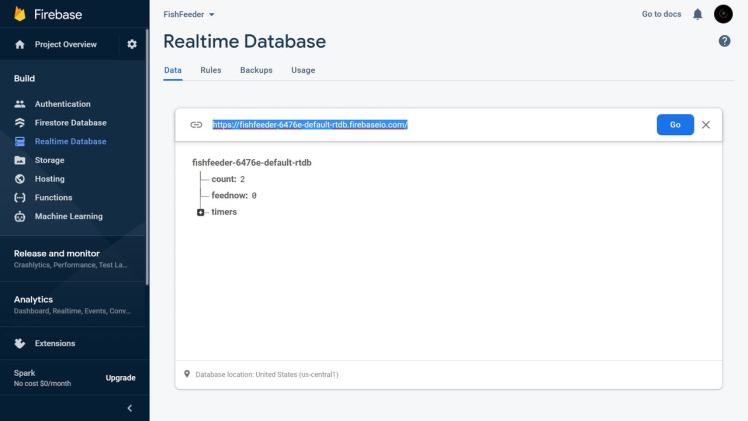
Firebase Realtime DatabaseFirebase is a mobile and web application development platform. Firebase frees developers to focus on crafting fantastic user experiences. You don’t need to manage servers. You don’t need to write APIs. Firebase is your server, your API, and your data store, all written so generically that you can modify it to suit most needs. In our project, we use Firebase real-time database to instantly post and retrieve data so that there is no time delay.
To find Firebase Host
- Go to Firebase
- Then go and open your project (If you have no projects create one)
- Then move to Real-Time Database in Database
- The selected URL in the screenshot without "https://" is the Firebase Host
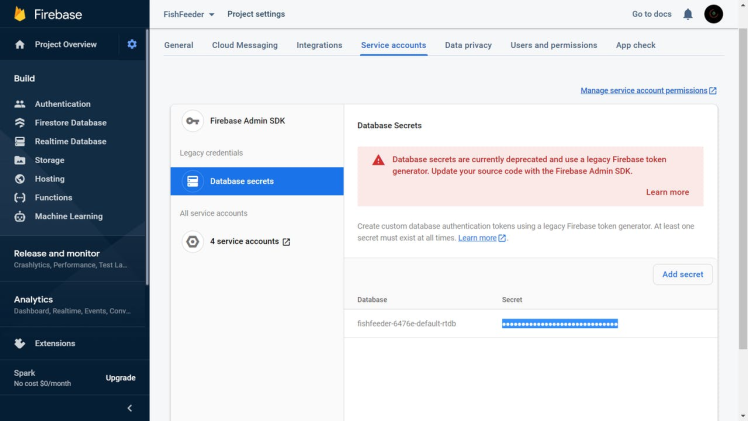
To find Firebase Auth
- Go to Firebase
- Then go to Settings > Project Settings
- From there move on to Service accounts
- Then under the Database secrets tab, you can find the firebase auth key
To find Firebase Config
- Go to Firebase
- Then go to Settings > Project Settings
- Under Your Apps > SDK Setup and Configuration > Config (Sample given below)
const firebaseConfig = {
  apiKey: "<apiKey>",
  authDomain: "<authDomain>",
  databaseURL: "<databaseURL>",
  projectId: "<projectID>",
  storageBucket: "<storageBucket>",
  messagingSenderId: "<ID>",
  appId: "<APP ID>"
};We have designed a neumorphic companion web app for the device. Neumorphism, or soft UI, is a visual style that combines background colors, shapes, gradients, highlights, and shadows to ensure graphic intense buttons and switches. All that allows achieving a soft, extruded plastic look, and almost 3D styling.
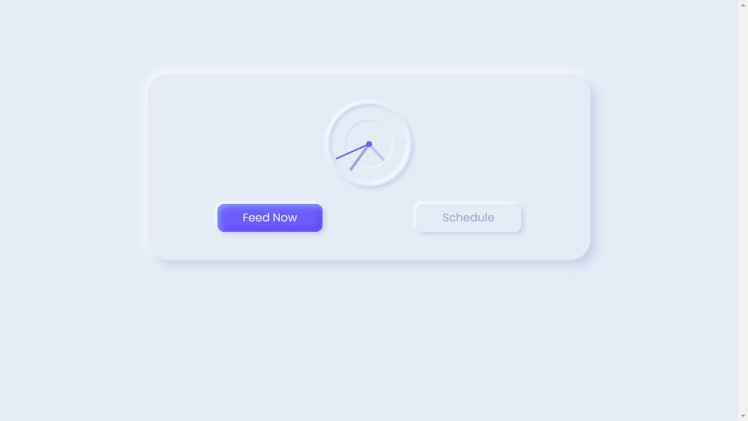
The website is developed using HTML, CSS, and JS and hosted on a free hosting service. Add the Firebase Config in the script.js file and host the code given here and you are good to go.
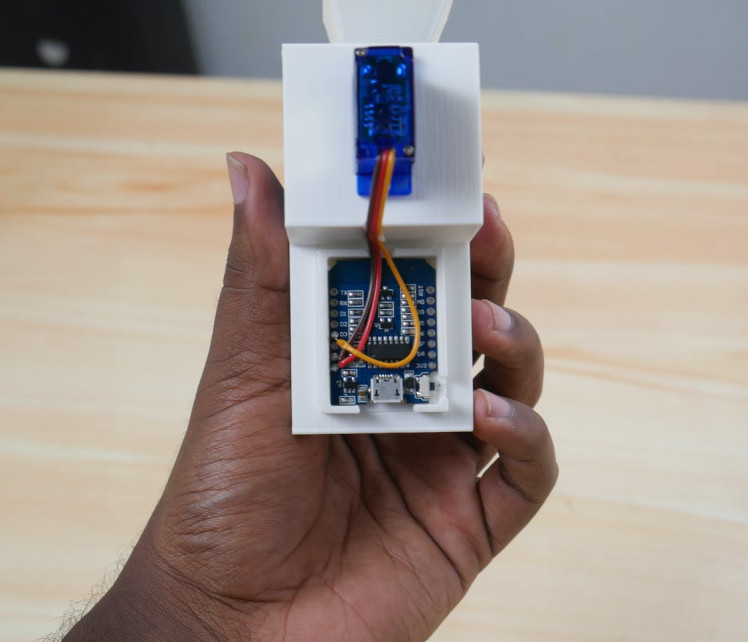
Circuit and TestingSo it's time for testing the circuit. You can wire as per the schematics.


Then we uploaded the code to the Wemos D1 Mini. You can find the code here. Then we loaded the website that we made. It is working flawlessly as expected.
We have a rectangular aquarium with us. So we are going to design a device that can be plugged into one of its sides. If you have another type of fish tank you should go for another design.
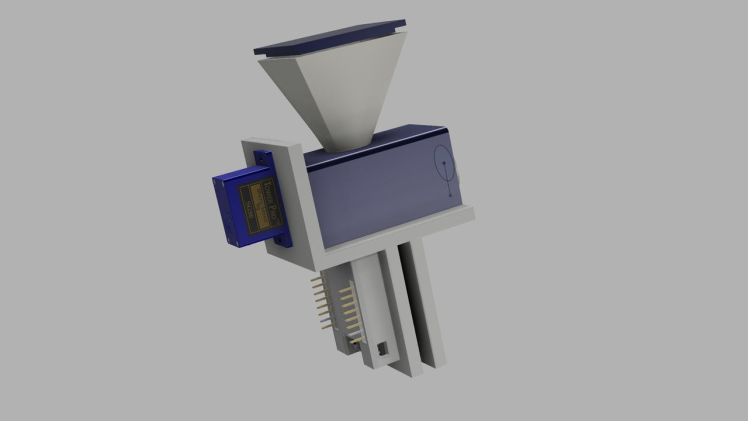
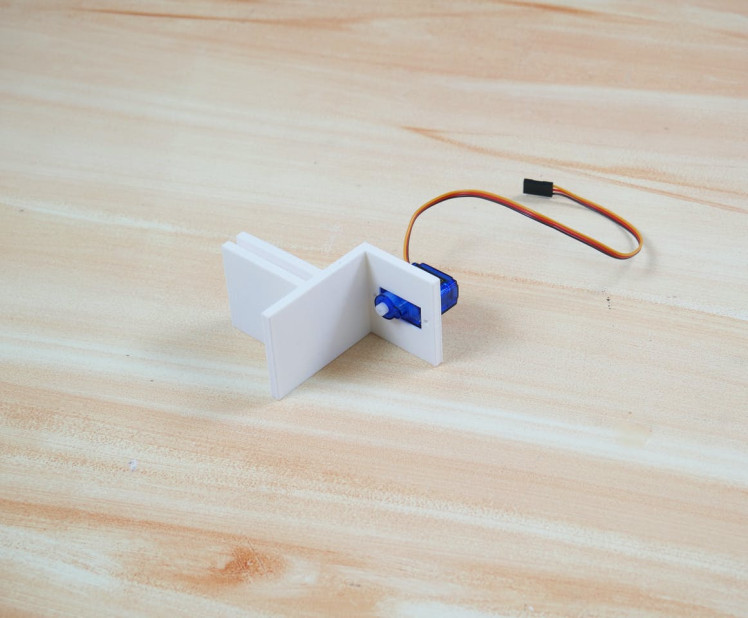
We started the design in Fusion 360, by taking the servo motor as the reference file. So that sketching would be very easy. First, we designed a file in which Wemos d1 mini can be slid up. But it cannot be 3d printed properly, so we changed it to a small enclosure type with a lid.
Archimedes screw

Archimedes screw
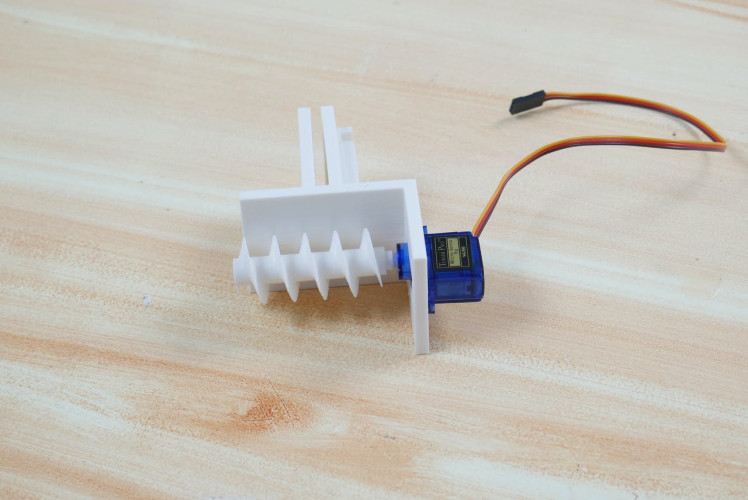
For transporting food, we have used Archimedes screw which is attached to the servo motor. The Archimedes screw, also known as the Archimedean screw, hydrodynamic screw, water screw, or Egyptian screw, is one of the earliest hydraulic machines.
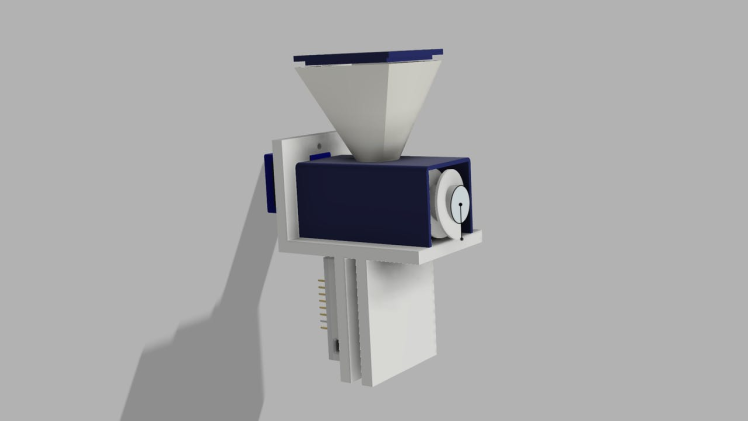
Storage Box

Storage Box
For food storage we designed a small file, it is enough for us to test. If you are planning to feed more fish for more days, consider extending the length of the storage box.
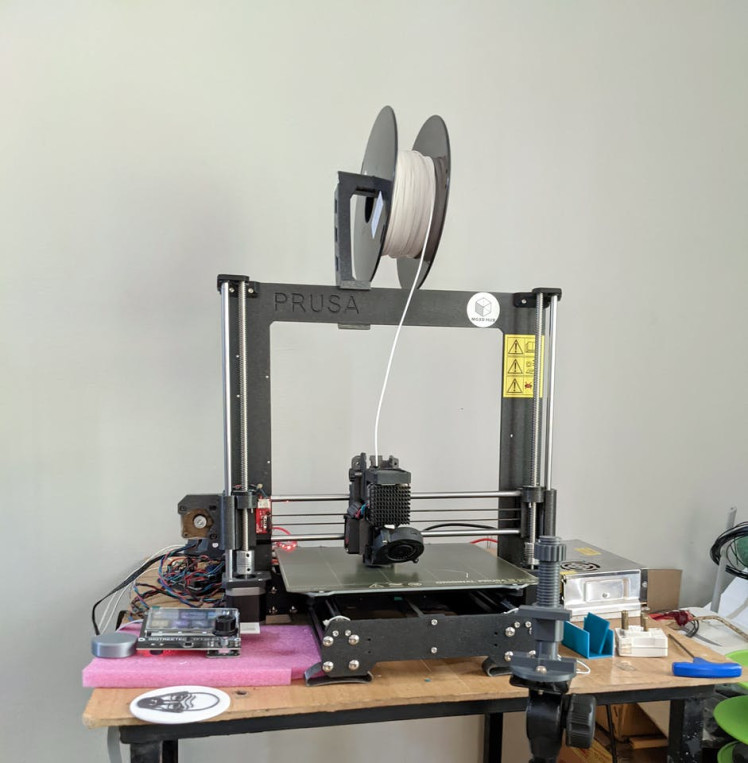
3D PrintingSo it's time for 3d printing. We used Prusa MK2 for 3d printing the parts.
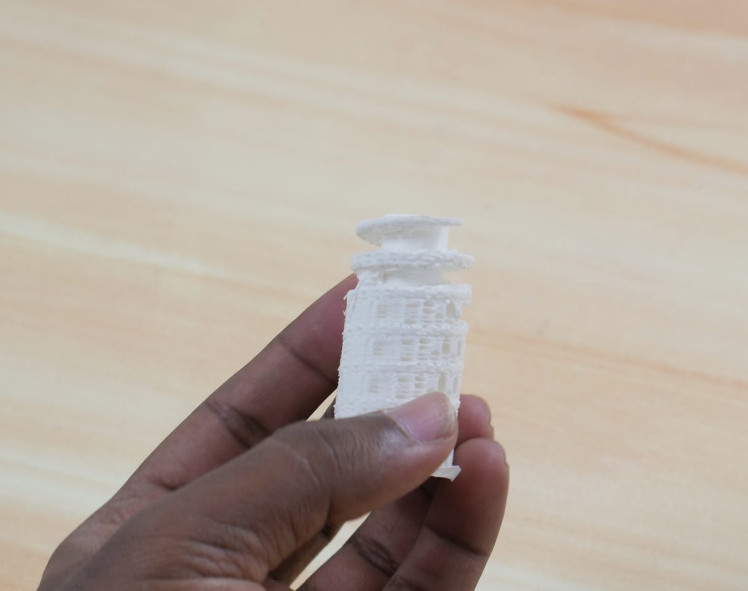
The first Archimedes screw we designed can't be printed by adding supports, as you can see the 3d printed file is very messy even though there exist supports.
Fortunately, we found an Archimedes screw on a website that matches our requirements, then we rescaled it to our length in Prusa slicer. Finally, we got a neat 3D-printed Archimedes screw.
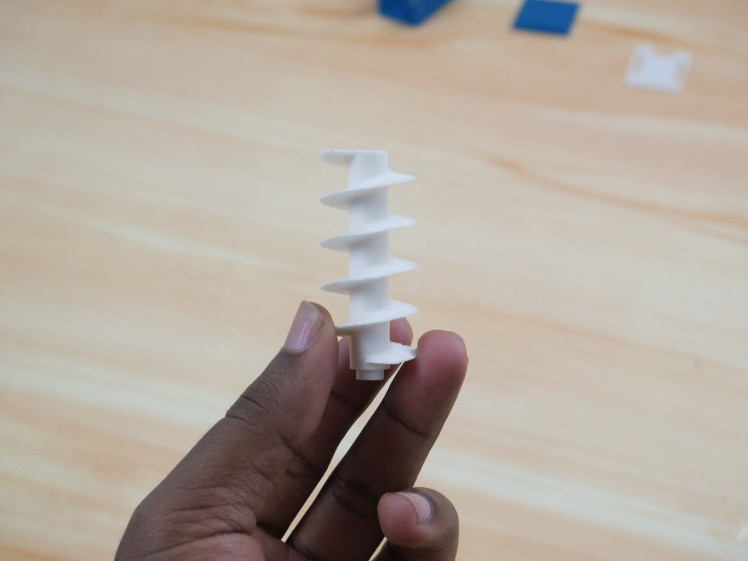
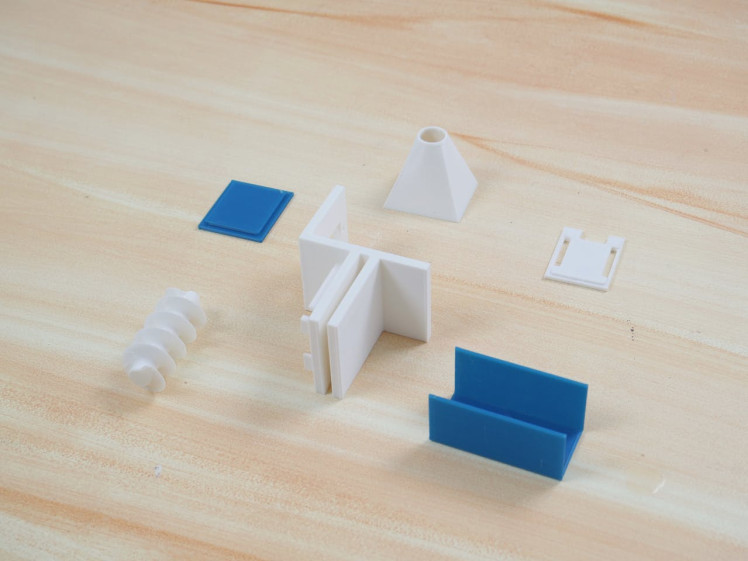
When the printing is complete we have 6 parts.
Here we attached the servo attacher file as separate, either you can combine it with Archimedes screw in Fusion 360 or glue it with the screw.
AssemblyWe used instant glue to assemble some parts and the remaining parts are a tight fit. If you are going to build one on your own, take the below images as the reference or you can watch the video to get a clear idea of it.
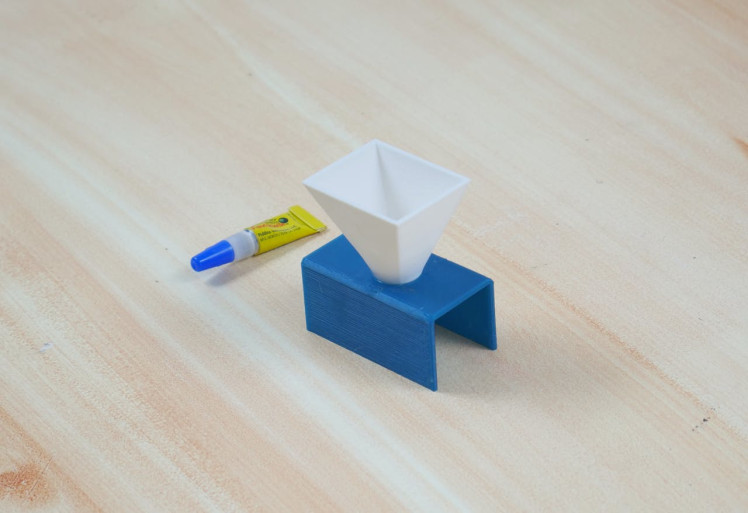
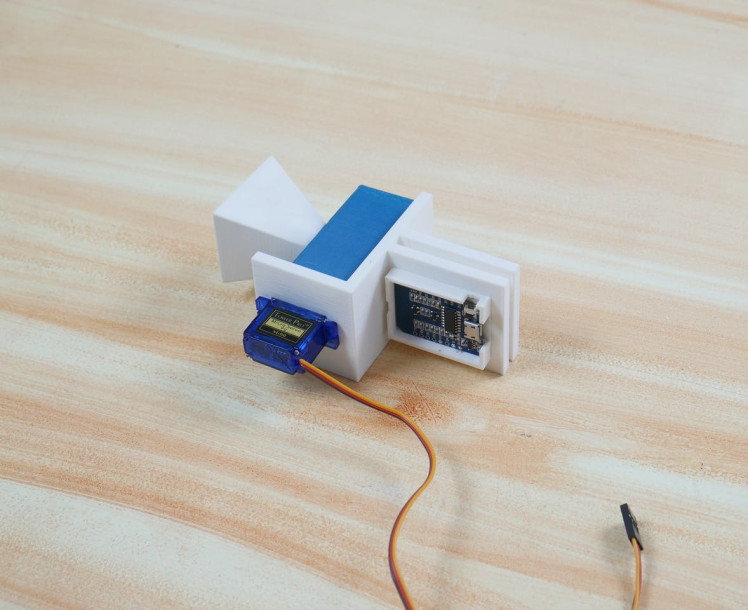
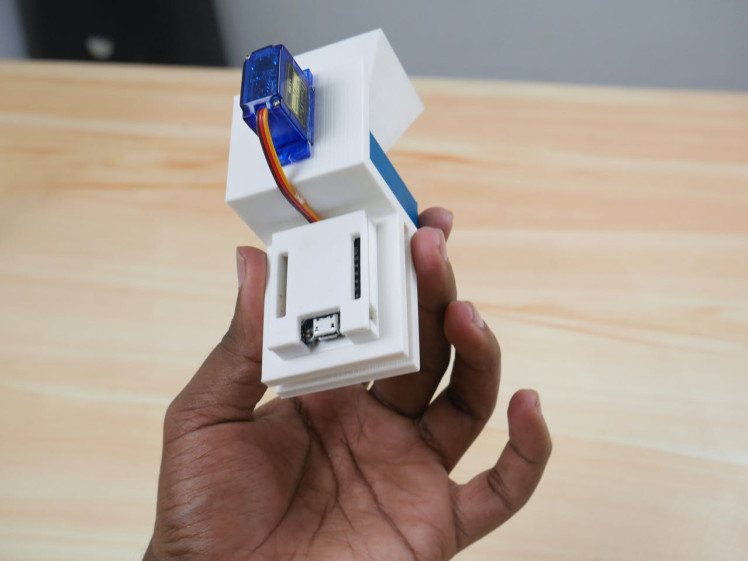

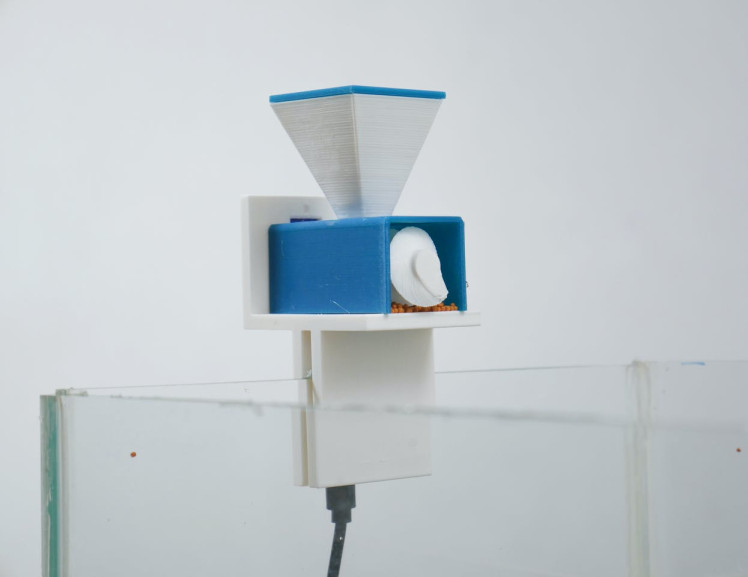
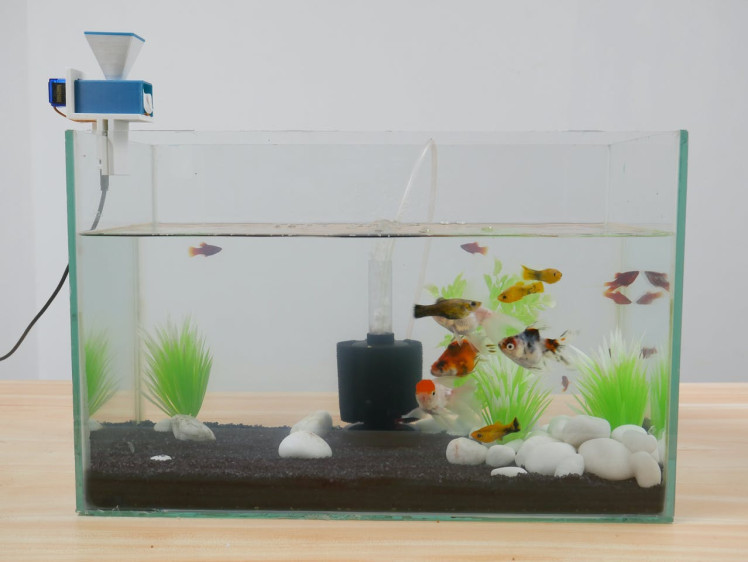
We can plug our device into the aquarium and power it up. So our Fish feeder is Active now. Add some fish food in the storage box and see the action!
If you have any doubts put them in the comment section or feel free to contact us through our email.
Feel free to check out our YouTube channel for more awesome projects.
Schematics, diagrams and documents
CAD, enclosures and custom parts
Code
Credits
Related products


Leave your feedback...