
Alexa Curtain Control System - 3d Printable And Low Cost

Made by DIY-Machines / 3D Printing / Home Automation / Robotics
About the project
I decided to remove the chore of opening and closing curtains. This means running into every room in the house 730 fewer times a year! (Not to mention it's super cool). Once setup you can also add routines in Alexa to have your curtains work in tandem with other devices in your house.
Project info
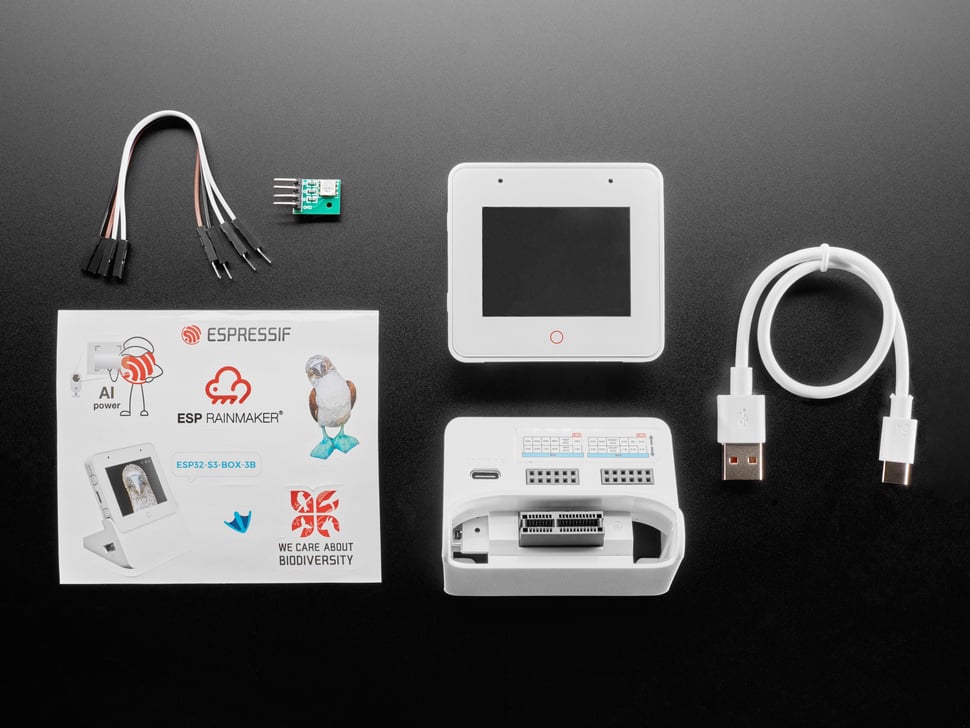
Items used in this project
Hardware components


View all
Story
Step 1: Prefer to Watch...
As always, I've produced a video showing you how to build your own. I'd recommend watching it first to get an overview of everything and then following along with this written guide whilst assembling your own.Step 2: Bill of Materials / Things You'll Need
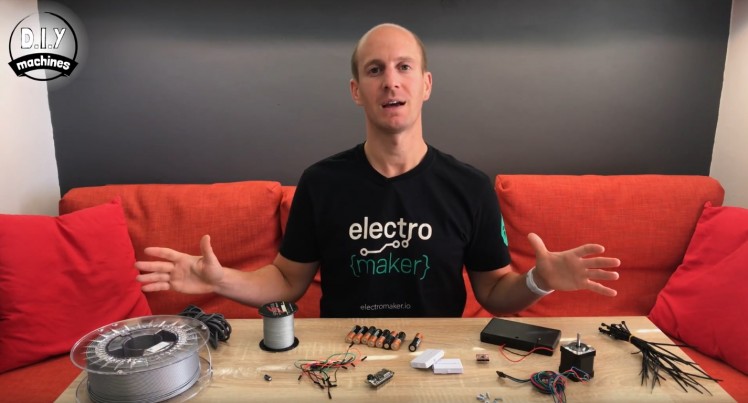
You'll need a few items before we start to assemble your curtain automation system check out the BOM for a full list.
==========
The code can be downloaded from Github here: https://github.com/DIY-Machines/alexa-cutrain-con...
Finally the 3D printed parts can be downloaded from here: https://www.thingiverse.com/thing:3174263
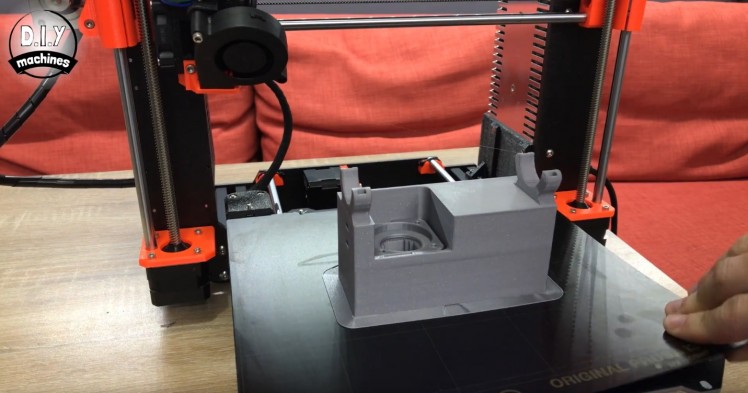
Step 3: Print the Main Body
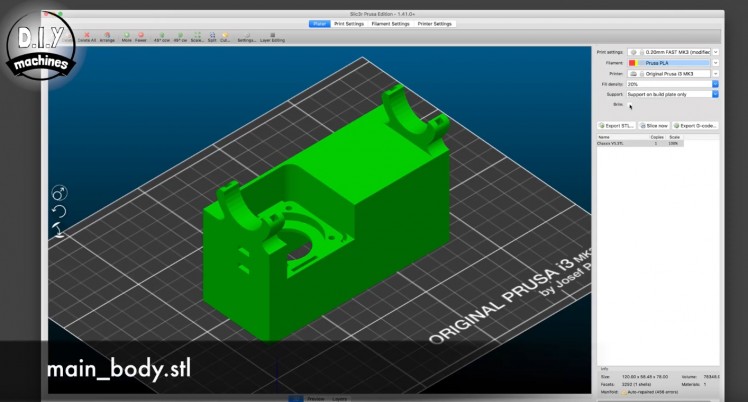

The first item you'll need to print is the file 'main_body.stl' . I recommended printing it with a brim to help it adhere to the print bed, and turning on supports on the building plate only.
The brim setting includes additional extrusions of plastic around the outside of the print on the first layer to provide a greater area of contact and adhesion with the print bed.
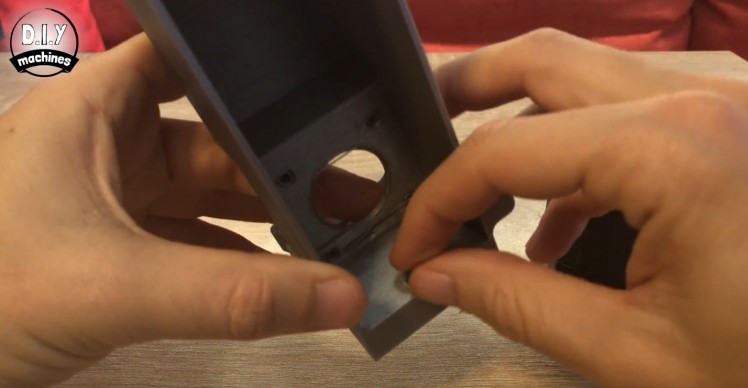
After the print is complete remove the brim and internal supports from the housing.
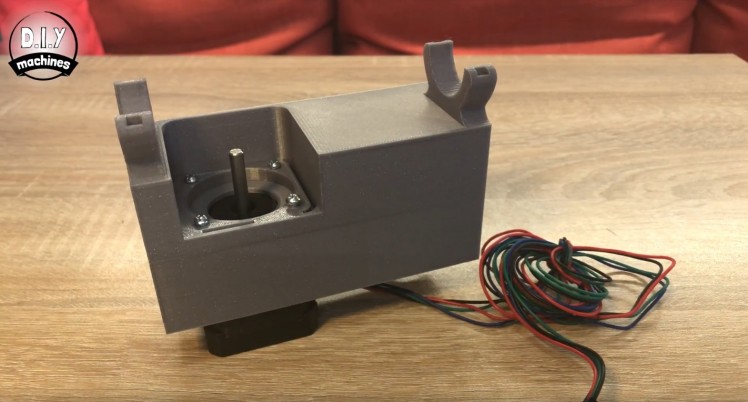
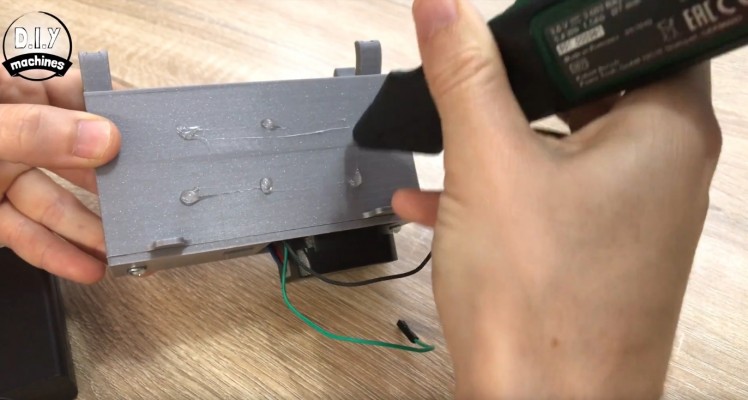
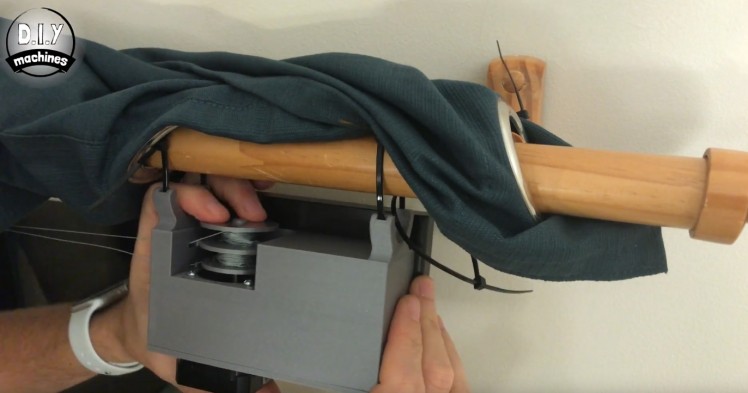
Step 4: Attaching the Stepper Motor

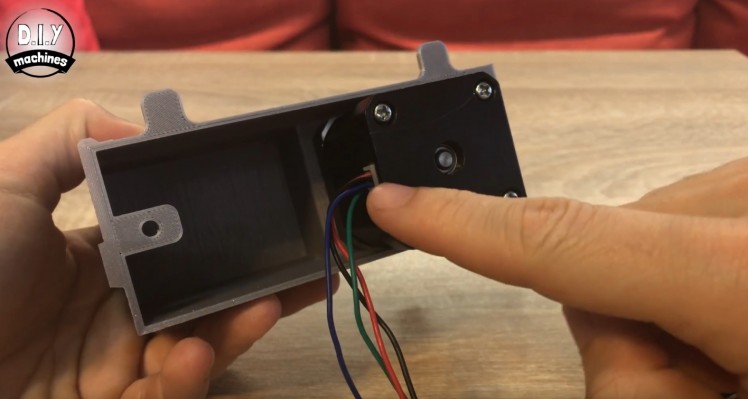
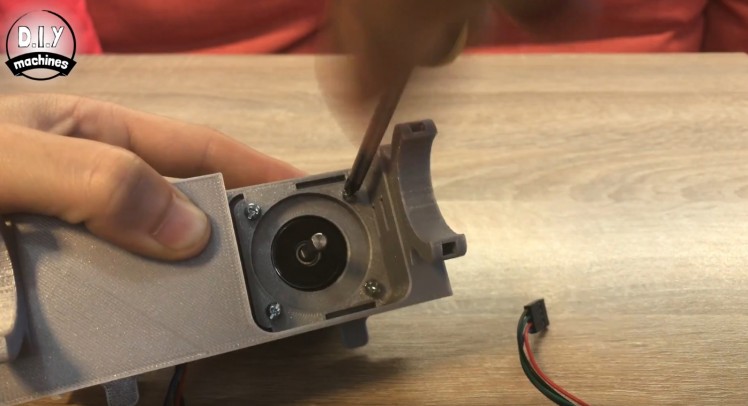
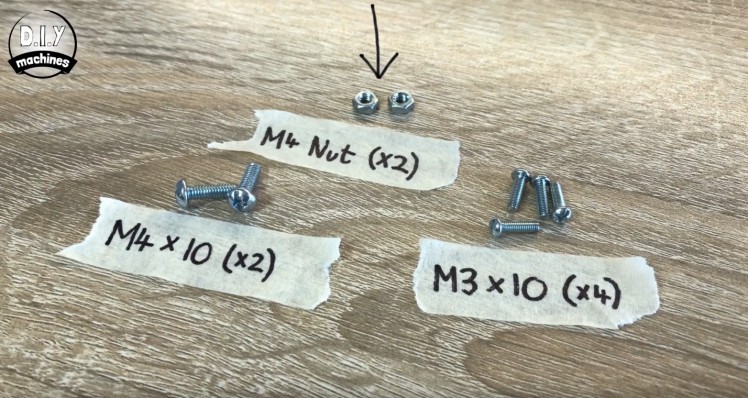
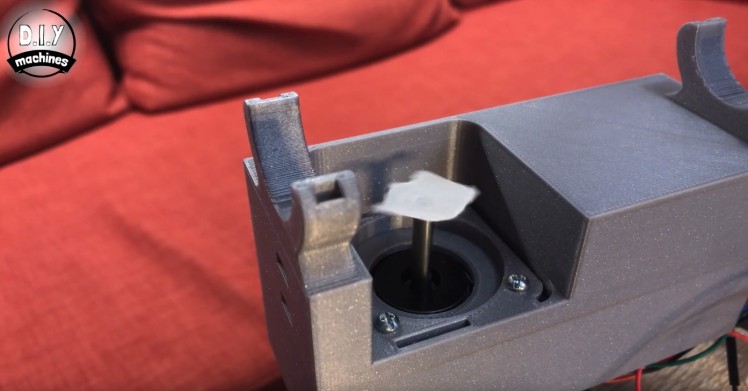
Before we attach the motor to the main body you need to insert a single M4 nut into the small slot as shown in the attached image. This is here to hold the lid onto our machine - a part we will be adding later.
Insert the stepper motor from underneath the housing ensuring that the cables leaving the stepper motor are heading towards the opening.
Use the four bolts from earlier to hold the stepper motor in place. They need to be tightened firmly, but not so tight so as to damage the printed component.
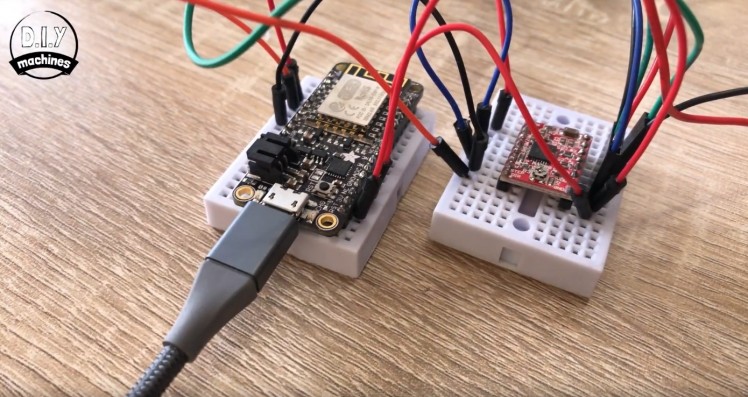
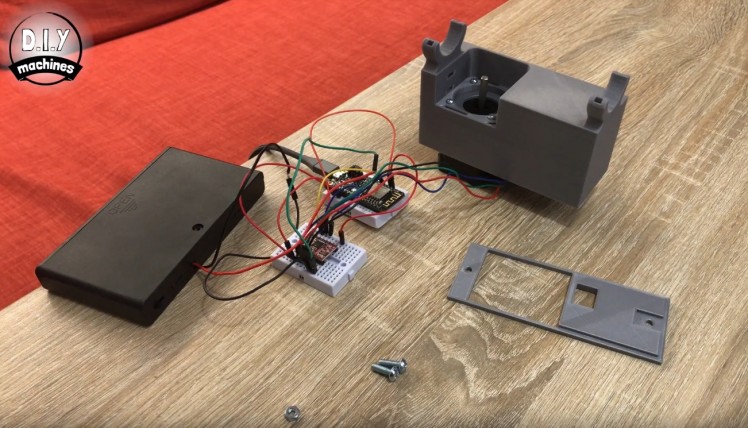
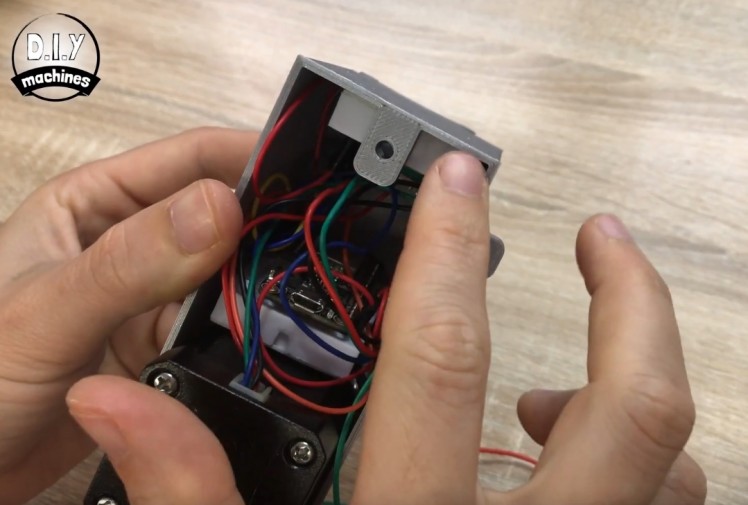
Step 5: Connect the Electronics

We'll now start work on the electronics. You can either follow the circuit diagram or the table below to connect all the electronic components together. If you are unsure how to interpret these you can follow along with me in the video step by step: https://youtu.be/JtYdPwO65WI?t=155 (this will start at the right place in the video).
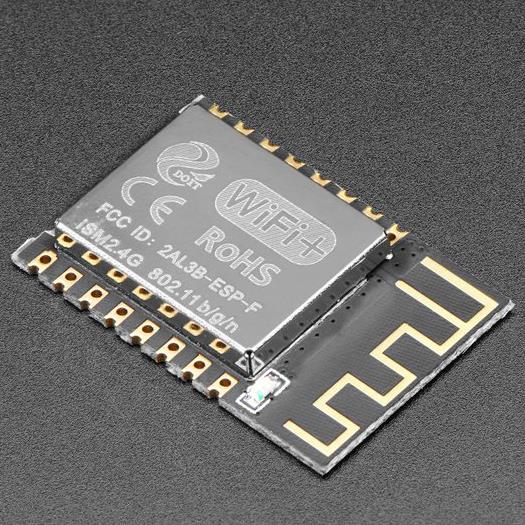
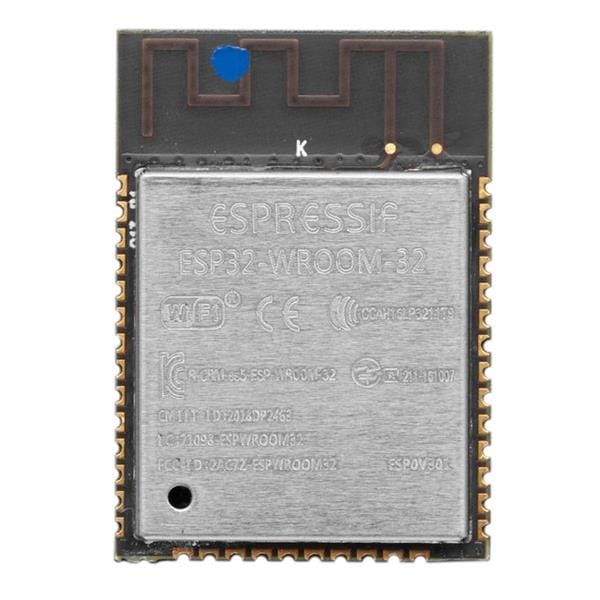
First the cables going between the stepper driver and the ESP8266:
Feather ---> A4988
16 ------> EN
0 --------> DIR
13 ------> STEP
GND ---> GND
3V ------> VDD
Now the cable from the stepper motor to the stepper driver:
A4988 ----> Stepper Motor
1B ----> Blue
1A ----> Red
2A ----> Green
2B ----> Black
The RESET and SLEEP pins on the motor driver also want a wire connecting the two together.
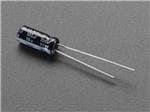
You'll also need to add a 100µF capacitor to VMOT and GND. Ensure you pay attention the polarity of the capacitor.
And last but not least you'll want to connect the power supply. This also goes to VMOT (the positive wire) and GND (the negative).
Step 6: Upload the Code
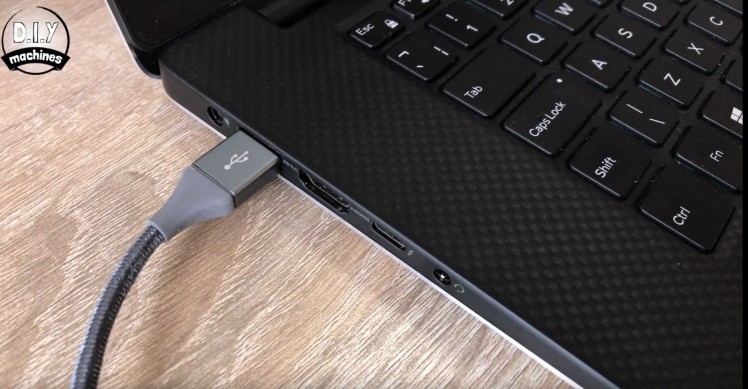
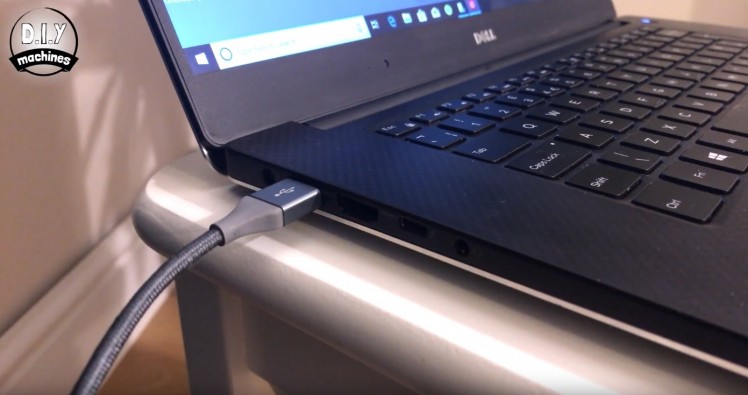
Plug one end of your USB cable into the Feather Huzzah and the other end into your PC.
Head to the Github page and download the code: https://github.com/DIY-Machines/alexa-cutrain-con...
Once it is on your PC open it in the Arduino IDE.
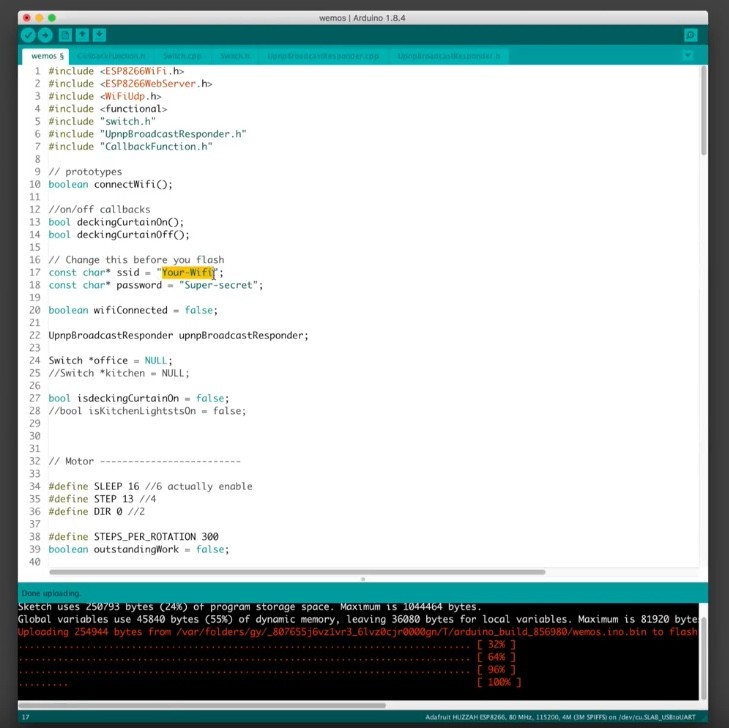
There are a few lines of the code you will need to change to tailor it to your wifi connection and where in the house you intend to use it:
- On line 17 you need to enter your wifi SSID (or wifi name)
- On line 18 you need to enter your wifi password
- On line 60 you need to set the name Alexa will refer to your curtains as (currently 'decking curtain' in default code). You'll need to ask alexa to turn your curtain on or off. So if you put 'bedroom' in here you would have to say "Alexa turn the bedroom curtains on".
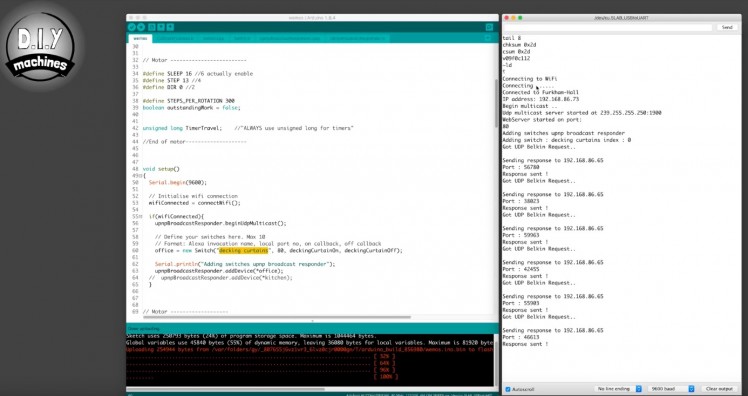
Open the Serial Monitor and set the baud rate to 9600. You can now upload the code.
Keep an eye on what the monitor returns, this will let you know if it successfully connected to your wifi network or not.
Step 7: Add the Curtains to Alexa
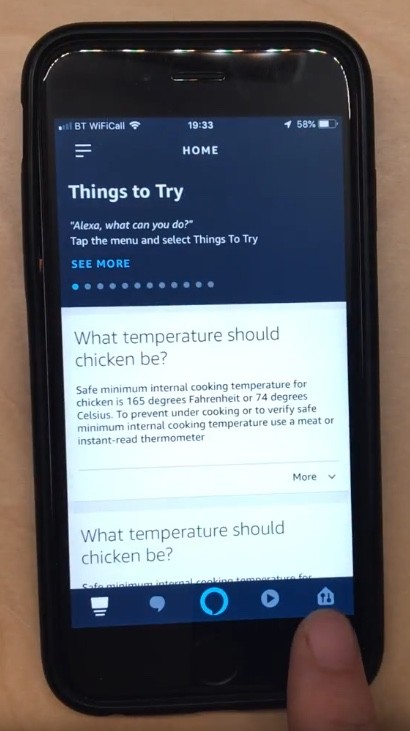

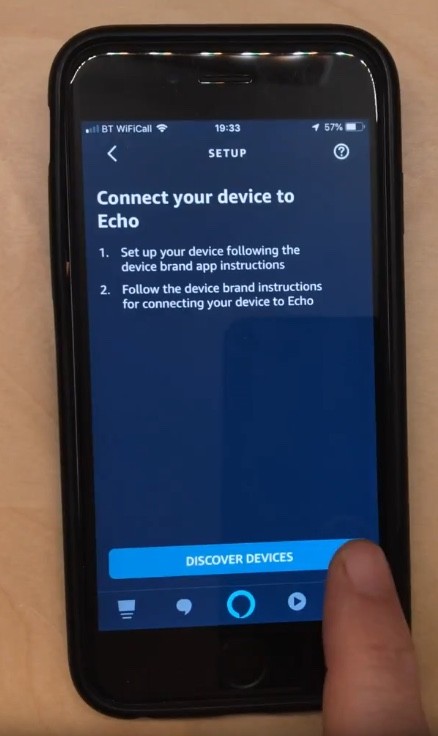
Now open the Alexa app on your smartphone or tablet and click the smart home devices icon in the bottom right, then press the + in the top right followed by 'Add device' to begin the process of adding a new device.
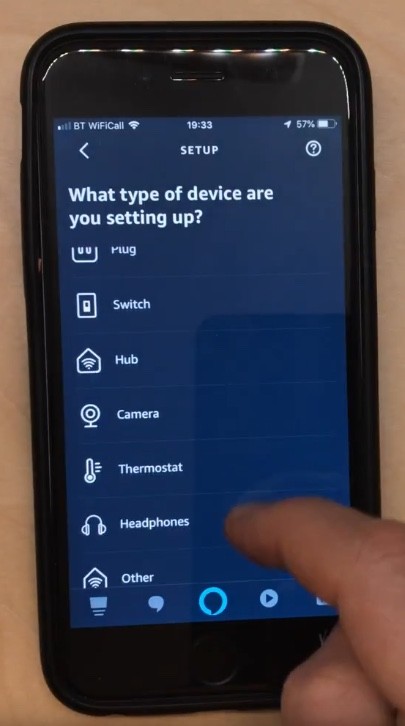
Even though the code we are running on our ESP8266 is emulating a WeMo plug we don't want to use their app to configure it, so scroll down the various types of devices on offer and select 'Other' from the bottom of the list.
Proceed by pressing 'Discover Devices'.
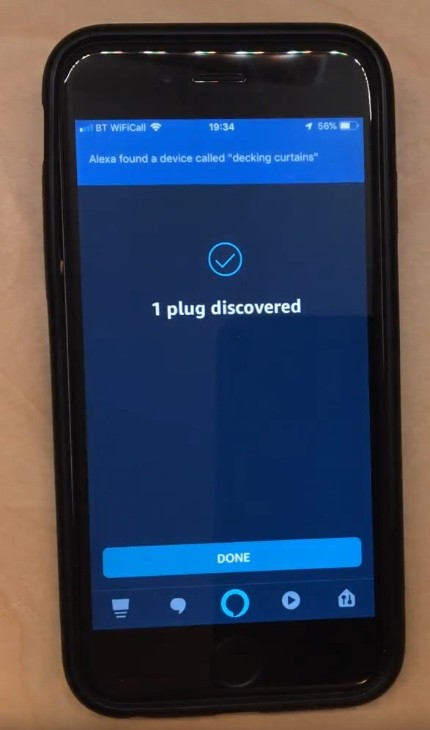
Whilst Alexa is searching you should see a lot of text print out in our Arduino IDE serial monitor. This is our device replying to Alexa's discovery request and letting her know what we are called and what we are able to do (in this case be toggled on and off).
If all has gone to plan so far she should report back that a new plug has been discovered.
Step 8: Test Time...
As the code is running we should test everything so far. Connect or turn on your power supply and then ask Alexa to turn your curtains either on or off using the name you assigned them earlier in your code.
You should see the stepper turn in one direction when you ask for them to be turned off and it should turn in the other direction when you ask for them to be turned on.
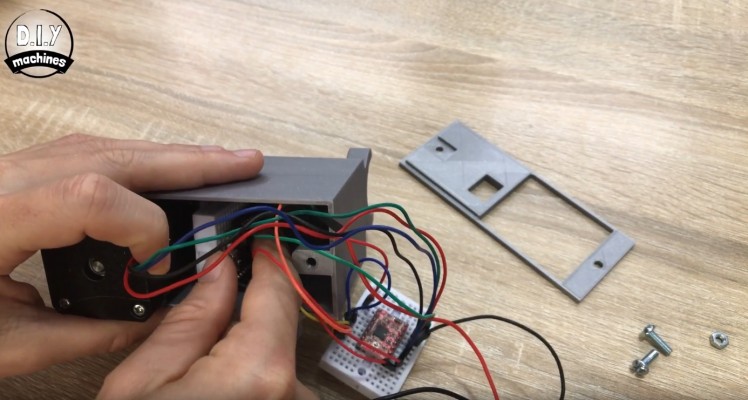
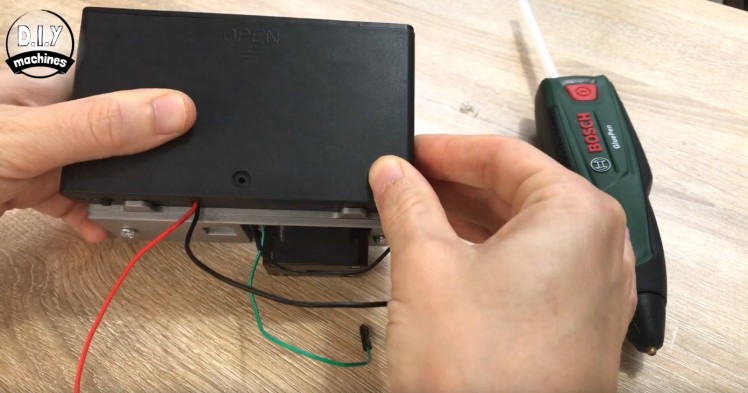
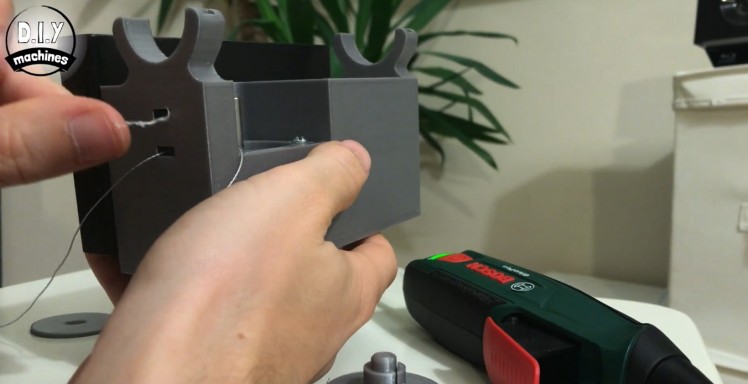
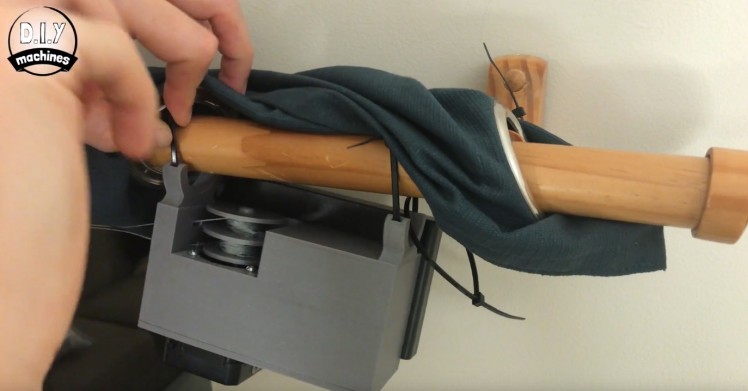
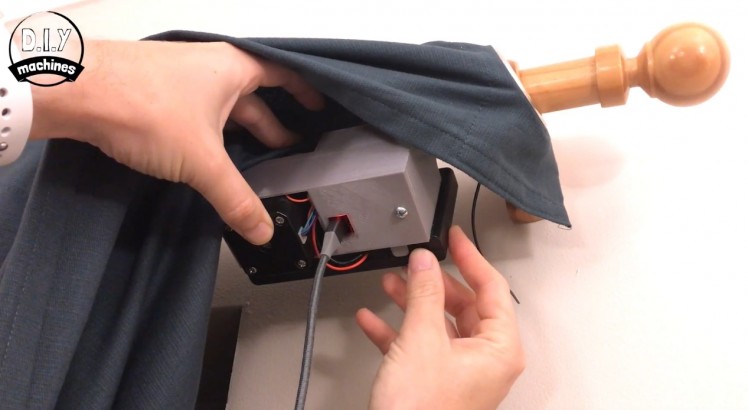
Step 9: Install the Electronics and Lid

For this part of the build you will need to print the file 'lid.stl' whilst it prints we can continue as below.
Peel the self adhesive cover off the back of the breadboard which has the ESP8266 on it and position inside the housing so that the sticky adhesive is facing the stepper motor. Ensure that it is slid all the way to the right and as far down in the housing as it will go before applying pressure to fix it in place.
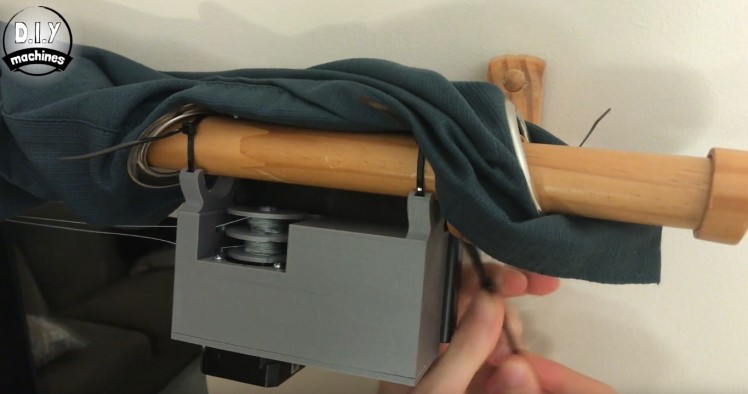
If the self adhesive is not holding your breadboard in place you can add some hot melt glue to help things stay put.
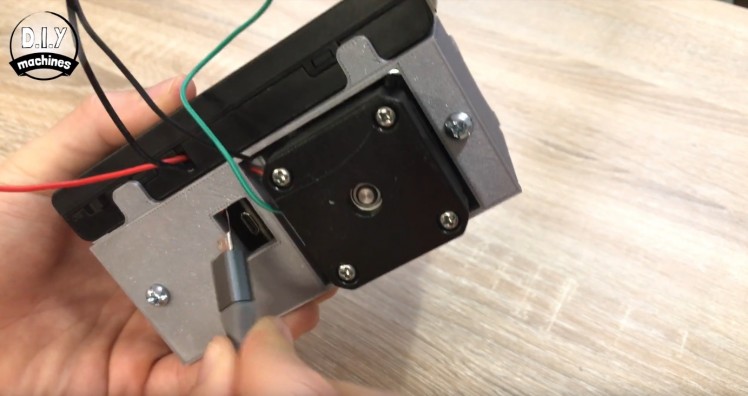
Before we add the second breadboard we need to fit one nut behind the hole I'm pointing to in the above images. If you struggle to hold it in place you can temporarily partially insert one of the bolts.
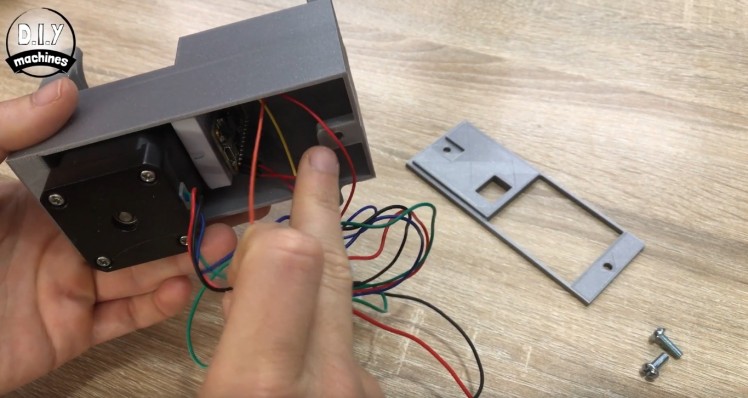
Peel the adhesive of the second breadboard and fit this against the opposite side of the housing. Handle this carefully so that none of your wires work themselves loose.
After the second breadboard has been fitted you can remove the temporary bolt as the breadboard will keep the nut in place.
Tidy the wires into the housing whilst ensuring that the USB connection on the Feather Huzzah is not obstructed.
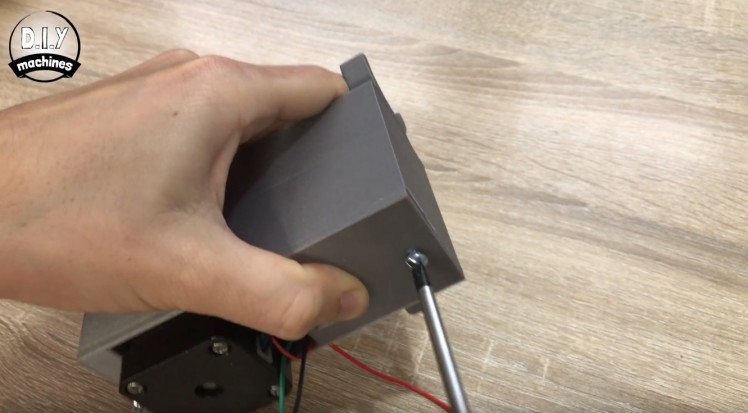
Now we can attach the lid. The wires for the power supply need to be passed through the large hole which also accommodates the back end of the stepper motor. Lower the lid onto the housing and then use the two remaining bolts to attach it securely.
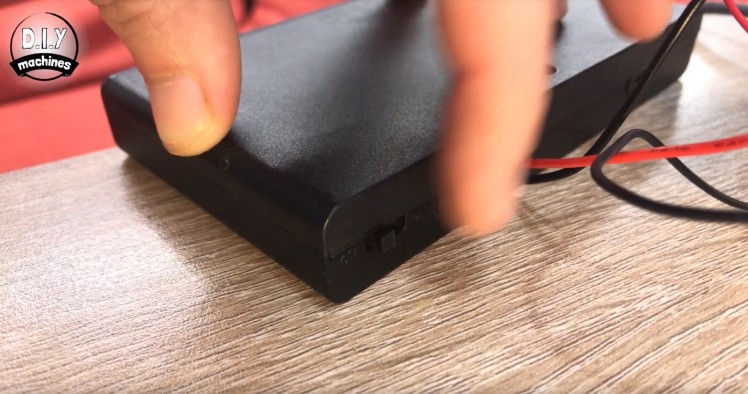
Step 10: Fit the Battery Holder
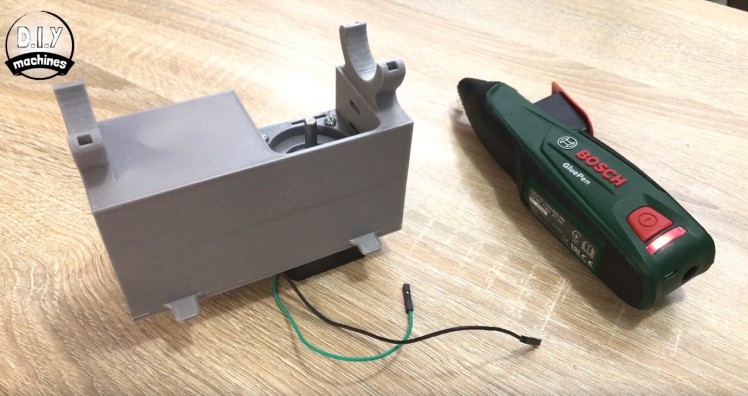
The battery power supply housing is to be fitted onto the outside of the motor housing, resting on the two lugs designed to support its weight.
Using some hot melt glue, fix it into place and hold firmly for a few seconds whilst the glue cools and hardens.
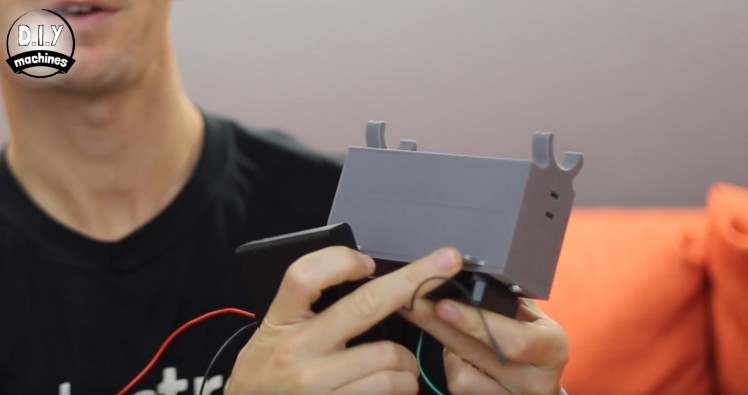
Once set, check you can still use the USB port by connecting it through the hole underneath. I would test everything works with Alexa still at this point. This will also check to see if all the wires are still connected properly and that nothing has come loose.
Step 11: Preparing the Curtains. Part 1

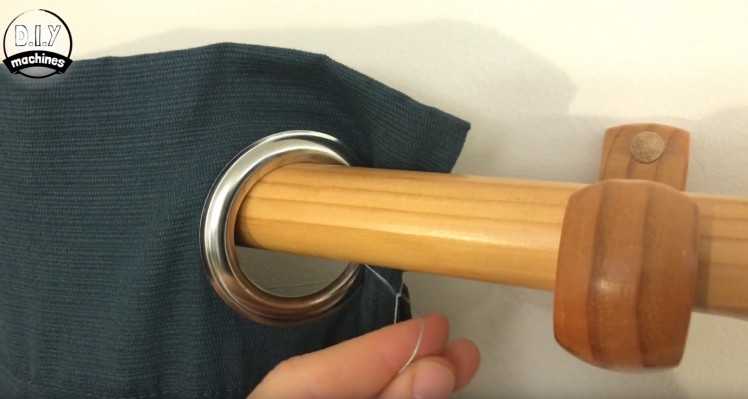
I'll be fitting mine to the right hand side of my curtains so that the USB power lead can drop behind the curtains and plug into a wall outlet next to them
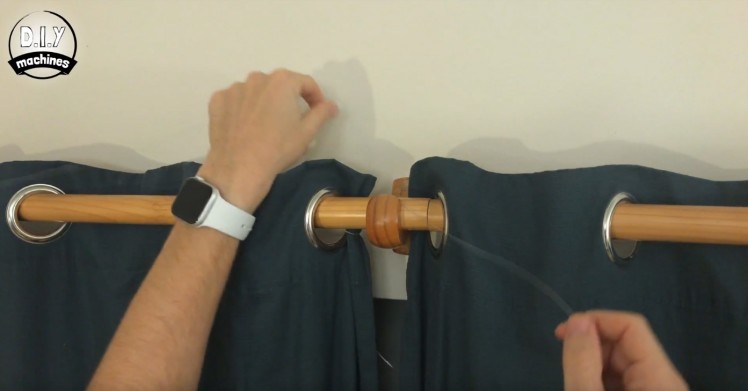
You need to start by leaving about 2 to 3 metres of loose wire hanging over the side of this curtain pole. We will use this later when attaching it to the par of our machine we built earlier.
Then with the other end of the roll of wire, continue over the top of the centre pole, over and round and back under the left had wall fixing and then attach it to the left hand curtain after moving it to the closed position.
To attach my wire to my curtain I just tied a simple knot around the eyelet. If you wanted to, you could attach it to the back by sewing it into the curtain itself.
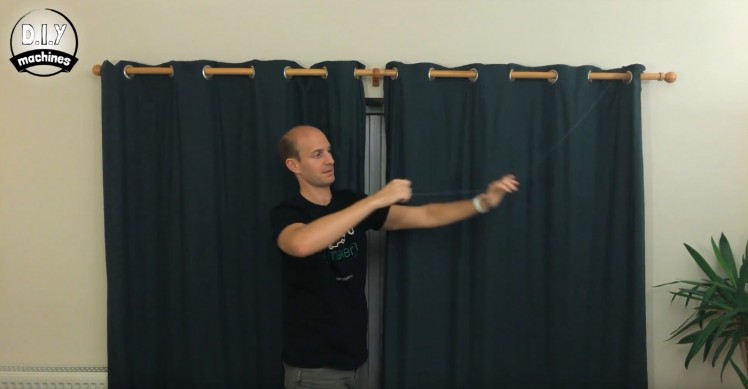
You can test your work so far by pulling the loose end of the wire. This should cause your curtain to open, and when you pull the curtain close the loose end should pull back.
Step 12: Preparing the Curtains. Part 2
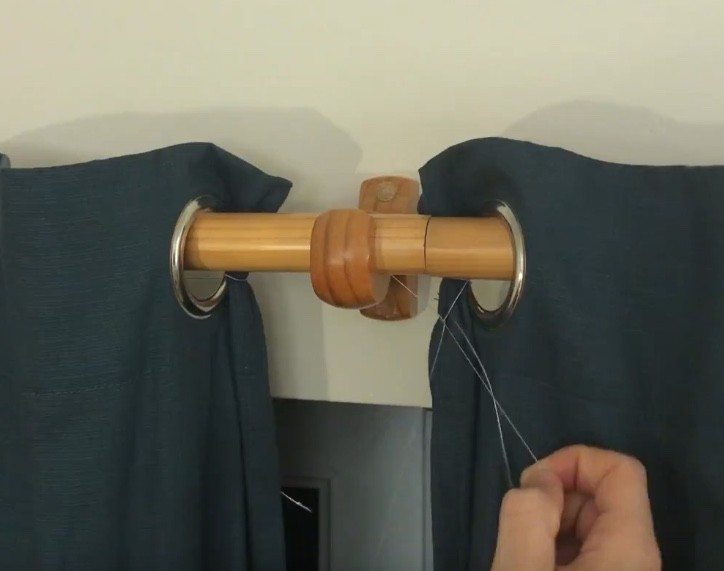
To attach the other curtain pull it into the closed position with the one we already connected also closed. Retreive the loose end of the wire we were pulling just now to open the other curtain and tie it to this curtain were it passes it after passing it other the centre fixing of the curtain pole.
Once you have finished the knot take the loose end of the strip and pass it back over the end of the pole as it was before we started this step.
Now is another good time to check your curtains are working well. If you pull on the loose end of wire both sides should open and when you pull one side of the curtain closed the other should also close by itself.
Step 13: Preparing the Curtains. Part 3
Now we have just one more bit of wire to add. This time with a new length of wire, attach one end to the left curtain where we tied our first knot and then feed the loose end over the centre wall fixing and then right side wall fixing. Leave a few meters spare and cut it off the real.
Time for the final check, you should know be able to fully open and close your curtains just by pulling on the end of one of the pieces of string, then the other. :) How cool is that!
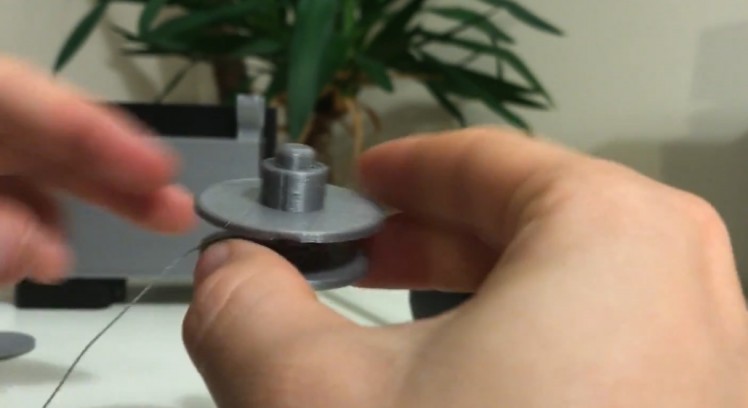
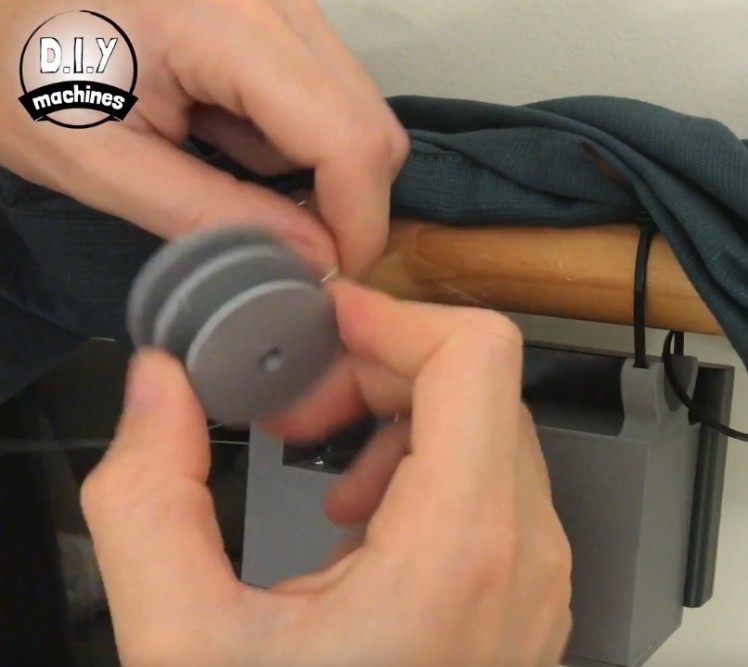
Step 14: Assembling the Spindle
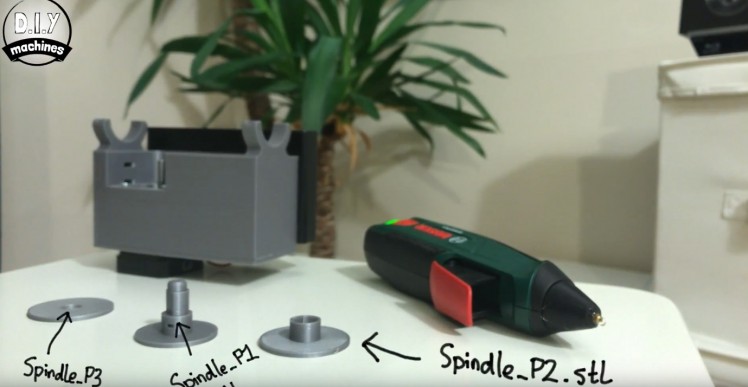
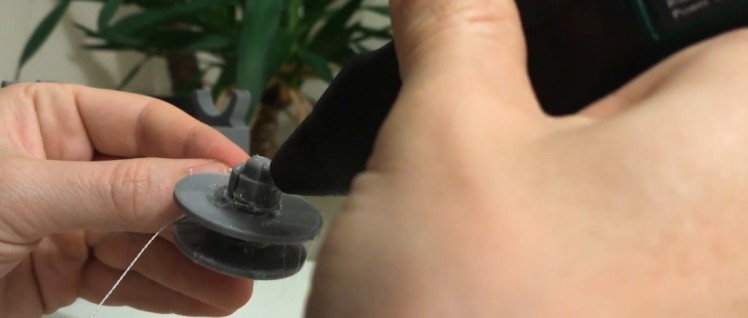

You'll need to print the three parts of the spindle if you haven't done so already as well as have some hot melt glue or similar to hand.
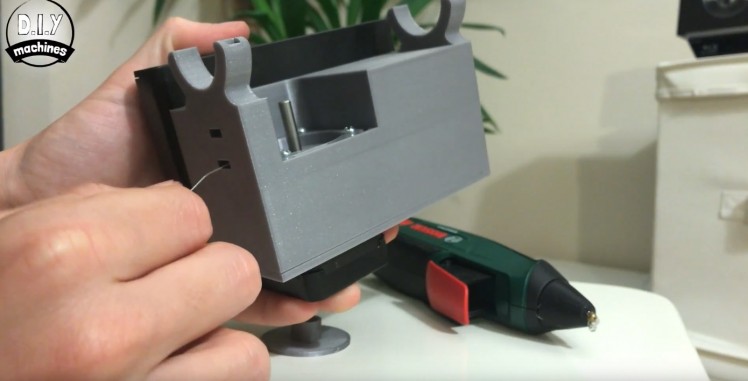
Take one of the loose ends of wire coming from your curtains and thread it through the lower hole on your motor housing. (It doesn't matter which wire you do first).
Now, taking the first part of the spindle (the one with a hole passing through its shaft) thread this wire through and tie it in a knot around the shaft so that it can't come undone. We'll then add some hot melt glue over this wire and its knot to keep everything in place.
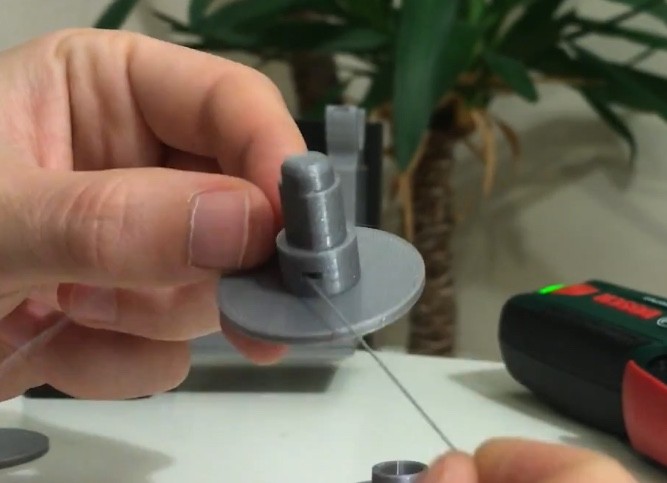
Once this has cooled add some hot melt glue to the ledge (about half way up the shaft) and then slide the second part of the spindle onto it squidging it into the glue so as to fix it into place.
Now pass the other piece of wire through the top hole of the motor housing and in a similar fashion fix this to this next stage of the spindle assembly.
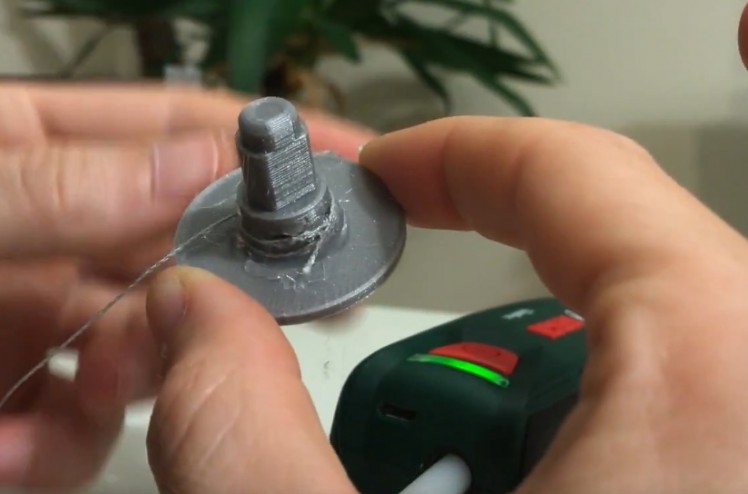
Finally add some more glue to the top of the shaft and add the final 3D printed piece. Once cooled you can then wrap one of the strings clockwise onto its section of the shaft and the other anti-clockwise onto its section of the shaft. Take up as much of the slack wire as you can but don't slide it onto the shaft of the stepper motor just yet.
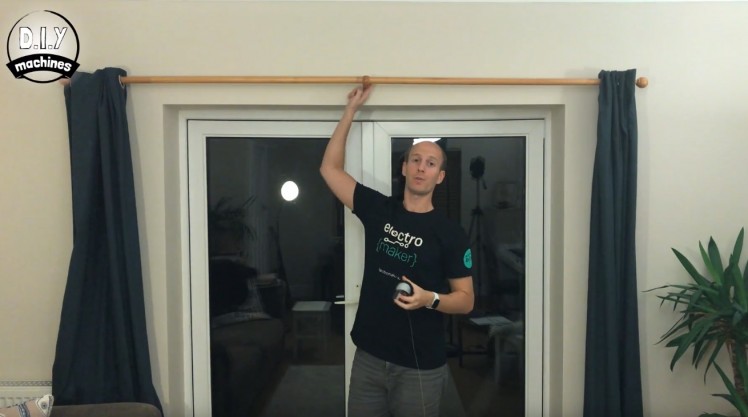
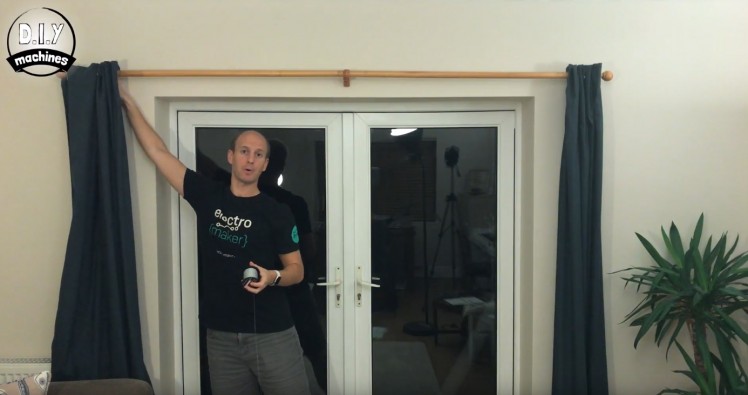
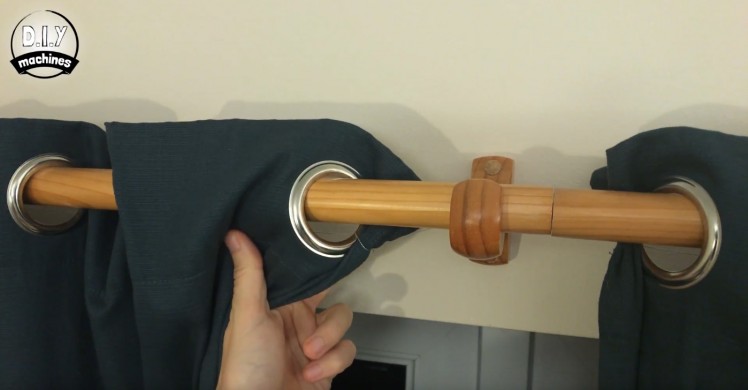
Step 15: Attaching Your Machine to the Curtain Pole
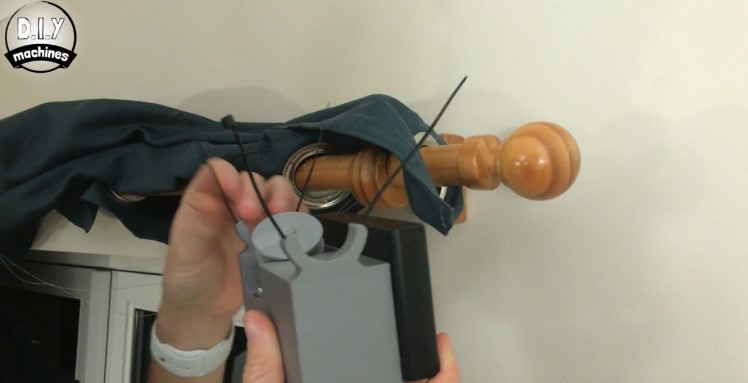
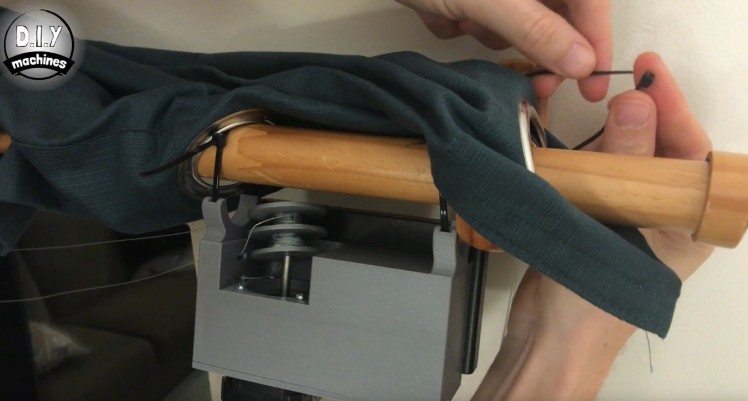
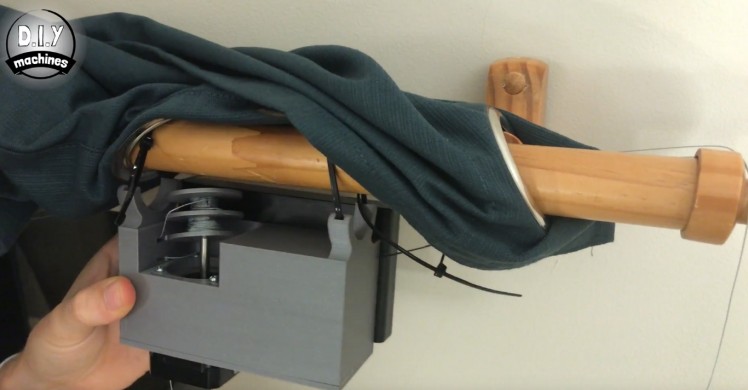
We'll now attach the motor assembly housing to the curtain pole using four cable tidies. I've moved the curtains in my shot so that you can see what's happening more easily.
Thread a cable tidy through each of the two channels in the U shaped arms. Then use these to attach it to your curtain pole. Don't fully tighten them, just enough that the cable tidy does not come undone as we'll need access to the shaft of the stepper motor and to be able to adjust it later.
Next tie a single cable tidy around the wall fixing, again keep it loose. Then tie one through this cable tidy and the closest one we used to attach the motor housing to the pole. Before we proceed slide the motor housing as far to the centre of the curtain as you can. The two cable tidies joined together will limit how far you can go.
Now take the spindle of wire and continue to wrap both wires around it taking up as much slack as possible from both lengths of wire. You can then slide the spindle onto the shaft of the motor housing.
You can now tighten the two cable tidies that hold the housing to pole.
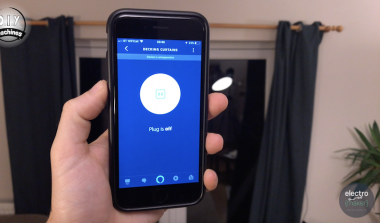
Step 16: Test Time
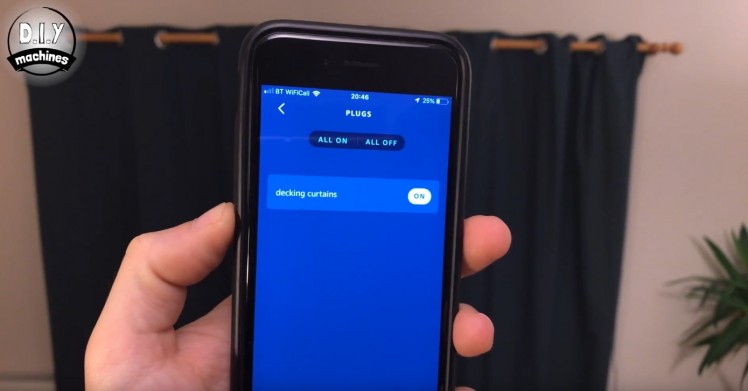
Plug the USB connection from the ESP8266 to your PC, turn on the power supply and open your Alexa app on your device of choice. Navigate to the 'plug' (your curtains) and take it for a spin.
Step 17: Tweaking Time

If you encounter any issues with your system when it's trying to open or close there are a few things you can check:
- Check how taunt you string is when the curtains are fully open and are fully closed. If it is too loose in both situations then you can tighten it by sliding the motor housing further away from the centre of the curtains by tightening the two cable tidies that go between the wall fixing and the housing.
- If the wire is too taunt, then loosen it by doing the reverse of the above.
- As your curtain gets nearer to the centre wall fixing you may find that the motor is having to pull the curtain 'up' where the string goes over the centre wall fixing. You can help alleviate this by fixing the wire to your curtains at the same level it enters the motor housing. Keeping the line as horizontal as possible with the motor housing is ideal.
Step 18: Personalise the Code to the Curtain
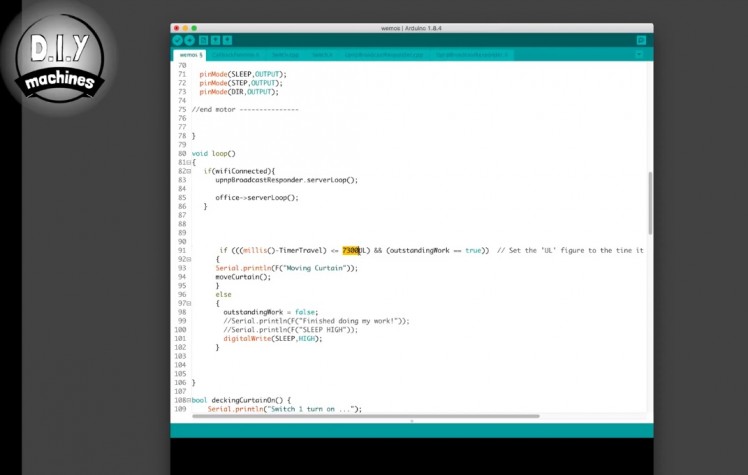
We've yet to set how far the stepper motor moves the curtain when we ask it to open or close them. This is done on line 91 in the code.
You need to alter the number I've highlighted in the image. The code you have should currently have '7300' in it if you've not changed it already.
This represents how long the stepper motor will keep turning when asked to go in either direction. If your curtain needs to move further then this number needs to be increased. Decrease the number if it's trying to move too far.
Don't forget that you will need to re-upload your code each time you make a change to this number for it to take effect.
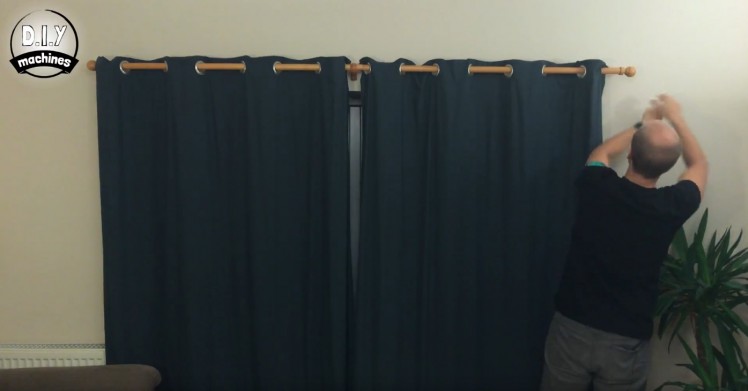
Step 19: Complete!
Well done, you've finished your project! Now put your feet up and enjoy one less chore two times a day. :)
If you would like to say thanks for this guide and design please confider buying me a coffee: https://ko-fi.com/diymachines
You can also support our channel and keep us creating these guides over on Patreon: https://www.patreon.com/diymachines
Please don't forget to subscribe here on Electromaker or our Youtube channel to find out when we have our next DIY project ready.
Schematics, diagrams and documents
Code
Credits
Related products


Leave your feedback...