
2smart Cloud Home Security Robot

Made by 2Smart / Home Automation / Robotics / Security / IoT
About the project
An IoT security robot with video surveillance and remote control functionality. Development of a Proof of Concept prototype and a Minimum Viable Product.
Project info
Difficulty: Expert
Platforms: LEGO MindStorms, Raspberry Pi
Estimated time: 3 months
License: GNU General Public License, version 3 or later (GPL3+)
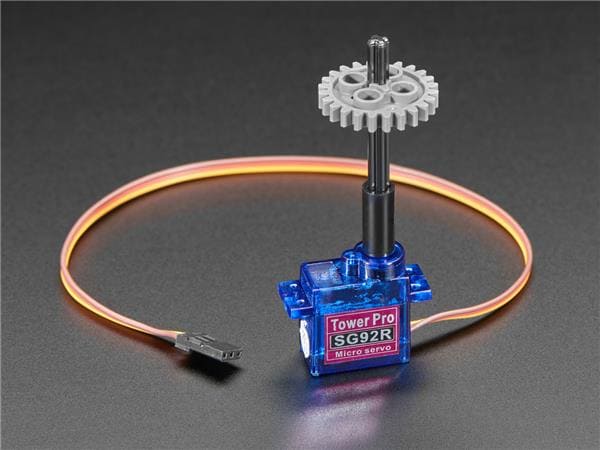
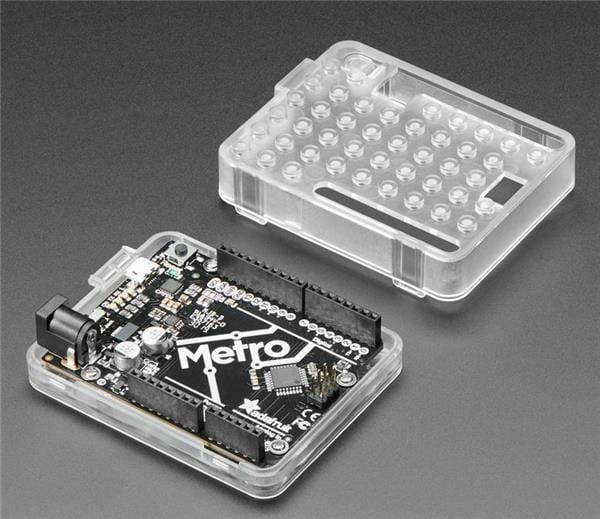
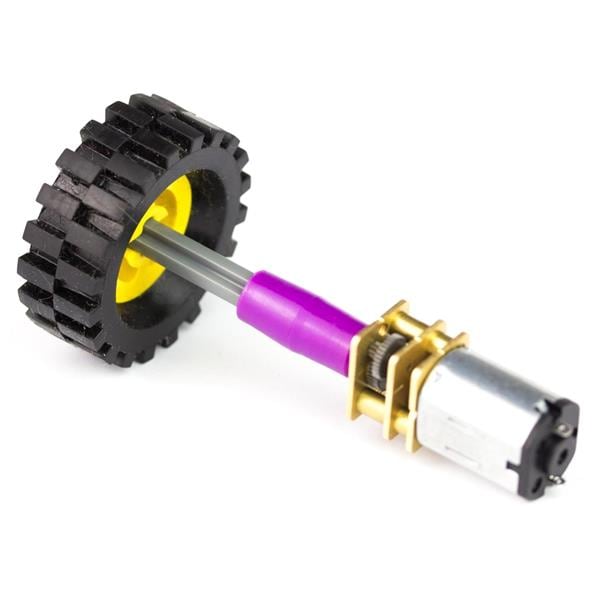
Items used in this project
Hardware components

Story
Home security robot: from a prototype on children's robotics kits to MVP
Our team is working on a 2Smart Cloud IoT platform and is constantly experimenting as a vendor, developing new Internet of Things devices. First, we do this to test and improve our core product. Second, it's intriguing. In recent months, for example, we have been working on a security robot based on the Raspberry Pi as well as a couple of children's robotics kits. Then we assembled a minimally viable product based on a real robot chassis. All of this is incredibly fun and interesting in the process, so we decided to talk about our experience.
What is a security robot, aka mobile security system
The idea of a security robot came from a private investor who approached our team. The advantages of such a robot are very obvious — you can, for example, manage what happens at home while you are away. You can check to verify if you closed the windows properly before leaving, monitor your cat's activities, and ensure that no strangers have got entry to your home. After all, the robot can take a stroll around the yard to keep an eye on the site's perimeter.
For such duties, a robot equipped with a video camera is an exciting option. Yes, you can install surveillance cameras at home and watch the live stream on your laptop or smartphone. However, this is not a good idea.
First, several cameras to monitor every corner of the house are expensive. Secondly, the more devices there are the more potential points for system failure. Finally, stationary cameras are can be hacked by intruders. You can always put it in a closet when it is a robot. Let hackers admire your fishing gear, not your personal life.

Indeed, this is a fascinating project with considerable commercial potential. Mobile security systems for indoors and outdoors are still in their infancy, and there are no obvious market leaders. Meanwhile, such robots will ultimately replace the majority of men who sit in security booths and drink tea.
In the market of mobile security systems, everything is just beginning. When we conducted the research, there were not so many ready-made commercial solutions. So far, they offer routine video surveillance and alarm systems. This is the last century.
A few examples of when security robots are used helped to formulate a minimal list of what we want to achieve in the end to be no worse:
autonomous patrolling of the territory by a robot, moreover, based on artificial intelligence;
remote control of the robot;
automatic sending of the robot to the base station for charging;
video surveillance functionality;
person recognition and face detection;
the ability to install a laser radar and other sensors, up to fire safety control;
automatic sending of notifications if the robot does not like something and found suspicious;
group interaction of several robots.
After the stage of theoretical research, we faced the first practical task. We are talking about developing the Proof of concept prototype. Let us explain for those new to the topic - this is the first stage of any new device development, often assembled from improvised means. The main thing is to confirm that the device can function in the desired way and that the task is practically solvable by the chosen methods.
Two challenges for the Proof of concept prototype
During the PoC phase, we needed to make sure of two main things:
that we will be able to design the platform for remote control of the robot and fit it into the framework of our IoT platform;
that we can find a solution that will ensure the minimum delay in the transmission of the video signal.
Why is the second nuance important? We will not receive video from static cameras, and the robot does not move randomly or along a pre-arranged route. Yes, we plan to teach him to move autonomously using AI. But the idea is to be able to navigate the robot through space remotely, with the mobile app and in-built camera, even being on the other side of the planet. If the signal delay is too long, it will at least be annoying.
But the key for this stage was ensuring compatibility with our platform. We needed the robot to become another IoT device for 2Smart Cloud without special crutches on the platform side. And to do this, we need to create a compatible firmware for controlling the mechanical parts of the robot. And in the future – to support the functionality that we want to implement.
We started looking for existing solutions that can be quickly adapted to our needs and test the concept of a security robot. As a result, we realized that there is nothing better than children's kits for robotics!
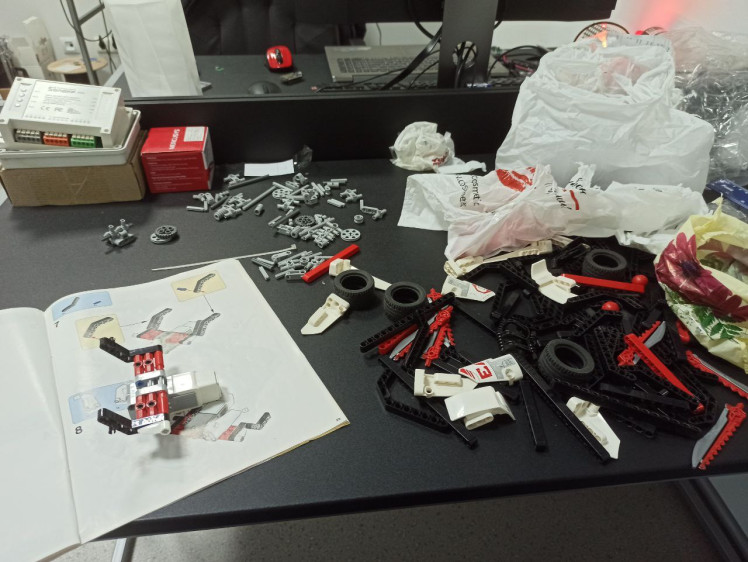
To begin with, we ordered the Lego Mindstorm constructor for assembling the Proof of concept prototype on its basis.
The main problem of the Lego constructor (for us) and how we solved it
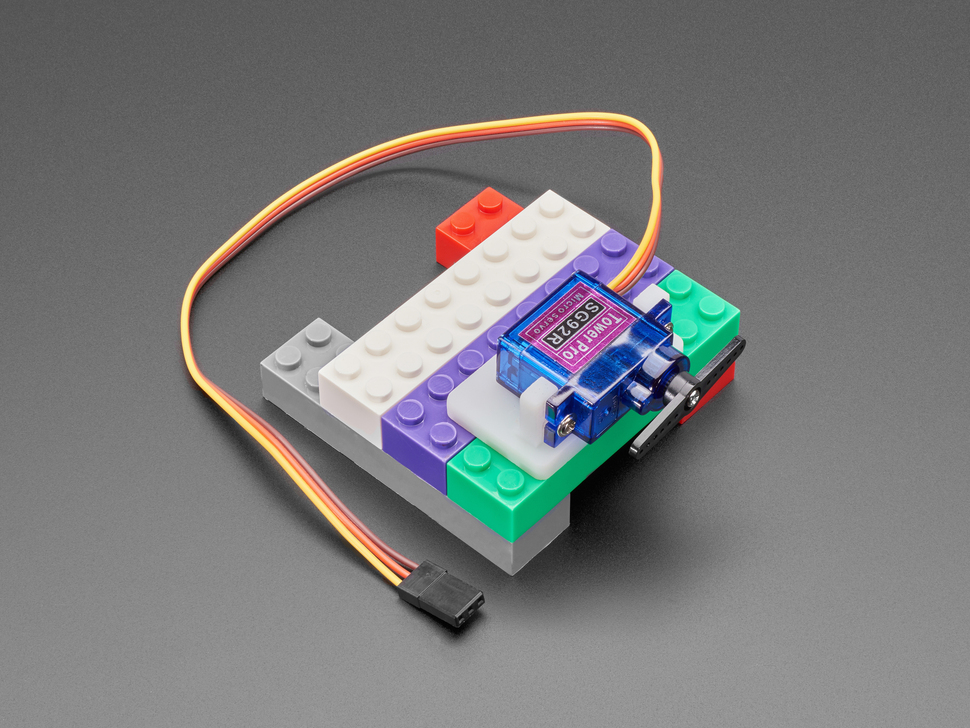
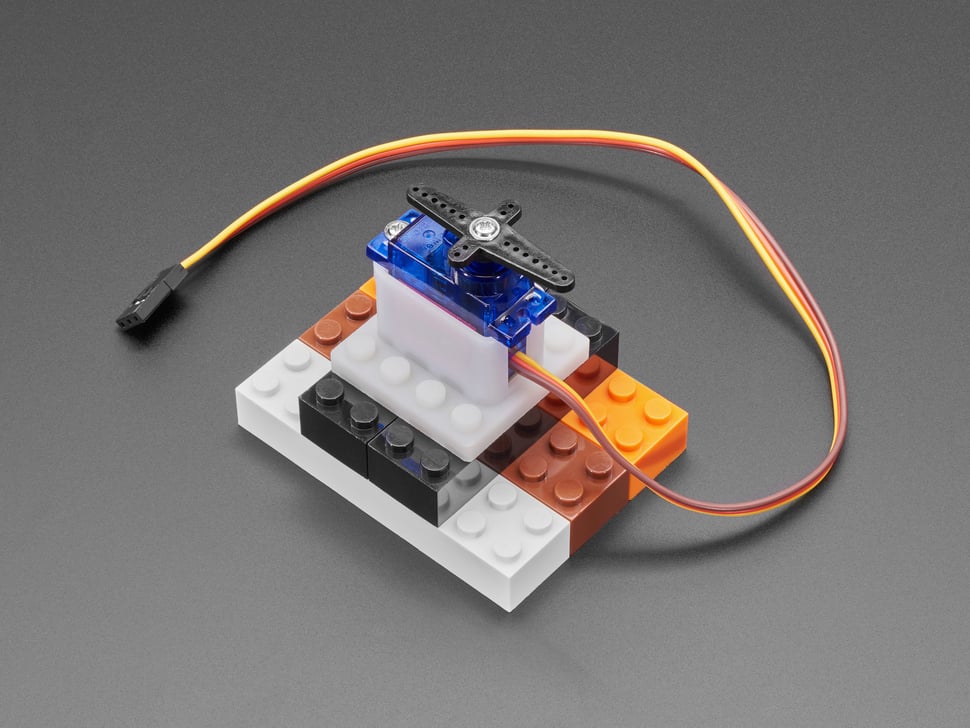
The Lego children's robotics kit has a decisive advantage – its mechanics are excellent for such designers. Servomotors, various sensors, wheels, body parts, etc.
But we didn't take a microcomputer - it's really cool, but it doesn't suit us. It's complicated to develop any integrations with other than LEGO software. We need to control the robot from a Docker container, and Lego's "brains" are not designed for this.
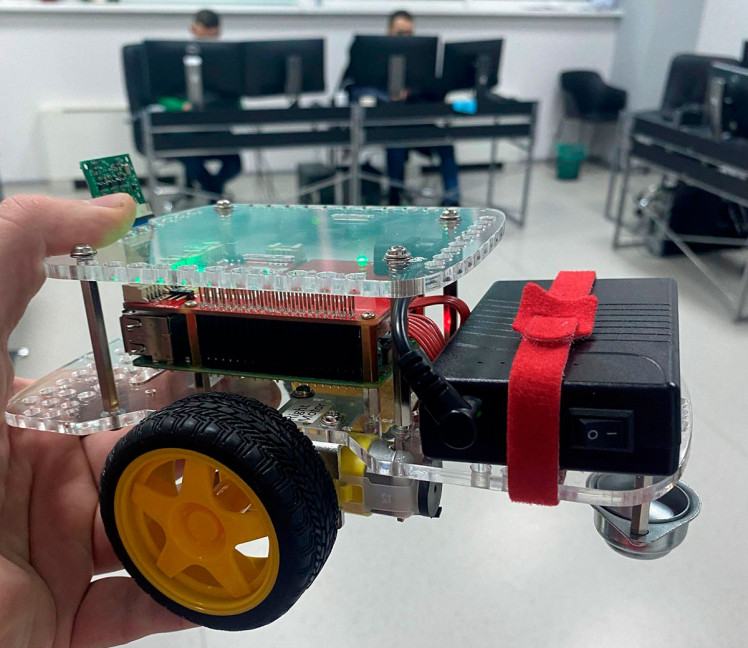
We decided to see what robotics kits are on the market based on standard solutions. For example, the Raspberry Pi microcomputer, which we have been working on for a long time, has native integration with our IoT platform. And... bingo! The solution was found, and it turned out to be well, not at all obvious.
In search of a robot on Raspberry Pi, we came across a GoPiGo constructor. This kit turned out to be one of the most potent Raspberry-based projects. So pay attention – it's a fantastic platform for robotics classes!
Of course, we can connect a Raspberry Pi to a Lego kit without GoPiGo. Why did we bother at all, spend money and wait for the delivery of this kit? It's just that a microcomputer is not at all the raisins that we extracted from this bun. The highlight was the set's firmware – the code written for Raspberry Pi allows you to control the robot on wheels remotely. Exactly what we need! Adapting the ready-made solution saves time and effort in developing the first iteration of PoC.
In the kit with the GoPiGo constructor, there is a flash drive with software for robotics schools. There, among other software, was what we needed – a firmware for Raspberry Pi with a description of the robot control logic. We were interested in one specific library – for controlling servos to manage the movement.
In fact, we took only a microcomputer from the hardware in GoPiGo. We refused its expansion board – we screwed our bridge to call the servo control library. We supplemented the circuitry with their control boards, a voltage divider, and a power supply battery.
Subsequently, we will not use someone else's; we will write our firmware completely for later iterations. Moreover, the tasks will be more complicated than working with standard Lego parts.
Making the robot an Internet of Things device
Like Lego, the GoPiGo kit implements only local control of the assembled robot – via the nearest laptop or tablet. These sets do not imply creating Internet of Things devices that can be controlled remotely. Therefore, the GoPiGo firmware had to be made friends with our IoT platform.
This task is solved by standard means – for custom firmware for Raspberry Pi, we have written SDK (Software development kit). The task of developers when using the SDK is to describe only the device's logic. In our case, part of the work was done by GoPiGo developers – the logic of controlling the robot's movements was already described. On our own, we added the camera control logic – after all, the robot will have to observe what is happening as an actual security guard. But we'll talk about this a little later. There are a lot of exciting things there.
In the meantime, we needed to make friends with the modified version of the GoPiGo firmware with our SDK, flash the Raspberry Pi microcontroller with this code, install it on the Lego set and see if this monster starts up.
Controlling a Frankenstein robot from a smartphone
The robot really turned out to be a little Frankenstein. The body, wheels, and motor are from Lego. The microcomputer is from GoPiGo. And a few other boards and a battery.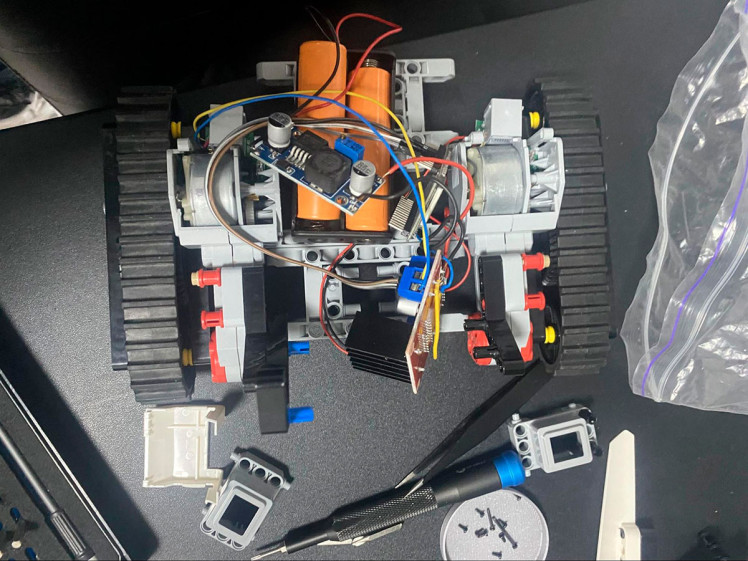
But even so, you can imagine how the child inside each of us rejoiced when we launched the robot and began to control it remotely from a mobile application.
More precisely, not quite so - the robot made its first "steps" by executing commands from the computer screen. We have just set up the mobile application interface and tested it in the browser. But since one of the features of 2Smart Cloud is a real-time emulator of a mobile application, the robot has already responded to commands - it moved around the office as we anticipated.
Well, when we added it to an actual application on a smartphone and got such a wireless remote control, it was pure delight.
So, we tick the first item of the Proof of concept prototype requirements – initially, we were able to create a software platform for remote control of the robot and made friends with our IoT platform without any crutches. Connected the device – everything started up.
Watching video from a robot's camera is not an easy task
In fact, there are no serious difficulties with video surveillance as such – you can use any modern multimedia data transfer protocol. Choose your taste.
We started with a protocol familiar to our team, namely RTSP. A couple of years ago, we developed a custom access control system with video surveillance. It was logical to use popular RTSP cameras on the market, which we did.
However, what is suitable for stationary cameras is not suitable for a mobile robot.
The main problem is that we need more than just video surveillance. The robot must be controlled from another point of the planet, and at the same time, we wanna see what is happening through its eyes. But this is not easy since the signal delay becomes a critical technical parameter.
When using RTSP, the video delay ranged from 1 to 5 seconds. It would seem quite tolerable. But now, imagine how to remotely control a mobile device if you see on the smartphone screen not what is happening right now but what happened five seconds ago. The robot has already hit the wall, and you don't know about it yet. Or you send him to the closet, but he goes to the nursery. As some would tweet, SAD!
Experiments with RTMP, HLS, and WebSocket video streaming protocols were similar. The signal delay was consistently at least a second, which is a lot for our project.
Robot Zoomer
Discussing these problems with the whole team in Zoom, we thought – stop, and what kind of multimedia data transfer protocol this Zoom use. In this and similar services, the problem of multimedia delay has been quite successfully solved.
Bingo! This is where the solution had to be found. Zoom and other video-telephony services use the WebRTC protocol or its modifications. This protocol can flexibly adapt to the connection quality, and if it is bad, the video quality decreases, but the connection does not disappear. WebRTC is not demanding device resources and works great on the Raspberry Pi. But its main advantage is that the video delay is minimal here, in total from 100 to 300 ms. That is the almost instantaneous transmission of video and sound even to the other end of the planet. Just perfect!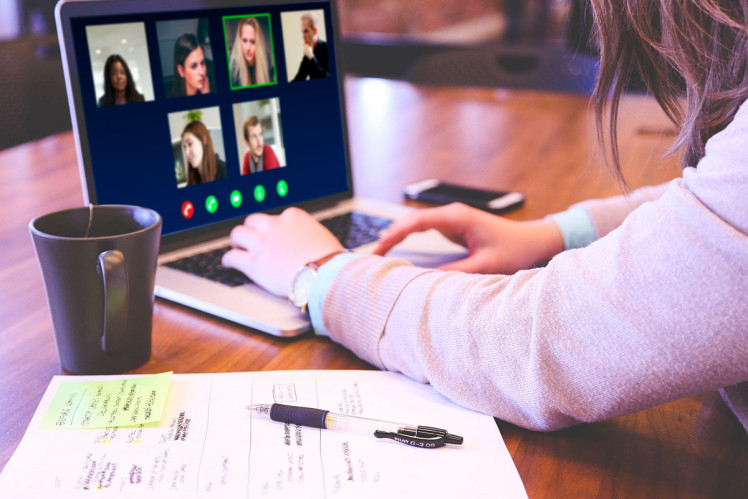
So our robot suddenly became not just a robot but a robot zoomer. A little moody, though.
A new problem has arisen during testing. If you start broadcasting from the robot's camera on three or four smartphones, the picture begins to freeze. These are the features of peer-to-peer connections without using a server when devices communicate directly.
This problem was solved very simply. At first, we used WebRTC inside a MESH network, which does not require a server. But the disadvantage of this solution is the increase in load with an increase in the number of connected devices.
There is also a second option – WebRTC SFU. In this case, a server appears on the network that takes on such a load. We just used the server capacity of the 2Smart Cloud platform. This does not affect the delay in any way, and it remains minimal.
From that moment on, the robot's video surveillance functionality became a reference. Several users can connect to the robot's camera from their smartphones at once. For example, members of a large family may want to control what happens at home while no one is inside. At the same time, the robot can be confidently controlled – the video and sound are transmitted with minimal delay, which does not interfere with the control of the device. This is exactly what we need.
The next challenge was to turn the Proof of concept prototype into a minimum viable product. Children's constructors are good. An attached mobile phone to use its camera as a surveillance camera is even better. But it is impossible to sell such a device on the market because buyers will laugh.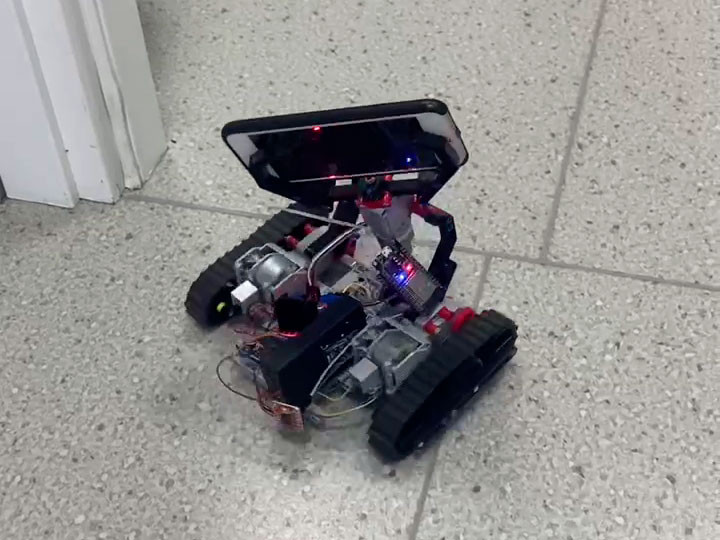
Security robot MVP: from an ugly duckling into a beautiful swan
Clarifying project requirements
At the beginning of this post, we talked about what functionality of the security robot we would like to implement. For example, the list included autonomous patrolling of the territory using artificial intelligence, automatic return to the base station for recharging, and group interaction of several robots.
All these tasks are solved exclusively by software tools. It is not necessary to make changes to the device's design for its implementation. Therefore, when creating an MVP, we decided to postpone the implementation of such functionality; it can be done later. For now, we need to focus on the design of the robot. Our investor supported this idea.
Choosing a case for MVP
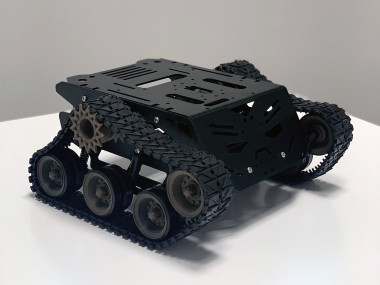
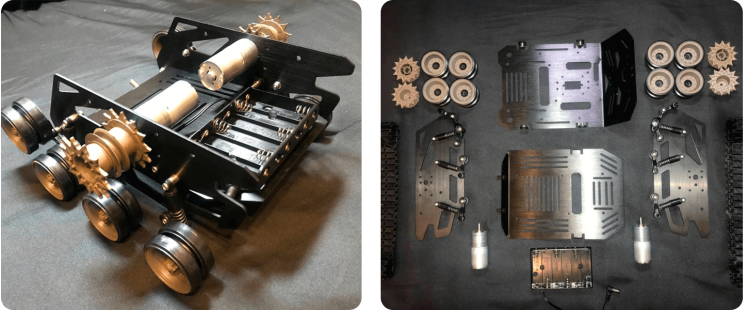
It's time to say goodbye to children's robotics kits and pick up a real “adult” case. We found an inexpensive crawler chassis that comes ready-made and realized that this is exactly what we need in the MVP phase.
Firstly, this chassis is easy to purchase – it is available ready-made, and if desired, you can buy any number of kits and assemble a small batch of robots. It can be used when producing a finished commercial product, and not only at the MVP phase.
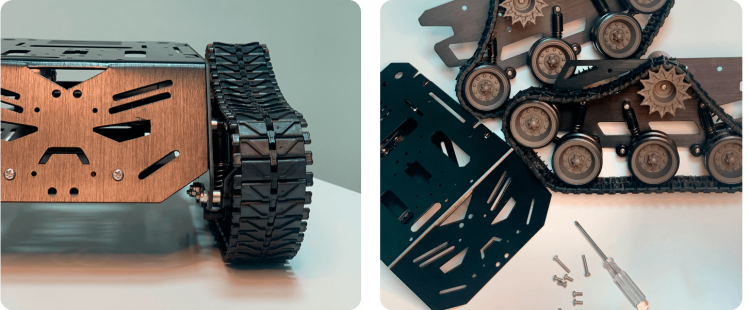
Secondly, we were looking for a crawler chassis. We tested both crawler and wheel travel at the Proof of concept stage. It turned out that the prototype on caterpillars moves better on the carpet and overcomes thresholds in the house better.
Thirdly, the new case looks excellent. We want a beautiful swan - here it is, even if it is black.
Making the microcomputer flashing easier
Starting work on MVP, we also completely redesigned the firmware. Its code no longer contains the library for controlling servos from the GoPiGo constructor, and our libraries and nodes have been finalized and optimized.
We also decided to make sure that the initial firmware installation on the Raspberry Pi was as simple as possible. Firmware updates will come over the air; there will be no problems with this. But for the first time, it should be easy to flash a device, even if third-party contractors will do it.
To do this, we have compiled an image for Raspberry Pi. You just need to copy this file to a memory card, install it on a microcomputer and deploy the image. After turning on the robot, it will launch its Wi-Fi hotspot, using which the user will be able to pair the robot with his smartphone. It's elementary!
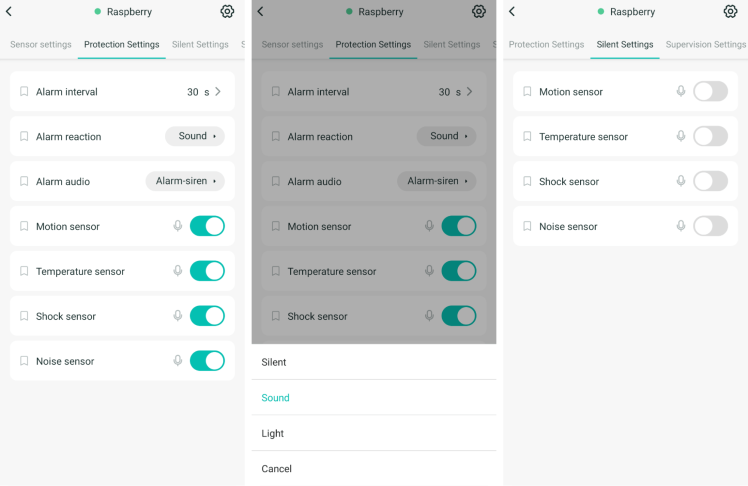
Mobile app functionality and robot modes
The mobile application for robot control is our universal 2Smart Cloud application. It is used to control all smart devices connected to the platform. The app supports integration with Siri and Google Assistant, so you can even control the robot using voice commands.
Here is what functionality for controlling the robot from a smartphone was possible at the MVP stage:
controlling the robot's movements using a visual joystick;
watching video with sound from the robot's surveillance camera in real time;
the ability to turn on the siren, light source, RGB illumination of the robot;
the ability to launch one of the preset modes of operation of the robot.
As for the preset modes of the security robot, we have implemented three:
- Silent mode: the robot is in a stationary state and does not respond to any events. At the same time, the user can connect to his surveillance camera at any time and start manual control of the device.
- Monitoring mode: provides the ability to configure a set of events to which the robot will respond by sending notifications to the owner. Such events can be a motion sensor triggering, motion detection on a surveillance camera, a shock sensor triggering, an obstacle sensor triggering, and the room air temperature exceeding the specified limits.
- Security mode: the robot reacts to the same events as in surveillance mode, but in addition to sending notifications to the user, it actively reacts to what is happening in the house. The user can choose one of the preset modes of the robot's response to events: only sending notifications (analogous to the monitoring mode), launching a siren, simulating the presence of the owners.

What did we end up with
Having assembled and launched the minimum viable product, we were satisfied. Now the robot looks like a natural little security guard. He moves around the office quite smartly (and, for some developers – around the house). It is easy to control using a mobile device; the video from the camera is transmitted without delays and freezes.
The investor liked the robot that turned out at the MVP stage. But whether to turn it into a mass commercial device, the customer is still considering. The world is changing too fast, and not everything depends on our desires.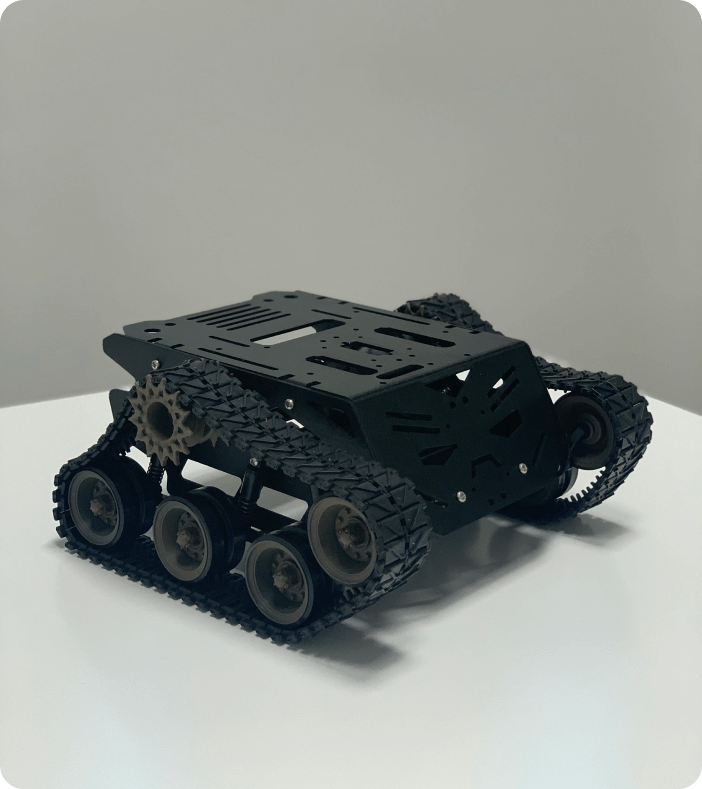
It was a good and exciting experience for our team. We think this is not the only post about the robot guard, and one day we will continue. But for now, that's all. We would love your feedback, and if you like it, we will tell you about other projects that we have worked on before or are working on right now!
Credits
Related products


Leave your feedback...