
MeArm Pi Review
While the original MeArm robotic arm has been around for quite some time, this brand new version – the subject of a successful Kickstarter campaign – is designed to be a lot easier to use with the Raspberry Pi, particularly for beginners to electronics. To that end, it includes a servo-driver HAT board that fits onto the Pi’s GPIO header, along with pre-calibrated micro 9g servos.
In addition, the arm itself has undergone a full redesign, featuring new fixings and a reduced number of screws. This is intended to make it easier to build, and assembly does turn out to be quite straightforward, significantly aided by the numbering of the acrylic pieces and a set of step-by-step illustrated instructions, which differ slightly depending on whether you are using a full-size Raspberry Pi or a Pi Zero.
Following the 45 steps, it takes around an hour to build the kit. Most of the pieces just slot together, while the arm joints are secured using the supplied screws (three lengths) and hex key. One thing to note is that you should not overtighten the screws, otherwise the arm will find it difficult to move freely – on the other hand, if they are too loose, the arm may be floppy and lack precision, so careful adjustment is needed.
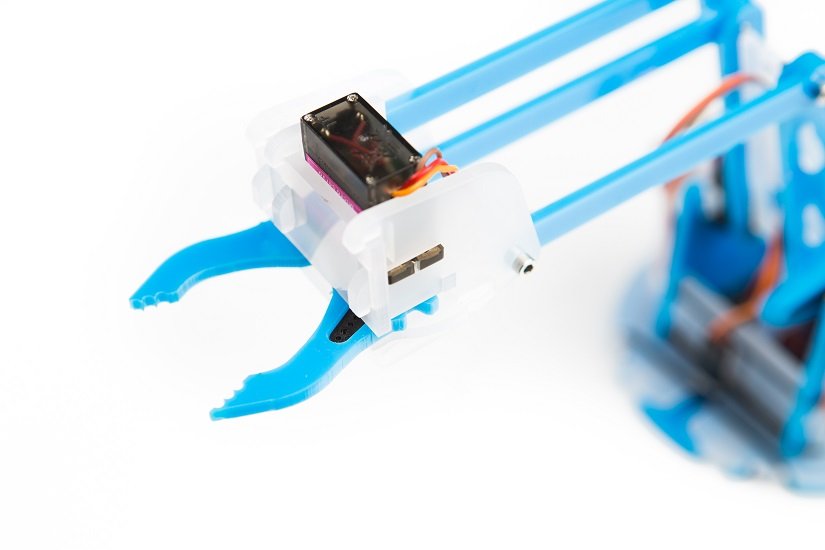
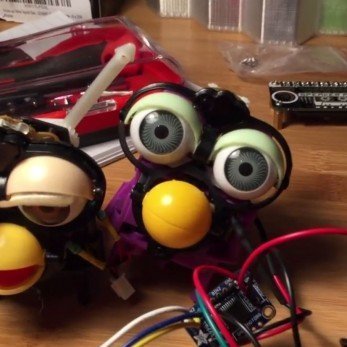
The four servos clip into place and their cables are routed through conveniently placed holes in the structure to connect to pins in the base PCB – one of the pins in each set is helpfully labelled ‘Y’ for the yellow wire, so you know which way round to connect the cable.
The assembled arm is then slid into a slot in the acrylic base, which also has a section housing the Pi, HAT and twin joysticks, which offer manual control of the arm. We were a bit perturbed with the black elastic bands used to secure some parts of the structure, but this low-tech solution seems to work well enough.
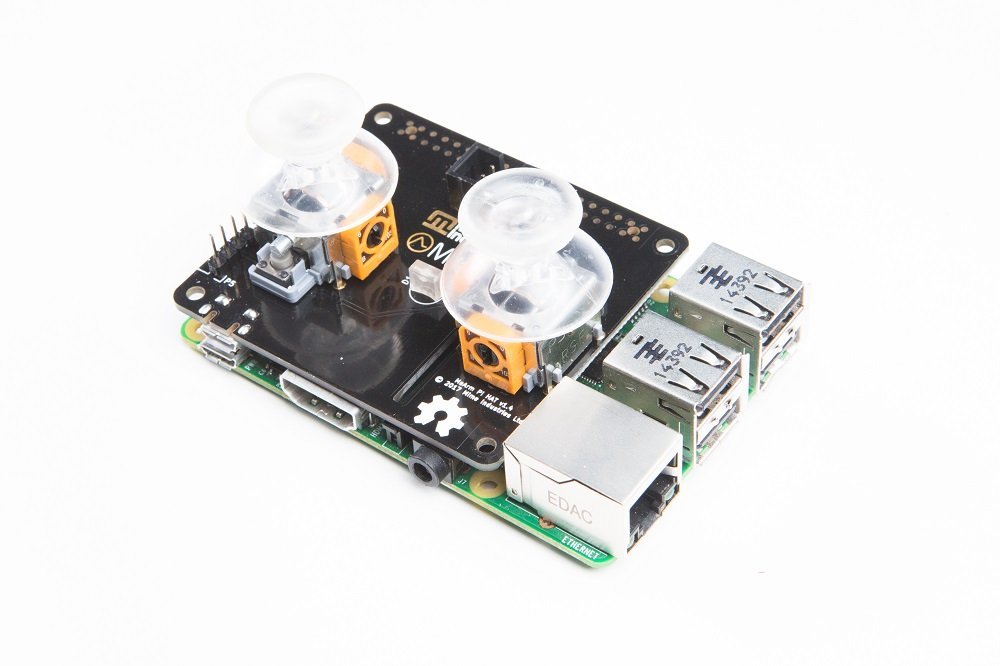
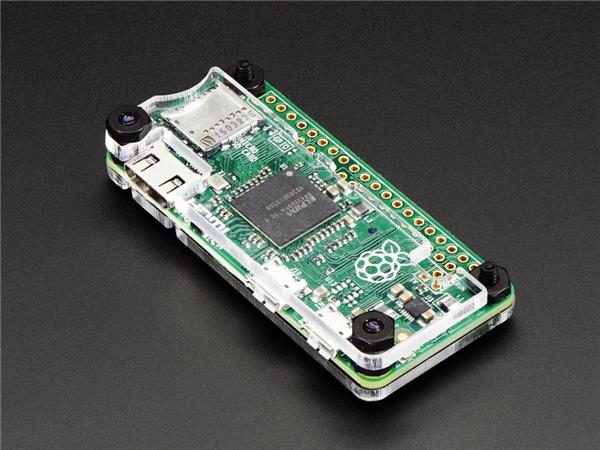
Before using the arm, you will need to download a special version of the Pi’s Raspbian operating system and write it to a microSD card. The custom OS cleverly broadcasts its own wireless access point called ‘headlessPi’, which you can connect to from a computer, tablet or smartphone. If you prefer to connect via your own wireless network, you can configure that too. One thing to note is the automatic headless server requires the use of a Pi with built-in WiFi. If you are using a different model with a dongle, manual installation of software is needed.
By pointing your other device’s web browser to http://local.headlesspi.org, you are given remote access to several apps for programming the arm, based on four languages: Python and JavaScript, along with the block-based Snap! and Blockly. All include special functions for moving the arm’s four servos (base rotation, upper and lower joint, and claw grip) by a number of degrees, for precision control. There are also on-screen sliders so you can adjust each servo manually.
For some reason, we found that the programming method moved the arm more smoothly and quickly than when operating it with the manual joysticks, although the latter are fun to use for a challenge – such as attempting to pick up and dunk a biscuit into a mug of tea.
Although the arm worked well enough in general (once we had loosened the base servo horn slightly to ease rotation on the acrylic base), at first we did have a problem with the gripper. Since one of its two interlocking claw pieces kept catching on the small backplate, we removed the latter and found that the grip worked better without it.
While the MeArm Pi is not the most robust robotic arm around, it is a lot of fun to build and use, and would be an ideal project for beginners or use in an educational setting. We particularly appreciate the straightforward headless server setup, making it easy to connect to and start programming, without the need to plug in a keyboard or monitor.
Electroscore: ![]()

Pros:
- Fun and easy to build
- Headless setup for remote programming
- Twin joysticks for manual control
Cons:
- Not the most robust arm
- Quite a lot of noisy servo buzzing
Price: £69.95
Link: kck.st/2jXvTHz

Residing on the south coast of England, Rich has spent the last few years building Electomaker.io from the ground up. He is usually found behind a laptop coordinating the rest of the EM team and occasionally finding time to contribute articles to the blog. When not tapping away at a laptop, he can be found either paddleboarding, at the beach, playing golf (badly), or camping with his family.


Leave your feedback...