
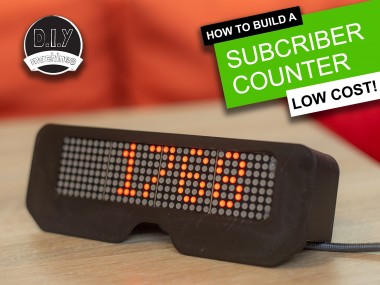
Youtube Subscriber Counter - Solderless, 3d Printable, Cheap

Made by DIY-Machines / 3D Printing / Displays / Notifications / Productivity / IoT
About the project
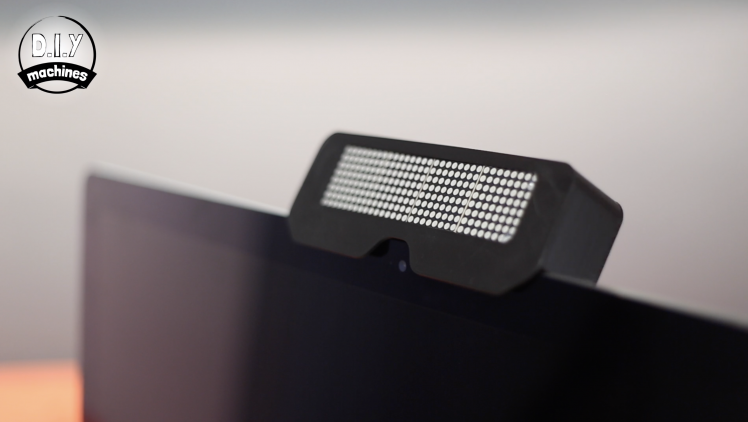
I've always wanted a YouTube counter for my channel but they often cost more than I wanted to pay and required a YouTube API key. This design is buildable for under £15/$18, does not need an API key and sits on top of a monitor, stands on a surface or can wall mounted.
Items used in this project
Hardware components


Story
Step 1: Video Instructions
I'm going to write out the instructions below in full, but if you prefer an instructional video or you want to see it working before you start then check out this video I made, otherwise read on below...
Step 2: 'Bill of Materials' AKA 'What You'll Need'
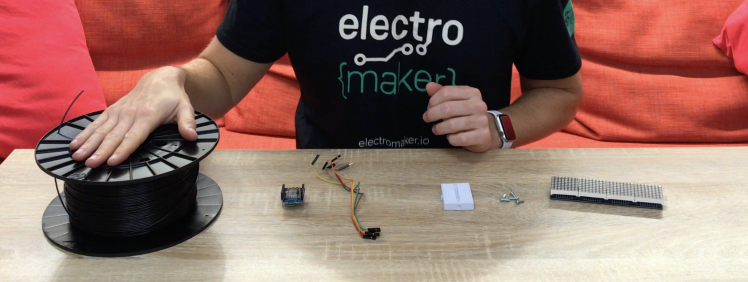
You'll need several things for this build, but the items are low cost. I've provided links to them below to help you find what you need on Amazon:
■ Wemos D1: https://geni.us/wemosD1
■ MAX7219 Display Matrix: https://geni.us/MAX7219DotMatrix
■ Mini Breadboard: https://geni.us/MAX7219DotMatrix
■ Breadboard Jumper Cables: https://geni.us/MAX7219DotMatrix
■ USB A to USB Micro B Cable: https://geni.us/MAX7219DotMatrix
■ Nuts and Bolts (Five x M3x10): https://geni.us/MAX7219DotMatrix
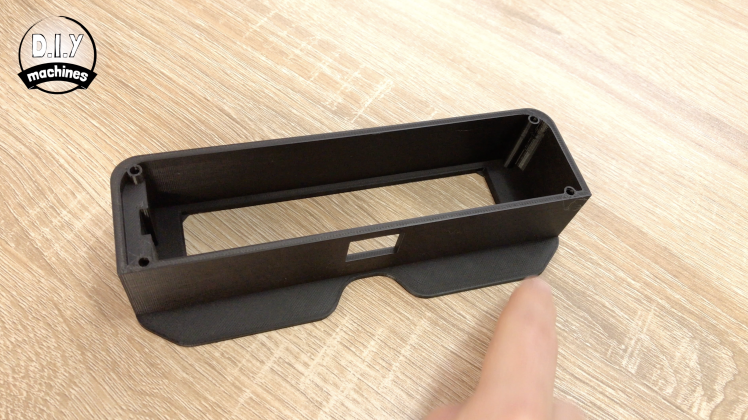
Step 3: Print the Main Body
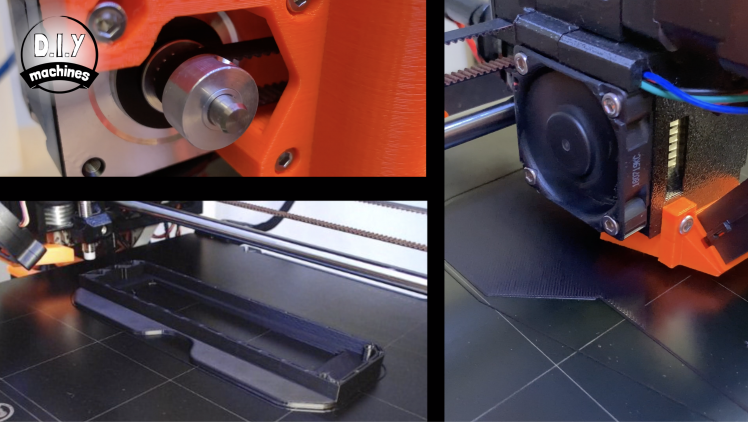
The 3D files are available on the projects Thingiverse page, you'll find a link n the CAD data section of this article.
We can start by printing the main body and back of the housing. I printed mine in Black PLA, you can of course print yours in your material and colour of choice.
Mine was printed at a layer height of 0.15mm without any raft, brim or supports. None of the parts in this build require supports as long as you orientate them properly on your print bed when slicing them.
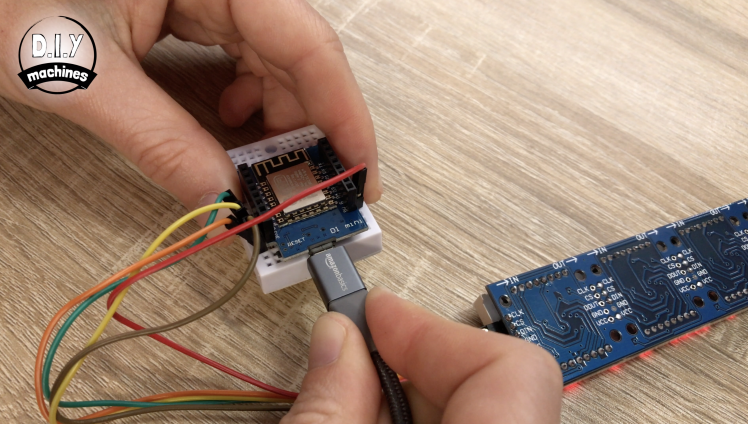
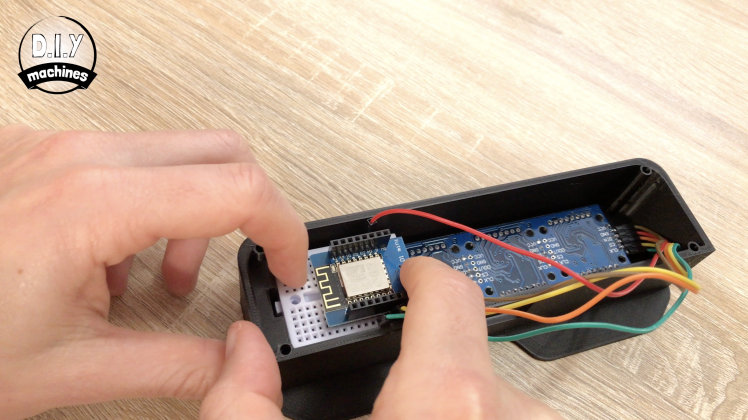
Step 4: Attach Wemos D1 to Breadboard
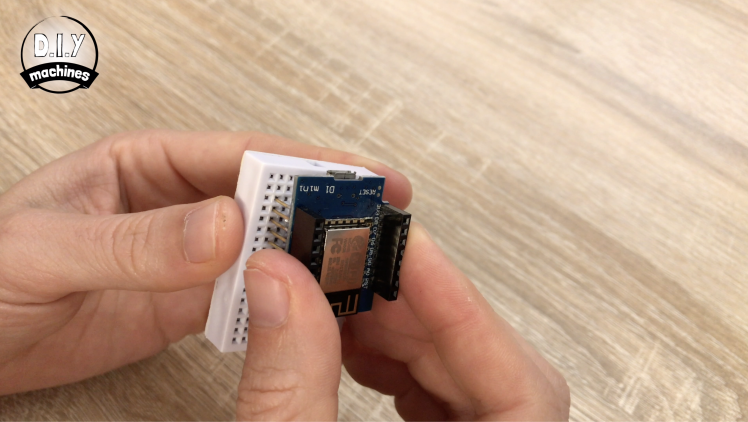
Since we will be using the USB port to power the YouTube counter once complete we want it to align up nicely with the front of the breadboard. To achieve this mount it so that the first pins from the end with the USB port are in the third hole.
You will also want to ensure that there is a row of unused holes available on both side of the breadboard to connect the other components to.
If you've chosen to solder your circuit then you don't need to use a breadboard (you can solder directly to the Wemos D1).
Step 5: Attach Wires to Display Modules
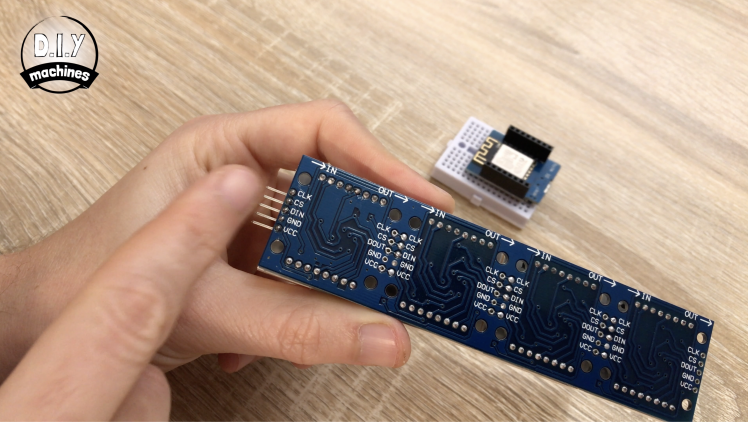
If you have bought one like mine then the four display modules will already be connected together.
We just need to take five of the breadboarding wires and attach the female ends to the male pins at the end of the display. They are marked as CLK, CS, DIN, GND and VCC.
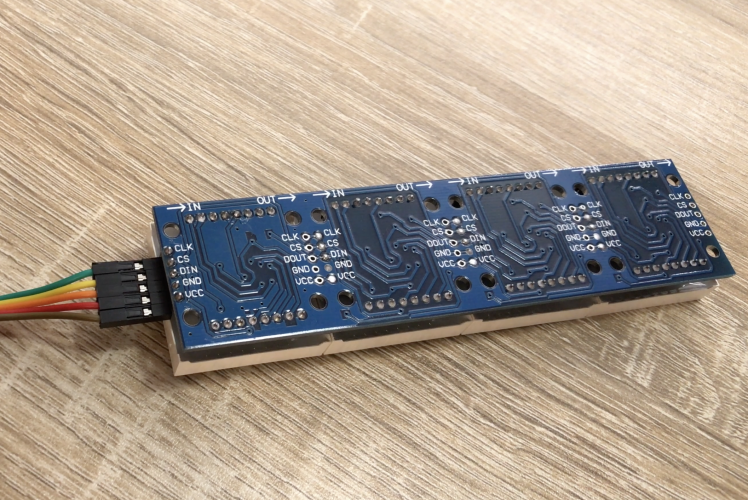
Step 6: Connect the Wires to Breadboard
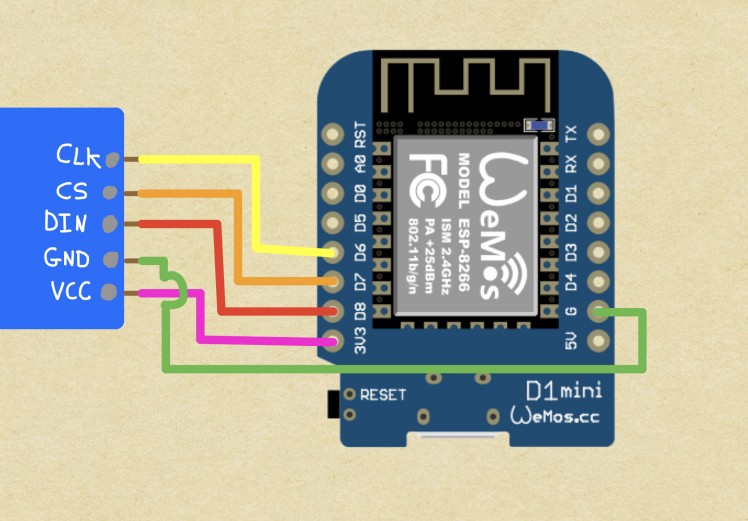
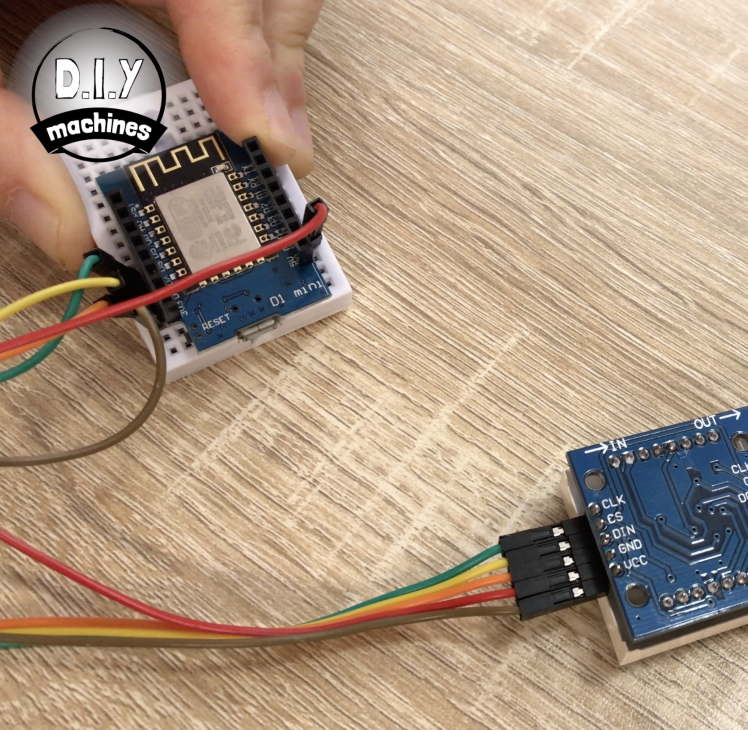
Now we can connect the wires to breadboard. Take alook at the wiring diagram above or check out the table below:
Display module ---> Wemos D1
CLK ---> D6
CS ---> D7
DIN ---> D8
GND ---> G
VCC --> 3V3
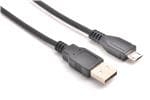
Step 7: Connect to Computer
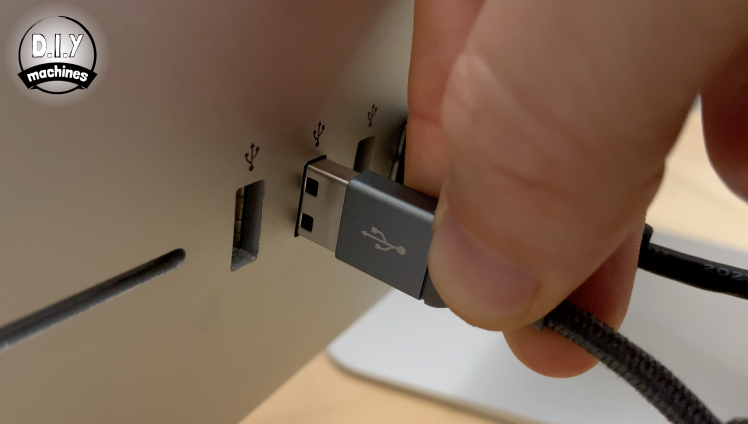
This is very simple, connect one end of the USB cable to the Wemos D1 and the other end to your computer. You'll need to have the Arduino IDE installed on your computer to be able to customise then upload the code.
Step 8: Edit the Code and Upload

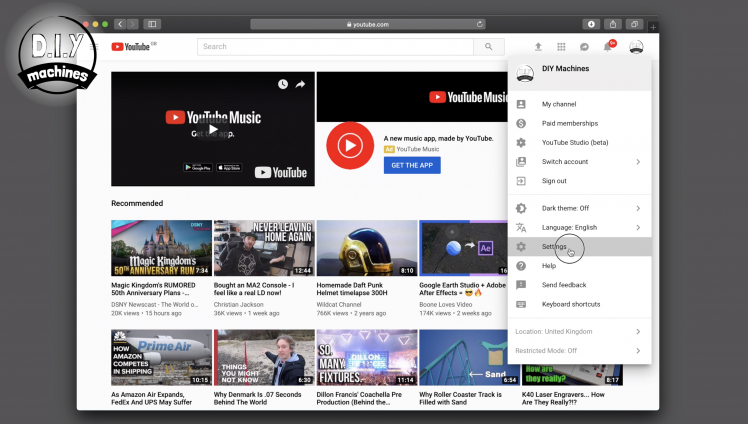
You can download the code from the projects Github page: https://github.com/DIY-Machines/YoutubeSubcriberV...
Open this in the Arduino IDE. We then need to complete the top three lines of the code.
The first two are for your WiFi SSID (or name) and your WiFi password. The third line is for your Youtube Channel ID. I'll show you where to find this.
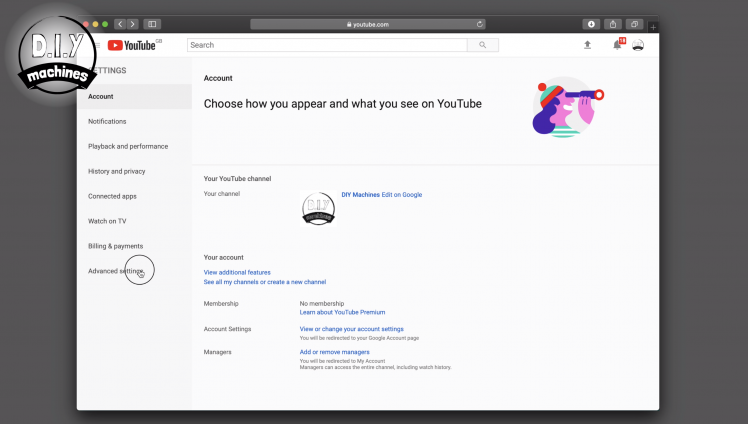
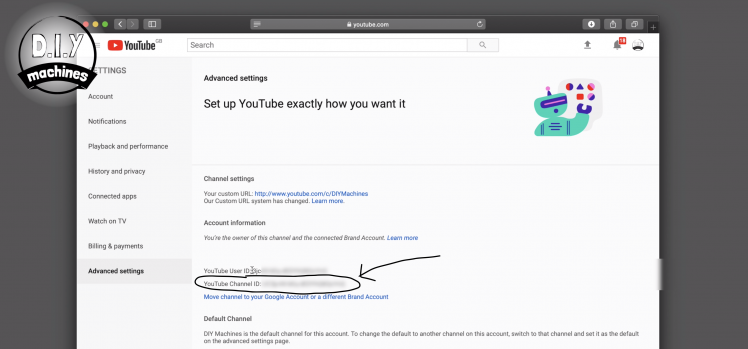
Go to YouTube and ensure that you are logged in. Then in the top right click on your account icon and then 'Settings'. On the left hand side of your screen choose 'Advanced settings'.
Here you can find and copy your channel ID, then paste it into the appropriate place in the Arduino IDE.
You can now compile and upload your code. Go for it!
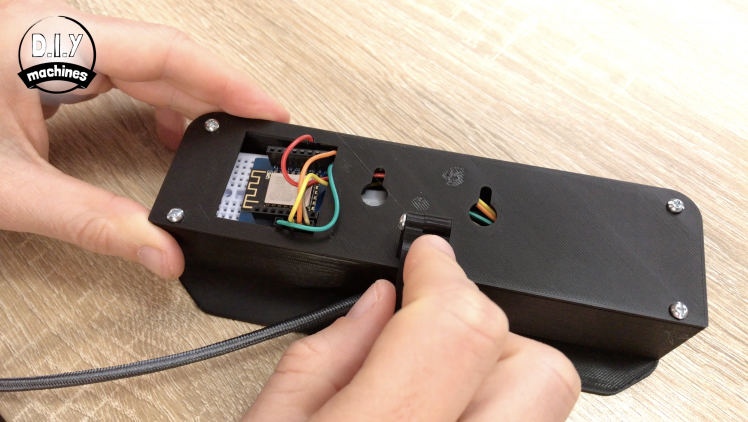
Step 9: Fit the Display and Controller Into the Housing


We need to ensure the screen is orientated correctly inside the case. To do this, make sure the bottom of the housing is facing you, apply some glue to the inside corners of the display frame and then pop the display modules in place. The are the right way up when the writing on their reverse is upside down. (Check the images above).
Next the breadboard and controller can be positioned inside and slid all the way over the left hand side.
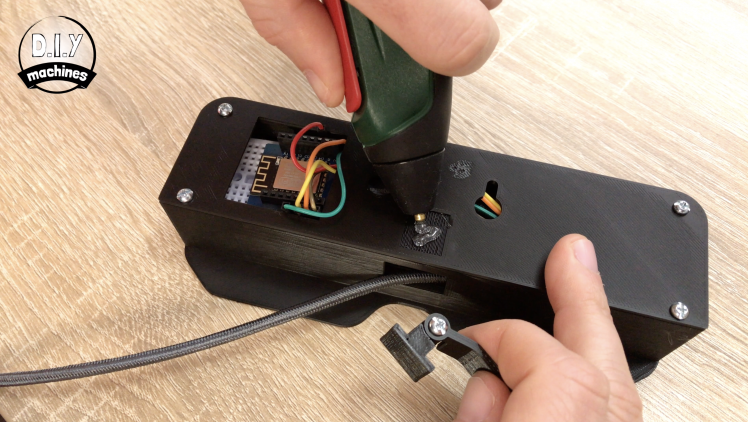
Step 10: Connect USB Power Lead
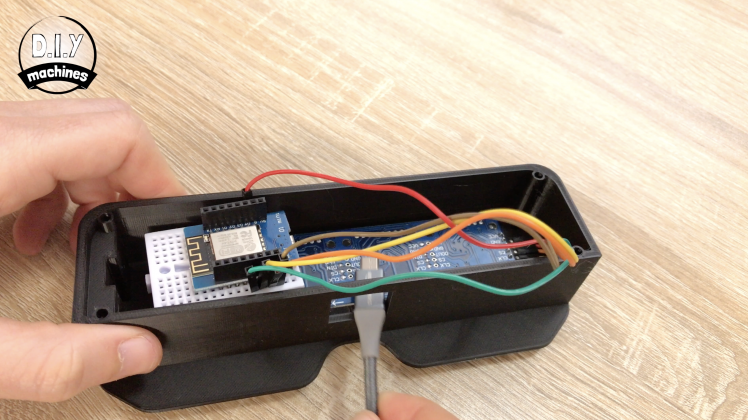
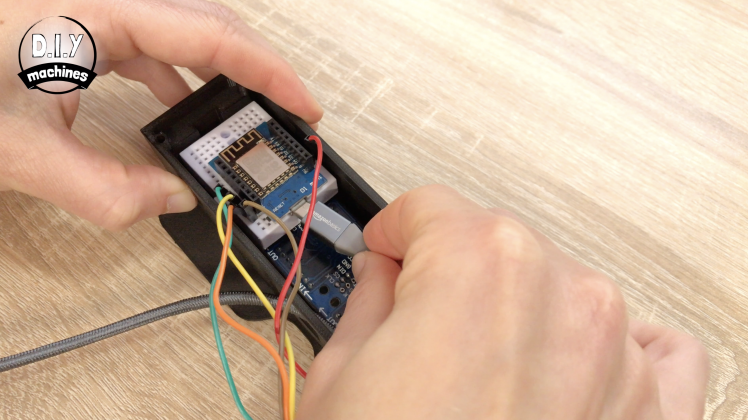
Before we fix the back onto the housing insert the USB cable through the opening at the bottom and then connect it to the Wemos D1.
Step 11: Fit the Back Cover
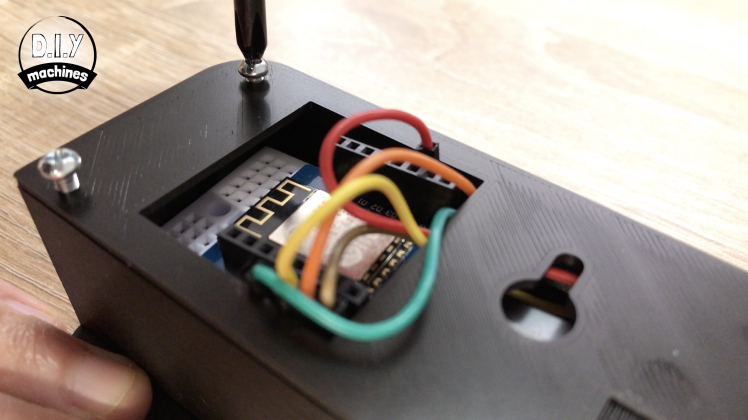
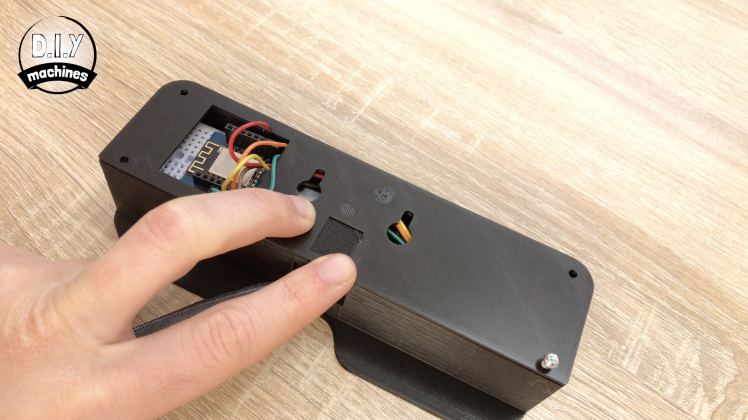
We can now position the back cover in place and use four M3 x 10 bolts to secure it in place. Alternatively you can glue it if you wish.
Step 12: Adding the Arm to Mount It on Top of Monitors


If you want to mount it on top of your monitor then we will need to print the parts for the arm. As before I did mine with Black PLA at a layer height of 0.15mm.
You'll want to join the two newly printed parts with the remaining M3 x 10 bolt. This will allow us to adjust it when we put it on the monitor. Once they have been screwed together you can use glue to attach it the rear cover of the main housing.
Once the glue has dried you can place it on your monitor and then use the bolt to adjust the arm so it is sitting smartly on top of the screen.
Step 13: Done
Well done. You've finished building your YouTube Subscriber Counter. I hope you enjoyed this project. Don't forget to check my other projects here on Electromaker.io or my YouTube channel at www.youtube.com/c/diymachines (whilst you're there why not subscribe to find out about new projects when they're released).
If you'd like to, please consider supporting my channel on Patreon: https://www.patreon.com/diymachines
Thank you.
Lewis
Schematics, diagrams and documents
CAD, enclosures and custom parts
Code
Credits
Related products


Leave your feedback...