
Xbox Rgb Led 2.0

Made by 314Reactor / Displays / Games & Gaming / Lights / Retro Tech
About the project
Upgrading my previous Xbox RGB LED project and also documenting some of the other modifications I made to my now 20+ year old Xbox!
Project info
Difficulty: Moderate
Platforms: Raspberry Pi, Pimoroni
Estimated time: 2 hours
License: GNU General Public License, version 3 or later (GPL3+)
Items used in this project
Hardware components

Software apps and online services
Story
WARNING: Don’t open up an Xbox if you don’t know what you are doing, the PSU internals are exposed and can still hold high voltages for a very long time and so can be dangerous. I also take no responsibility for any damage to an Xbox if you do choose to open one up.
Recalled
So it's my Xbox's 20th birthday; which means it's time for another project with it!
A few years ago I added some RGB LEDs controlled by an Arduino into the OG Xbox to make the power ring RGB'ified: check it out here.
Although the mod was initially successful, it eventually stopped working. The issue seemed to stem from the tight space within the Xbox enclosure, which caused pressure on the wires and connections. This pressure may have led to loose connections or even damage to the wires, resulting in the failure of the LED mod.
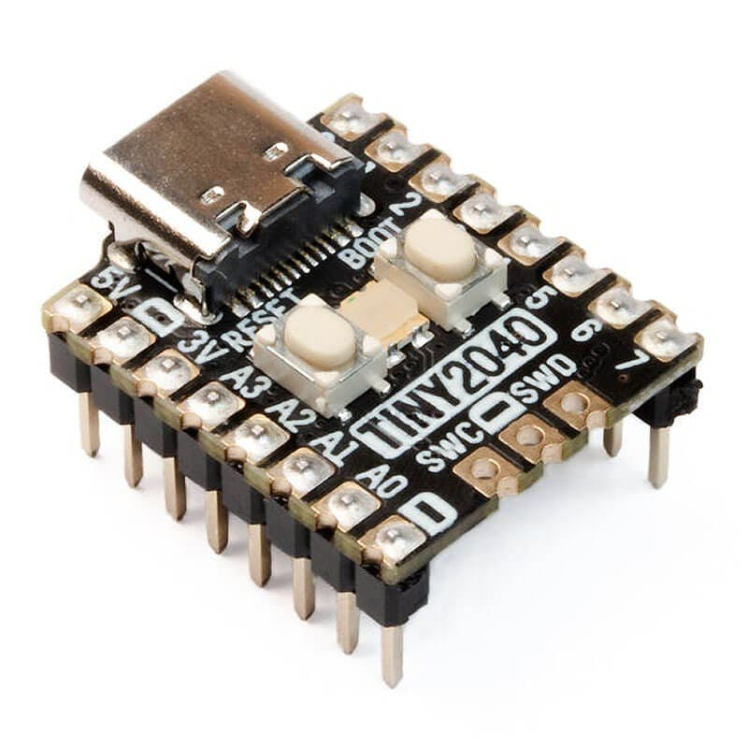
In search of a new solution that could overcome the limitations posed by the confined space inside the Xbox, I decided to switch to a Tiny 2040 microcontroller. The Tiny 2040, being more compact than the Arduino Nano, seemed like an ideal choice for the project. To further minimize the space occupied by the components, I opted to use a smaller protoboard for mounting the Tiny 2040 and making the necessary connections. The goal was to create a more space-efficient setup that would reduce the risk of pressure-related issues and improve the longevity of the mod. I was also going to use some WS2812 RGB LED's to try and make the wiring a bit cleaner.
The New Attempt & Failure
I followed the same instructions for disassembling the Xbox that I did in the previous iteration of the project, these are here.
After writing some code and wiring up the 2040 using the instructions here, I ran some tests on the front panel:
1 / 4
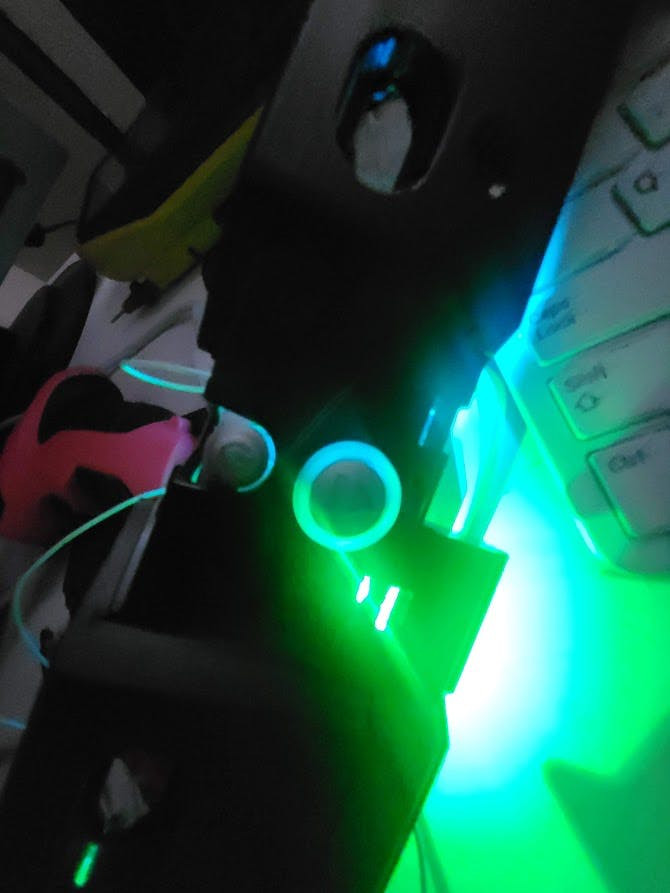
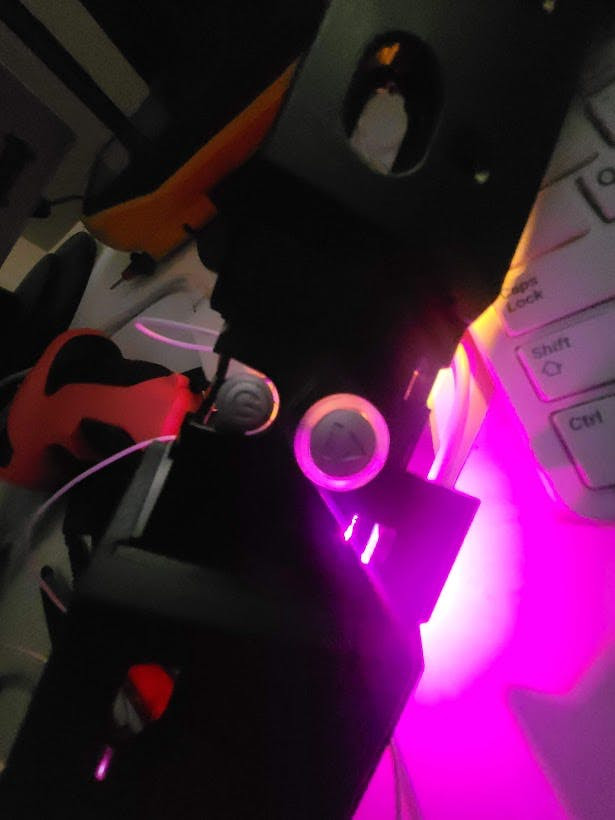
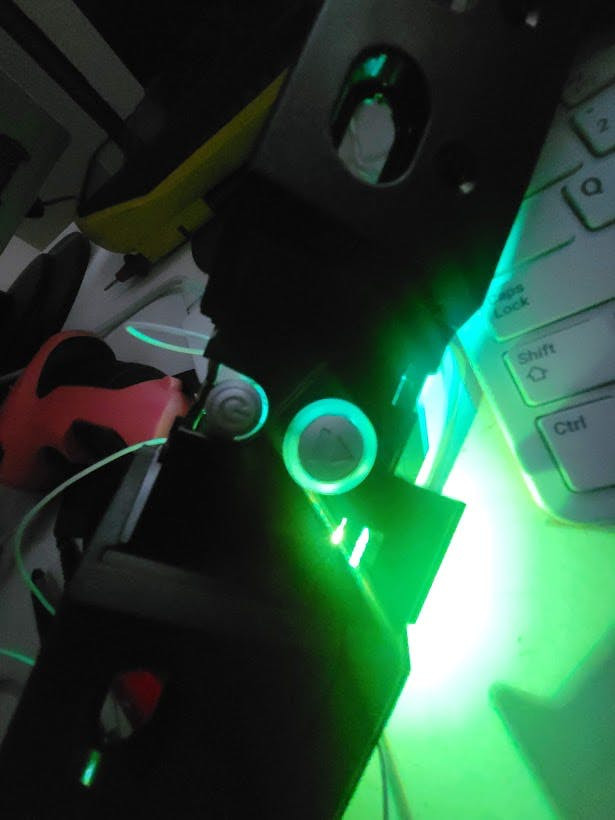

I set the code to have one LED a couple of shades behind the other - resulting in a nice sort of RGB chasing effect.
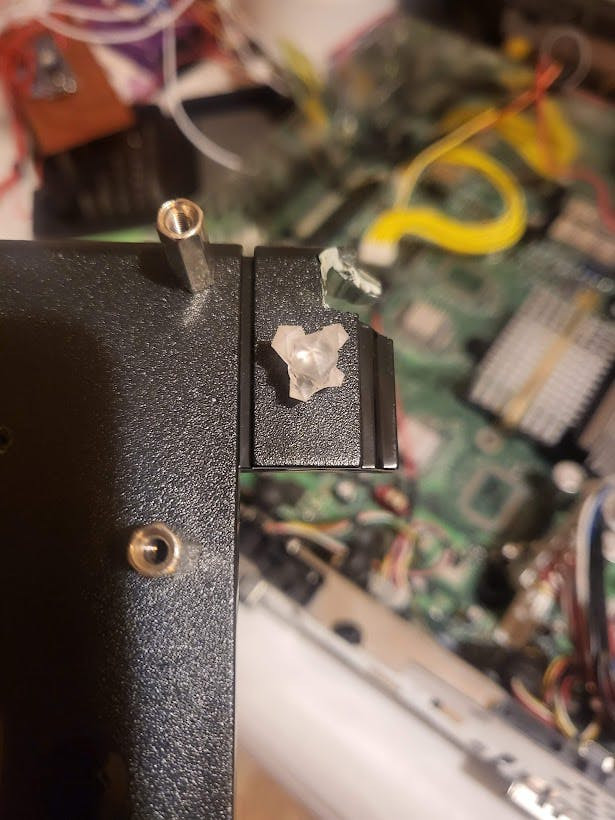
I thought it would fit perfectly inside the Xbox. Unfortunately, the space inside the Xbox was still an issue even for this tiny Tiny board. As I tried to fit the Tiny 2040 along with the wiring for the WS2812 LEDs, I realised it would possibly encounter the same issue as the Arduino did; even with the smaller board and protoboard it was soldered onto.
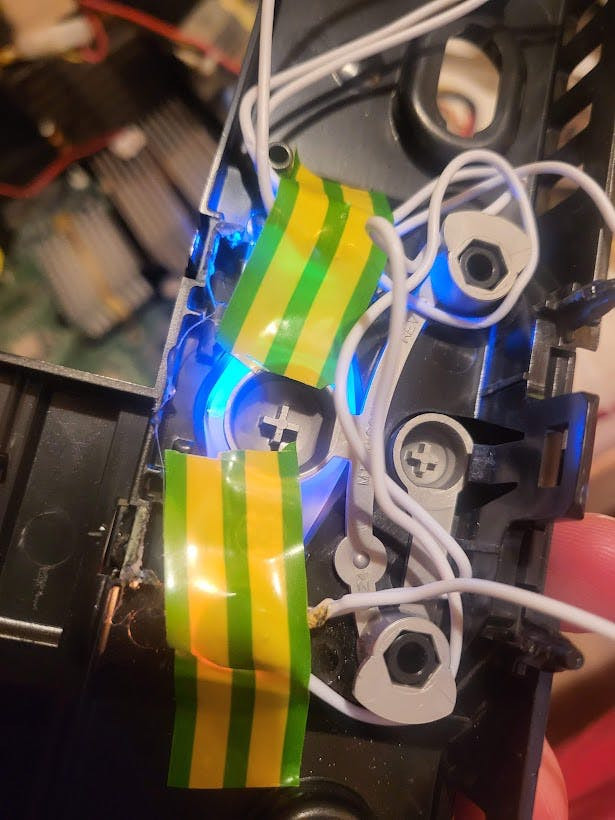
The replacement LEDs taped into place.

I put the board underneath the HDD enclosure, the same place as the previous Arduino. It was also being powered the same way as the prior project, from the 5v rail on the HDD power Molex.
I went ahead and put the whole thing together, testing at each phase - even with the Xbox almost entirely put together and functioning and the LEDs worked absolutely fine - and then, after putting the lid on and screwing the Xbox back together; they somehow, typically, stopped working.
Even though I tried to make sure the wires were all soldered on securely and using tape to prevent short circuits; I think either the board shorted on something or the pressure of everything in the Xbox caused something to break when I put the Xbox fully back together. And so, the poor Tiny 2040 stopped working.
I did create some code for this that made the two LEDs cycle through colours really nicely, as well as a nice little boot up cycle through colours; you can find this code under the usual code section.
At this point it was time for a rethink...
The Re-Assessment
During my search for alternative solutions to the Xbox RGB LED mod, I discovered rainbow LEDs from Pimoroni with built-in ICs that can cycle the RGB LED through the entire spectrum of colours. These versatile LEDs feature a wide range of dynamic colour patterns, including cool flashing effects and smooth transitions. The built-in IC eliminates the need for external microcontrollers such as Arduino or Pico 2040 to control them as they just require power to their pins and they will run through the colours with nice patterns.
There is a nice guide here for replacing the LEDs on an OG Xbox.
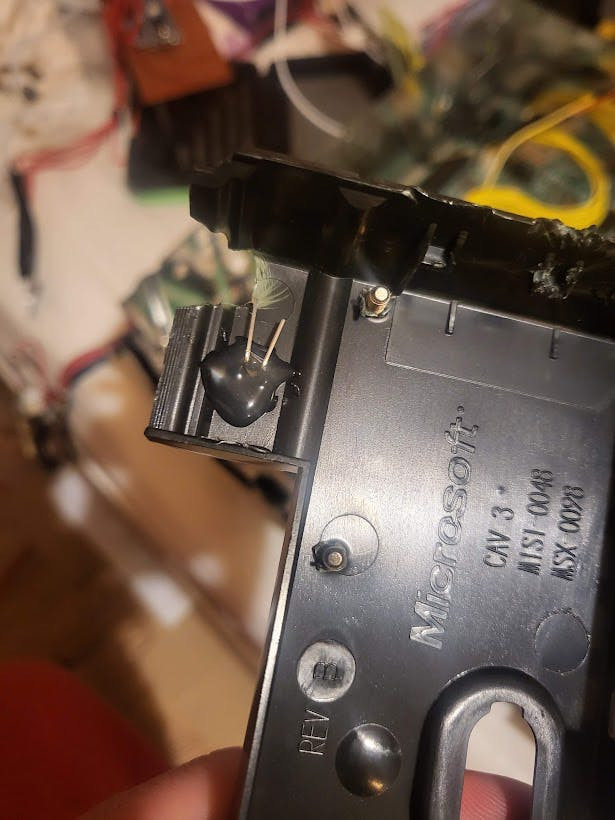
Now it's much cleaner and more secure with the LEDs soldered directly onto the front panel PCB:

With these self-contained rainbow LEDs, I could bypass the use of a microcontroller entirely and solder them directly onto the front panel board of the Xbox, in place of the original red/green LEDs. This approach not only saves space within the console but also reduces the complexity of the mod, making it easier to maintain and troubleshoot.
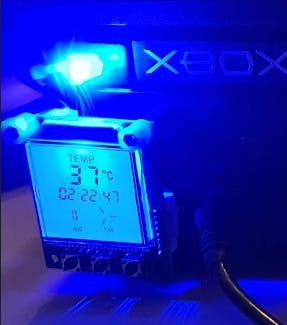
In addition to the rainbow LEDs on the previous mod, I decided to enhance the Xbox mod further by incorporating a PC front panel LCD display. This display serves multiple purposes: it shows the temperature of the heatsink using a temperature probe that I attached to the CPU's heatsink, and it functions as a fan controller, allowing me to set a specific temperature threshold at which the fan turns on. This way, the Xbox can be silent in cooler conditions. The LCD also has a HDD activity animation.
I found this display as part of an old PC case I had years ago; I've no idea what the model is; but basically any LCD PC front panel can do this sort of thing, as long as it's old enough to have old PATA IDE HDD activity detection.
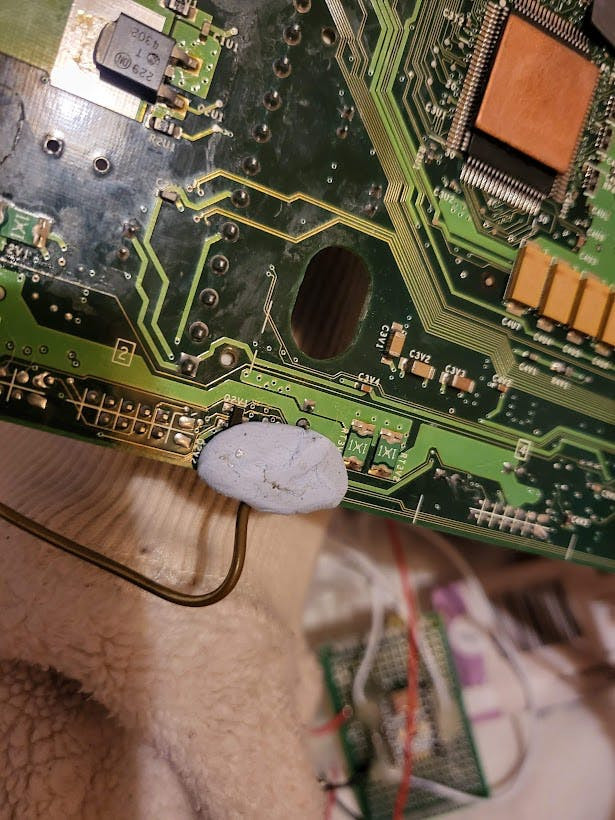
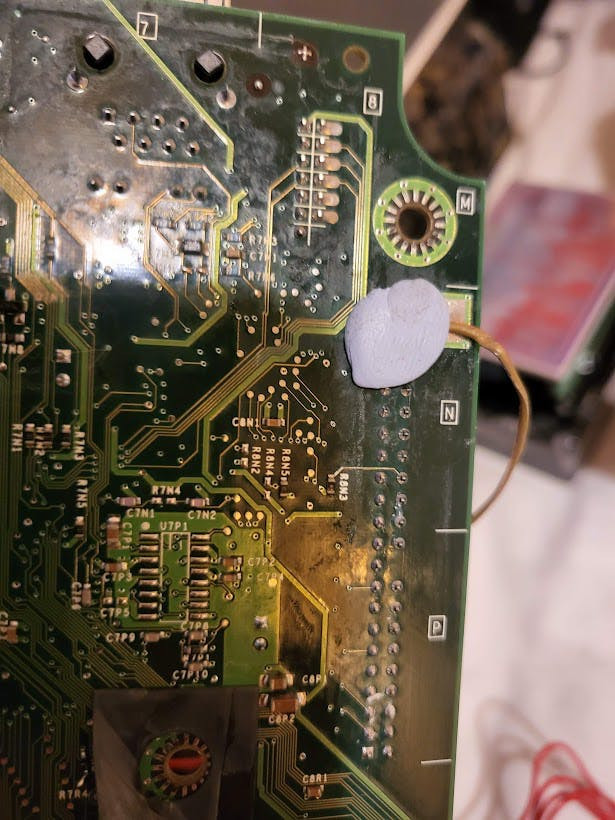
To monitor hard drive usage, I wired the front panel into the IDE pins following the guide available at https://mmmonkey.co.uk/microsoft-xbox-hdd-activity-led/. This integration allows the LCD display to show real-time hard drive activity, adding another layer of functionality to the mod. Also adding in a bit of Blu-Tak to help secure the connections a bit more.
1 / 2
Additionally, the original blue LED attached to the front panel had broken, so I replaced it with a unique crystal-shaped LED from Pimoroni: https://shop.pimoroni.com/products/dlux-dlite-leds?variant=40372879720531. To install this new LED, I carefully drilled a hole in the front panel and securely glued the crystal-shaped LED in place. The result is a cleaner installation that adds a touch of flair to the Xbox's appearance while providing some extra info on the system.
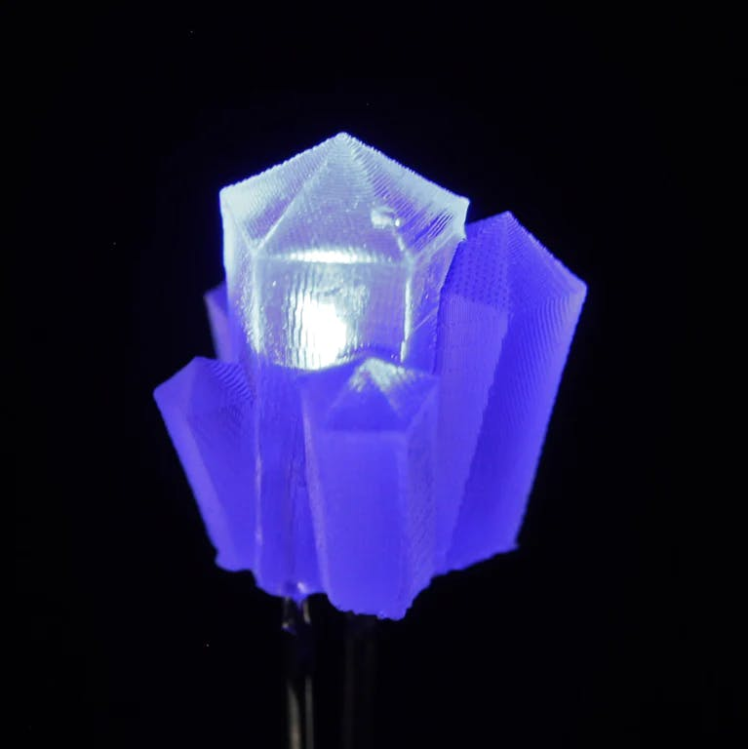
The LED in place:
1 / 2
New Aesthetic
Check out my TikTok here to see a nice succinct show of the LEDs and front panel:
https://www.tiktok.com/@314reactor/video/7222435446108753157
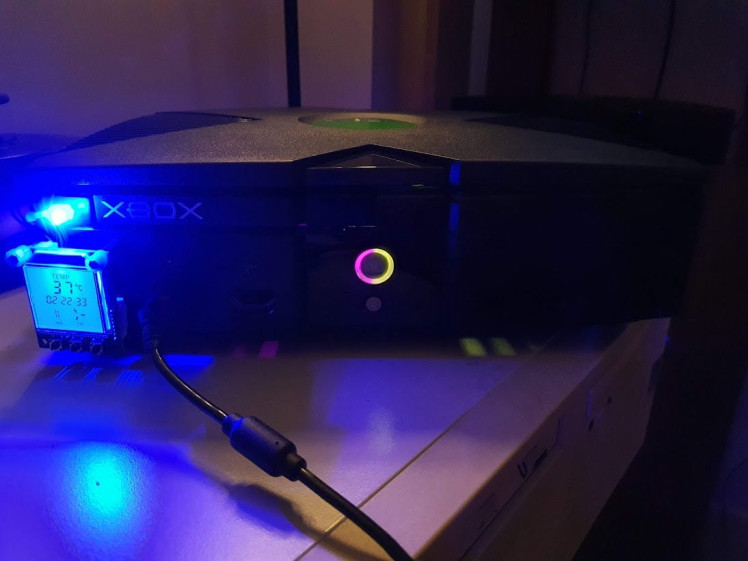
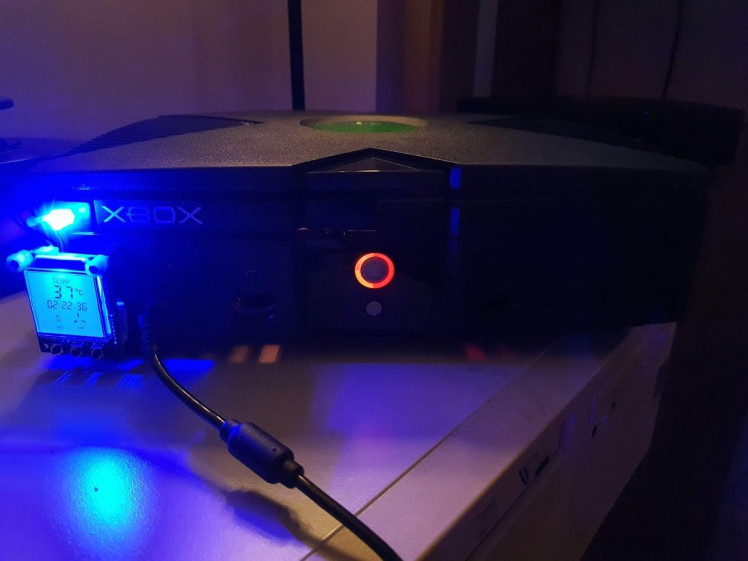
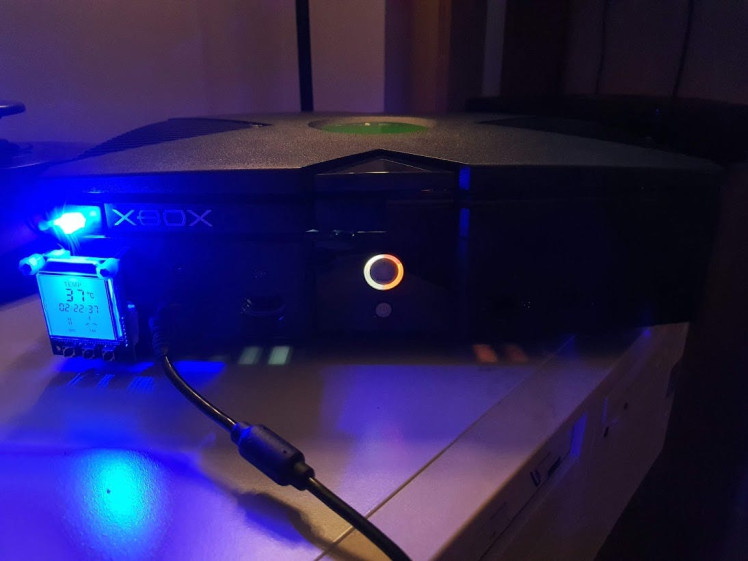
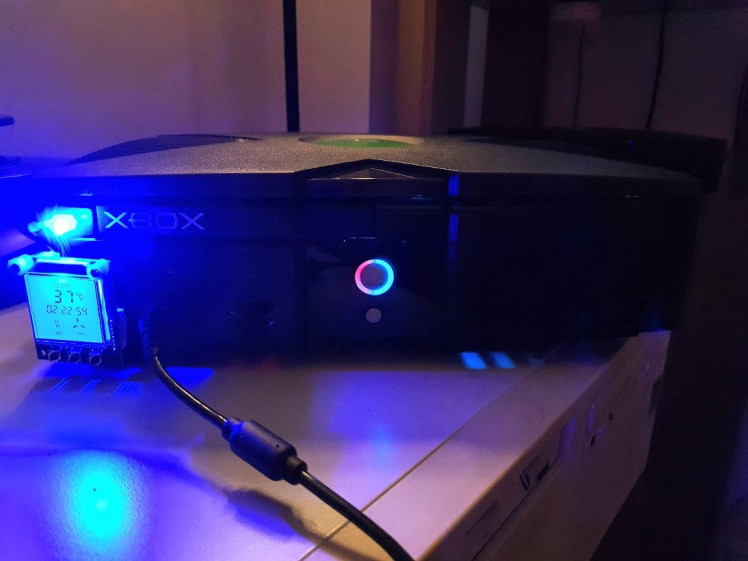
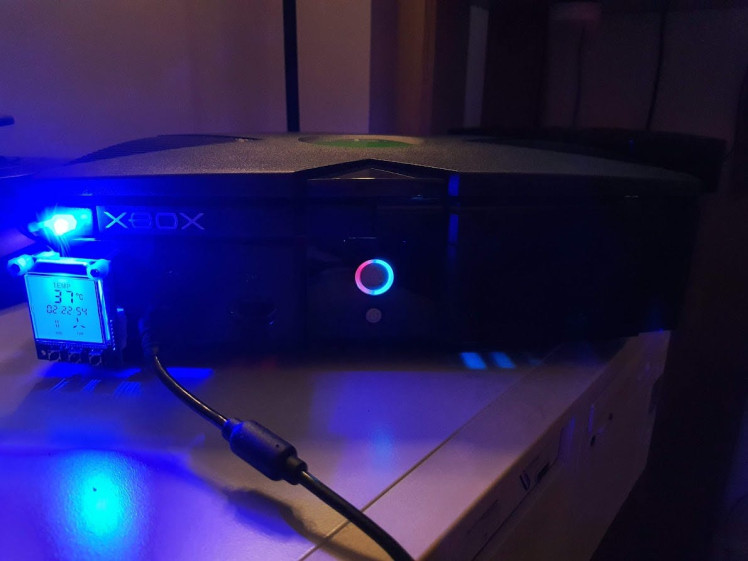
The final result of the 2.0 mod is awesome. In the photos showcasing the completed project, one can see the two-colour LEDs that are slightly out of sync, creating an eye-catching RGB cycle effect between both sides of the power ring on the Xbox. Complementing the mesmerizing colour show is the super bright blue crystal LED, which adds an extra touch of flair to the console's appearance.
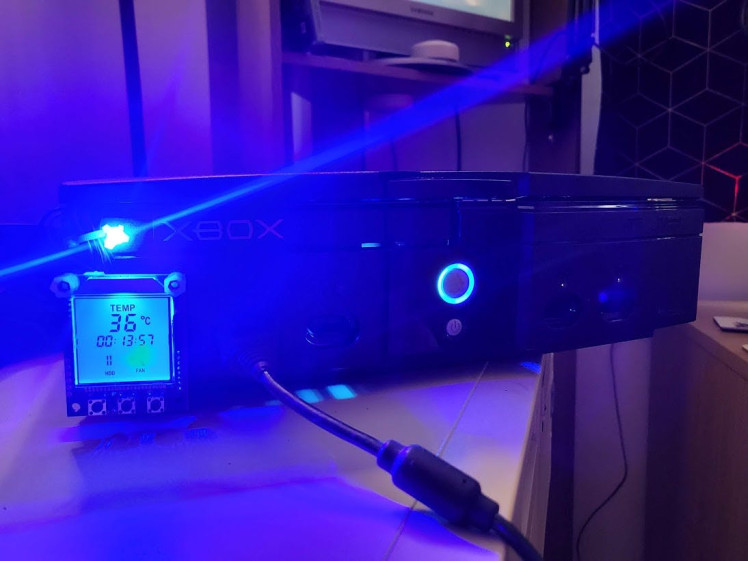
The blue-backlit LCD front panel serves as the icing on the cake, successfully displaying vital information such as the CPU heatsink temperature, the current time, hard drive activity, and fan status. The fan on status has a nice little animation that adds an extra layer of visual appeal.
The only issue is that the new LEDs are 5mm whereas the original LEDs were 3mm so there is a little bit of tightness when putting the front panel on, that's why I also added some extra tape on the back of the power circuit panel to prevent shorting.
There is also the fact that with all of the extra stuff stuffed into this old tank of a console, mainly the new SATA hard drive that requires a PATA to SATA converter, it has caused the chassis to not quite close completely so there's a slight bit of a gap between the top and the bottom parts, but it's not super noticeable and it still looks great with all the new bits flashing away.
1 / 14


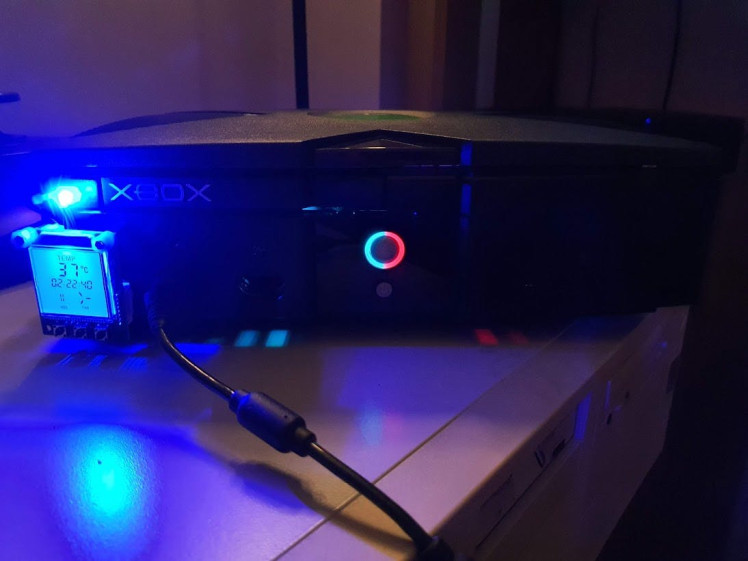
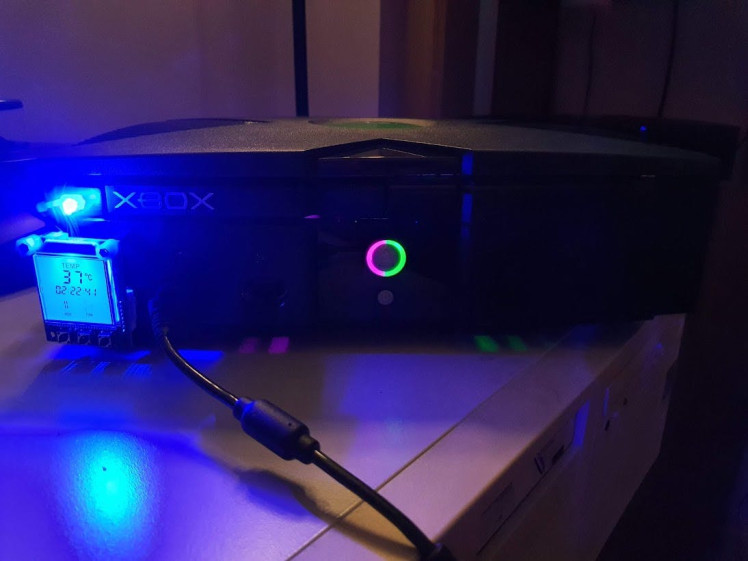
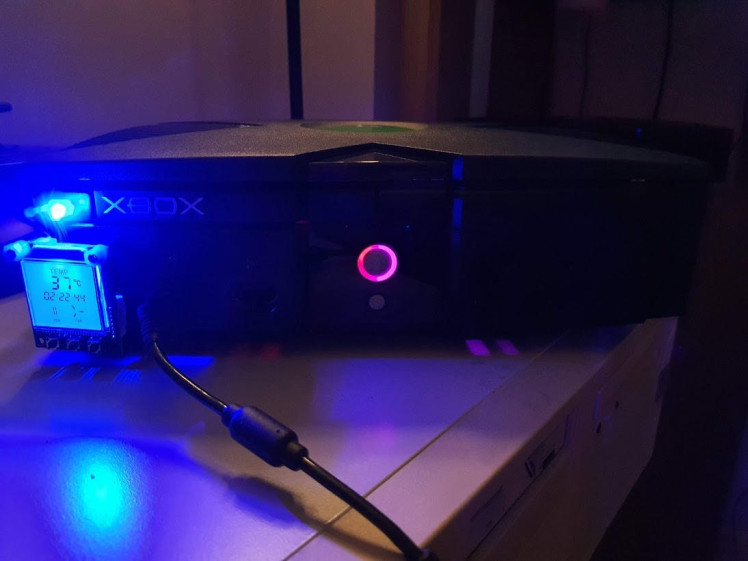
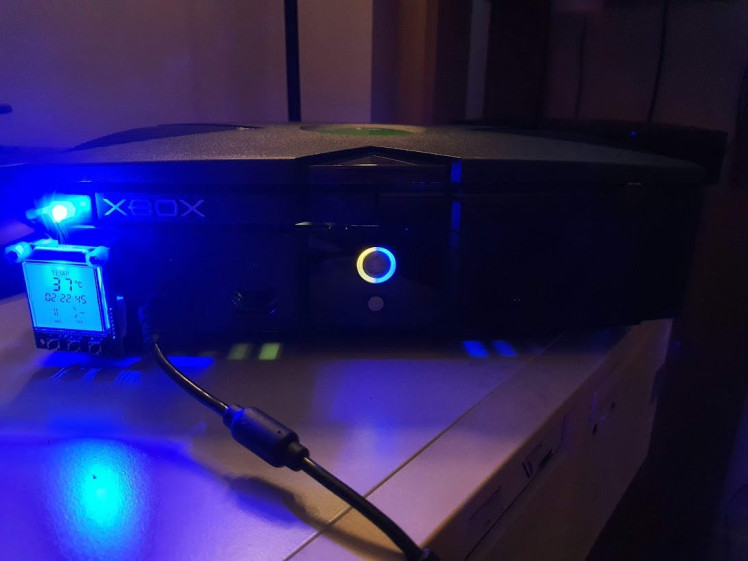
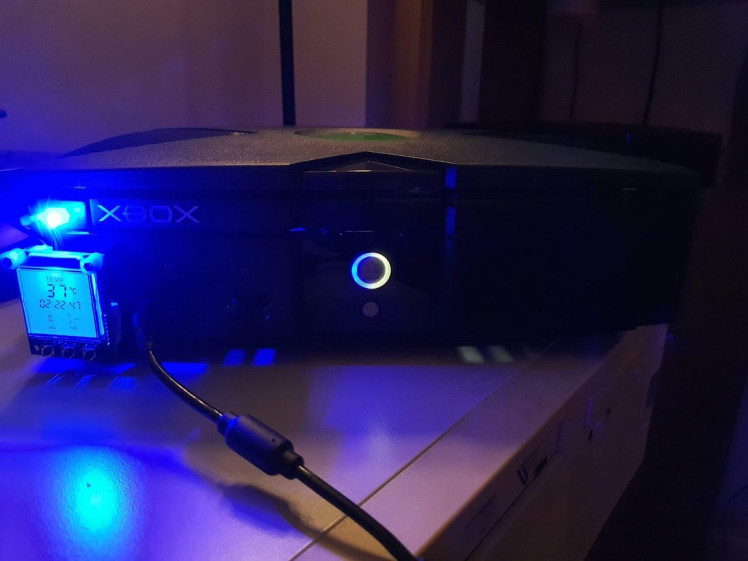
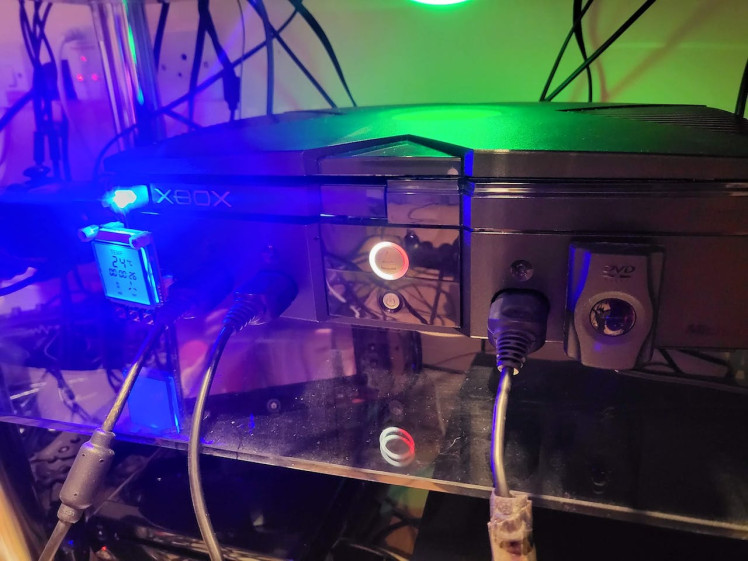
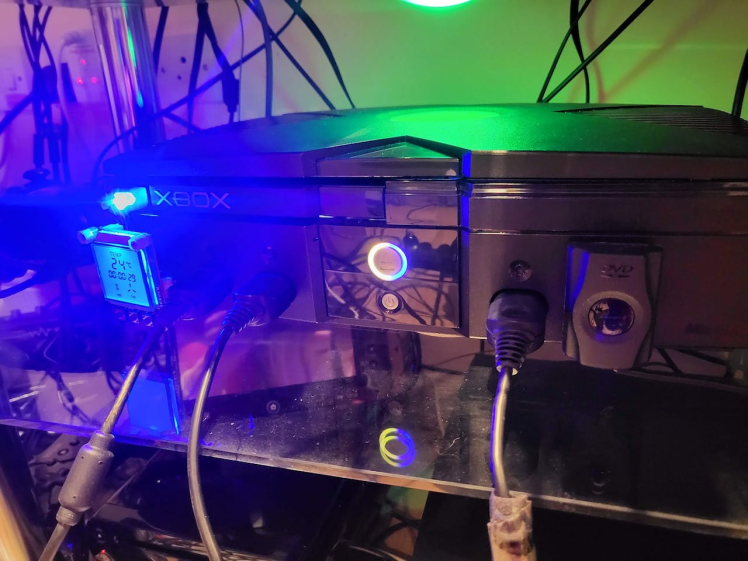
The LEDs also really nicely illuminate through the bottom of the case causing even more pleasant lighting. You can also scroll through there and see the various different colour combinations - check out the TikTok and YouTube video for more and to see the colours in action!
Back in its place in my living room:
X Marks the Spot
I'm really happy with this, not only does it look fantastic and a lot cleaner than the previous mod; but also should hopefully be a lot more sturdy now. The only thing I think could do with some tidying up is the wires from the front panel; I may need to drill through the panel and pass the wires through it - although I may need a new panel as the current one has a hole at the top cut out for the current wiring.
Also, the OG Xbox is an absolute tank. This Xbox has been played a LOT in the early to mid 2000's, it then went into a cupboard for a few years where it was taken out in 2010 when I soft-modded it. A few years after that in 2015 I replaced the hard drive in it as well as changed the original LEDs to static blue. Then in 2018 I added the first RGB LEDs, removed the leaky old capacitor, flashed the BIOS and soldered the LCD front panel to its motherboard. The BIOS has also been unlocked, for tons more information on this check out MVG's video here.
It's been through a lot over the past 2 decades and it continues to keep working flawlessly. So join me in saying happy birthday to my OG Xbox!

Code
Credits
Related products


Leave your feedback...