
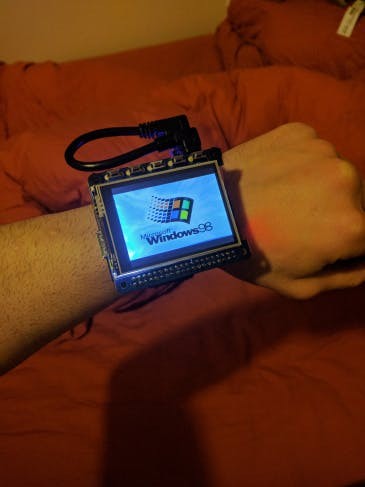
Windows 98 Wrist watch

Made by 314Reactor
About the project
Everyone's favourite Operating System. On your wrist!
Project info
Difficulty: Easy
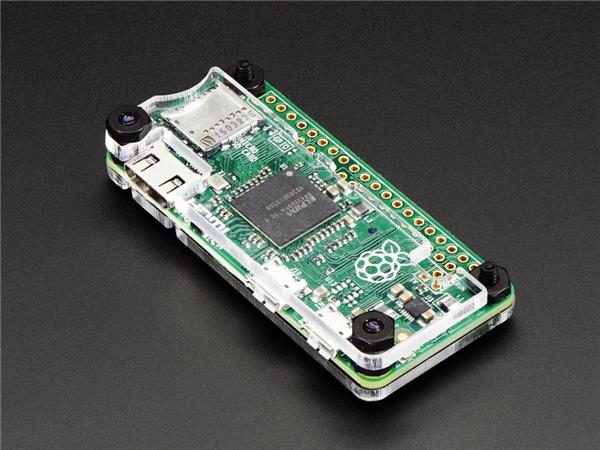
Platforms: Adafruit, Microsoft, Raspberry Pi, Pimoroni
Estimated time: 1 hour
License: GNU General Public License, version 3 or later (GPL3+)
Items used in this project
Hardware components


View all

Story
Why.
 Why not?
Key goals summary:
- Emulate Windows 98 on a Raspberry Pi.
- Make it wrist-wearable.
I have always had somewhat of a soft-spot for Windows 98, despite it driving me insane back in the day on my old Pentium II system with 64mb RAM and using some god awful on-board graphics.
But these days I don’t HAVE to suffer it as my only source of computing; which, somehow makes me want to go back and use it – I’ve built my own dream Windows 98 PC that I like to fire up every now and then and I love it.
I also love emulation, the idea of running an operating system on virtual hardware? That’s awesome. It’s like the Matrix, or something. On top of this I love wearable/small tech and nowadays I have the ability to make things like this. So I thought, wouldn’t it be ridiculous and awesome to have Windows 98 on my wrist?
 Nostalgia… or dread?
Let’s do this.
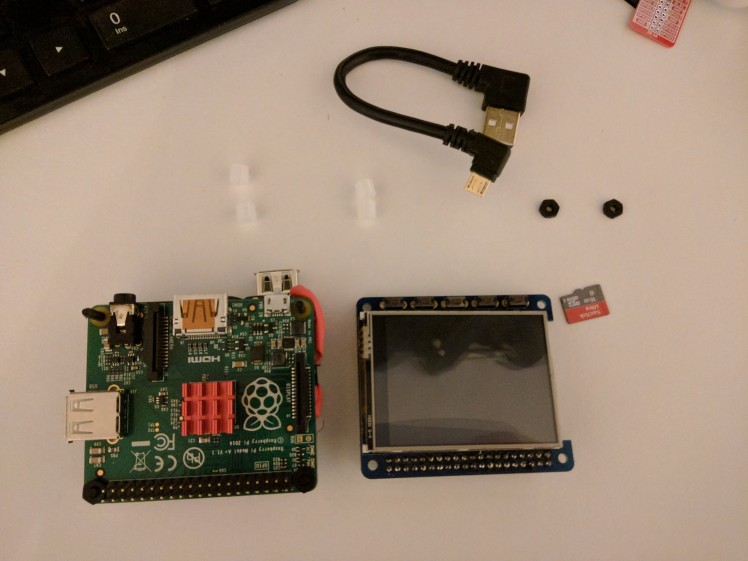
Components.exe.
- Various bits (nylon nuts, spacers, screws) from MODMYPI
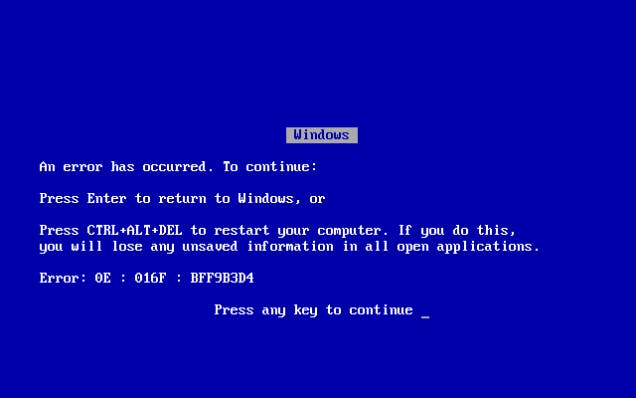
I see the blue screen.
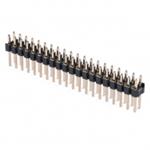
Okay. So you'll need some basic soldering skills first off to connect the header to the Pi and the other header to the Adafruit hat - I recommend here to learn some basic soldering.
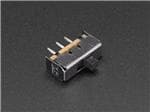
The Zero Male Header goes onto the Pi itself.
The Header Extender goes onto the TFT.
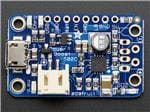
Check this tutorial for adding an on/off switch to the Powerboost 500.
You'll also need to solder on the USB port to the Powerboost, check here for more details on the Powerboost.
The heat-sink is easy enough to apply if you opted for one, just peel the back of the sink off and put the sticky side squarely onto the centre chip and hold down firmly a few seconds.
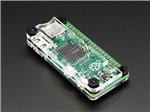
You'll only need the bottom bit of the case to put on the Pi, with 2 shorter nylon screws on the GPIO side held on with nylon nuts, and 2 longer ones the other side.
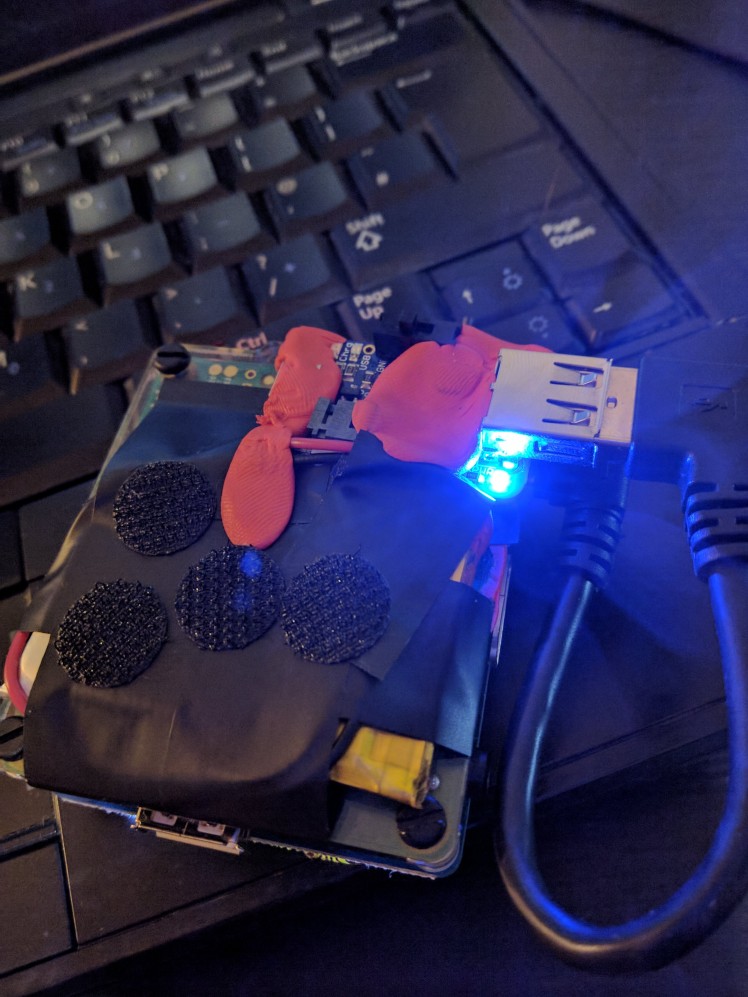
You'll then need to hook in the LiPo to the Powerboost and place them on the back of the case under the Pi, then Sugru and tape it all down, making sure to not cover any of the USB ports or the LED's on the Powerboost as these will show you when its, on, charging, low and finished charging:
 Tape/Sugru to hold it all down.
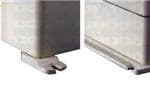
Then you put the velcro feet on the back.
Let's look at a little breakdown of things:
; ; 1 / 7 • Disassembled.
Now you'll want to plug this into a monitor and use a USB dongle for attaching keyboard/mouse etc.
First off you are going to need Raspbian installed, by far the easiest method is to grab a 16GB SD card and download NOOBS and transfer the contents to the SD, plug in a Pi and select Raspbian and let it install away!
Once you are in get hooked up to the internet - I'd suggest one of these.
Now to get the system up to date open a terminal and type:
sudo apt-get update && sudo apt-get dist-upgradeThis will ensure your apt-get sources are up to date and update the Raspbian OS to latest.
Also you can type:
raspi-configAny time for handy options on password resetting for user, display options etc.
Go here for framebuffer copy – this will copy whatever the GPU renders to the PiTFT so that QEMU will display on it as it would on a normal screen (without this I have found that QEMU when run will just try to run through the HDMI instead of the PiTFT).
Emulate emulate emulate.
So here comes the complex part.
QEMU is the weapon of choice here.
This part needs to be done on a Windows based computer, not the Pi:
I broke out my copy of Windows 98 and followed this chaps guide to get the .img file needed for the emulator, copied it over to my Pi (into ‘/home/pi’ for ease of access).
Now back to the Pi:
Don’t worry about the Youtube video in the post above, that is for an older version of Raspbian, now Jessie has QEMU available and easily obtainable by typing:
sudo apt-get update && sudo apt-get install qemu -yTime to test it. Navigate to ‘/home/pi’ and run:
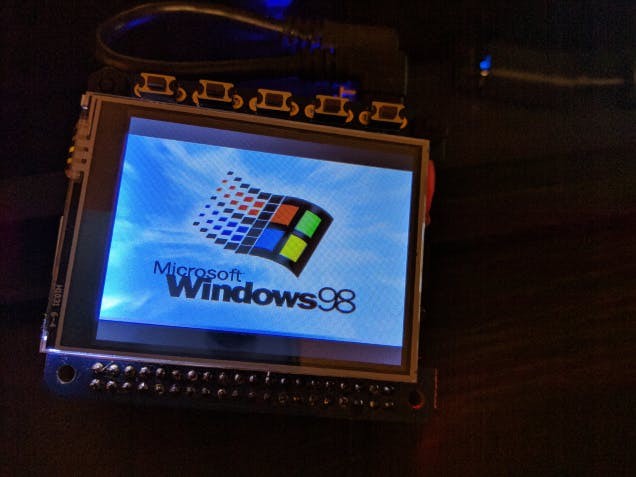
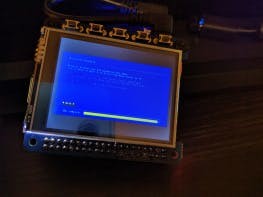
qemu-system-i386 -localtime -cpu 486 -m 96 -hda win98.imgQEMU should pop up and begin launching Windows 98, when its loaded have a click around and then shut it down as you would a normal 98 machine.
When QEMU has shut off it’s time to apply…
Finishing touches.
Now we want a way to turn it off using one of the buttons on the TFT – we don’t want unclean shutdowns causing SD Card Corruption.
Thanks to this chap for the buttons python code, which is:
#! import time import RPi.GPIO as GPIO import subprocess cmd = “/bin/bash -l -c ‘echo $USER'” # tell the GPIO module that we want to use the # chip’s pin numbering scheme GPIO.setmode(GPIO.BCM) # setup pin 23 as an input GPIO.setup(16,GPIO.IN, pull_up_down=GPIO.PUD_UP) GPIO.setup(13,GPIO.IN, pull_up_down=GPIO.PUD_UP) GPIO.setup(12,GPIO.IN, pull_up_down=GPIO.PUD_UP) GPIO.setup(6,GPIO.IN, pull_up_down=GPIO.PUD_UP) GPIO.setup(5,GPIO.IN, pull_up_down=GPIO.PUD_UP) try: while True: if not GPIO.input(16): # do subprocess.call(“”, shell=True) if not GPIO.input(13): # do subprocess.call(“”, shell=True) if not GPIO.input(12): # do subprocess.call(“”, shell=True) if not GPIO.input(6): # do subprocess.call(“”, shell=True) if not GPIO.input(5): # do subprocess.call(“sudo shutdown -h now”, shell=True) time.sleep(0.1) except KeyboardInterrupt: GPIO.cleanup()
Of course this can be edited to do whatever you want – or use the other buttons for things.
Chuck this into the ‘/home/pi’ directory as ‘buttons.py’.
Next up, a .sh file for running the QEMU launch commands:
qemu-system-i386 -localtime -cpu 486 -m 96 -hda win98.imgSave this as ‘qemu_win98_launch.sh’ and chuck it into ‘/home/pi’
Now these just need to be run on boot so put the following into ‘/etc/rc.local’ just before ‘exit’, the fbcp command is to run the framebuffer copy software installed above on start.
/usr/local/bin/fbcp & python /home/pi/buttons.py & ./home/pi/qemu_win98_launch.shGo here for the software installation of the TFT Hat.
Now at this point it should be possible to reboot the Pi and unplug it from the monitor - everything will now display on the TFT.
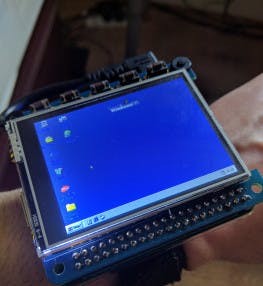
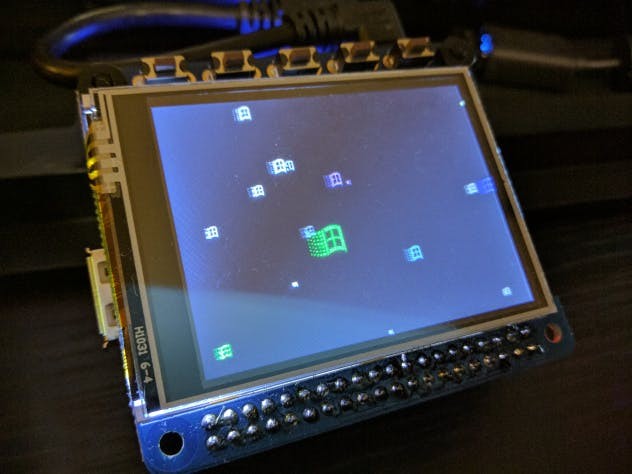
After FOREVER loading it will eventually load up Windows 98 and be ‘usable’, its super slow.
Just hit the configured button to shut it off, for me its the 5th button from the left (as per the button.py code above). This will uncleanly shut off Windows in QEMU, but will shut off Raspbian nicely; on next boot Windows 98 may try and run scandisk though.
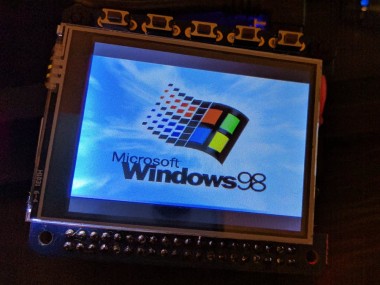
The finished product.
Eat your heart out, Casio.
 img_20170220_004918
 img_20170223_214233
 img_20170220_082103
 img_20170223_230302
Service Pack 1.
I’ve found the touchscreen is a bit off – I am not sure if this is because of QEMU or due to calibration required on the PiTFT configuration side of things – I’ll look into this at some point.
Since its so damn slow I went back into the Pi, exited QEMU and ran:
raspi-configTo notch up a bit of an overclock to 800mhz – however; do this at your own risk, I can’t take responsibility for hardware failures, overheating, battery drain, reduced life of hardware or anything else strange that may occur from overclocking a Pi.
I’m tempted to put the other buttons to use and have them launch different versions of Windows – 95, ME, XP. Would be fun to have the ability to launch them all (non-concurrently). Although I imagine XP will run even worse than 98.
 Oh man.
Also, just to confirm my Reddit ID – I am indeed Lord_of_Bone
Credits
Related products


Leave your feedback...