Water Ways
About the project
A system for people with green thumbs, so no matter what the situation you garden stays as green as your thumb and vice versa.
Project info
Items used in this project
Hardware components
Story
I am going to build a smart garden system. It will be controlled by the PSoC 6 Dev Kit. The Dev kit will be connected to all the components and the cloud. The dev kit will be used to automate the watering system and a bird feeder.
So here is my step by step testing plan:
- Test interfacing with PSoC6 kit with different modules and sensors
- Test PSoC6 Kit’s sensors
- Automate a simple dc motor working based on the changes in different sensors readings
- Interface and control the working of a submersible motor and the electronic valves.
- Get the cloud dashboard up and running to get the data and set up controls
- Set up a webpage to add manual control to the watering system.
- Interface multiple motors to the dev kit using the L298n motor drivers. These motors will be responsible for controlling both, the watering system and the bird feeding system.
- There will be multiple triggers for the watering system, first an automatic sensor based, second a cloud based system to override the automated one, and a third one that will use the capacitive touch buttons.
- The bird feeder will have multiple triggers as well, one automated that will use sensor automation for automattic dispensing of the food, the other two are the same as the watering system, the cloud control and the capacitive button override.
- The cloud control will eventually use audio processing for the commands, after successful implementation of all the above features, giving us additional triggers for the system.
- The system in its last phase will be implemented as a mesh network with other BLE devices, microbit and raspberry pi, which will help us expand our area for getting sensor data.
- The display will be used to alternately show the instructions, sensor values and the last time the system was last fired and how.
So for testing the different features of the PSOC6 wifi-bt kit, I ran most of the examples that are available for the modus toolbox. With a little help from the documentation provided by testers before me, I was able to upgrade the kitprog from version 2 to 3. Since it was a new concept to me it took me a while to figure out the difference in the versions, modes and why there is a need to switch between them.
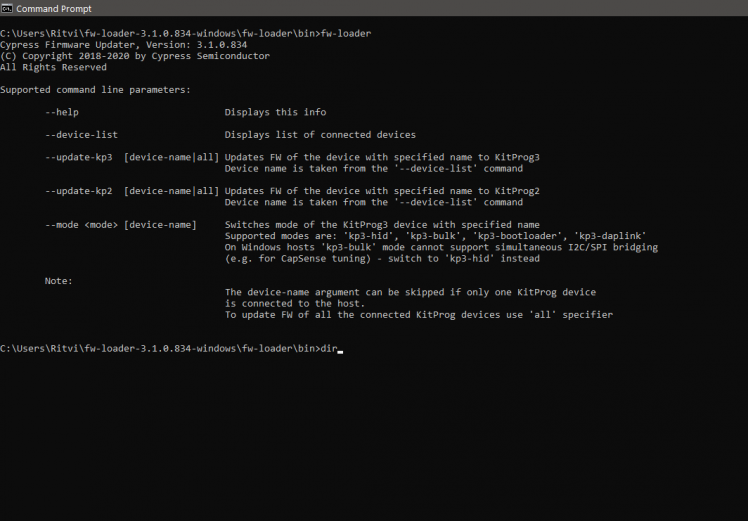
These are the different options available when you are upgrading the kitprog using the fw-loader.
Once I had the kitprog firmaware upgraded, I went on to run the example projects seperately first and then with a couple of changes.
While most of the examples run smoothly out of the box there are some like the ones with cloud connectivity that need you to look up more documentation. There is a lot of good documentation and tutorials avaiable on various online tech communities.
The examples that I planned on building was based on the features that I had selected for my project.
The main features that I need are:
- - Cloud Connectivity
- - Control Interface for motors and relay
- - Interface for sensors, like light sensor, temperature sensor, etc.
- - Hardware interrupt was manual override control
- - Display for instruction usage
I struggled and am still struggling to get a lot of features to work together, so as a back up plan I resolved to using different microcontrollers for the interfacing and the cypress controller as the commanding controller that instructs other controllers to just do their part over BLE.
I have been using entirely the BLE CTS example and modyfying it to fit my need. I am still working on getting my demo ready. Will post an update soon.
Materials Used
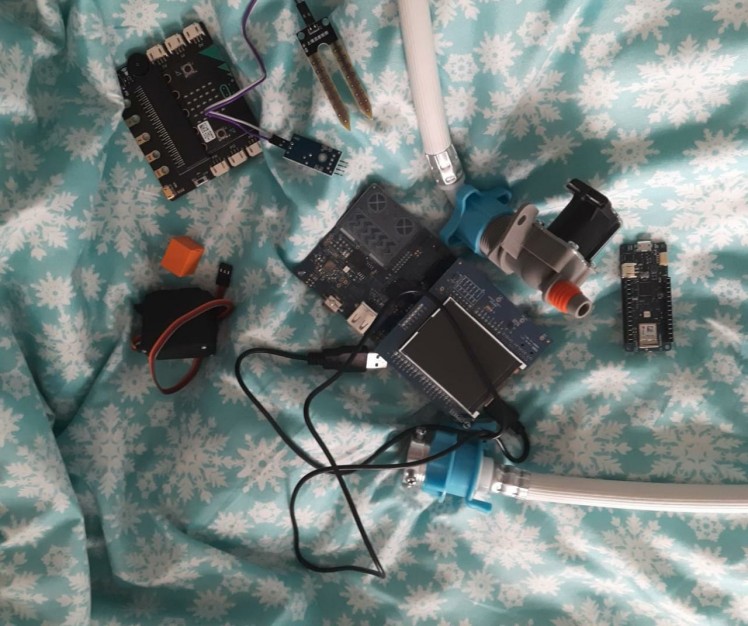
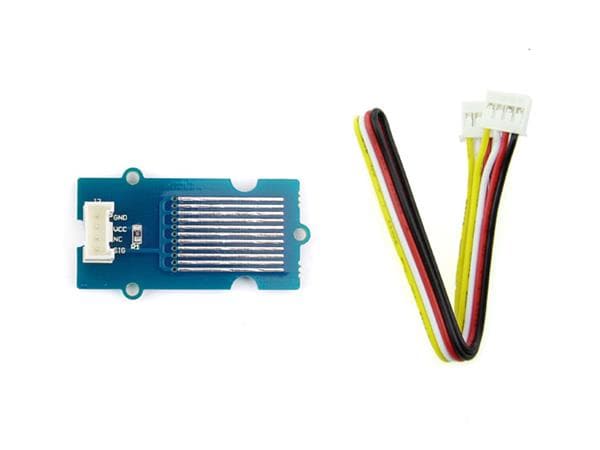
The soil moisture uses ADC example code to talk to the cypress board. The cypress board connects to the cloud using the MQTT or the BLE to connect to the Arduino and microbit. The arduino has connected easily to the BLE way and the cloud connection seems easy but microbit hasn't behaved the way I want to make it work.
Here is the block diagram of the phase 1 of the project:
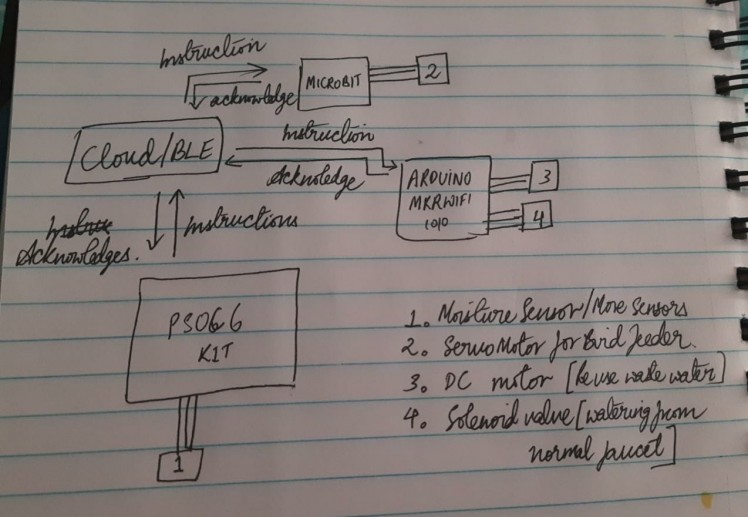
This project is supposed to facilitate watering of the garden in atleast 3 ways:
1. There is supposed to be atleast 2 ways to do it manually, one using the hardware interrupt on the board and second using a cloud server.
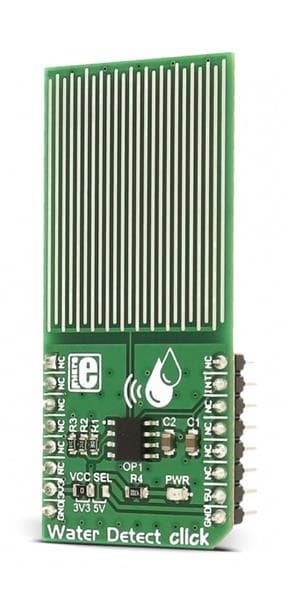
2. The watering is supposed to be automated using the sensor control like moisture sensor and light sensor.
3. The waste water from washing vegetables, rice, etc, is supposed to be collected in a vessel from which it is pumped into the garden.
I have successfully managed to fire the command from arduino to the DC pump and I am still working towards getting the rest of it together.
Credits

frenzyritz13
Final year electronics and telecommunication student I am a keen and quick learner, absolutely love learning new skills and techniques. Very proficient in quirky thinking. Firmly believes in keeping things simple but understands that simple and easy are not always the same thing. An avid reader and traveller.A DIY enthusiast, believes in staying busy with creativity, and colours are always a bonus. Makes jewelry, handicrafts and electronic projects in free time. Over the past couple of years, instead of learning a particular skill thoroughly, I have spanned through the different technologies and taught myself how to learn, get access to the right resources and learn how to use the various community forums and platforms.



Leave your feedback...