
Two Tone Doorbell Using Ic 555

Made by tarantula3 / Home Automation / Music / Notifications / Photos & Video / Productivity / Voice
About the project
Saw someone selling a two tone buzzer on Aliexpress for $10. Immediately my brain said, are you serious? Just by investing a little bit of your time and enthusiasm you can make this circuit for under 3 dollars.
Project info
Difficulty: Easy
Platforms: Arduino
Estimated time: 1 hour
License: GNU General Public License, version 3 or later (GPL3+)
Items used in this project
Hardware components

Story
Saw someone selling a two tone buzzer on Aliexpress for $10. Immediately my brain said, are you serious? Just by investing a little bit of your time and enthusiasm you can make this circuit for under 3 dollars. Video: https://youtu.be/OnCv5mf0NkgComponents Used
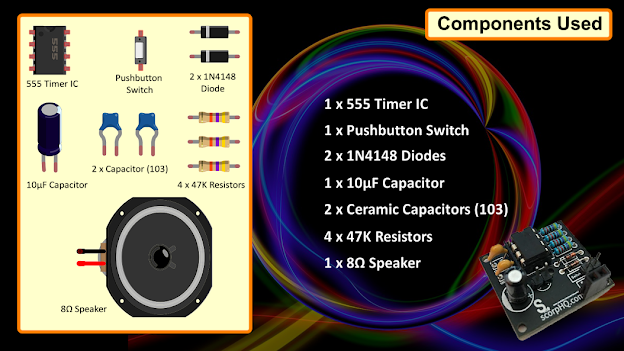
For this project we need:
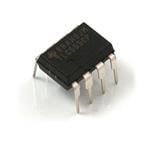
- 1 x 555 Timer IC
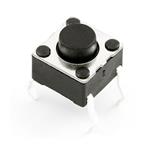
- 1 x Pushbutton Switch
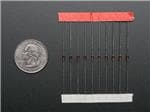
- 2 x 1N4148 Diodes
- 1 x 10μF Capacitor
- 2 x Ceramic Capacitors (103)
- 4 x 47K Resistors
- 1 x 8Ω Speaker
Schema
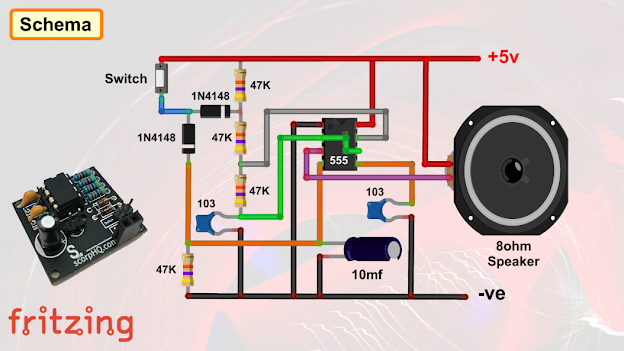 So, this is the simple schematic of the two tone buzzer circuit using the 555 timer IC.
The Board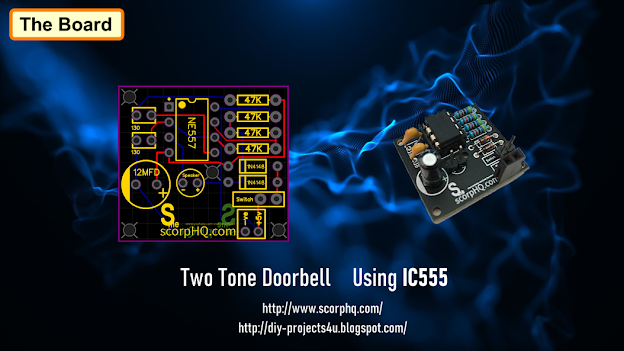
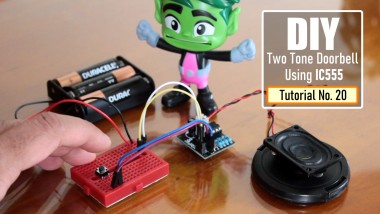
And, this is how my board looks like.
The link to the gerber file is here: http://scorphq.com/GrpHDD/GerberFiles/Gerber_Door_...
You can also download it from my website or my blog: http://diy-projects4u.blogspot.com/
Assembly
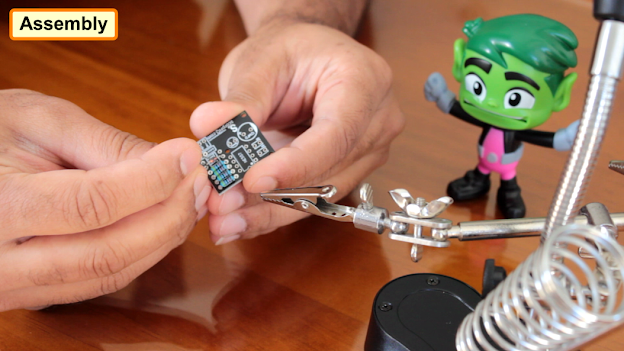 Lets start the project by soldering the 4, 47K resistors to the board. Then, lets solder the 2, 1N4148 Diodes to the board. After that I am soldering the 2 ceramic capacitors to the board. Next, I am soldering the 10μF Capacitor followed by the base of the 555 timer IC. Finally, I am soldering the male female pin-headers to the board. It really doesn't matter what order you solder the components to the board; however, putting the small components first makes the process a bit easy.Once all the components are in place its time to install the IC to the base, that's it all done.Demo
 By pressing the push button switch you can now produce the two tones from the 8Ω Speaker attached to the pin headers. Thanks
Thanks again for checking my post. I hope it helps you.If you want to support me subscribe to my YouTube Channel: https://www.youtube.com/user/tarantula3Video: https://youtu.be/OnCv5mf0NkgFull Blog Post: https://diy-projects4u.blogspot.com/2020/09/two-tone-doorbell-using-ic-555.htmlGerber File: http://scorphq.com/GrpHDD/GerberFiles/Gerber_Door_Bell_V1.zipBTC: 35ciN1Z49Y1bReX2U7Etd9hGPWzzzk8TzFDOGE: DDe7Fws24zf7acZevoT8uERnmisiHwR5stLTC: MQFkVkWimYngMwp5SMuSbMP4ADStjysstmETH: 0x939aa4e13ecb4b46663c8017986abc0d204cde60BAT: 0x939aa4e13ecb4b46663c8017986abc0d204cde60Thanks, ca again in my next tutorial.
Credits
Related products


Leave your feedback...