
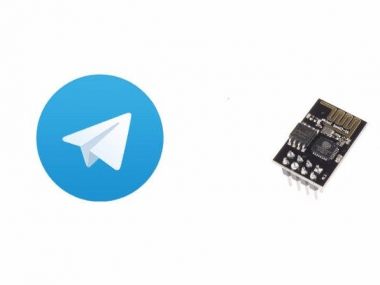
Telegram Bot With Esp8266

Made by JohnWick / Home Automation / Notifications / Sensors
About the project
Divine control of ESP8266 with telegram bot.
Project info
Difficulty: Easy
Platforms: Arduino, Espruino, Everything ESP
Estimated time: 1 hour
License: GNU General Public License, version 3 or later (GPL3+)
Items used in this project


Story
Hi fellow coders,
It's amazing to start my Hackster career with telegram bot API and ESP8266. Through this project I try to depict how to control ESP8266 with telegram bot which opens the door to the great world of IoT.
1 . Installing Telegram Bot Library
First of all download Telegram Bot library (download) and add it to Arduino IDE.
2. Configure Telegram Bot
Install Telegram on your Laptop or Phone and search for Botfather. Through Botfather create your new bot.
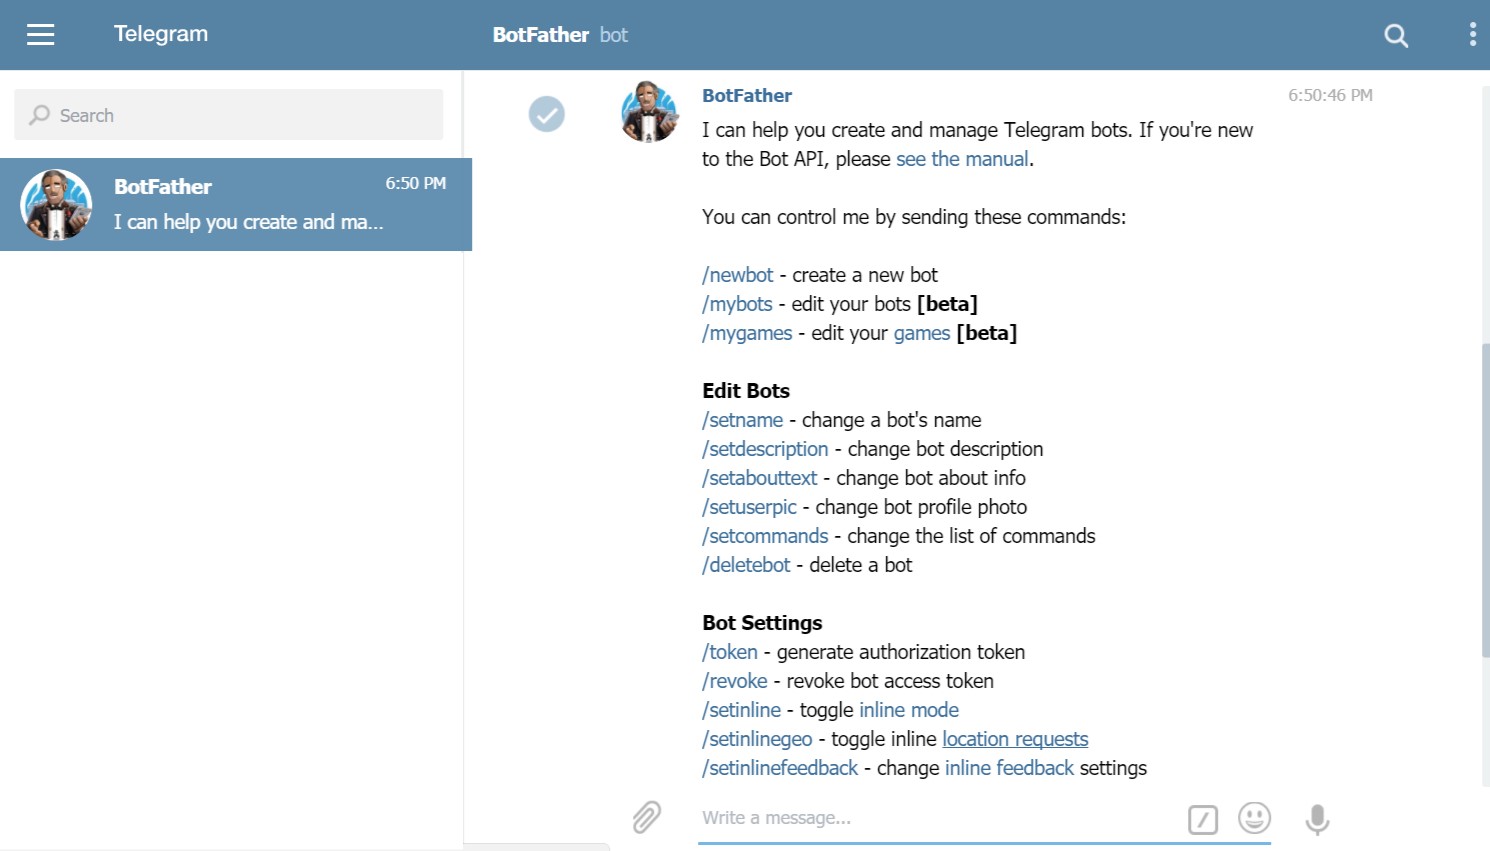
From Botfather you can taken the token.
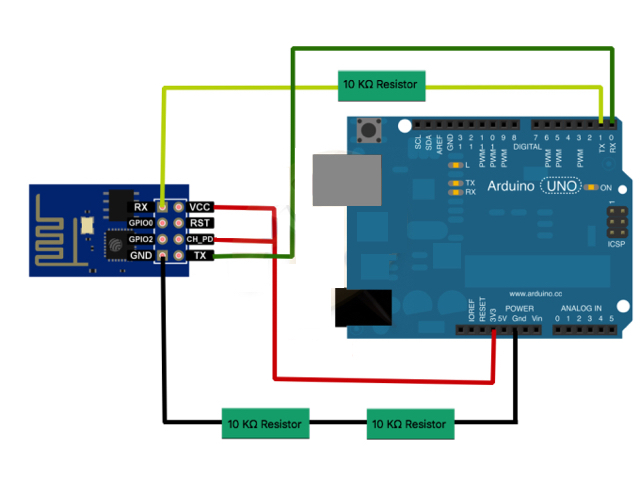
3. Setting up the Device
Connect ESP8266 to Arduino as shown. Connect GPIO0 to ground and reset to reset of Arduino and upload the code.
4. The Code
- #include <ESP8266WiFi.h>
#include <WiFiClientSecure.h> #include <TelegramBot.h> #define LED 1 // Initialize Wifi connection to the router const char* ssid = "xxxx"; const char* password = "yyyy"; // Initialize Telegram BOT const char BotToken[] = "xxxxxxxxxxx"; WiFiClientSecure net_ssl; TelegramBot bot (BotToken, net_ssl); // the number of the LED pin void setup() { Serial.begin(115200); while (!Serial) {} //Start running when the serial is open delay(3000); // attempt to connect to Wifi network: Serial.print("Connecting Wifi: "); Serial.println(ssid); while (WiFi.begin(ssid, password) != WL_CONNECTED) { Serial.print("."); delay(500); } Serial.println(""); Serial.println("WiFi connected"); bot.begin(); pinMode(LED, OUTPUT); } void loop() { message m = bot.getUpdates(); // Read new messages if (m.text.equals("on")) { digitalWrite(LED, 1); bot.sendMessage(m.chat_id, "The Led is now ON"); } else if (m.text.equals("off")) { digitalWrite(LED, 0); bot.sendMessage(m.chat_id, "The Led is now OFF"); } }
Put your wifi credentials and bot token and upload the code.
5. Test The Working
I here include the making and working of my project .
Schematics, diagrams and documents
Code
Credits
Related products


Leave your feedback...