


Smart Mailbox

Made by CodersCafeTech / Automotive / Sensors / Voice
About the project
Come forward to meet the speaking MailBox
Project info
Difficulty: Moderate
Platforms: Amazon Alexa, Amazon Web Services, Arduino, Raspberry Pi
Estimated time: 1 hour
License: Apache License 2.0 (Apache-2.0)
Items used in this project
Hardware components


Story
What's something much about a mailbox in the era of instant message services ? But sometimes there's a chance of missing some vital information by ignoring mails in the mailbox . So as a reminder we are here introducing a
Speaking MailBox with Arduino and Alexa .Briefly explaining the working , When Alexa is asked to check the mailbox,it send the command to Raspberry Pi via ngrok and which serially transmit command Arduino which to Proximity sensor . Proximity sensor inspects the status and returns the status serially.
 UNBOXING THE SMART MAIL BOX
SETTING UP AVS ON RASPBERRY PI
This guide provides step-by-step instructions for setting up AVS on a
Raspberry Pi. It demonstrates how to access and test AVS using our Java sample app (running on a Raspberry Pi), a Node.js server, and a third-party wake word engine.For interacting with the alexa ,you need the following..
- USB Microphone/Sound card - Raspberry Pi does not have a built-in microphone; to interact with Alexa you'll need an external one to plug in.
- External Speaker with 3.5mm audio cable.
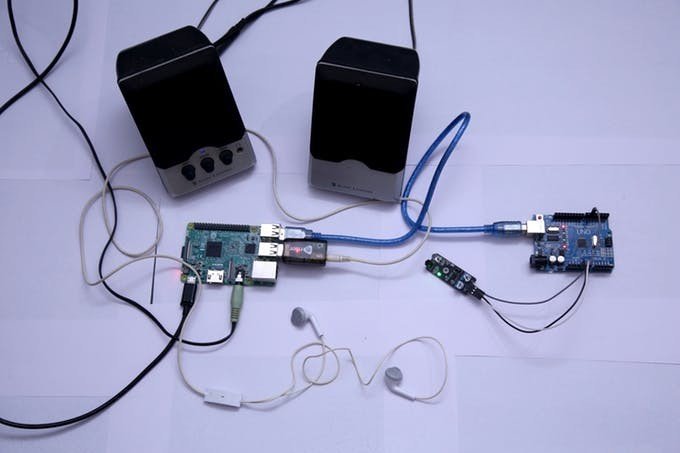
HARDWARE SETUP
The hardware set up consist of Arduino Uno , Raspberry Pi and a Proximity sensor.
1 . Arduino Uno
Connect the proximity sensor to Arduino Uno and upload the code which serially send data to Raspberry Pi and which send data to Alexa
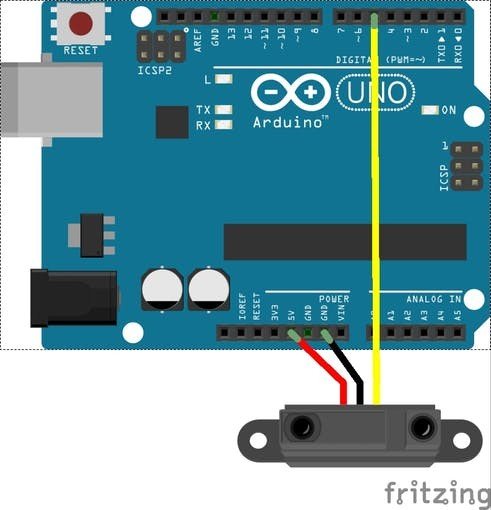 Arduino-Proximity
Upload this piece of code to serially send data to Raspberry Pi
int sensor = 5; int mail=0; void setup() { pinMode(sensor, INPUT); Serial.begin(9600); } void loop() { mail = digitalRead(sensor); if ( mail==1){ Serial.write(1); } else { Serial.write(0); }2 . Raspberry Pi
Arduino is connected to Raspberry Pi and in my project it also acts as the Alexa device with installed Alexa Voice service ( If you want to check it try it here )
Install supporting libraries for Raspberry Pi
sudo apt-get update && sudo apt-get upgrade sudo apt-get install python2.7-dev python-dev python-pip sudo pip install Flask flask-ask sudo apt-get install python-seria 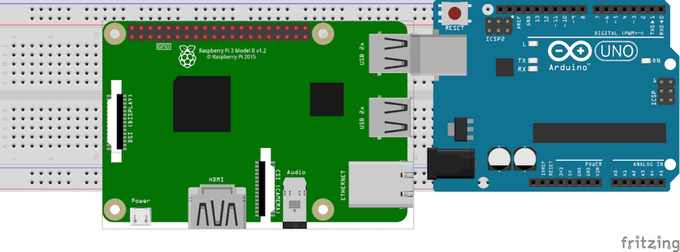 Rapberry pi-Arduino
from flask import Flask from flask_ask import Ask, statement import requests import json import serial ser = serial.Serial("/dev/ttyACM0", 9600) #change here for your serial app = Flask(__name__) ask = Ask(app, '/') @ask.launch @ask.intent("Check") if (ser.read()==1) def yes(): return statement("New mail has arrived , Check it soon") else def no(): return statement("No mails yet") if __name__ == "__main__": app.run(debug=True) Run the above python code in Raspberry Pi to send response to alexa
NGROK
Ngrok opens a secure tunnel to localhost and exposes that tunnel behind an HTTPS endpoint. ngrok makes it so Alexa can talk to your code right away. Set up this way to generate a public HTTPS endpoint to 127.0.0.1:5000
Here you get the latest Linux ARM release as a zip and unzip inside the home directory.
Then go to command line and enter
./ngrok http 5000 There you get an HTTPS url endpoint . Put the url in alexa skill endpoint .
ALEXA SKILL
1. Create New Alexa Skill
First of all login to amazon developer account here and add a new skill to your Alexa Skill Kit
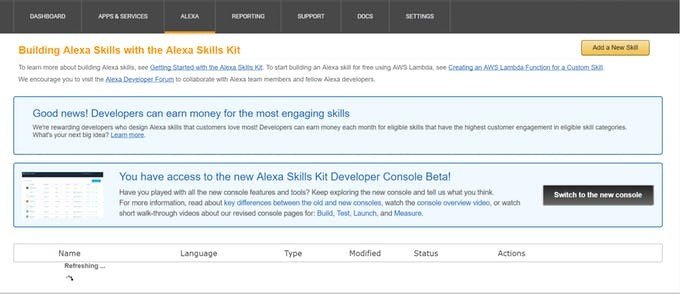 Alexa skill list
2 . Provide necessary Skill Information
Create a new skill in Custom Skill category and supply a Name and Invocation name and Language . Check whether you need Audio player , Video Player or Render Template . Here my skill has got name and invocation name MailBoxChecker.
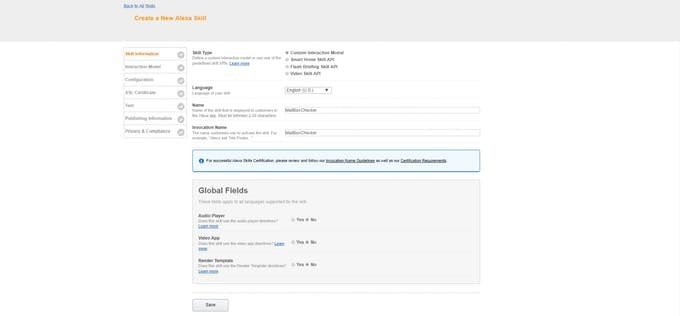 Skill information
3 . Build the Interaction model
In the interaction model window add Intents , Slots and sample utterances as much as you want. Either you can add inbuilt intents or you can create new intents according to your skill and save the model . The only one intent I have used is check intent .
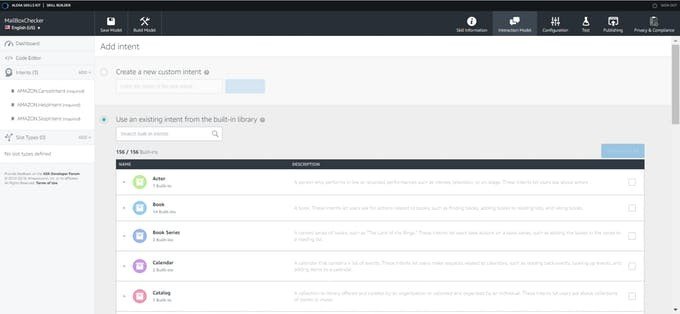 Skill builder-Interaction model
4 . Configuration
Select service endpoint type as https and enter the ngrok url as default .
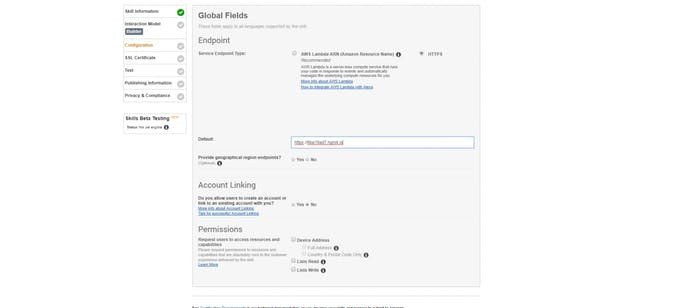 Skill builder-configuration
5 . SSL Certificate
In SSL Certificate section select 'My development endpoint is a sub-domain of a domain that has a wildcard certificate from a certificate authority'.
6 . Test Skill
Now the skill is ready to be enabled . Now test the skill
TEST THE WORKING
Enable the skill in your connected device and Check the working .
Hope you get it good.Hence the mail box is connected to the internet thus Connectivity becomes meaningful by means of this project............
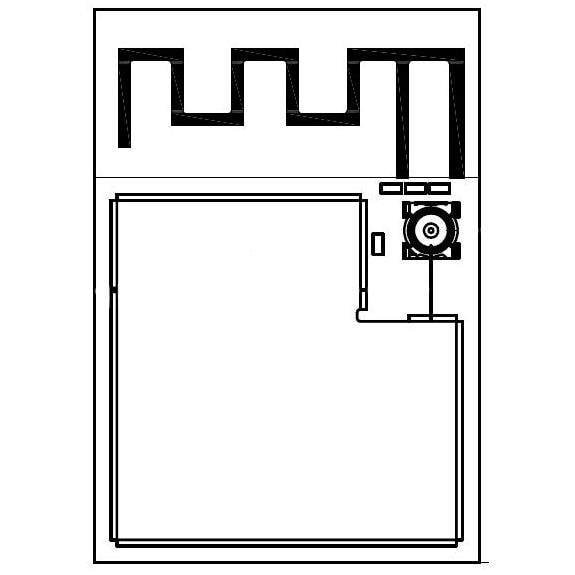
Schematics, diagrams and documents
Code
Credits


Leave your feedback...