

Sight: For The Blind

Made by salmanfarisvp / Artificial intelligence / Environmental Sensing / Sustainability / Wearables / IoT
About the project
A pair of smart glasses for the blind. Powered by Android Things and TensorFlow.
Project info
Difficulty: Moderate
Platforms: Android, Google, Raspberry Pi
Estimated time: 1 hour
License: GNU General Public License, version 3 or later (GPL3+)
Items used in this project
Hardware components


Story
Ever thought how is the life of a blind person, their life is full of risk. They can't even walk alone through a busy street or through a park. They shall need some assistance from others. They are also curious about the beauty of the world, they should have will be the excitement to explore the world, and to be aware of what is happening in front of them. Even though they can find their own things without anyone's need. So,How we solve this?
We are introducing Sight!
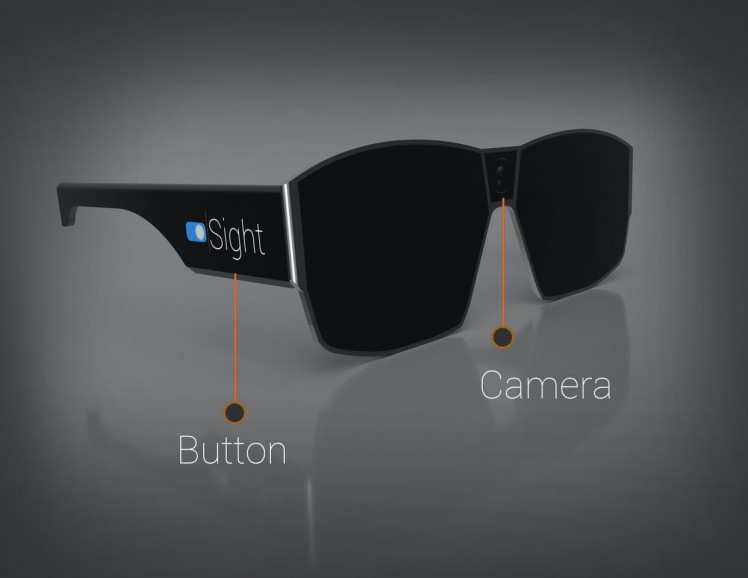
Simply, Sight is a pair of smart glasses for the blind. By using Sight, a person can able to know what is going on in front of him.
How Sight Works:-
Sight is developed with a raspberry pi 3 and Google android things.

Sight does have three main parts, a raspberry pi 3 (powered by android things), camera and a button. When the person press the button on the Sight, The Sight will take a picture and analyze the image using tensor flow and detect what is that picture is about, then using a speaker or headphone, the Sight will voice assist the person about that picture.
This is how sight works!
How you can make a Sight yourself!
Its easy, Just follow the steps below to make one yourself!
Materials NeededHere are the components and materials that you needed to do this project. Take your time and collect everything!
Main Components:
- Raspberry Pi 3
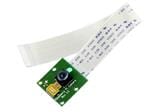
- Raspberry Pi Camera Module(5 Mp)
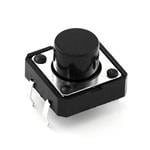
- Micro push button
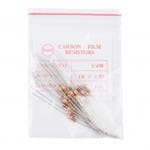
- 1K resistor
- General purpose PCB
Tools:
- Soldering iron
- Soldering lead
Software:
- Android Things
- Android Studio
- TensorFlow
- Firebase
First thing first,
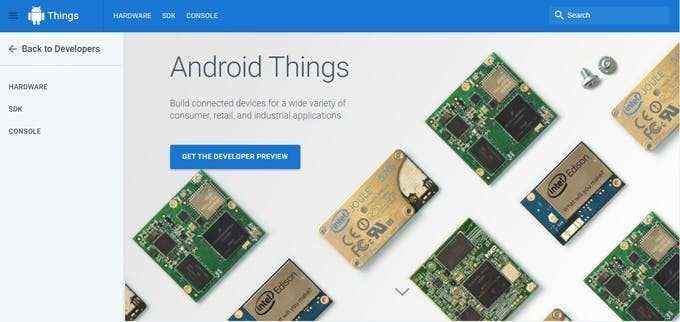
Go to the android things webpage Here and then click on CONSOLE menu on the top bar of the web page.
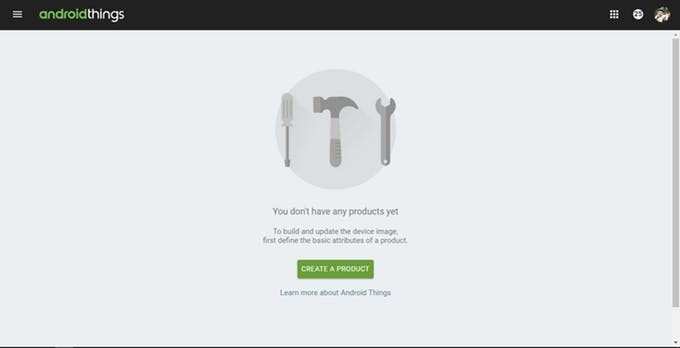
You should sign in first, Sign in with any of your google account.
- Click on the CREATE A PRODUCT button.
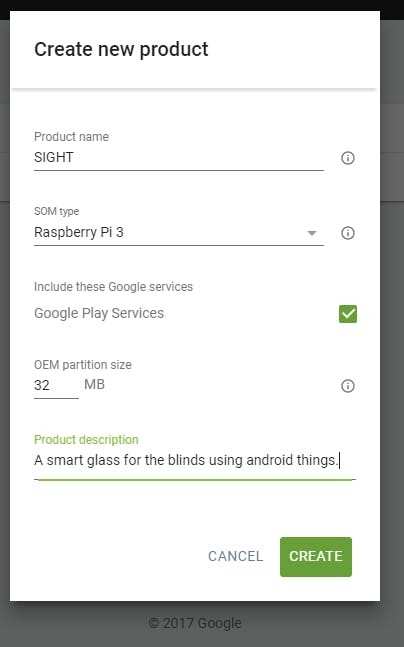
- You should get a popup window,!
- Enter your product name in the product name field.
- Select Raspberry Pi 3 from the SOM type.
- Leave the OEM partition size field as default.
- Give some description about your product in the description field.
Hit the Create Button
It will take you to a new page. From the new page, Select the FACTORY IMAGES from the menu bar on the top.
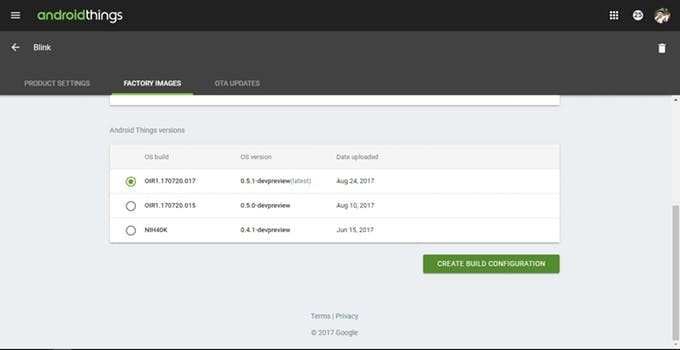
Scroll down little bit, and click on the CREATE BUILD CONFIGURATION button.
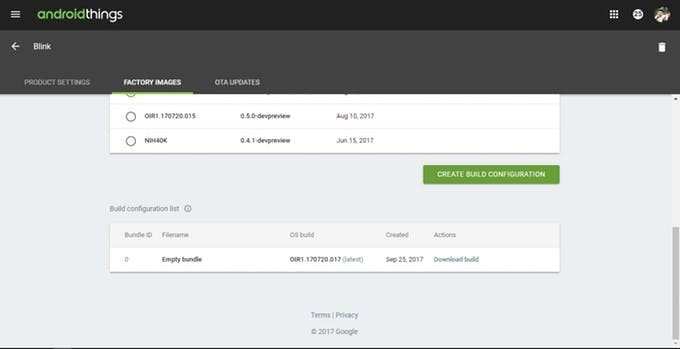
after clicking the button a new Build Configuration List field will visible below the button. just download the build from Build Configuration List.
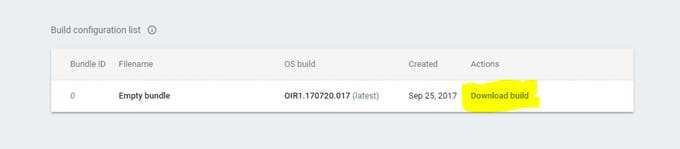
A zip file will start to download, Wait until the download is complete.
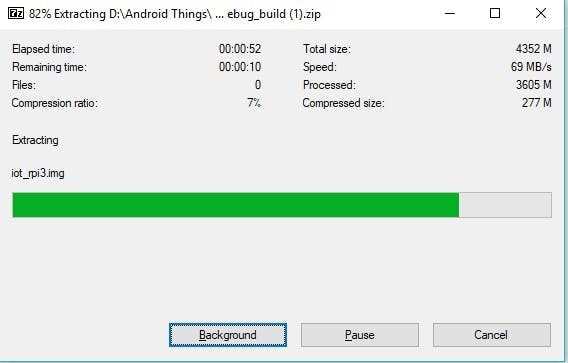
After download is completed. Unzip the file using 7zip or winrar. Wait until the extraction is complete (probably it should take only 1 to 2 minutes).
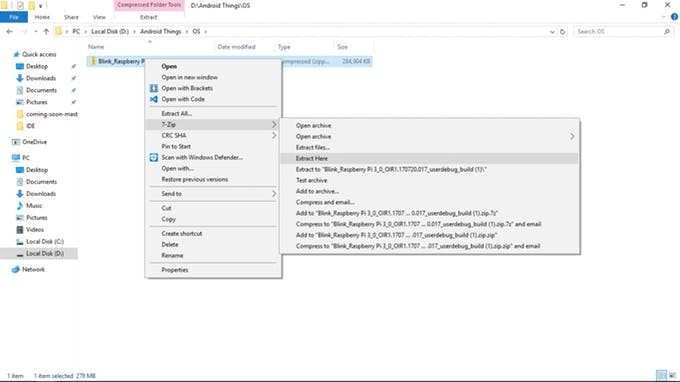
After extracting the file you will get a .img file(this is the android thing OS for your Raspberry Pi)

Now you need to burn this img file into your micro SD card of the raspberry pi

We are using Etcher (Etcher is an open source project by resin.io).
Connect SD card to Computer via a SD card Reader and open Etcher.
1 / 5
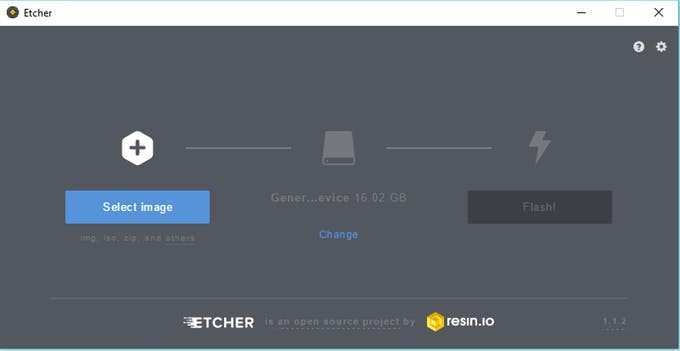
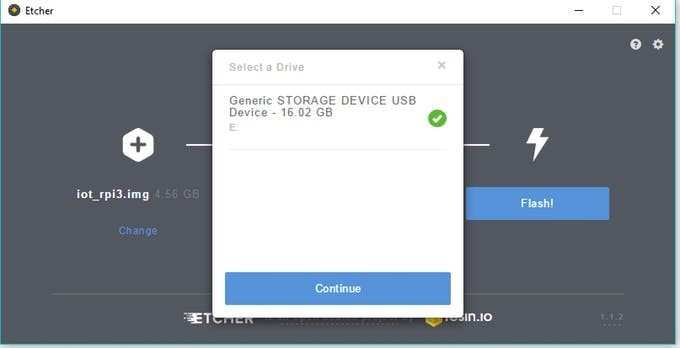
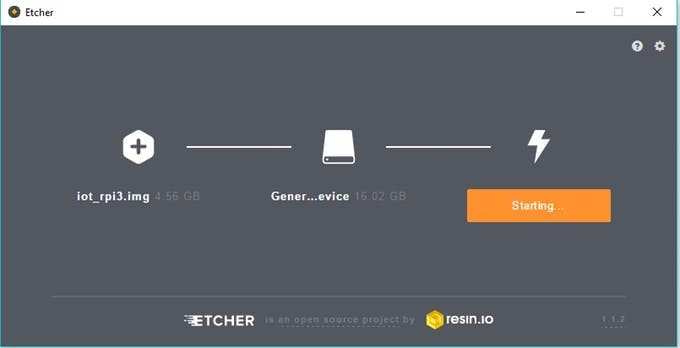
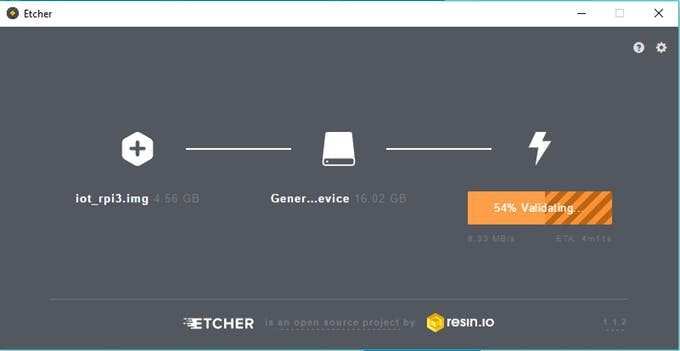
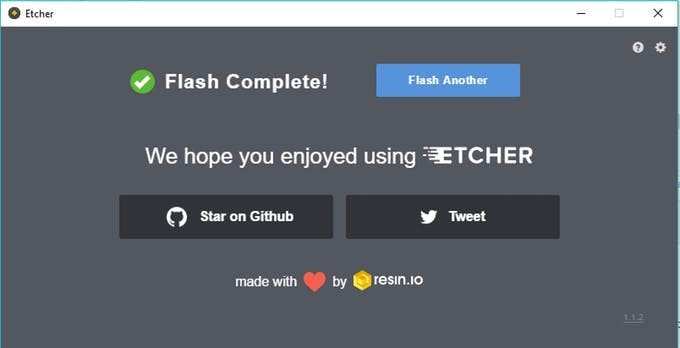
Select image and select SD Card and hit Flash. Wait for it. After the Flash, unplug the SD Card Reader and insert it into our Raspberry Pi 3.
Connect Raspberry Pi 3 to a Ethernet via RJ 45 cable and power it up with 5v adapter.

Now here our Local IP is 192.168.0.22.
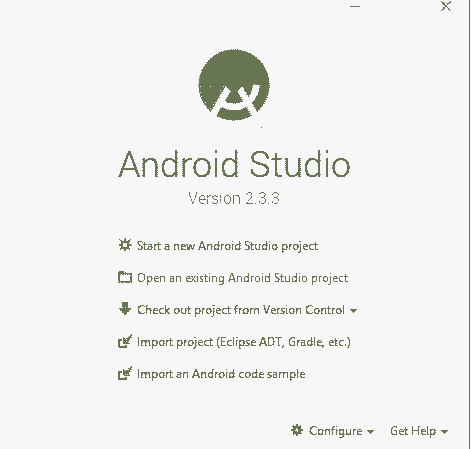
Setup Android StudioFirst Download Android studio (Stable) or use Preview version.
Note: Stable version can be also use used for Android things development but preview version comes with a inbuilt Android things Development option.
After downloading, install and open Android Studio.
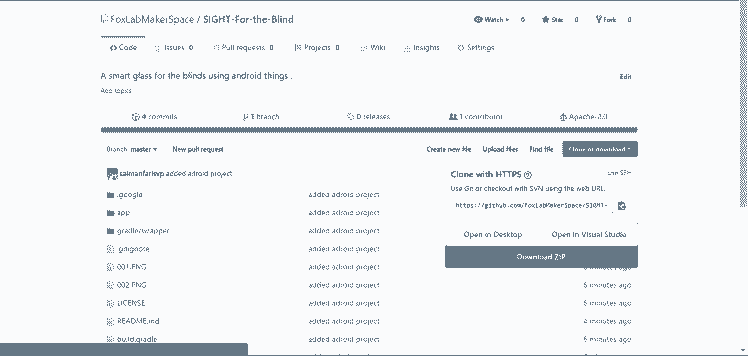
Clone/Download the Project file from GITHUB
go to SIGHT Project Repo by click here
https://github.com/FoxLabMakerSpace/SIGHT-For-the-Blindand Download as a Zip file
Open an existing project (SIGHT) by clicking Open an existingAndroid Studio Project.
Locate SIGHT project File
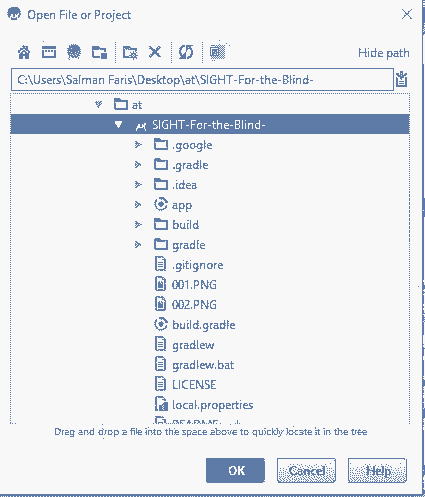
Click OK to Open the Project.
Run the SIGHT on your Raspberry Pi
But we need a connection between the Android Things device (Raspberry Pi) with our Android Studio for Upload and Debug our programs.
We have the ADB tool (Android Debug Bridge). It will act as a bridge between our Android machine (phone/things) and development platform (Android Studio) and help us Upload and Debug our program.
So next we need to set ADB in between Raspberry Pi(running on Android) and Android Studio. In Windows, open Android => SDK => Platform-tools.
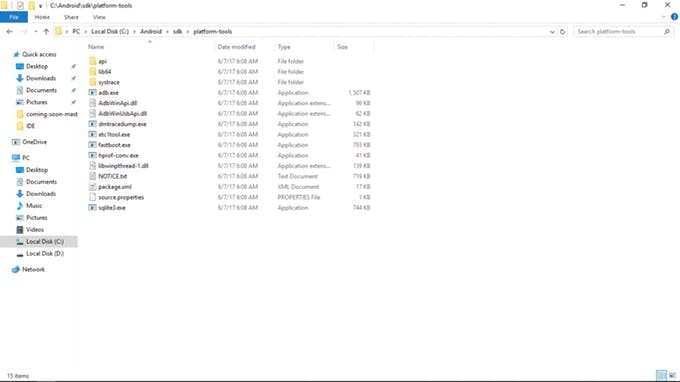
You can see the adb.exe file here, but we can't directly access it. So open a command prompt or PowerShell and get in the folder and just type code on command prompt or PowerShell.
adb connect <raspberry pi ip>
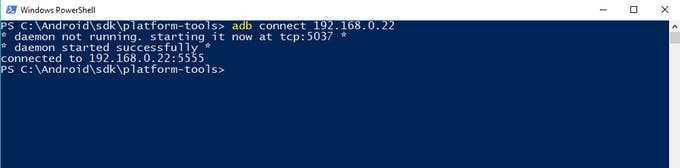
We got the RPi IP from the first step. And you'll get a response after the connection is established.
connected to ip:5555Now just upload the program by clicking the green triangular button.
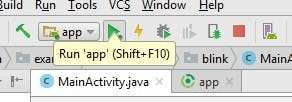
Hit Run.
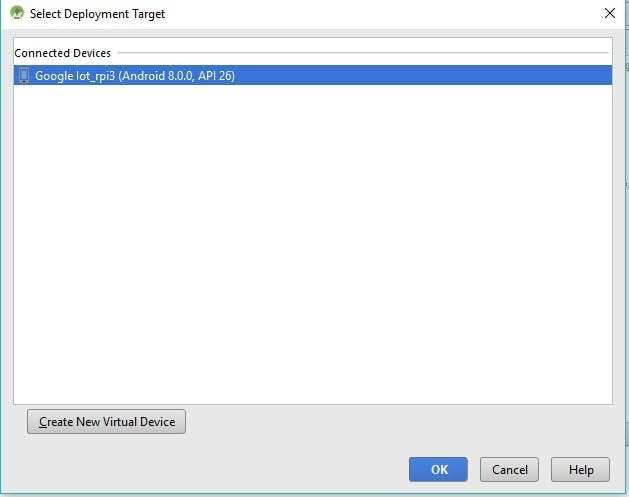
You can see the Raspberry Pi on the listed of devices. Just click OK for running our program.
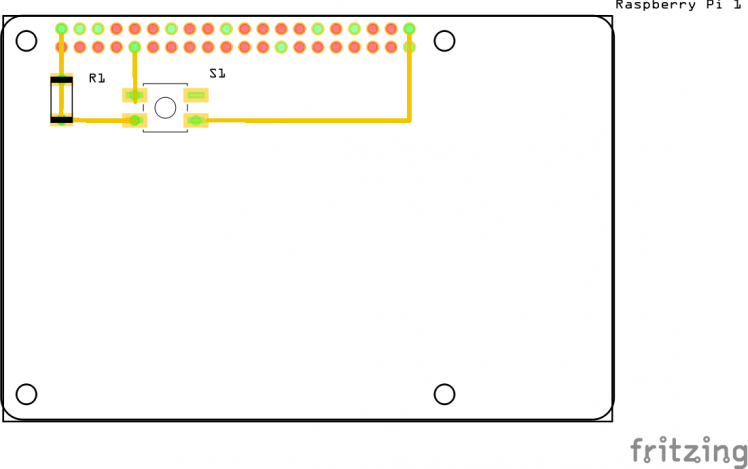
Raspberry Pi wiringTime for wiring up the circuit!
Here we are using a button for Triggering the Camera to capture the image.
don't forget to connect Raspberry Pi Camera module and Earphone to the raspberry Pi 3
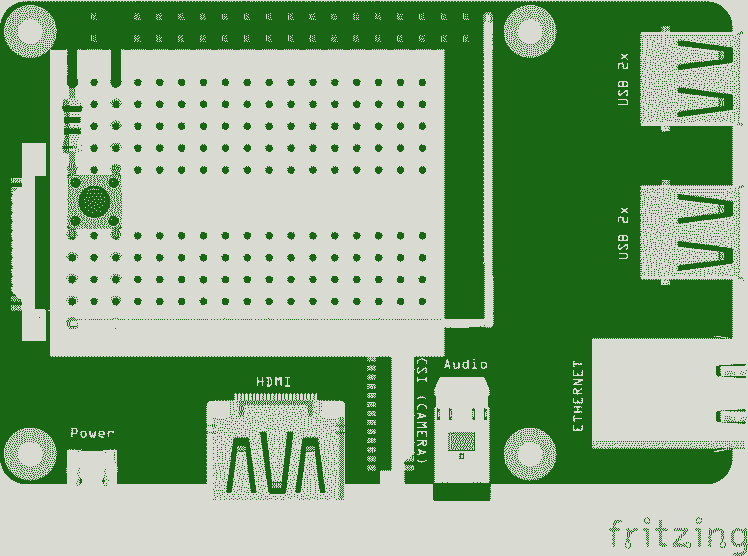
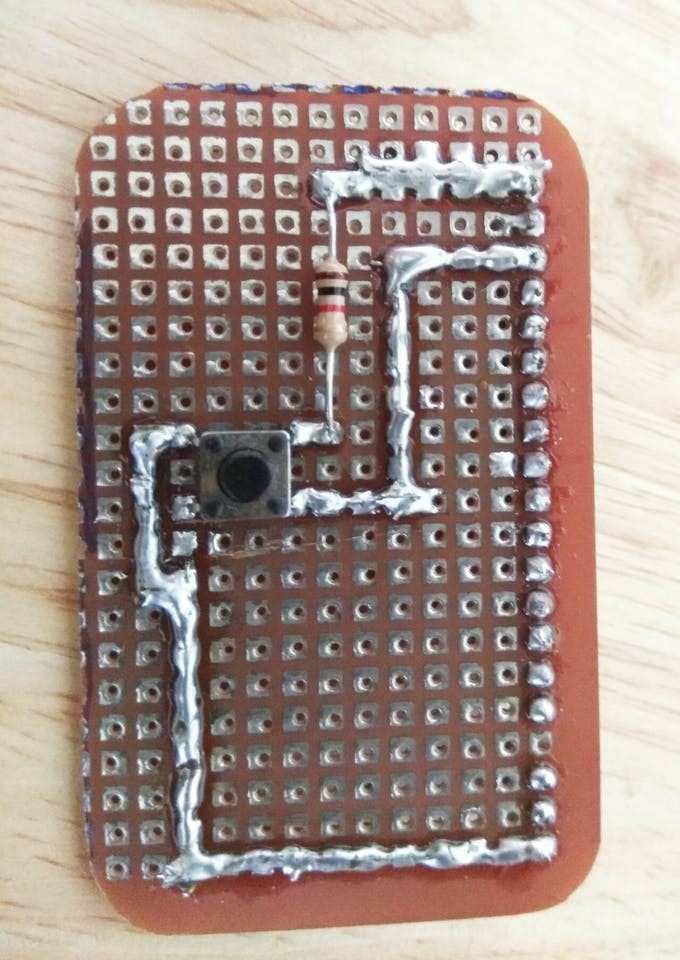
We build our own Pi hat on a pref board, we recommend you to make one yourself.
1 / 2
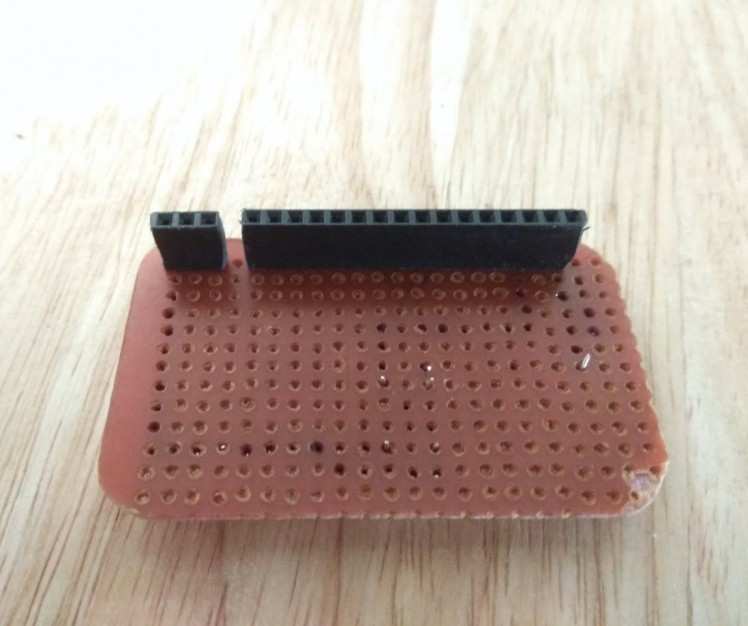
The Fritzing file is attached in the attachment section of this project.

Before we mounting everything in an enclosure, just make sure everything is working perfectly.
Just turn ON your raspberry Pi3 and wait a 5 second to load everything. Press the button to take a shot using the camera and wait another second. You can hear what is it in that image through your headphone or speaker.
If everything perfect, Time for placing them in a secure case to prevent any accidental damage.
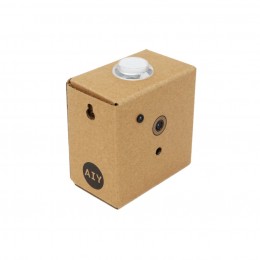
Making EnclosureThis is not an important step, If you can make an enclosure in your own style, it will be great and looks to be cool.
1 / 2
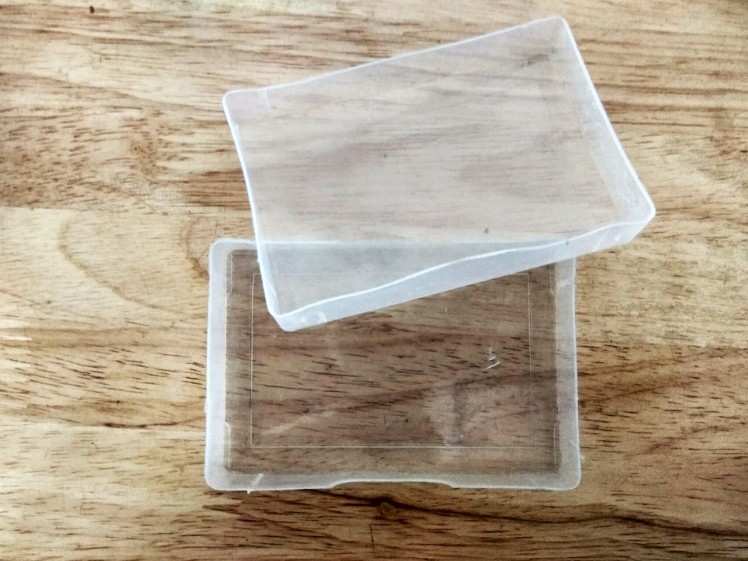
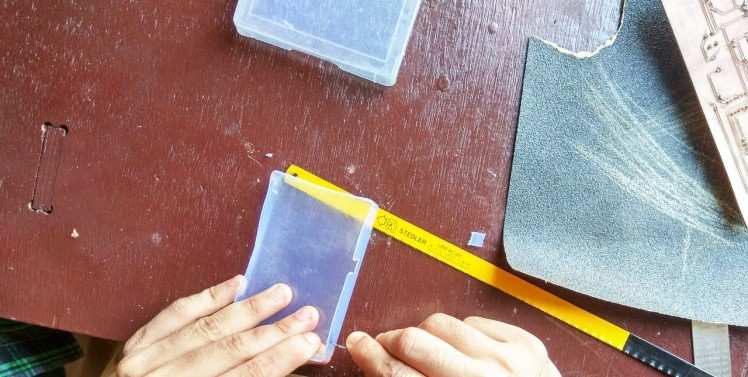
We build a simple enclosure, to place the circuits is in secure before mounting it into the glass. We got a general purpose plastic enclosure from a nearby local store. Made some cuttings and holes for the ports on the Raspberry Pi. We painted them using some spray paints(black and white paints).
1 / 4


1 / 2
And its look gorgeous!
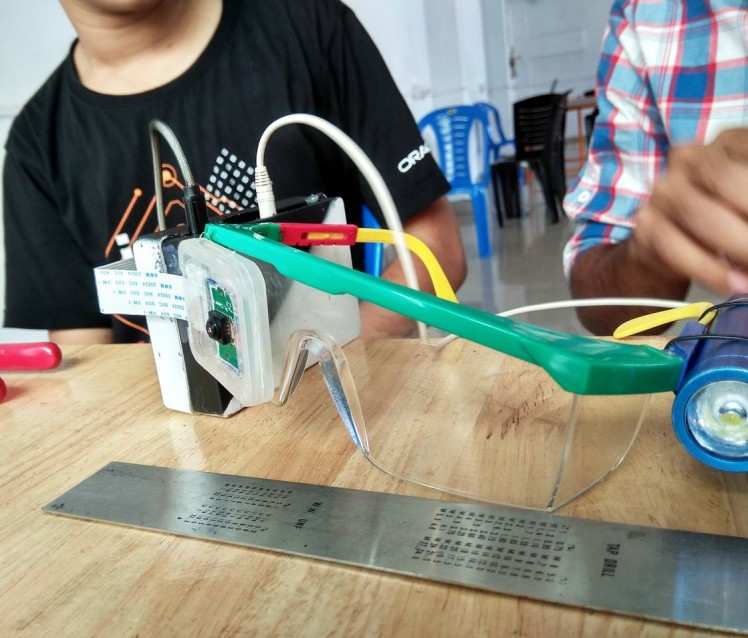
Mounting To The GlassWe have a Glass that laying around in our lab, Fortunately, it is the best glass that we can find to make this project perfect.
1 / 2

After placing everything on the glass, its look cool. We used a power bank, that we got recently from intel to power the raspberry Pi and its circuits.
1 / 3


Many visually impaired peoples out there, expecting some kind of thing that can help them to be self-reliable themselves.
So, we would like to bring this concept into reality. We designed a couple of concept design in a 3D modeling CAD tool.

Bone conductive speakers
A headphone is not comfortable to wear all time and its look weird. So, we are researching on a better and minimalist solution. We finally concluded on Bone conductive speakers. Bone conductive speakers will also help those who cant hear.
Better Camera
The camera that we used in this prototype is not suitable for manufacturing a product. Also, it has some limitations like we cant use them in nights or in dark places. So we are upgrading them into IR camera comes with a better resolution.
Comfortable Glass
A normal Glass is not comfortable much when it comes with the weight of the hardware. So we are rapidly designing and researching most comfortable glass for Sight.
Extending Capabilities
We are also developing and optimizing the source code of sight to handle the capabilities sensing of Sight. Also better performance in minimum requirements.
Power Management
Sight is a wearable device. So we are concern about the battery backup of Sight. We are going to develop an optimized power distribution board.
DemoSchematics, diagrams and documents
CAD, enclosures and custom parts
Code
Credits
Related products


Leave your feedback...