
Project info
Difficulty: Easy
Estimated time: 1 hour
License: Creative Commons Attribution-NonCommercial CC BY-NC version 4.0 or later (CC BY-NC 4+)
Items used in this project
Hardware components


View all
Story
Just glowing an RGB LED in vapor to make some rainbow mist, which looks nice in the dark.
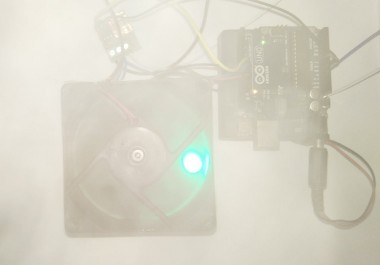
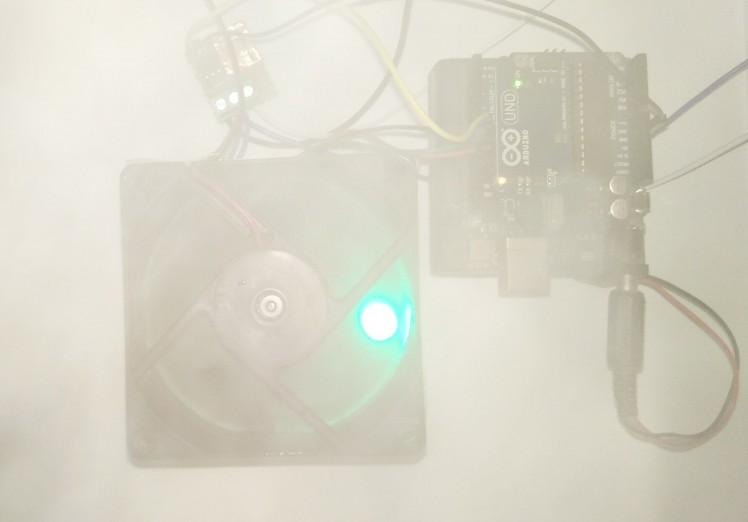
Rainbow Mist Action
Mist generation is shown below :
Misty Light 1 / 2 • Rainbow mist: camera is not doing proper judgment !Hardware Build
The build is basically a vaporizer coil producing vapor, PC casing fan blowing it, RGB LED is giving it rainbow glow. Arduino is controlling the RGB and mist cycle.
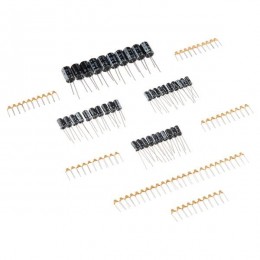
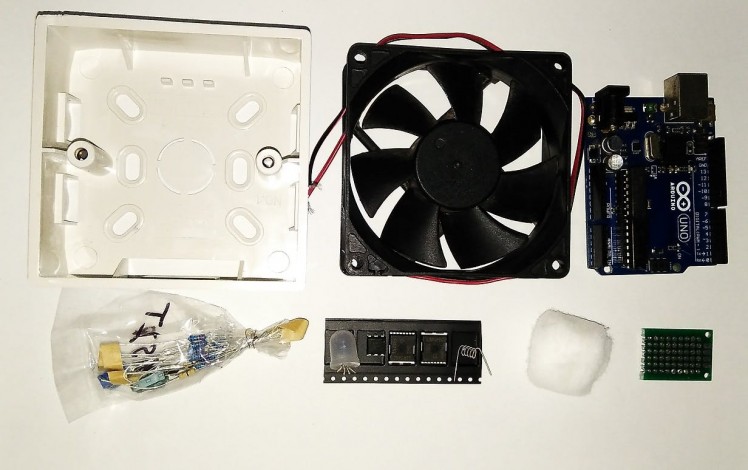 Ingredients : Back box, 12V fan, Uno, RGB LED, Optocoupler, 0.8 ohm Coil, Cotton Ball, Proto board etc
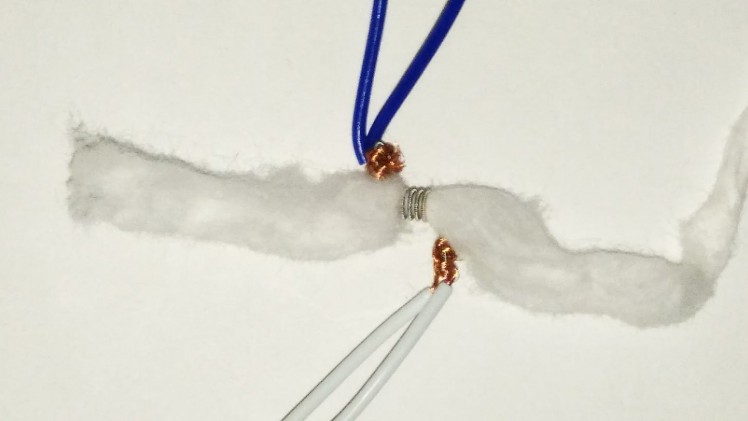 Wrapped Copper wire contact at both end of the coil and cotton rolled through the coil
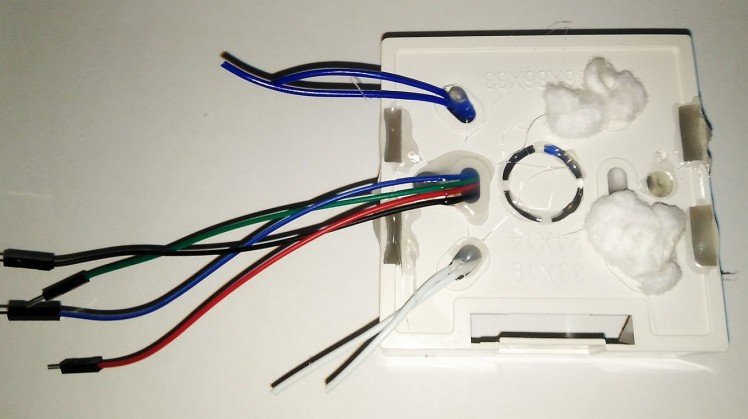
 Coil, cotton and wire placement on Back Box
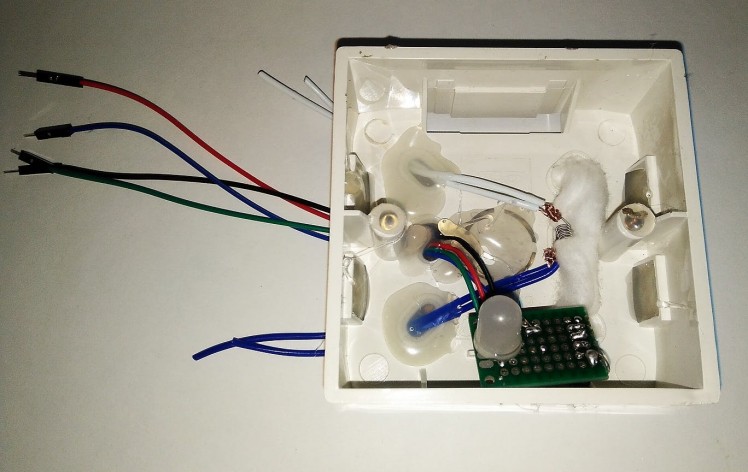 RGB LED placement and blocking all but one hole (under coil) with hot glue for sealing unwanted airways
 These cotton must be kept soaked for continuous operation
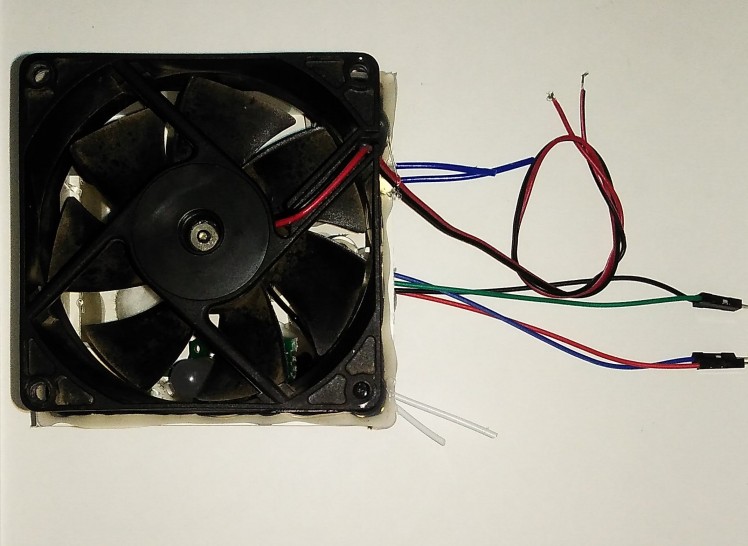 1 / 2 • Fan placed on back box and hot glued for sealing gaps
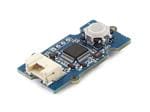
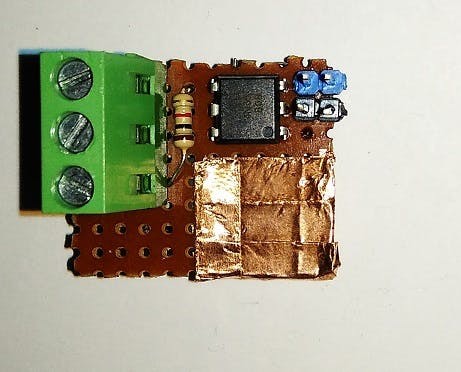 1 / 2 • MOSFET driver (top)
 Fog test
Coding
This code is written on Arduino IDE and uploaded to Uno. There are mainly two things going on here, power on the coil to create mist and then power off to cool down. While the RGB LED cycles through VIBGYOR color.
What Is Vaporizing?
The liquid that is vaporizing is a 80/20 mix (by volume) of Glycerol (aka Vegetable Glycerine) and Propylene Glycol. Both the coil and the cotton must be soaked well with this liquid before power it up or the vaporizer will get damaged.
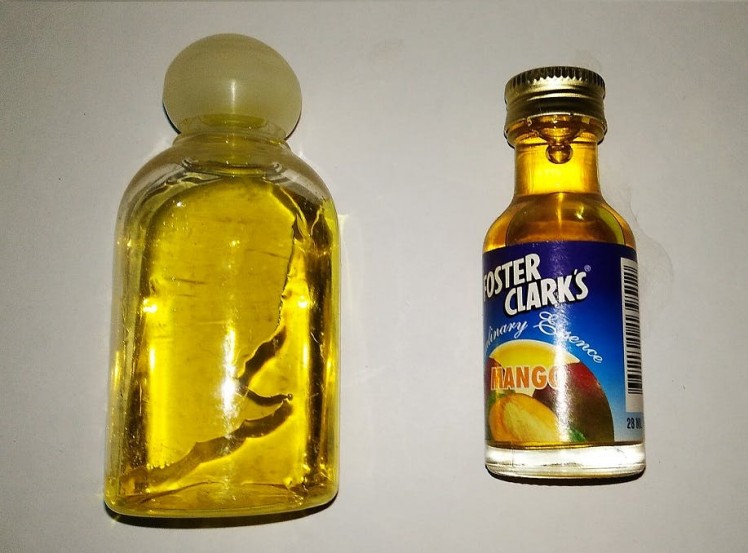 Mix of Glycerol & Propylene Glycol, Mango food flavor ( soirce of Propylene Glycol)
These things are separately available as moisturizing product and food flavoring in grocery stores.
Alternatively, e-liquid/e-juice (without nic) can be used in this device directly to make fog.
Safety
- Sufficient air flow must be maintained to avoid cotton burnout
- Coil and copper wire contact must never be soldered
- Coil and copper wires should be wrapped tightly
- Cotton must be kept soaked with the liquid for continuous operation
- To avoid overheating, coil should be powered off every few seconds
- To avoid skin/eye damage from sudden spitting of hot liquid, safe distance should be maintained
- This is a high current device, Battery/Power Supply of proper rating must be used
Conclusion
This is just a small demonstration but unfortunately the camera can't quite capture what it actually looks like in the dark to naked eye. Using coolMOS with more powerful LEDs and vaporizer, it is not impossible to make a much higher power consumer/industrial version of this for home party, music show and entertainment industries. The solution may be portable and battery powered from a 3s/4s LiPo pack.
Schematics, diagrams and documents
Code
Credits
Related products


Leave your feedback...