
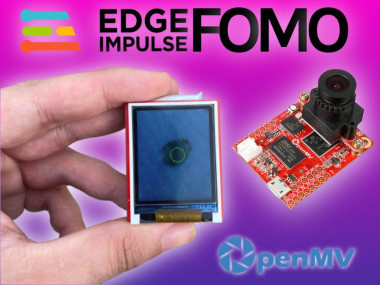
Pothole Detection Using Edgeimpulse's Fomo Algorithm

Made by shakhizat / Artificial intelligence / Environmental Sensing / IoT
About the project
In this project, I will build a real time pothole detection system using computer vision technique called FOMO(Faster Objects, More Objects)
Project info
Difficulty: Difficult
Platforms: Edge Impulse, OpenCV
Estimated time: 3 hours
License: GNU General Public License, version 3 or later (GPL3+)
Items used in this project

Story
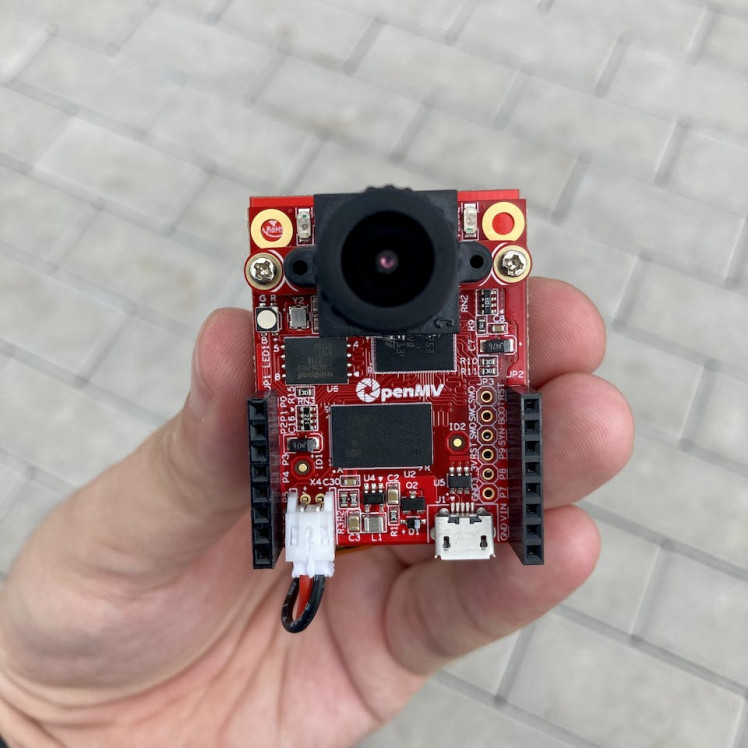
It is a well known fact that, pits on the road can become fatally dangerous for drivers and people as well. The traditional methodologies and technologies used to control the potholes road using the sign boards can be ineffective due to human factor. And hence computer vision comes into play here and can help in reducing the number of road accidents and injures due to potholes. Here, I will use the FOMO(Faster Objects, More Objects) object detection algorithm in conjunction with the Edge Impulse web platform to create a pothole detection model and deploy it to OpenMV Cam H7 Plus development board.
Create and Train the Model in Edge Impulse
- Download the Pothole Dataset from Kaggle. Since we've already had our annotations file in Pascal VOC xml format, we just need to convert these file to Edge Impulse format. Here is a little script that does it for you automatically. Many thanks go to Monica Houston, who wrote a Python script.
- Create an Edge Impulse account for free here.
- Create a project.

- Select images data.
- Then click Classify Multiple Objects option.
- Click Let's get started.
- Click Go to the uploader button and upload images and labels file.
- Then, Create an impulse
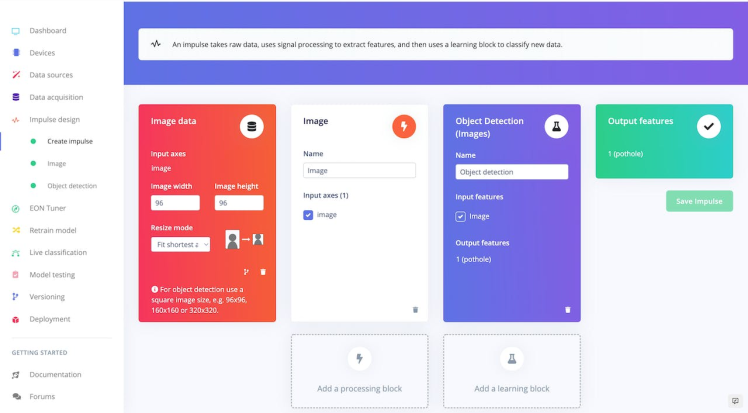
- Click Save Impulse
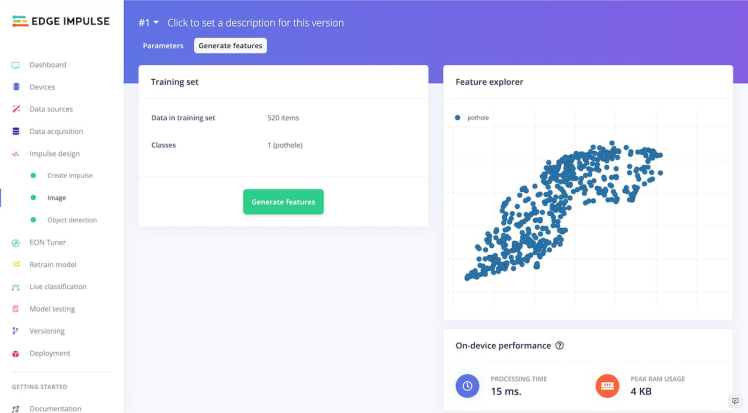
- Generate features
- Train the neural network. Click on Start training to train the ML model, this might take some time to complete depending on the size of your dataset.
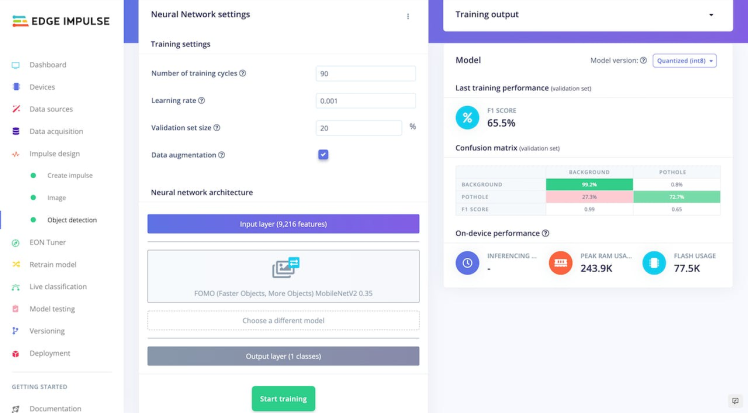
I run 90 epochs of training, which takes approximately 15-20 minutes.
We were able to achieve an accuracy of 65.5%. Then navigate to either Live classification or model testing in the left menu in order to test your model.
Finally, deploy the model to your board, navigate to Deployment on the left menu. In the Build firmware section, click on OpenMV Firmware and then, on the bottom, click on the Build button. A zip file will be automatically downloaded to your computer. Unzip it and load firmware using OpenMV IDE.
The OpenMV Cam H7 Plus boots and runs the script main.py located in internal storage.
Modify existing code of ei_object_detection.py by adding below lines. So, when my camera detect a pothole, the red led light will blink.
red_led = pyb.LED(1)
....
if (labels[i] =='pothole'): red_led.toggle()
Save ei_object_detection.py python script as main.py.

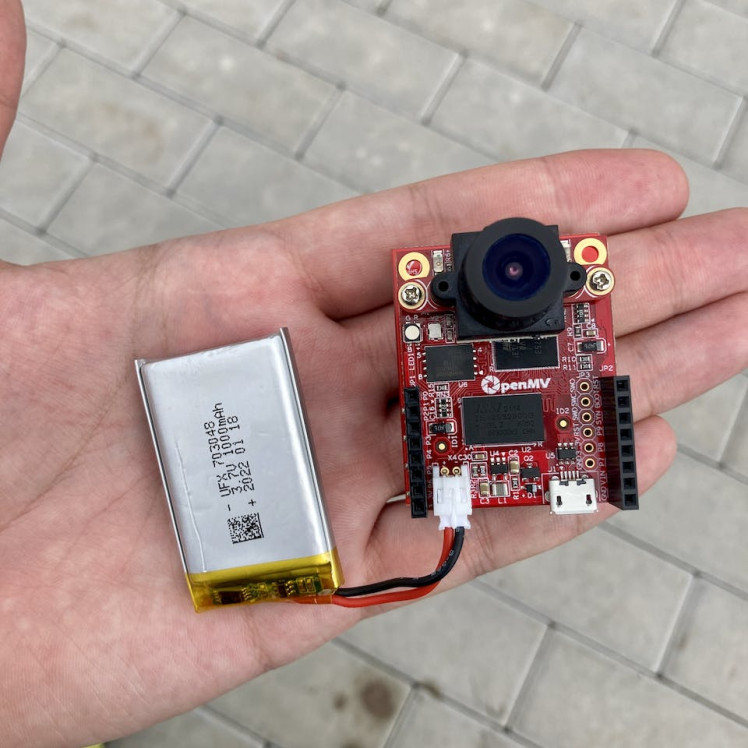
So, here is my setup with the LCD Shield and lipo battery. It gives your OpenMV Camera the ability to display what it sees on-the-go autonomously while not connected to your computer.
Here is a demonstration video of what the final result looks like.
In the below output, we can see how the model has detected and assigned a label for the objects present in a real time.

The following video does not show pothole detection due to good quality road.
The following video shows pothole detection.
I feel the results of it are fantastic despite a few misclassifications.
So, I trained a model in the cloud using Edge Impulse platform, and we’re now running that model locally on our OpenMV Cam H7 Plus board.This will help user to avoid potholes and will result in the reduction of accidents.
ReferencesCredits
Related products

Leave your feedback...