
Pocket Pi

Made by 314Reactor / Displays / Upcycling
About the project
Attempt to make a Pocket Pi made with parts I had laying around.
Project info
Difficulty: Easy
Platforms: Adafruit, DFRobot, Raspberry Pi, Pimoroni
Estimated time: 3 hours
License: GNU General Public License, version 3 or later (GPL3+)
Items used in this project
Hardware components


View all

Story
Reasoning.
I’ve seen some really good Portable-Pi builds such as Ben Heck’s Portable Pi and stuff like this and thought I’d try one out myself using parts I have laying about as a quick mid-week project to take my mind off the nasty cold I currently have.
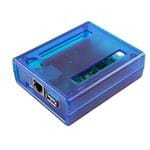
The main part I had laying around was an ESD box I got from somewhere. Not sure where and I can’t find it anywhere else online so I have linked below to the closest I could find online.
Lets take a look how it went!
Parts.
- And a small-ish ESD box such as This
Construction.
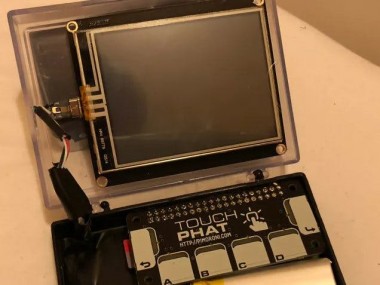
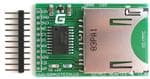
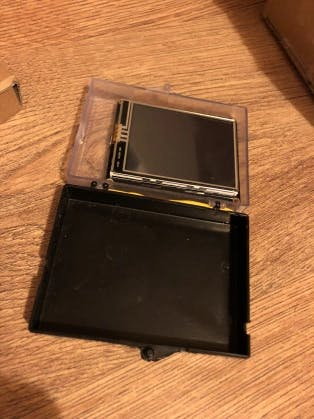
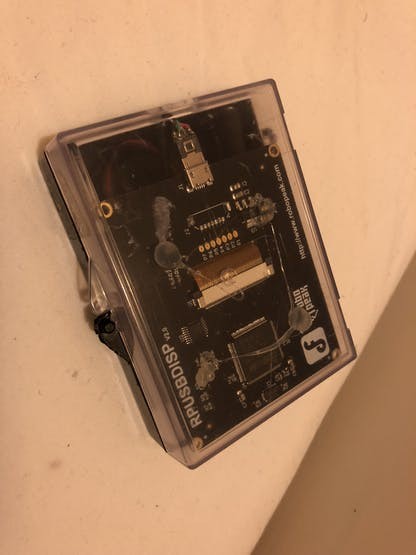
First up I used hot glue to attach the screen into the lid of the box (after removing a small connector on the back of the display PCB that stuck out):
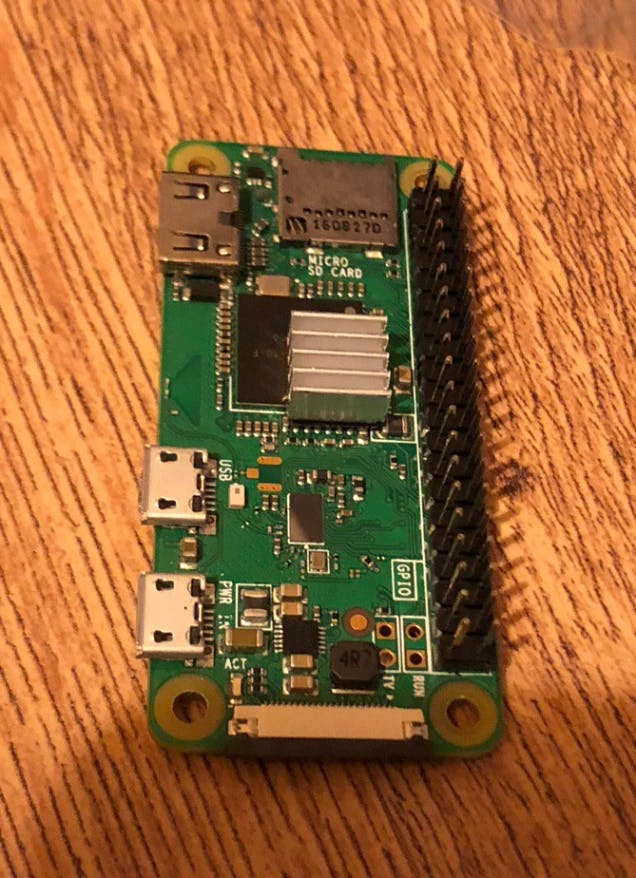
I attached a small heat-sink to the Pi, in a location where it wouldn’t interfere with anything on the bottom of the touch pHAT, which I would be attaching quite low onto the Pi in order for it to fit into the box with the LCD. I also soldered in the header.
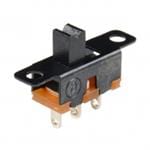
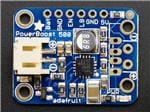
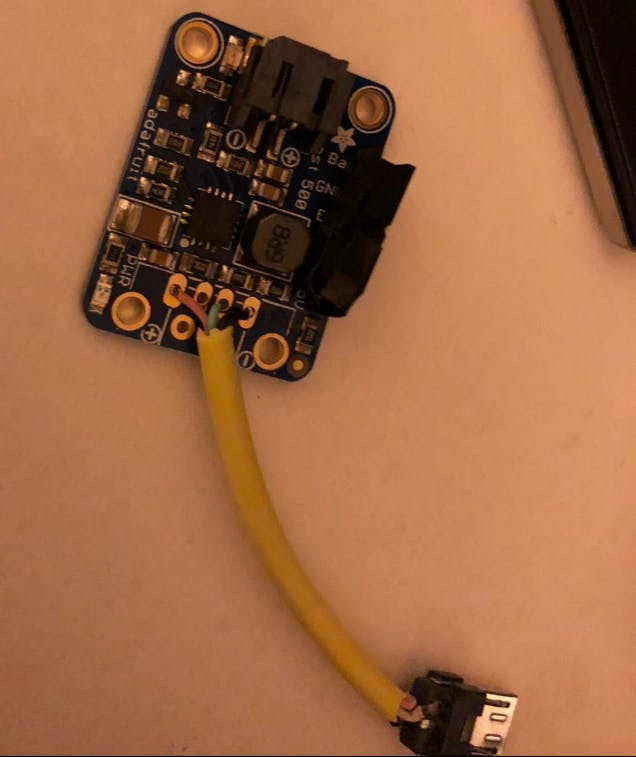
Then I wired in the USB micro cable into the Powerboost 500 as well as a switch into it – into the EN and GND pins (when the switch is set to connect EN to GND the output will turn off).
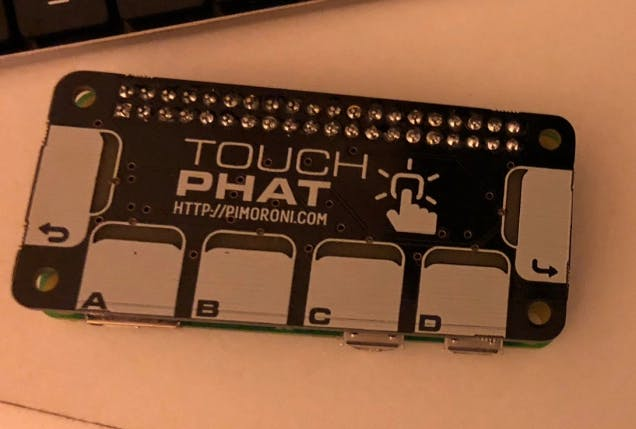
In order for the touch pHAT to fit within the box with the LCD when closed I opted to solder the pHAT directly to the Pi’s header:
At this point it was ready for some setup…
Software.
I had a basic image put onto the Micro SD card using PiBakery, plugged it all in and booted it and ran the standard:
sudo apt update && sudo apt dist-upgrade -yI also set the OS to launch straight into X Windows and auto-login.
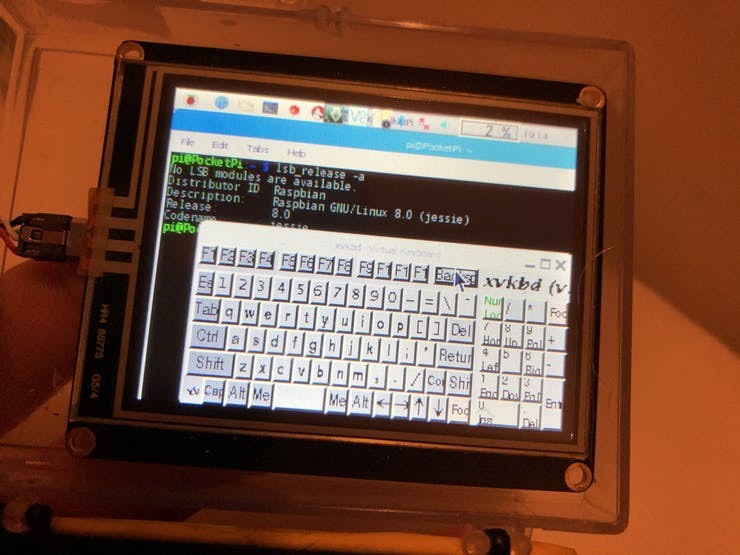
I had a look around for handy software that I thought would benefit the small touch screen to make things a bit easier. The first necessity was an on-screen keyboard, the first one I tried was Matchbox Keyboard which was good but I found the more compact xvkbd to be more suitable:
sudo apt install xbkbdI also wanted to have a more seamless terminal for entering commands in alongside the usual terminals in Raspbian. I found this really good piece of software called Guake, which is essentially like the drop down console in Quake but for command line on a Linux box. Install it with:
sudo apt install guakeNow I wanted to have the keys do some basic commands, so I grabbed launcher.py from the above link and modified it so that the buttons do the following:
- Back initiates a reboot
- A launches a terminal
- B launches Chromium
- C brings down the Guake terminal
- D brings up the on-screen keyboard
- Enter initiates a shutdown
You can grab the modified file from my GitHub as well as the autostart file to copy into ~/.config/lxsession/LXDE/ (overwriting the current one), this will launch Guake as well as fire up the python file on launch of X windows.
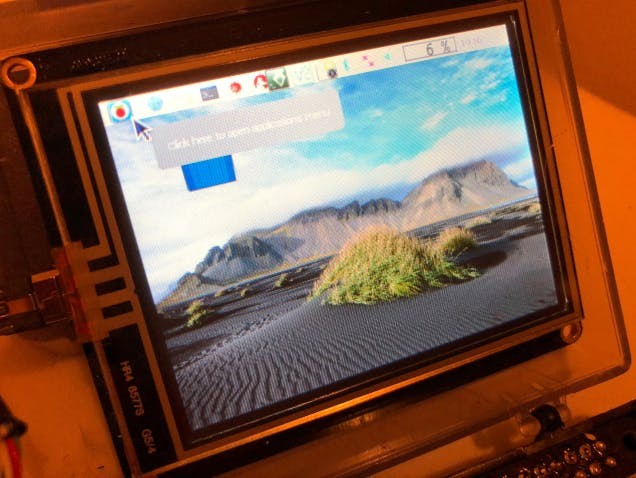
Before installing and setting up the USB LCD I though it would be prudent to reduce the font and icon sizes so they will fit better on the small screen.
I did that by doing the following as described by a helpful forum member. I also reduced the vertical size of the task bar to its smallest point.
Also the terminal text would need to be reduced this can be done by following these instructions.
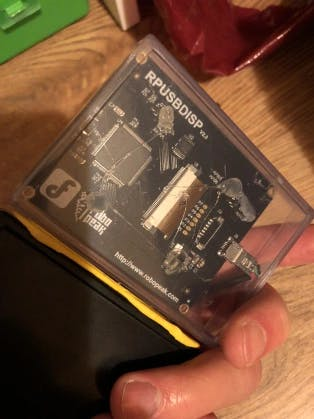
Finally installing the LCD is done by following the instructions here. I found that following the standard instructions here would result in an incompatible kernel error on a Raspberry Pi Zero W.
Reboot and test and then it’s time to finalise the construction.
Construction II.
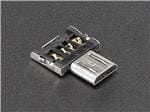
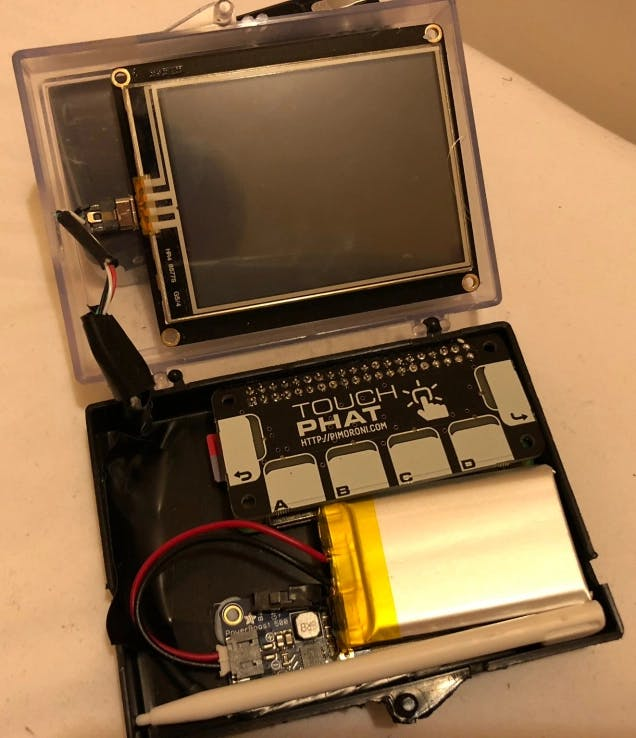
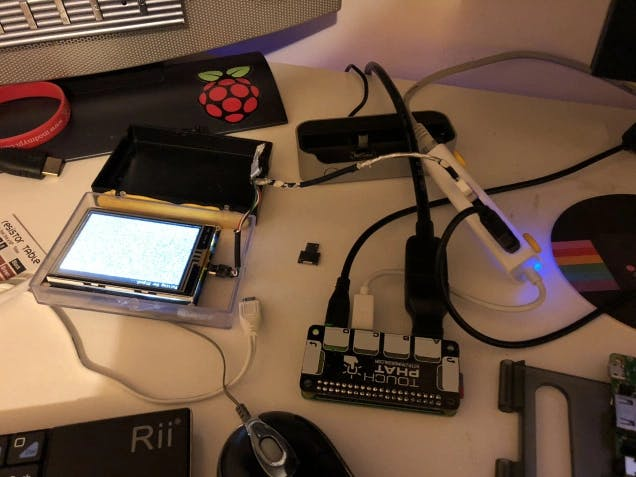
The remaining parts go in as so, these can be stuck in with hot glue, Sugru or Blu Tack – I opted for Blu-Tack in case I need to take the Pi out for any reason. Also the USB LCD is plugged in with a short USB micro cable and a USB OTG Shim to connect to the Pi Zero:
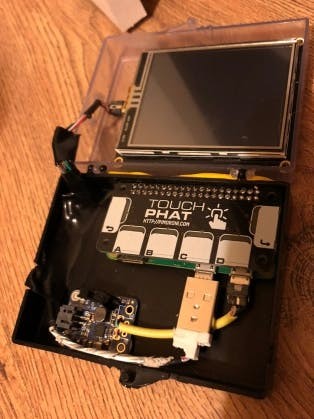
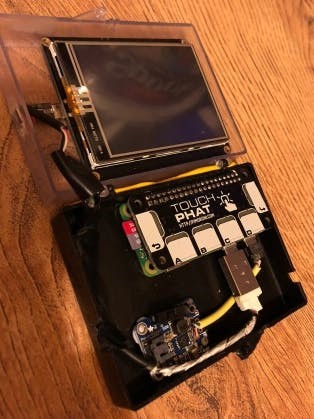
Now finally the battery can loosely drop in on top and be plugged into the PowerBoost:
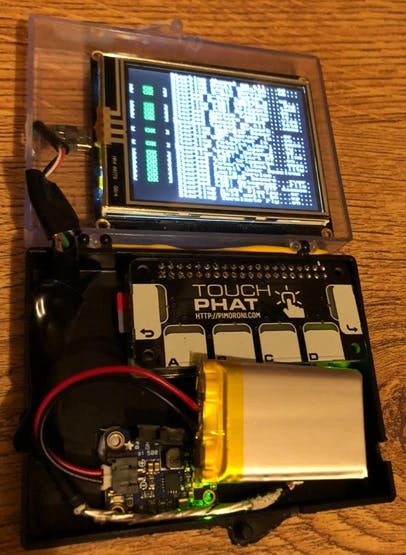
I left the battery loose so it can be removed to charge – as the PowerBoost 500 Basic does not have charging functionality.
I also stuck the USB cable from the LCD to the Pi down with some electrical tape.
Workings.
It can be a little tricky to use but the combination of the pHAT buttons being used to launch apps, alongside Guake and the on-screen keyboard usable through the touchscreen means it is possible to get some basic use.
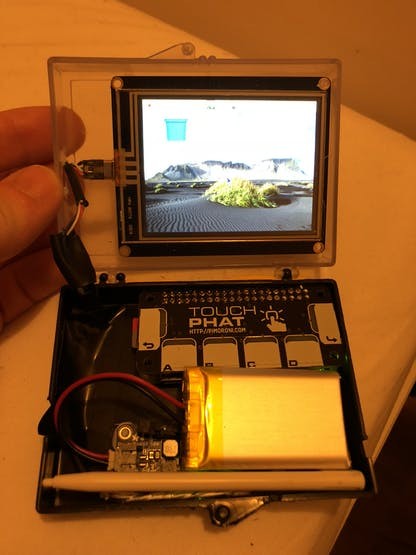
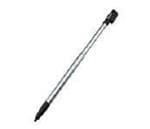
The small stylus was also able to fit into the box as you can see above.
Unfortunately from my previous experience with the display I was not able to get games running on it due to fbcp not working on it; but there may be a fix/workaround I haven’t found yet.
When closed it can easily fit into a pocket:
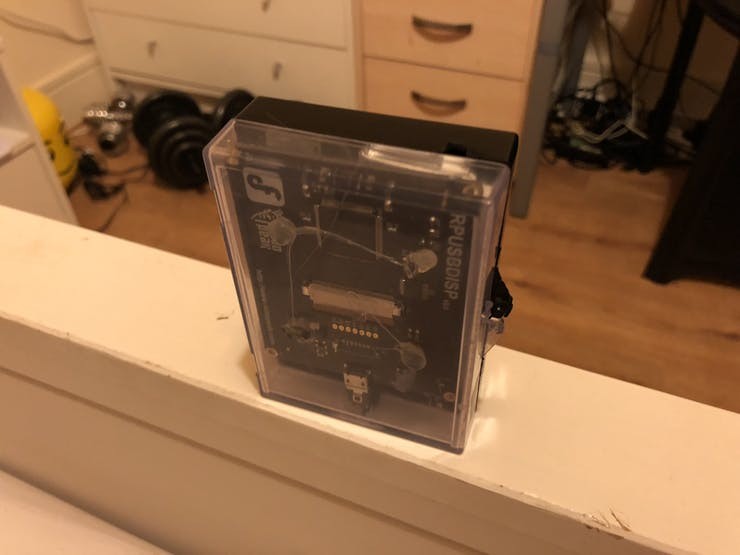
From my experience with it thus far, this could be used as a handy portable Pi for some very basic tasks on the go; I’m going to carry it around with me for a while and see what I can do.
Conclusion.
While not totally easy to use, I really like this little build – it’s cool to be able to have a ready-to-go Pi in my pocket at all times and it looks quite cool in the little box I’ve used as a chassis.
Let me know what you think – I’d love to look into making a tiny keyboard to add onto this one day to make typing easier, something to think of for a Model 2 design.
The touchscreen works very well and is clear to view, I’d recommend this for smaller projects where HDMI/S-video out aren’t possible and also adds in touchscreen functionality without taking up any GPIO. The only issue would be (as mentioned above) that I couldn’t get it working with fbcp to get 3D games running on it.
The Touch pHAT is also really cool and easy to use, very recommended for smaller projects. Combined with the on screen keyboard with the touchscreen you can open up apps and get some basic usage fairly quickly, albeit a bit awkwardly.
Thanks for reading and stay tuned for more projects!
Code
Credits
Related products


Leave your feedback...