
Pidp-8: A Pdp-8 Minicomputer On Raspberry Pi

Made by electrouser842 / Communication / Displays / Lights / Retro Tech
About the project
Everyone wanted a PDP-8 minicomputer. Well, in 1968. Blinkenlights! Just boot the SD image on a Pi, maybe add the front panel later on.
Project info
Difficulty: Moderate
Platforms: Adafruit, Raspberry Pi
Estimated time: 5 hours
License: GNU General Public License, version 3 or later (GPL3+)
Items used in this project
Hardware components


View all
Story
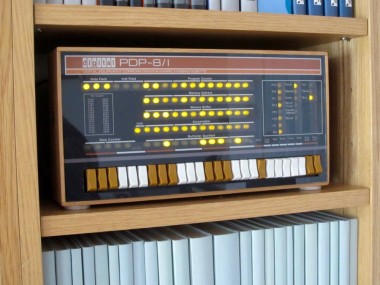
Project goal: to create a faithful, low-cost replica of the PDP-8/I minicomputer (1968). Operated through a Blinkenlights front panel, it should bring back the user experience from the past. Replicating all stages in its development: from 1968 to 1979, from teletype & paper tape all the way through to hard disks and multi-user systems.
See my PiDP-8 web site for full details on the kit.
Why?
Why not? To illustrate how utterly unique the PDP-8 was in the evolution of computing. Born in the era of paper tape chewing, front panel programmed dinosaurs, it evolved all the way to running a proper operating system (even multi-user virtual machines!) from 10MB disk cartridges. It was pretty much the prototype of a personal computer.
How?
There's 3 stages to this project:
- Software-Only: just boot the SD card image on your Pi. Note: only for the Pi 3, install the tarball on a standard Raspbian image. The Pi will boot up in 10 seconds as a PDP-8 terminal. Read the simh manual on how to operate it without physical front panel. Download link: bootable SD card (also runs on the hardware versions!)
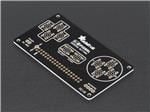
- Low-cost hardware hack: insert the Pi to the "Blinkenlights" front panel PCB and you have a fully functional hardware replica. Board can be made from the Gerbers by OSHpark, Seeedstudio, Elecrow or anyone else. Or buy it from me ($15, leave a message here).
- Fancy version: I made this into a $145 kit, with pretty acrylic front panel, custom switches and bamboo case. See here (link) for details on when the next batch of parts is made.
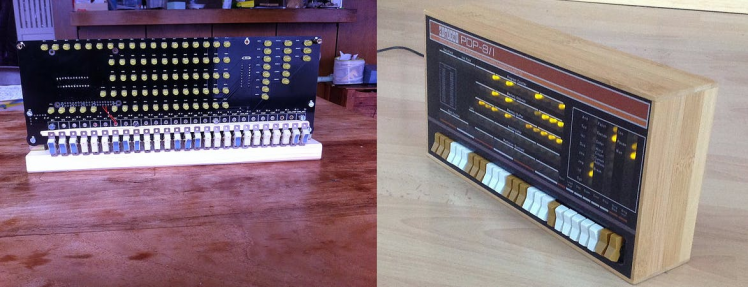 Naked front panel PCB, or complete replica unit
What to do with it?
See here (link) for details. In summary: control the world, or play the very first video game (spacewar), or hook up 8 terminal sessions to run your company. It's a minicomputer... The PDP-8 is also an incredibly good way to learn about how a computer works at the lowest level. Because it is a very simple machine, yet has loads of good software.
Details:
Because a Raspberry Pi is rather more powerful than you need to replicate a PDP-8, it's dual-mode. Whilst the PDP-8 is running and blinking its front panel, you're free to use the Pi Inside to do whatever else you want to do with a Pi. Use it as a file server, VPN access point, or whatever. Just with a very blinky front end.
The PiDP will accept a classic serial terminal, or ssh terminal sessions from a modern PC. puTTY is fine, but a CRT emulator (cool-retro-term) is recommended to recreate the proper vintage atmosphere:
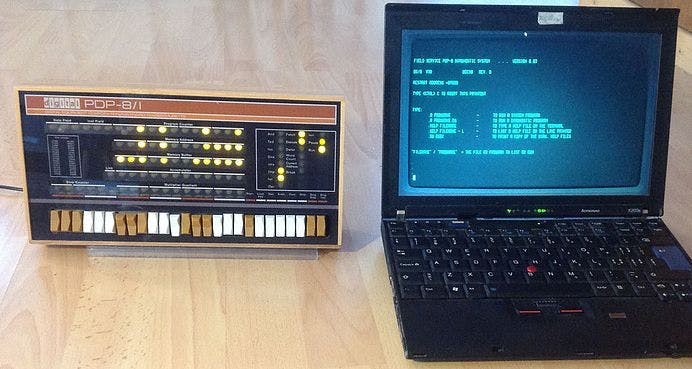 In case you do not have a vintage serial terminal: use cool-retro-term instead.
See my PiDP-8 web site for full details.
Schematics, diagrams and documents
Code
Credits
Related products


Leave your feedback...