

Phoenix Fire Lily - Solar Rechargeable Decor

Made by bitsandbots / Art / Lights / Retro Tech / Sustainability / Upcycling
About the project
Solar rechargeable battery connected to a flickering LED inside an artificial lily flower residing in a hand-crafted wooden vase.
Project info
Items used in this project


Story
Solar rechargeable battery connected to a flickering LED inside an artificial lily flower residing in a hand-crafted wooden vase.
 Phoenix Fire Lily with base V1
 Phoenix Fire Lily with base V2
I don’t know about you, but I rarely have money to spend on projects and whenever possible reusing and re-purposing junk is ideal. Many of my projects contain parts I’ve purchased at local dollar stores and items found through eBay.
 Discount hackables!!
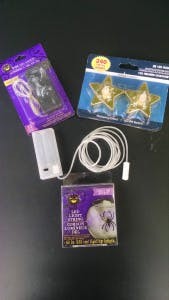
Parts:
- Artificial Lily Flower
- Flickering LED
- Thermostat Wire
- 100-330ohm Resistor
- Mini switch
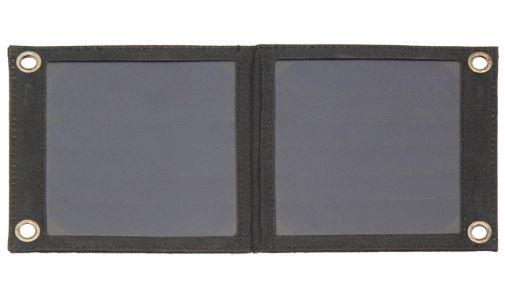
- Solar-panel ~ 5vDC
- Rechargeable Li-ion Coin-cell Battery
- Rechargeable Li-ion Coin-cell Battery charger = TP4056 Mini USB 1A Lithium Battery Charger Module
- USB to mini USB ~ 5ft. cord
- Optional ~ hand-crafted vase station
Steps:
 artificial lily flowers
- Cut the end of the stem and remove the wire.
 remove stamen from the lily
- Gut the Artificial Lily Flower by removing its pistil.
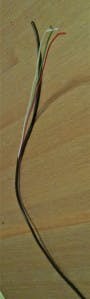 thermostat wire
 wire strippers
- Using a 8-10" length of Thermostat Wire that extends just beyond the end of the lily’s stem, solder a 100-330ohm resistor to flickering LED and/or later near the mini switch inside the recycled case.
Do I really need a resistor? Probably.
- Clear LED without resistor = 30mA @ 3vDC
- Flickering Yellow LED ~ 6mA @ 3vDC
- salvaged 10 LED string of lights = 6mA @ 3vDC
- Carefully thread the wired LED through the lily and down her stem.
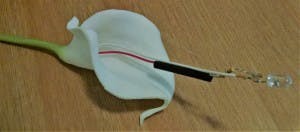 lily with wires, resistor, and flickering LED
- Add a piece of heat-shrink tubing, solder jumper wires, and attach connector header.
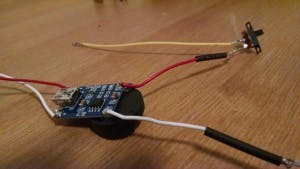
 battery charger
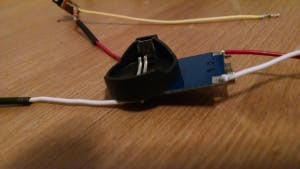
- Solder a set of short jumper wires to the Rechargeable Li-ion Coin-cell Battery charger output.
- Solder the Rechargeable Li-ion Coin-cell Battery charger output short jumper wires, resistor, to the mini switch and recycled case ( two “AA” batteries ).
 solder battery holder to the charger
 solder battery holder to the charger
- Solder the coin-cell battery holder to the Rechargeable Li-ion Coin-cell Battery charger
- Insert the Rechargeable Li-ion Coin-cell Battery into the Rechargeable Li-ion Coin-cell Battery charger.
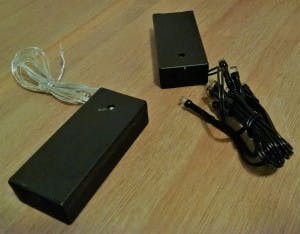 inexpensive battery powered LED lights
A look inside the inexpensive battery case.
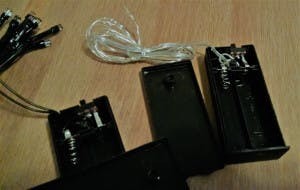 open them up!
- Gut everything from the case!
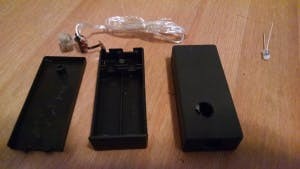 drill a few holes
- Drill a few holes. One for the solar panel wires, and the other for USB connector.
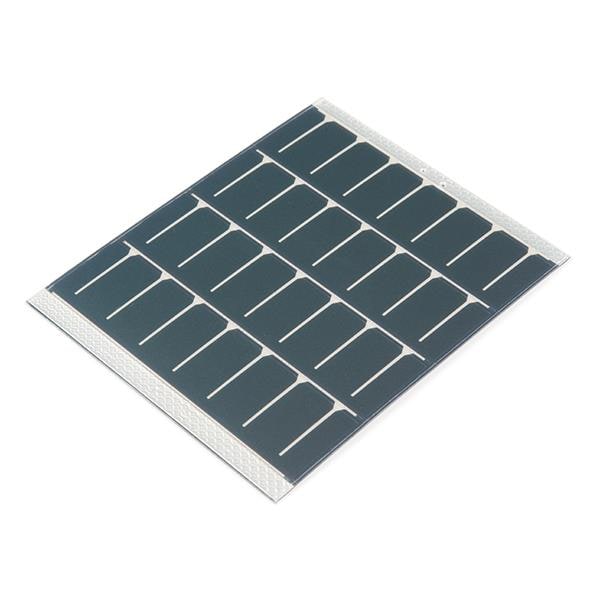
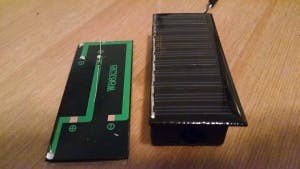 solar panel
- Solder a simple switching diode, such as 1N4148, to the positive side.
- Using short jumper wires, solder the Rechargeable Li-ion Coin-cell Battery charger input to the solar panel ~ 5vDC.
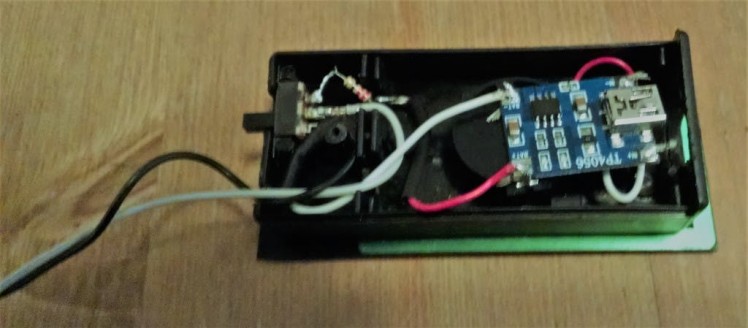 assembled rechargeable power pack
- Insert the switch and wrap wires so they lay flat inside the case.
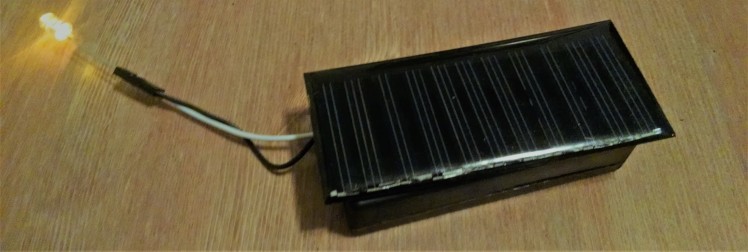 testing assembled rechargeable power pack
- Test the output.
- Optionally, attach USB to mini USB cord to the charger
- Store inside a hand-crafted vase station.
 completed Phoenix Fire Lily
You can purchase a completed Phoenix Fire Lily directly from me as a functioning example.
http://www.hydroMazing.com Please follow me and learn much more at
Schematics, diagrams and documents
Code
Credits
Related products


Leave your feedback...