

Nodemcu Wi-fi Controlled Car

Made by Aaryan_Kumar / Automotive / Communication / Vehicles / IoT
About the project
Wi-Fi controlled car made with NodeMCU
Project info
Difficulty: Moderate
Estimated time: 3 hours
License: GNU General Public License, version 3 or later (GPL3+)
Items used in this project
Hardware components


Story
Introduction
Hello there! Anything that can be controlled is great, isn't it? We humans love controlling stuff and that is why automation and robotics are so fascinating.

This tutorial will teach you how to create your own Wi-Fi controlled car. So lets get started.
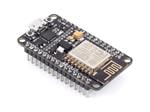
This will be a Wi-Fi controlled car so for this project we will be using a NodeMCU to receive the controlling data packets. We will also need an android app which will be sending the controlling data packets to the NodeMCU . We will be using a third party application for this purpose. Here is the link.
Building the car
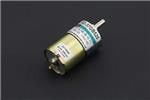
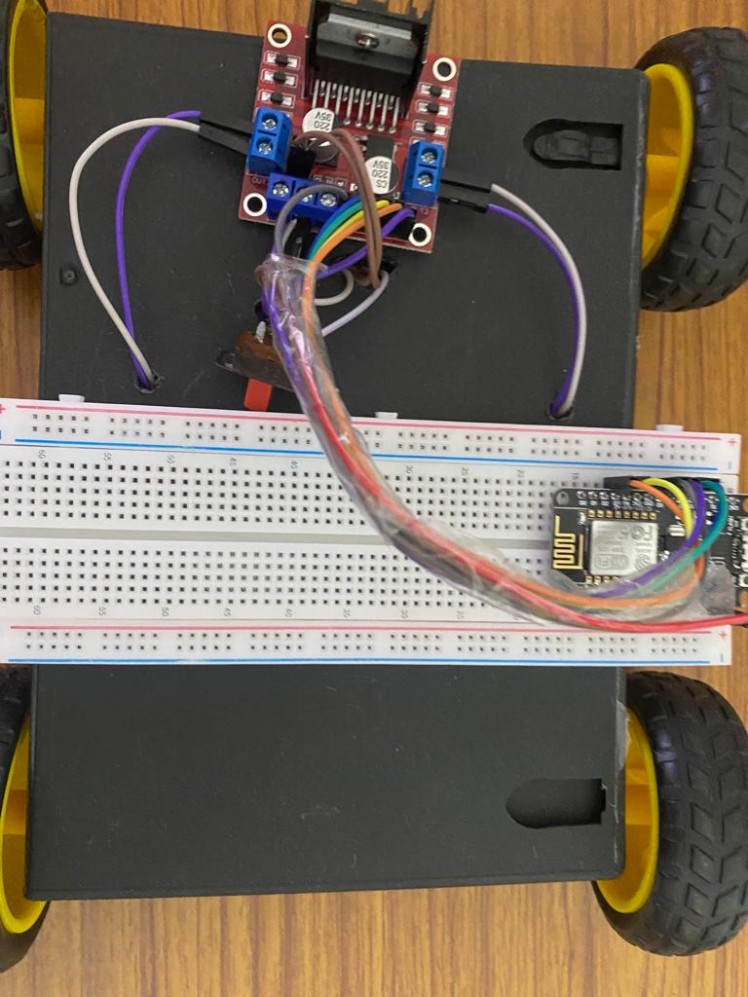
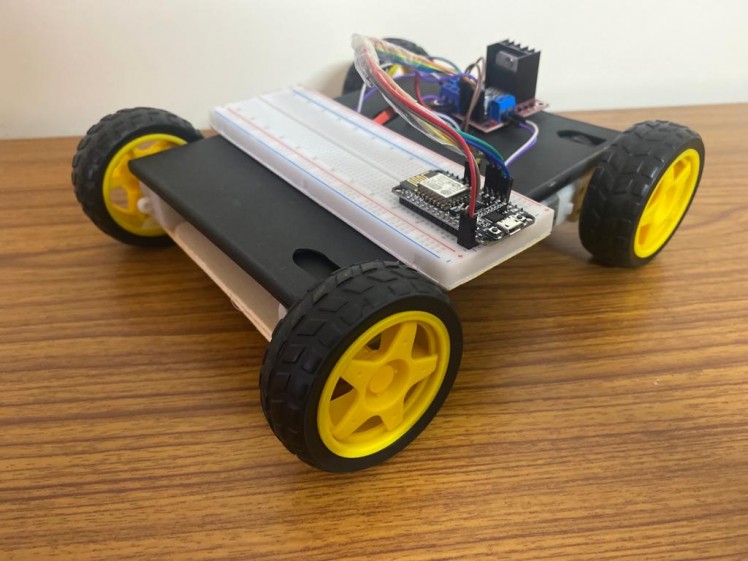
Once I got all the parts I wanted to build it and test it. But there was no chassis. I look around and found a DVD casing. Well that's not the best choice but it serves for the time being :-) . I've used hot glue to attach the motors to the car.
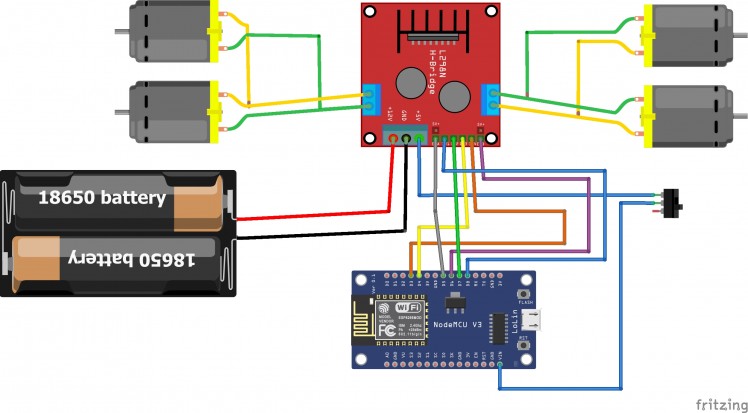
Circuit
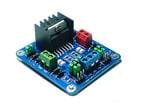
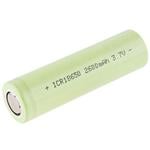
Follow the schematic to make the connections. To power the car, I've used 2x 18650 batteries but you can use any battery for your choice. Here is the circuit :
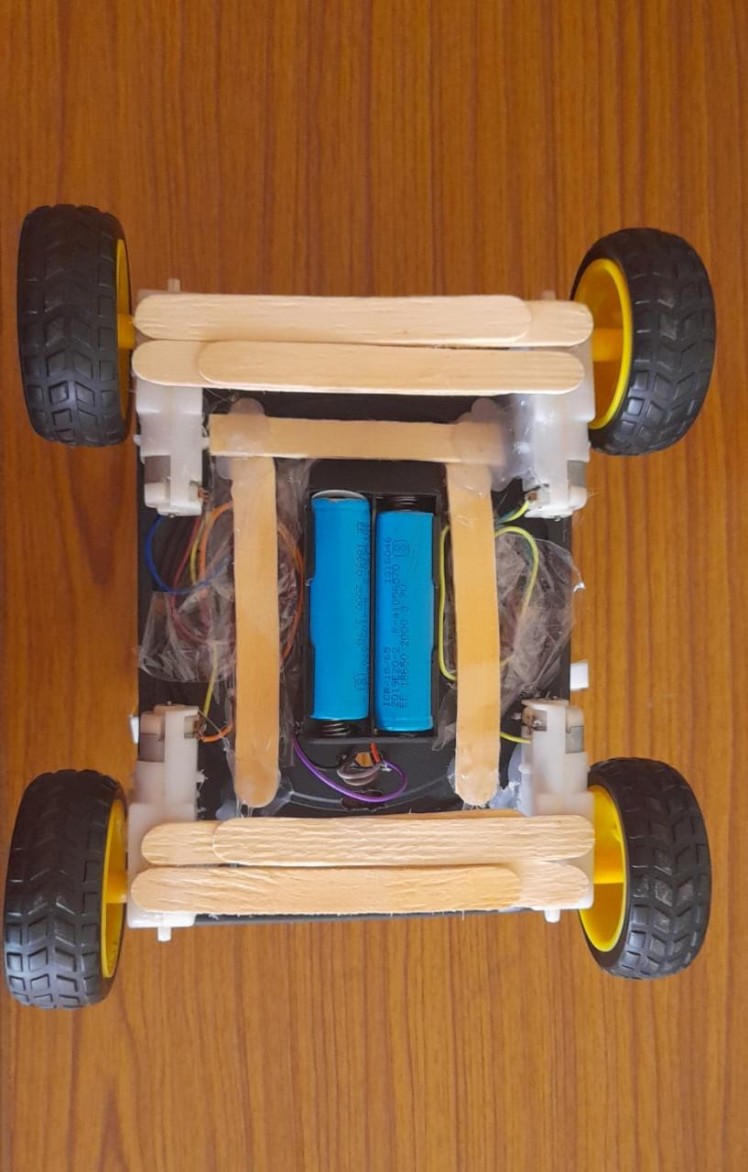
Here's the bottom view of the car with the battery and a little bit structural engineering (nvm the wires) :
Coding
Now that we have made our car its time to program it . You can find the code below.
1. Upload the code to the NodeMCU
2. Make the connections.
3. Launch the app.
4. Connect your phone to the car.
5. Enjoy !
Congratulations ! You've made your own Wi-Fi controlled car.
Here's our finished beauty !
Here's the video of my car : https://www.instagram.com/p/CaMj5NTFHr0/
I hope this tutorial was good enough to get you going. If you got any suggestions for some changes or further addition to this project then please let me know in the comment section.
Schematics, diagrams and documents
Code
Credits
Related products


Leave your feedback...