
Nerf Scope Module | Arduino project

Made by 314Reactor / Lights
About the project
When a Nerf gun doesn't have a scope, add a movable one with an Arduino and a servo!
Project info
Difficulty: Easy
Platforms: Arduino, DFRobot, Pimoroni
Estimated time: 1 hour
License: GNU General Public License, version 3 or later (GPL3+)
Items used in this project
Hardware components


View all
Story
The Scope
So first off thanks to DFRobot for the parts in this project! They have been great to work with over the past year.
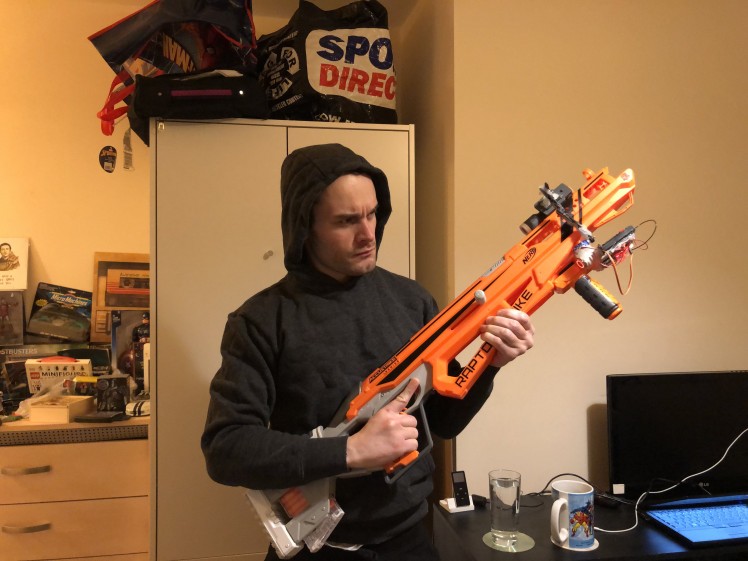
For a while now I’ve been eying up the Nerf Raptorstrike but there was one issue – no scope or top rails for attaching a scope – only an underside rail. Which made me think – can I just make my own movable and attachable scope with an Arduino and a servo or two?
Lets find out.
Main goals for this are:
- Make a movable scope
- Make it attachable to underside Nerf rails
The Stuff
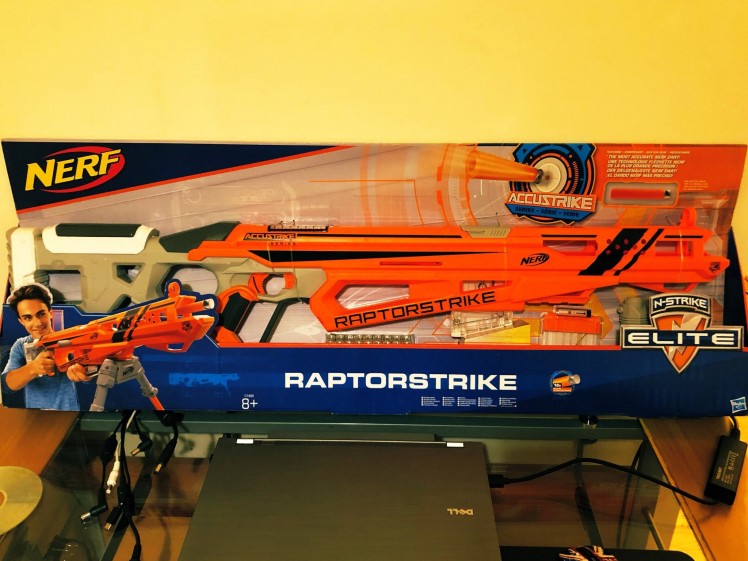
- Nerf Raptorstrike
- Nerf Grip
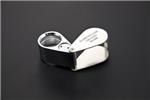
- Nerf Scope
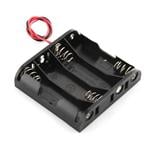
- Battery holder 4x AA
- Arduino Nano
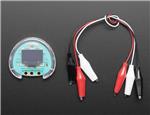
- Illuminated Button
- Servo
- Servo arms
- Veroboard
- AA Batteries
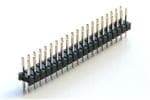
- Break away headers
- Wire
The Build
The Raptorstrike:
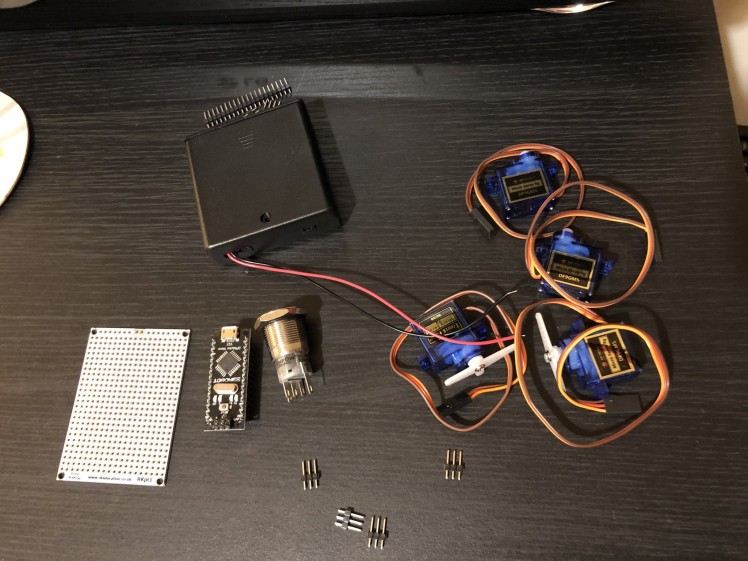
The parts all nicely arranged:
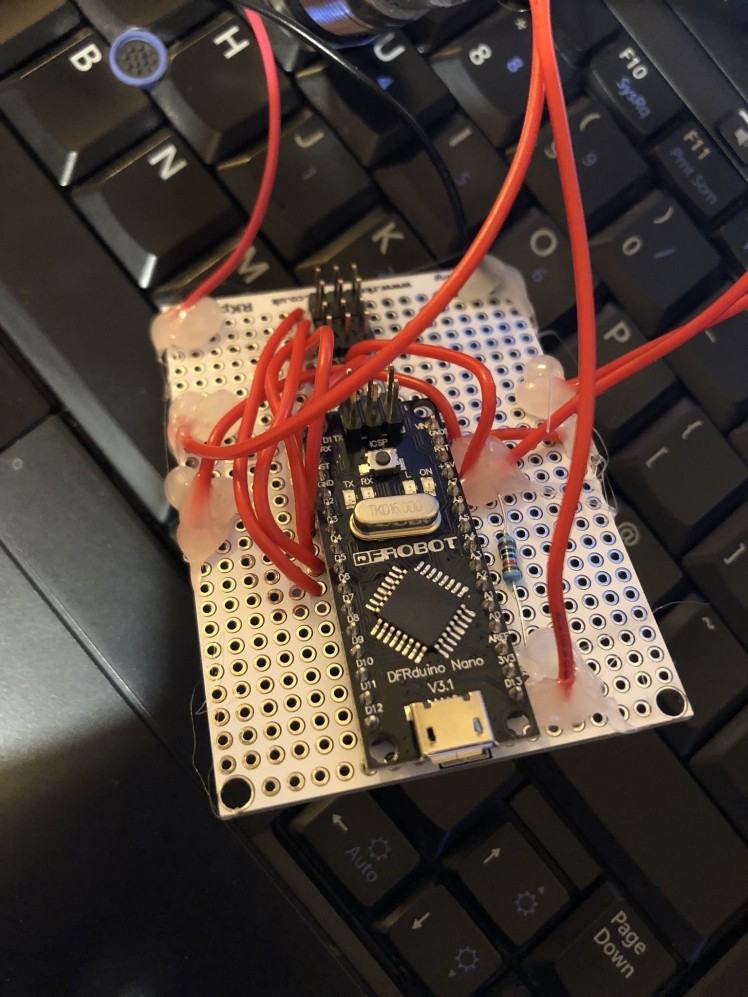
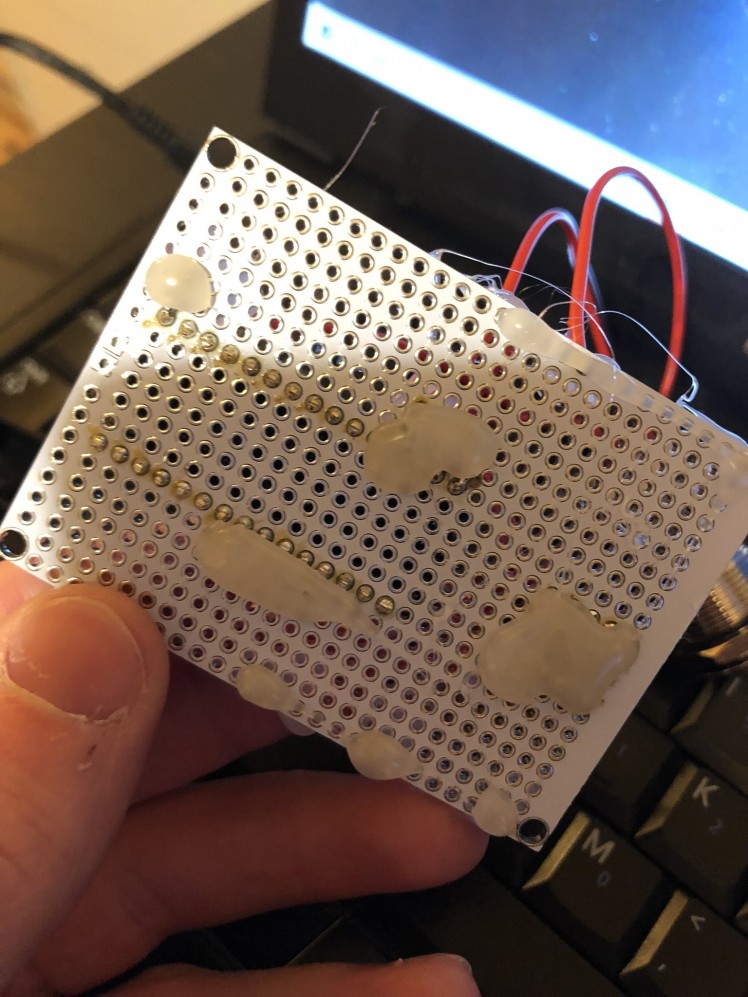
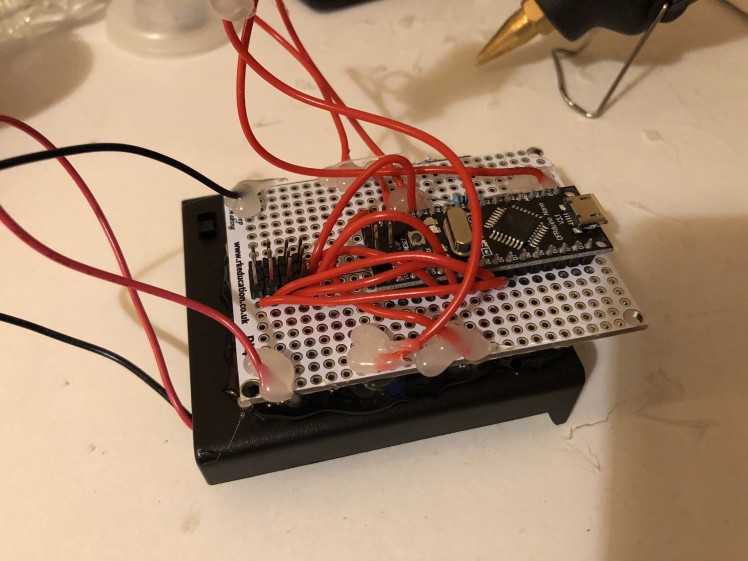
I started off with wiring up the main circuit board – putting the Arduino centre stage and 4 3-pin headers at the bottom for any servos required:

I wired in the battery box to the rails on the side of the veroboard.
I used the same wiring for the servos as I used in my Fingerprint ID Nerf Gun project, but adding on 3 more digital pin lines for extra servos.
As well as using the button wiring from my Arduino Fortnite Boogie Device project and wiring in the illuminated push button:
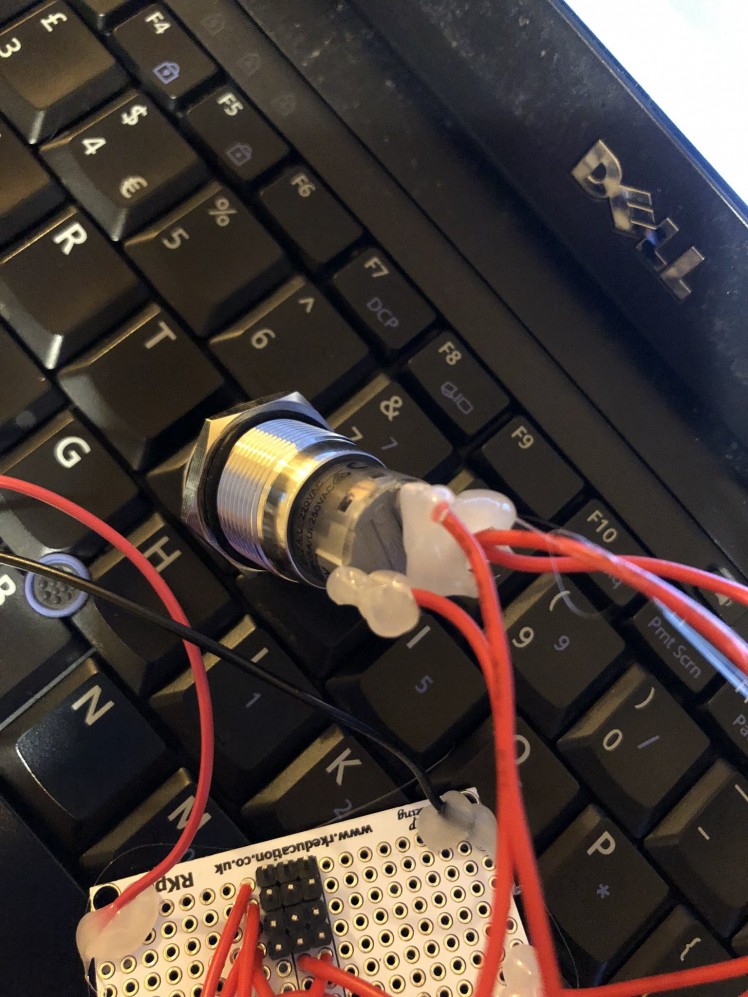
I wired in the illumination side directly into the rails supplying power from the 4x AA batteries.
Also as you can see I’ve applied some hot glue to certain points to keep the strength of the connections up.
 1 / 3
1 / 3
Then I glued the board to the back of the battery box, leaving room for the on/off button on the box:
I then began work on the arms that would attach to the servos in order to move the scope up and around to the top of the rifle as well as glue the button to the side of the grip I’m using and also glue the circuit with the Arduino on as well to the front – facing up so the batteries can be accessed.
The arms are made by gluing together little arms from servo kits to the right length.
 1 / 2
1 / 2
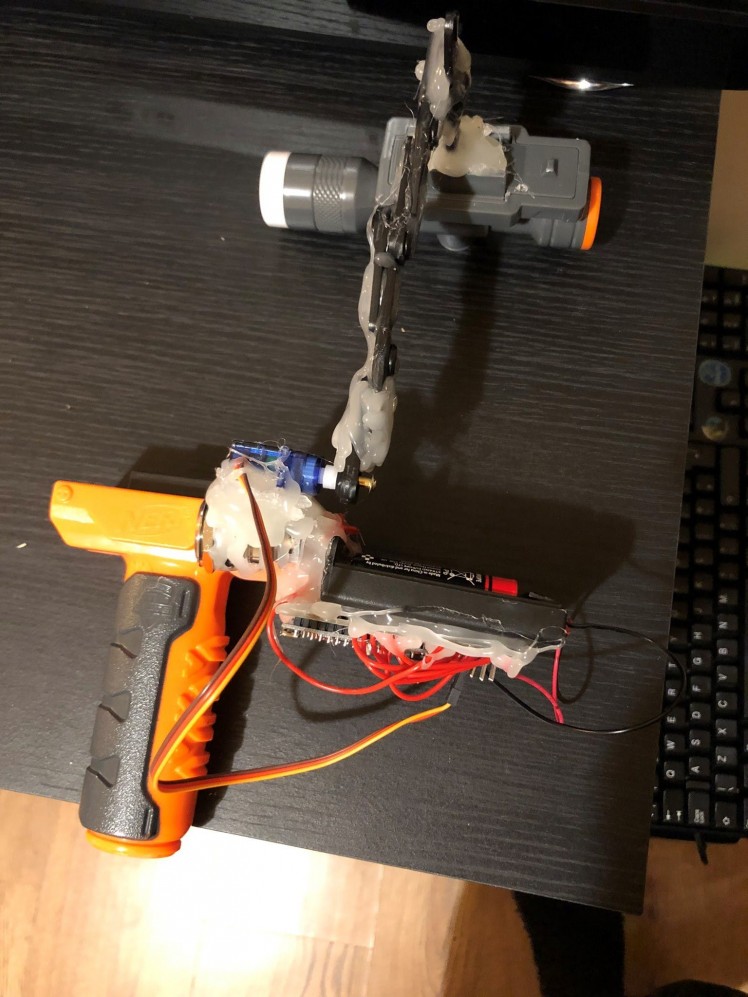
You can see also my first attempt at gluing the main servo on – I’ll explain why this was my first attempt and what problems I ran into later.
 1 / 2
1 / 2
So the original plan I had was to have the prime arm move up and then actuate a second (maybe even third servo) to spin the scope around to the top of the rifle – to make it quite comical looking and funny; however I ran into the issue that the main servo couldn’t handle the weight very well.
It also just looked way too weak and way beyond the goofy limit I was aiming for; frequently the entire thing would struggle to move – it eventually would but it was unreliable and I could hear the servos stressing.
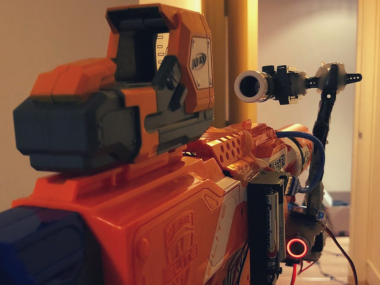
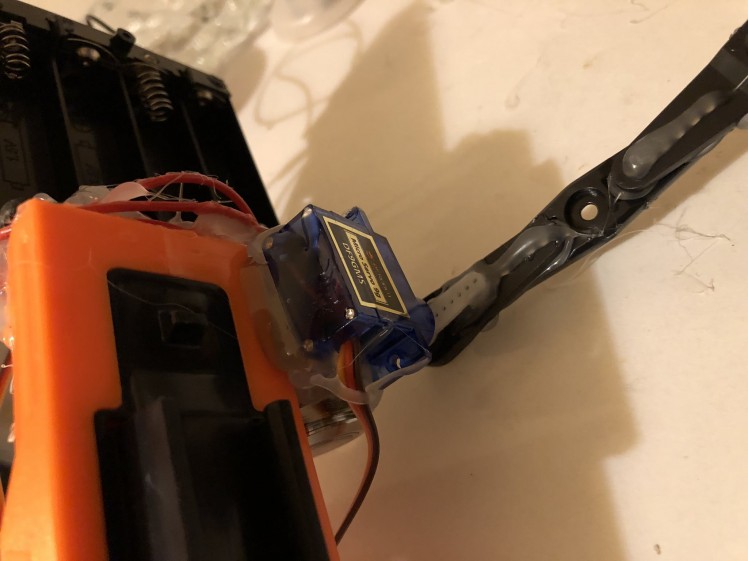
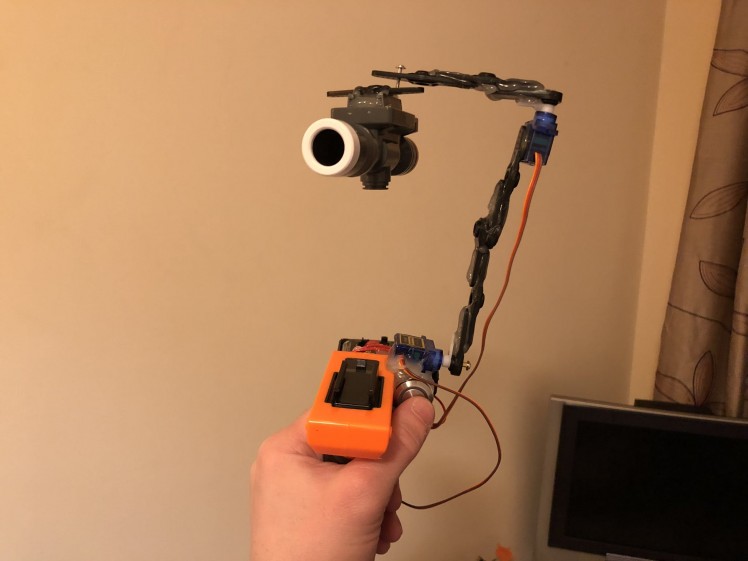
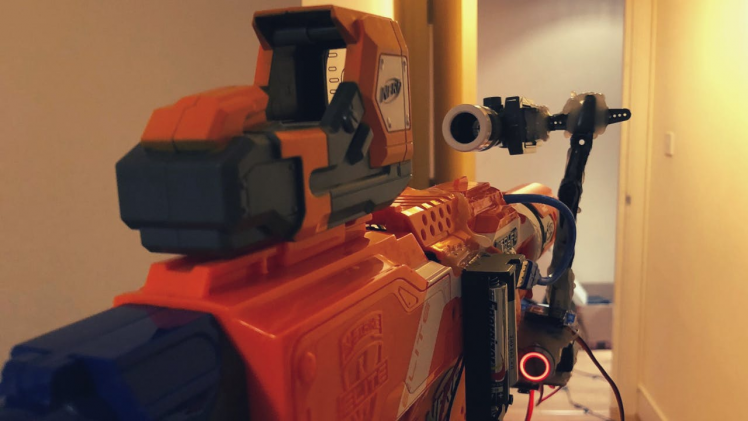
So I had to do a redesign and go for just one arm that moved the scope up, from the side:
This worked a lot better and also has the added bonus of reminding me of Dr Sorans weapon from Star Trek Generations:

Which is just awesome.
After a quick test to make sure the servo could handle the weight and making sure the arm was the right length it’s time for…
The Code
The code is pretty simple – basically just waits for the button to be pressed and then sets a ‘scope mode on’ Boolean variable to the opposite of what it currently is (starts off as false) and then adjust the servo position appropriately.
The code also treats the button as a momentary push button – which it isn’t – but I found that with a lighter tap it will act as a momentary button.
You can grab the code from my GitHub.
This of course can be uploaded via the Arduino IDE to the Nano easily from a PC.
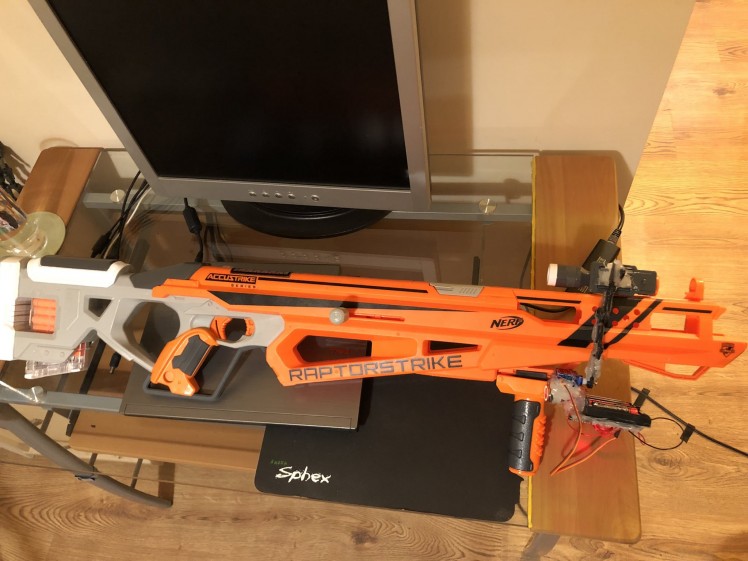
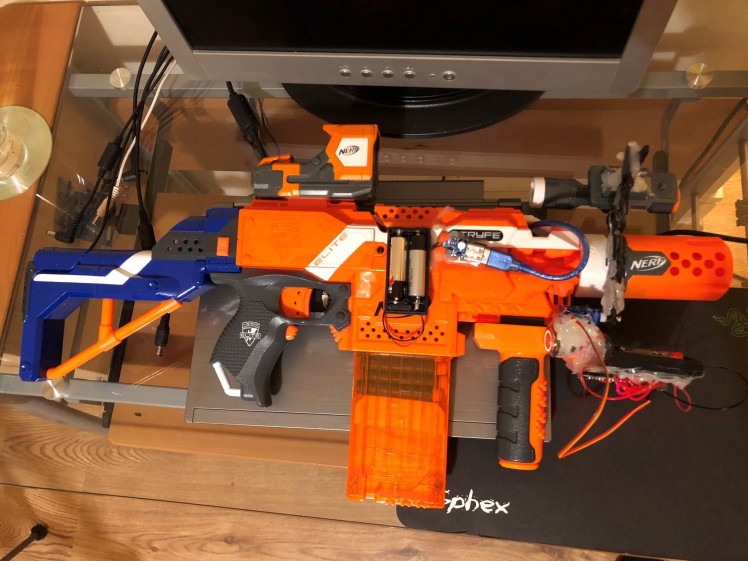
The Attachment
It fits underneath the rifle quite nicely:
 1 / 2
1 / 2
I also tried fitting it on another Nerf (my Fingerprint ID Nerf Gun) to see how well it worked:
Not bad.
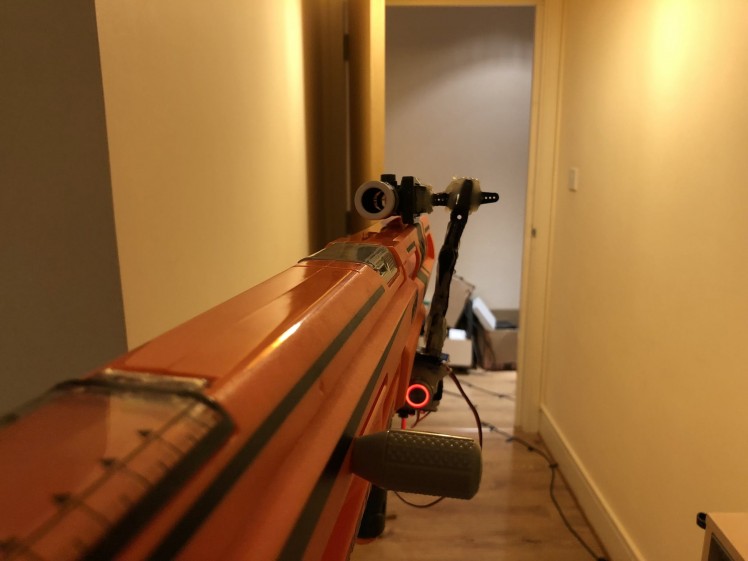
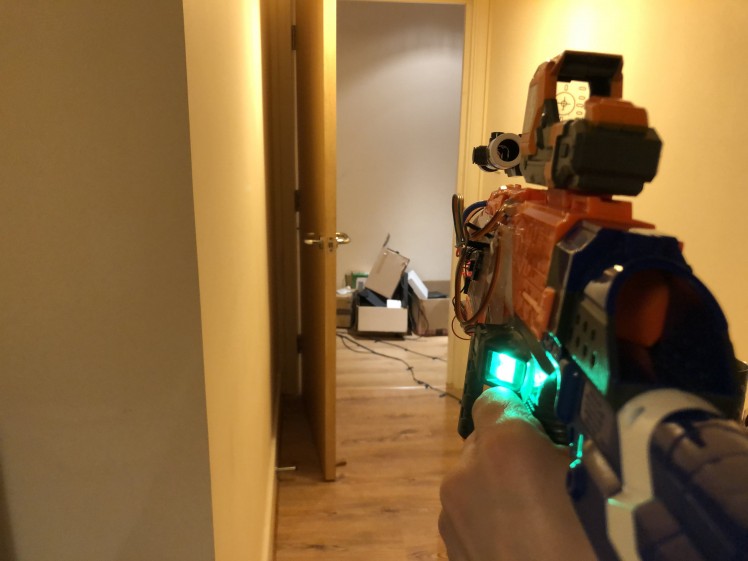
The Usage
Works well and looks kinda cool.
The illuminated button works well in darker areas and is nice to operate, as mentioned earlier it’s technically not a momentary push button, but I use it as such as pressing it in only a bit it pretty much acts as a momentary button.
Obviously as with most Nerf attachments the scope does not have any real functional value, but it certainly looks cooler on the rifle.
The Conclusion
Overall I’m happy with the outcome of this, but I’d still have liked to have made it a bit more ridiculous and complicated – in order to do this I think I’d have to use beefier servos and also get some better arms made for it; with stronger servos I could also use a bigger scope.
Also the ability to add this to any Nerf rifle with an underside rail means I didn’t have to glue this directly to the Raptorstrike and means it can be used on (most) other Nerf’s with no issue.
Let me know what you think and thanks again to DFRobot!
See you next time.
Code
Credits
Related products


Leave your feedback...