
Mooomba - The Cow Roomba
About the project
Always wanted a cow, but don't have the space? Build yourself this Roomba-sized cow!
Project info
Items used in this project
Hardware components


View all
Hand tools and fabrication machines
Story
Overview
Below a quick overview of the content.
- Introduction and showcase video
- Movement
- Control
- Sound
- Style
- Adventure
Introduction and showcase video
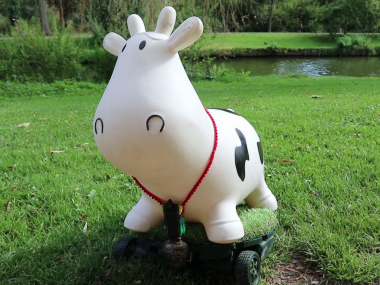
My girlfriend really wants a cow. Sadly, that's a bit tricky because we live in an apartment. I did however find a small inflatable version in the local thrift store. This means we can make her a robot cow for adventuring, The Mooomba!
Project VideoMovement
A cow can move around, so our Mooomba needs some wheels and power to match. Two DC motors in the front and a small swivel wheel in de back will do perfectly!

Baseplate with motors and wheel
To attach the motor we drill two holes on each side, and using the motor bracket, screw them both in place.

Motor #1
Here's a dirty bit, the wheels I'm using don't really fit on the motor shaft. To fix this we're going to us some hot glue, I know....

Sinning
We can attach the swivel wheel in exactly the same way.

Screwing in the swivel
With our motors, wheels and swivel in place we can test if it has enough oempf to move around our pint-sized cow.All we need to do is attach the motor wires to a 12v power source and see what happens.

It works!
Our miniature herbivore can move, woopwoop!It's still manually controlled though, let's change that by mo(o)ving on to the next part.
Control
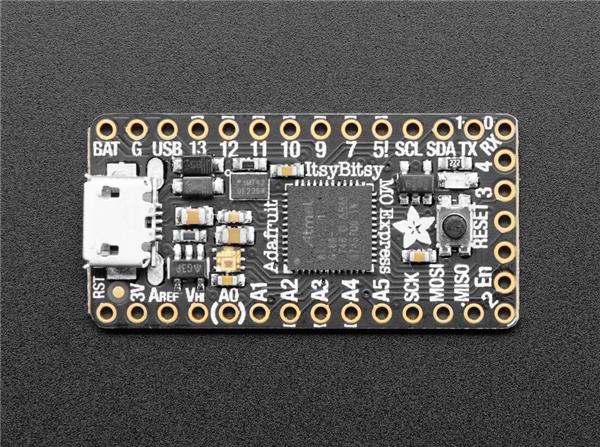
To make our lives easier and give the Mooomba a sense of self, we're going to add some electronics.

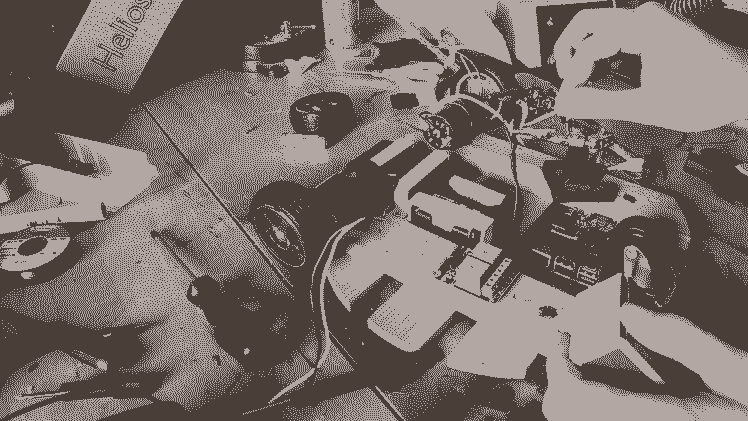
Electronics
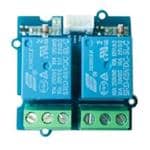
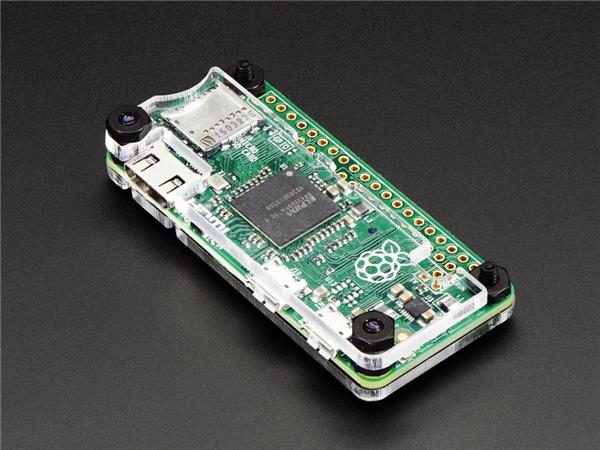
The Raspberry Pi is powered by a 5v powerbank (black block on the left).This Pi controls a two channel relay (black/blue thing on the right). The relay on its turn will open/close the connections between the 12v battery pack and the two motors. This means;
Both relays open => no power => no movementBoth relays closed => both motors powered => forwardOne relay closed => one motor powered => left or right
We want to make a high quality cow, so we 3D print some braces to keep everything in place. The files for these braces are attached to this article.
All that is left to do is write some code. You can find the full code in the section "Code", but here's a overview of how it works.Generate a number between 0 and 3 and do the following;0 => Forward1 => Turn right2 => Turn left3 => Play audio (see next section)
This is repeated until eternity, or the batteries run out.
Sound
Every cow can make sound, so ours will too!The first thing we need is a volunteer to do their best cow impression on camera.

Cow impression
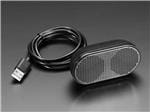
We take this audio and save it as mp3, adding a USB speaker makes sure everyone can hear Mooombas majestic calls.

USB Speaker
Style
Last but not least, some style. To really bring out the best we add some fake grass to our moving platform, give Mooomba a good wash and add the all important cowbell. Doesn't she look fab?

Looking good!
Adventure

MOOOOOOO
Now you're all ready to go adventuring with your mini cow! Just don't forget to stop and smell the flowers. :-)
CAD, enclosures and custom parts
Code
Credits
8BitsAndAByte
We’re Dane & Nicole, two makers that create tremendously terrible tech, which we happily share with you on our channel! https://www.youtube.com/c/8bitsandabyte
Related products


Leave your feedback...